Tutorial: How to Do a Braided Bun
A simple, chic and fun braided bun hairstyle you've got to try!

You Will Need

It’s time to step up your traditional hair bun game and add a little pizazz to your everyday style with a modern braided bun. The braid and bun combo is one of our favorite go-to styles because it’s ultra-feminine, yet practical. . The bun is just so simple and classy. Plus, let’s not forget, this braided bun look is really easy to complete when you can be out the door in five minutes looking polished and sophisticated.
This hairstyle is versatile, so try this out for your next interview or night out on the town. While there is a classic way to sport the braided bun, there are actually many different variations of this look that you can try. Whether you want to go the half-up route or want a high (or low) braided bun, we have you covered. Keep scrolling to learn the various ways you can wear a braided bun. our guide featuring how to create a braided bun hairstyle in four fun ways.
How to Create a Classic Braided Bun
A classic braided bun is actually very easy to achieve! This hairstyle is great because it’s quick to do and keeps your hair secured out of your face.
Refresh and detangle hair.
Begin on clean hair that is dry and detangled. If needed, refresh your hair with a dry shampoo like Suave Hair Refresher Dry Shampoo. Brush your hair to gently remove any knots, then use a styling oil to add shine and prevent frizz like Suave Professionals Moroccan Infusion Styling Oil. This will ensure that your hair is smooth and ready for your gorgeous new braids in a bun style.

Create a high ponytail.
Pull your hair up into a high ponytail and secure it in place with a hair tie. The center of your crown is an ideal position.

Section your hair.
Section your hair into three even sections. This is where you will start creating your braids into a bun.

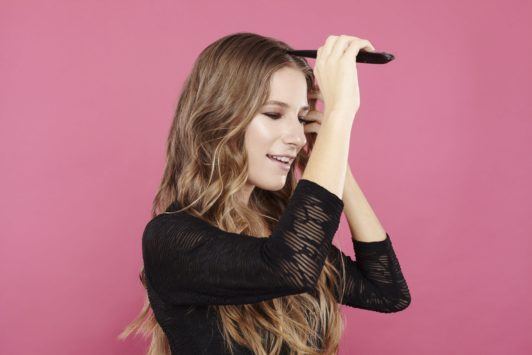
Complete your braid.
Braid your hair all the way to the end of your ponytail and secure it with a clear elastic hair tie. You can braid your hair as tight or as loose as you want, it’s totally up to you!

Wrap your braid into a bun.
Take the end of your braid and wrap it around the base of your ponytail to create your braided bun. You can use the opposite hand to hold the base of your braid in place as you coil the hair around.

Secure your bun.
To ensure that your braided bun stays put, insert bobby pins into your bun. Place as many as needed around your bun. You might need more pins if you have thick or curly hair.

Complete the look.
You did it! You created braids into a bun and now have a chic yet simple look. Make sure that you spray your hair some hairspray, like the Nexxus Weightless Style Ultra Light Hair Spray, to ensure that your braided bun style stays in place all day long.


How to Do a Dutch Braided Bun
This trendy style gives us major boho vibes!

Step 1: Wash your hair.
TRESemmé
TRESemmé Full Fiber Volume Shampoo
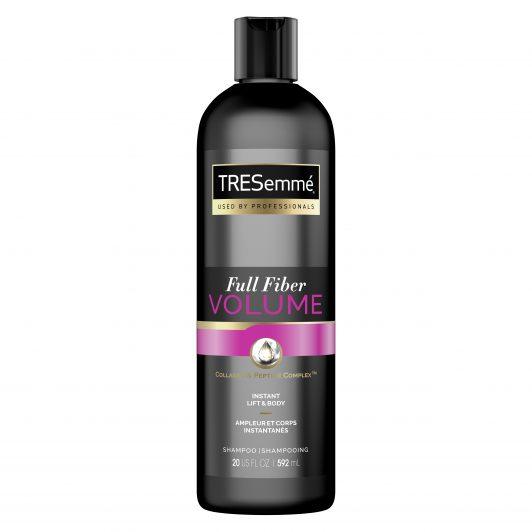
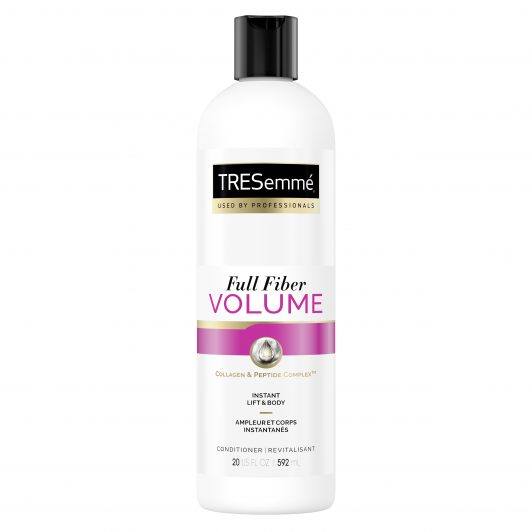
To begin your braids with buns style, start off with clean hair. Wash hair with TRESemmé Fiber Full Volume Shampoo and Conditioner to add just a bit of volume to your hair before styling. The right products will make learning how to do a braided bun a breeze.
Step 2: Blow-dry your hair.
This step doesn’t have to be perfectly done. Blow-dry your hair to speed up the drying process, but it doesn’t need to be perfectly blown out and straight. Actually, a bit of texture in your hair will be beneficial and make it easier to create voluminous braids.
Step 3: Create two dutch braids.
Part your hair in the middle and create two dutch braids by crossing the hair underneath the middle section instead of over. When you reach the end of your hair, secure each braid in place with a hair elastic. Next, gently pull on the sides of your braid to pancake them and create a fuller look.
Step 4: Create the bun.
After your braids are done and voluminous, wrap the ends of each braid around each other to create the bun. Hold the bun in place with bobby pins and you’re good to go!
Half-Up Braided Bun Style
Don’t want all of your hair in a bun? Try a half-updo, which is perfect for so many occasions.
Start with clean hair.
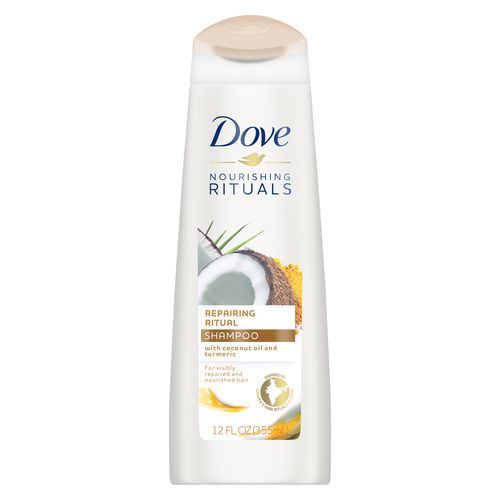
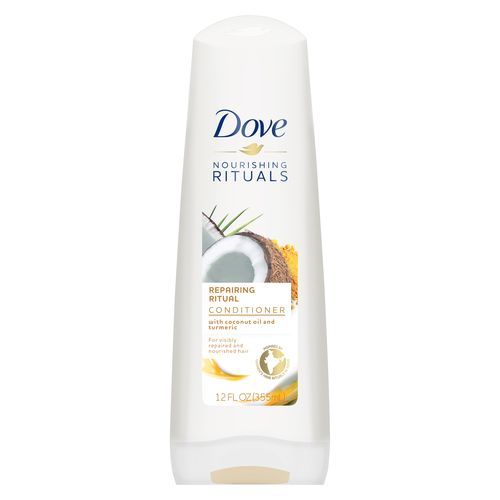
Starting with clean, freshly washed hair is a must when you embark on a new style. Prep your hair for styling by washing and conditioning your hair. We like Dove Nourishing Rituals Repairing Ritual Shampoo and Conditioner. This duo works by nourishing damaged hair and restoring strength, making it smooth and manageable.

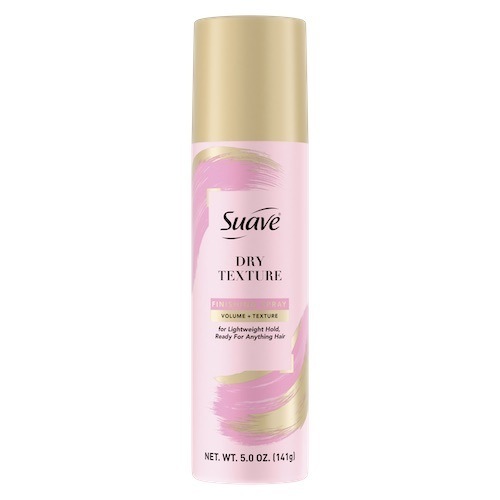
Apply some sea salt spray.
Allow your hair to air-dry, or rough-dry it until you get to be around 90% dry. Spray some sea salt spray throughout your hair, like Suave Dry Texture Finishing Spray. Scrunch your fingers throughout your hair to create texture and loose waves.

Create your part.
Use a comb to help you create your middle part. head. Place the comb in the middle of your head (right at the crown) and work the comb all the way down your head until you reach the ends of your hair. Go back to the top to check your part, using your fingers and the comb to bring your hair to the correct side.
Create your braid.
Grab a small section of your hair at the crown. Starting at the top, create your three-strand braid as you go all the way down your hair. Tie your braid together with a hair tie and repeat this on the other side.

Create your bun.
Grab both of your braids, holding the bottom of one braid as you wrap it over the opposite side. Continue this motion, moving upward, until you create a high bun.

Secure your bun.
Secure your bun (and your hard work!) by placing some bobby pins or a clip on the wispy parts of your hair. Done!

Braid and Bun Updo
The bun variation is perfect for a casual look or when you need to wear a fancier updo.

This elegant bun is perfect for a night out.
Step 1: Start on clean hair.
We’re pretty sure along with executing effective skin and wellness routines, all of the celebs prepped their hair with a wash and care system in preparation for the awards. You should, too! For a look just like the celebs, wash your hair with a nourishing system.
Step 2: Blow-dry your hair.
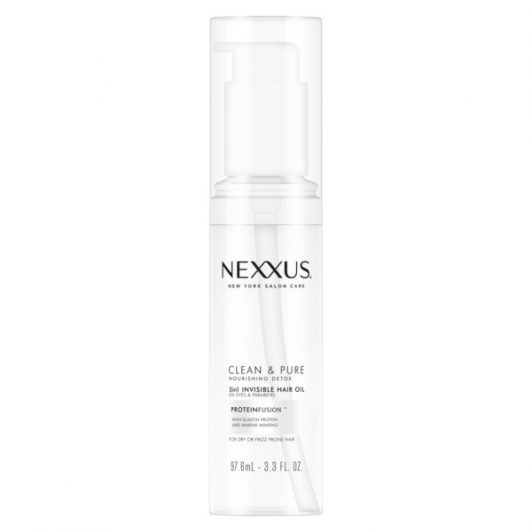
Blow-dry your hair until it’s completely dry. For a sleeker style, after drying apply Nexxus Clean & Pure Nourishing Detox 5-in-1 Invisible Hair Oil to help achieve a shiny finish, then use your dryer and a brush to create a straight and sleek finish.
Step 3: Create a ponytail.
Gather your hair into a taut high or low ponytail. Secure with a hair elastic.
Step 4: Add accent braids.
To create your bun and braids updo, add a few accent braids to the length of your ponytail. You can add as many or as few as you like and then pull them apart to add texture. For a neater finish, leave braids as is.
Step 5: Create your bun.
After adding your braids, wrap the ends of your hair into a chic bun. Use some hairpins to secure your style in place.
Step 6: Set with hairspray.
We’re also pretty sure no star was sent on their merry way without a little setting spray to last their braid and bun updo hairstyle throughout the night. Use hairspray to lock in your look sans the sticky feeling.
Looking for more braided bun hairstyles? Check out how to create these modern braided space buns. If you do decide to try out this style, be sure to tag us over @AllThingsHairUS!
