Tutorial: How to Create the Milkmaid Braid in Less than 15 Minutes
Calling all Swiss misses! The milkmaid braid puts the fun in functional, and is also this year's answer to the flower crown.
The milkmaid braid is one of this year’s most-copped hair trends, most recently seen on the festival hair circuit. Between its pastoral, pretty-folksy vibe and the fact it keeps our necks stylishly sweat-free during this brutal NYC summer, it’s no wonder that the milkmaid braid, a new-old look that’s killer on highlighted hair, has been experiencing a major comeback. And the fact that you can tailor the braid to be as pancaked, or as sophisticated and skinny as you want (#skimmilkmaid?) only adds to its versatility and charm.
On that note, you also might be surprised to read that this Dutch milkmaid braid can easily transition into the winter months as well. We’re here to tell you that is the ultimate cold-weather braid, and it’s not just because you’re ensuring an extra layer of warmth around your head when the weather dips to freezing temperatures. (A hairstyle that doubles as a winter accessory? We’re not quite there yet.) This style is easy to create using our milkmaid braid tutorial below, so keep reading! We all may not be able to escape to the bucolic Swiss Alps this summer, but doggone it, we’re definitely gonna look the part.
Milkmaid Braid FAQ
Here are a few frequently asked questions about milkmaid braids.
What is a milkmaid braid?
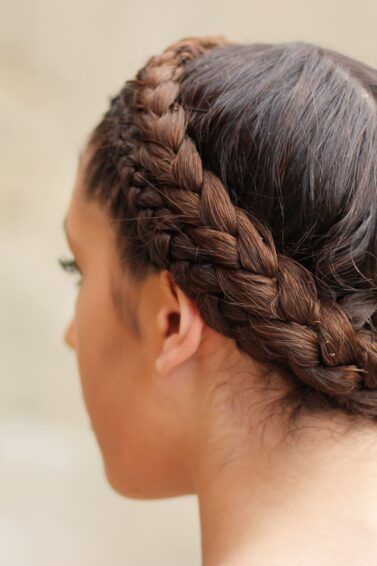
A milkmaid braid is a style of braid that wraps around the head. You can create a milkmaid braid by creating two. three-strand pigtails braids and wrapping them around the top of the head before pinning them into place.
What’s the difference between a milkmaid braid and crown braid?
The difference between a milkmaid braid and a crown braid is all in the placement. A crown braid sits close up against the forehead while a milkmaid braid sits where a headband would.
How long does your hair need to be for milkmaid braids?
Shoulder-length is long enough! As long as your hair reaches over to the ear on the opposite side of your head, you’re in business.
Look 1: Basic Milkmaid Braid Tutorial
Split hair vertically into two sections.
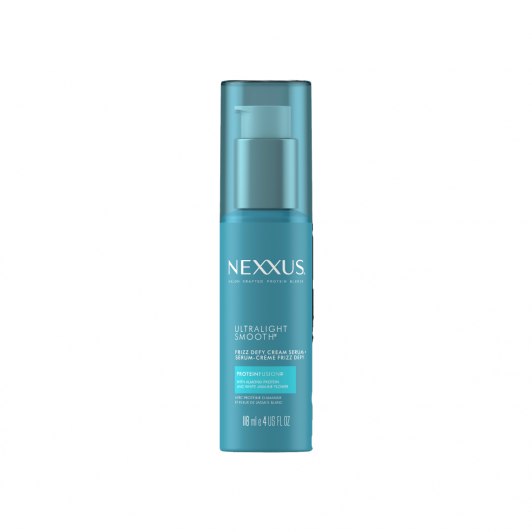
If you have any frizz or flyaways, use a dime-sized amount of serum like Nexxus Ultralight Smooth Frizz Defy Cream Serum throughout hair. Ensure that your middle part is even throughout the back of your head. You can make your partline as sharp or as zigzagged as you like, depending on your taste. Divide hair into left and right sections over your shoulders.

Make your basic three-strand braid.
On one section, begin creating a standard three-strand braid (or do an upside-down version by reversing the stitch, as shown in the next photo).

Finish your first plait.
Continue braiding hair till you reach the ends. Don’t stress about perfection: Keep them as casual and as loose as you like. Note: When you’re creating a milkmaid braid for short hair, a tighter plait looks better and feels more secure.
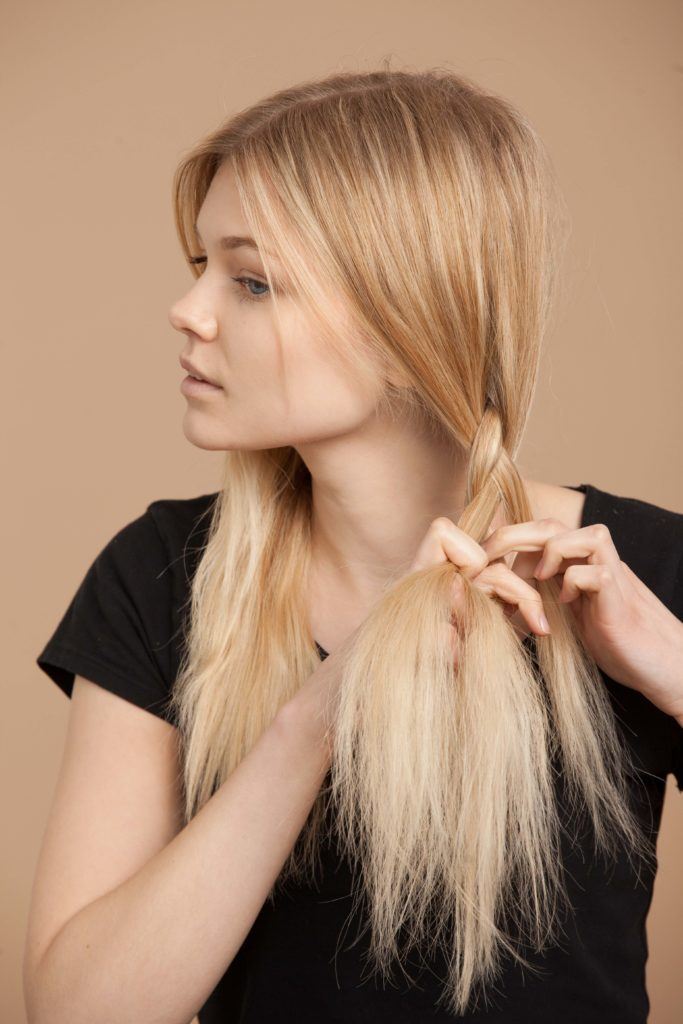
Secure with a hair tie.
Tie the end with a fabric-covered or invisible elastic. For a soft, face-framing effect, leave any and all loose tendrils on your hairline to fall freely.

Repeat on the opposite section.
Repeat the upside-down braid on the remaining section, continuing all the way down till you reach the tips of your hair.

Loosen up any tightness.
Pancake or loosen your weaves as desired to give your plaits a more texturized, modern look.

Twist across your crown.
Bring the first plait up and across the top of your head (adjust as close to your hairline as you like), to create the first half of your crown braid. Secure firmly with a bobby pin.

Repeat on the other plait.
Cross over your second plait across your crown, and secure firmly with a bobby pin. Adjust the seams where the two plaits intersect, making the gap as small as possible.

The Versatile Milkmaid Braid
This style is also versatile in the fact that different kinds of plaits may be used to create your crown braid. If, for example, you want a French milkmaid braid version, simply switch out the regular three-strand braid used above with a French braid that starts higher up on your fringe area, and is, by definition, a built-in braid that starts connected to your scalp.
Let’s milk this hipster little braid for all its worth, shall we? Read on to learn more about how to milkmaid braid, including our interview expertly trained stylists, Ashley Hambly of The Square Color Salon + Spa who gave us the inside scoop on beautiful chic milkmaid braids styles she created for two of the Square Salon’s clients. Trendy, regal, with a touch of floral flair, these milkmaid braids are the epitome of hair goals. Ed’s note: They only look hard.
It can also be done on shorter hair, like a lob, which results in a shorter overlap (if at all) between your two braids. See below:
Read on to see why else a milkmaid braid is worth the extra effort in the mornings:
1. It’s easy to accessorize.
The only thing cuter than a beanie or a hat with all your hair tucked in is an intricate braid peeking out underneath. Pairing your milkmaid braid with your favorite accessories adds something extra.
2. It’s impressive, yet easy to create.
Prepare to be applauded for your attention to detail and intricate braiding skills. The only downside to showing off a hairstyle this impressive? All of your friends will be begging for you to recreate it on them.
3. It shows off your hair color.
If you’re one of the lucky ones with enviable hair that naturally lightens during the summertime, you’ll be wanting to show those highlights off before the sun disappears for the next four months. The good news is that this hairstyle shows off both dramatic and subtle highlights, as well as adds dimension to hair that’s all one color. This means that it’s a win-win no matter where you are in your hair color journey.
Look 2: How to Create The Milkmaid Braid

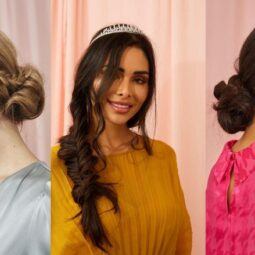
First up is a beautiful braid created on thick honey blonde hair. Hambly noted, “This client has really long hair so it totally wrapped around. She added,“ I used dry shampoo to create the texture, started a Dutch braid beginning at her middle part, and added hair in as I went along. We didn’t want it to look perfect, so I grabbed random sized sections along the way. Finally when I ran out of hair to add, I finished off with a normal braid and ended up tucking it in with the milkmaid braid. I went through and pulled apart the braid with salt spray on my hands and added in the baby’s breath finishing her off with a light spray of hairspray.” Gorgeous, right?

“The second girl has shoulder-length hair,” Hambly says, “After doing a quick wash and dry, I let her natural curl come out and I went through with a 1 3/4 inch curling iron and added a loose wave in her hair. Before braiding, I sprayed a beach wave and shine spray through her waves and started the braid at her side part. I did a mixture of a three-strand Dutch braid and fishtail Dutch braid all the way around until I tucked the ends under where I originally started the braid. I pulled the braid apart and tucked the pearl headband into the braid on the back focusing it towards one side. I finished the look off with a bit of hairspray.”
No matter what length or texture of hair you’re working with, chic milkmaid braids are definitely doable. Follow these easy steps to create your own!
Are you looking to try your hand at some other braiding styles? Check out more crown braids to try.

