Bow Hairstyle Tutorial: How to Create a Ribbon Design With Your Actual Hair
Get this: A clever look that uses your own hair.

Time
You Will Need

We’ve showed you a hair bow tutorial using a fun, festive clip to spiff up your holiday updo. But since we can’t resist being cheeky—and after falling in love with this adorable, super-meta look online and IRL—we set out to create a ribbon hairstyle using your actual hair as the bow itself. So fun!
Spoiler: This hair bow tutorial is not as difficult as it seems. We can see why this super kawaii hair bow look has been trending for quite awhile now, as it’s a tongue-in-cheek way of “dressing up your hair” for the holidays. Trust us: You will get a ton of compliments, so don’t forget to glam up because with this hair bow tutorial, you’re most definitely getting ’grammed. Read on to check out our step-by-step hair guide and video to help you nail this easy hair bow tutorial in no time.
Bow Hair Tutorial
Refresh your hair.
Start your bow hairstyle by refreshing your hair with some dry shampoo like Dove Refresh+Care Volume and Fullness Dry Shampoo.

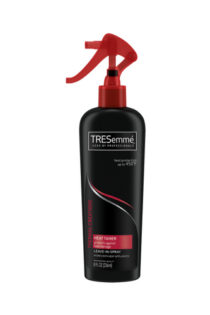
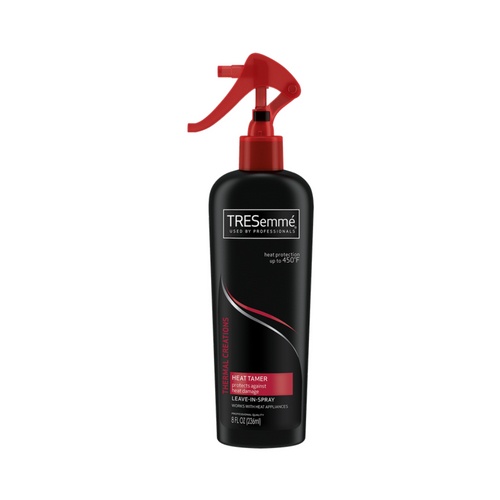
Apply heat protectant.
Protect hair from potential heat styling damage by coating hair evenly with a thermal protectant. We like the added softness and shine we get from TRESemmé Thermal Creations Heat Tamer Spray.
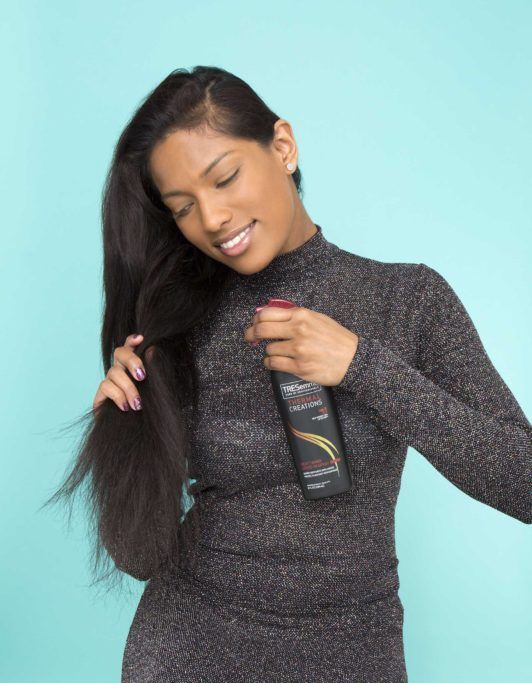
Blow-dry and curl.
Using a blowdryer on a medium heat setting, dry hair until it’s at least 90% dry. Next, curl sections around a curling wand or curling iron to add some texture to your strands.

Repeat on all sections.
Curl all sections of your hair. Depending on your desired end look, you can either go in different vertical directions for a more tousled, beachy look, or curl hair horizontally for a more structured wave. Run your fingers lightly throughout your spirals to separate and soften your ringlets.

Create a half-pony.
Time to start your bow hairstyle. Gather the upper half of your hair into a half-ponytail and secure with a hair tie, but stop before pulling hair completely through at the last loop. Leave some hair halfway in a loop.

Split your knot in half.
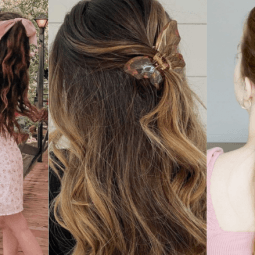
The most crucial part of this hair bow tutorial! Split your ponytail knot in half, and fan each part out so it resembles the left and right sides of a bow.

Pin the middle.
To create the “knot” in your bow, take a small strip of hair down the middle of your head (from your incomplete loop) and lift it up and over the center of your ribbon. Secure with pins.

Attach the bow to each side.
To secure your bow and refine its shape, affix each loop to your head with some pins.

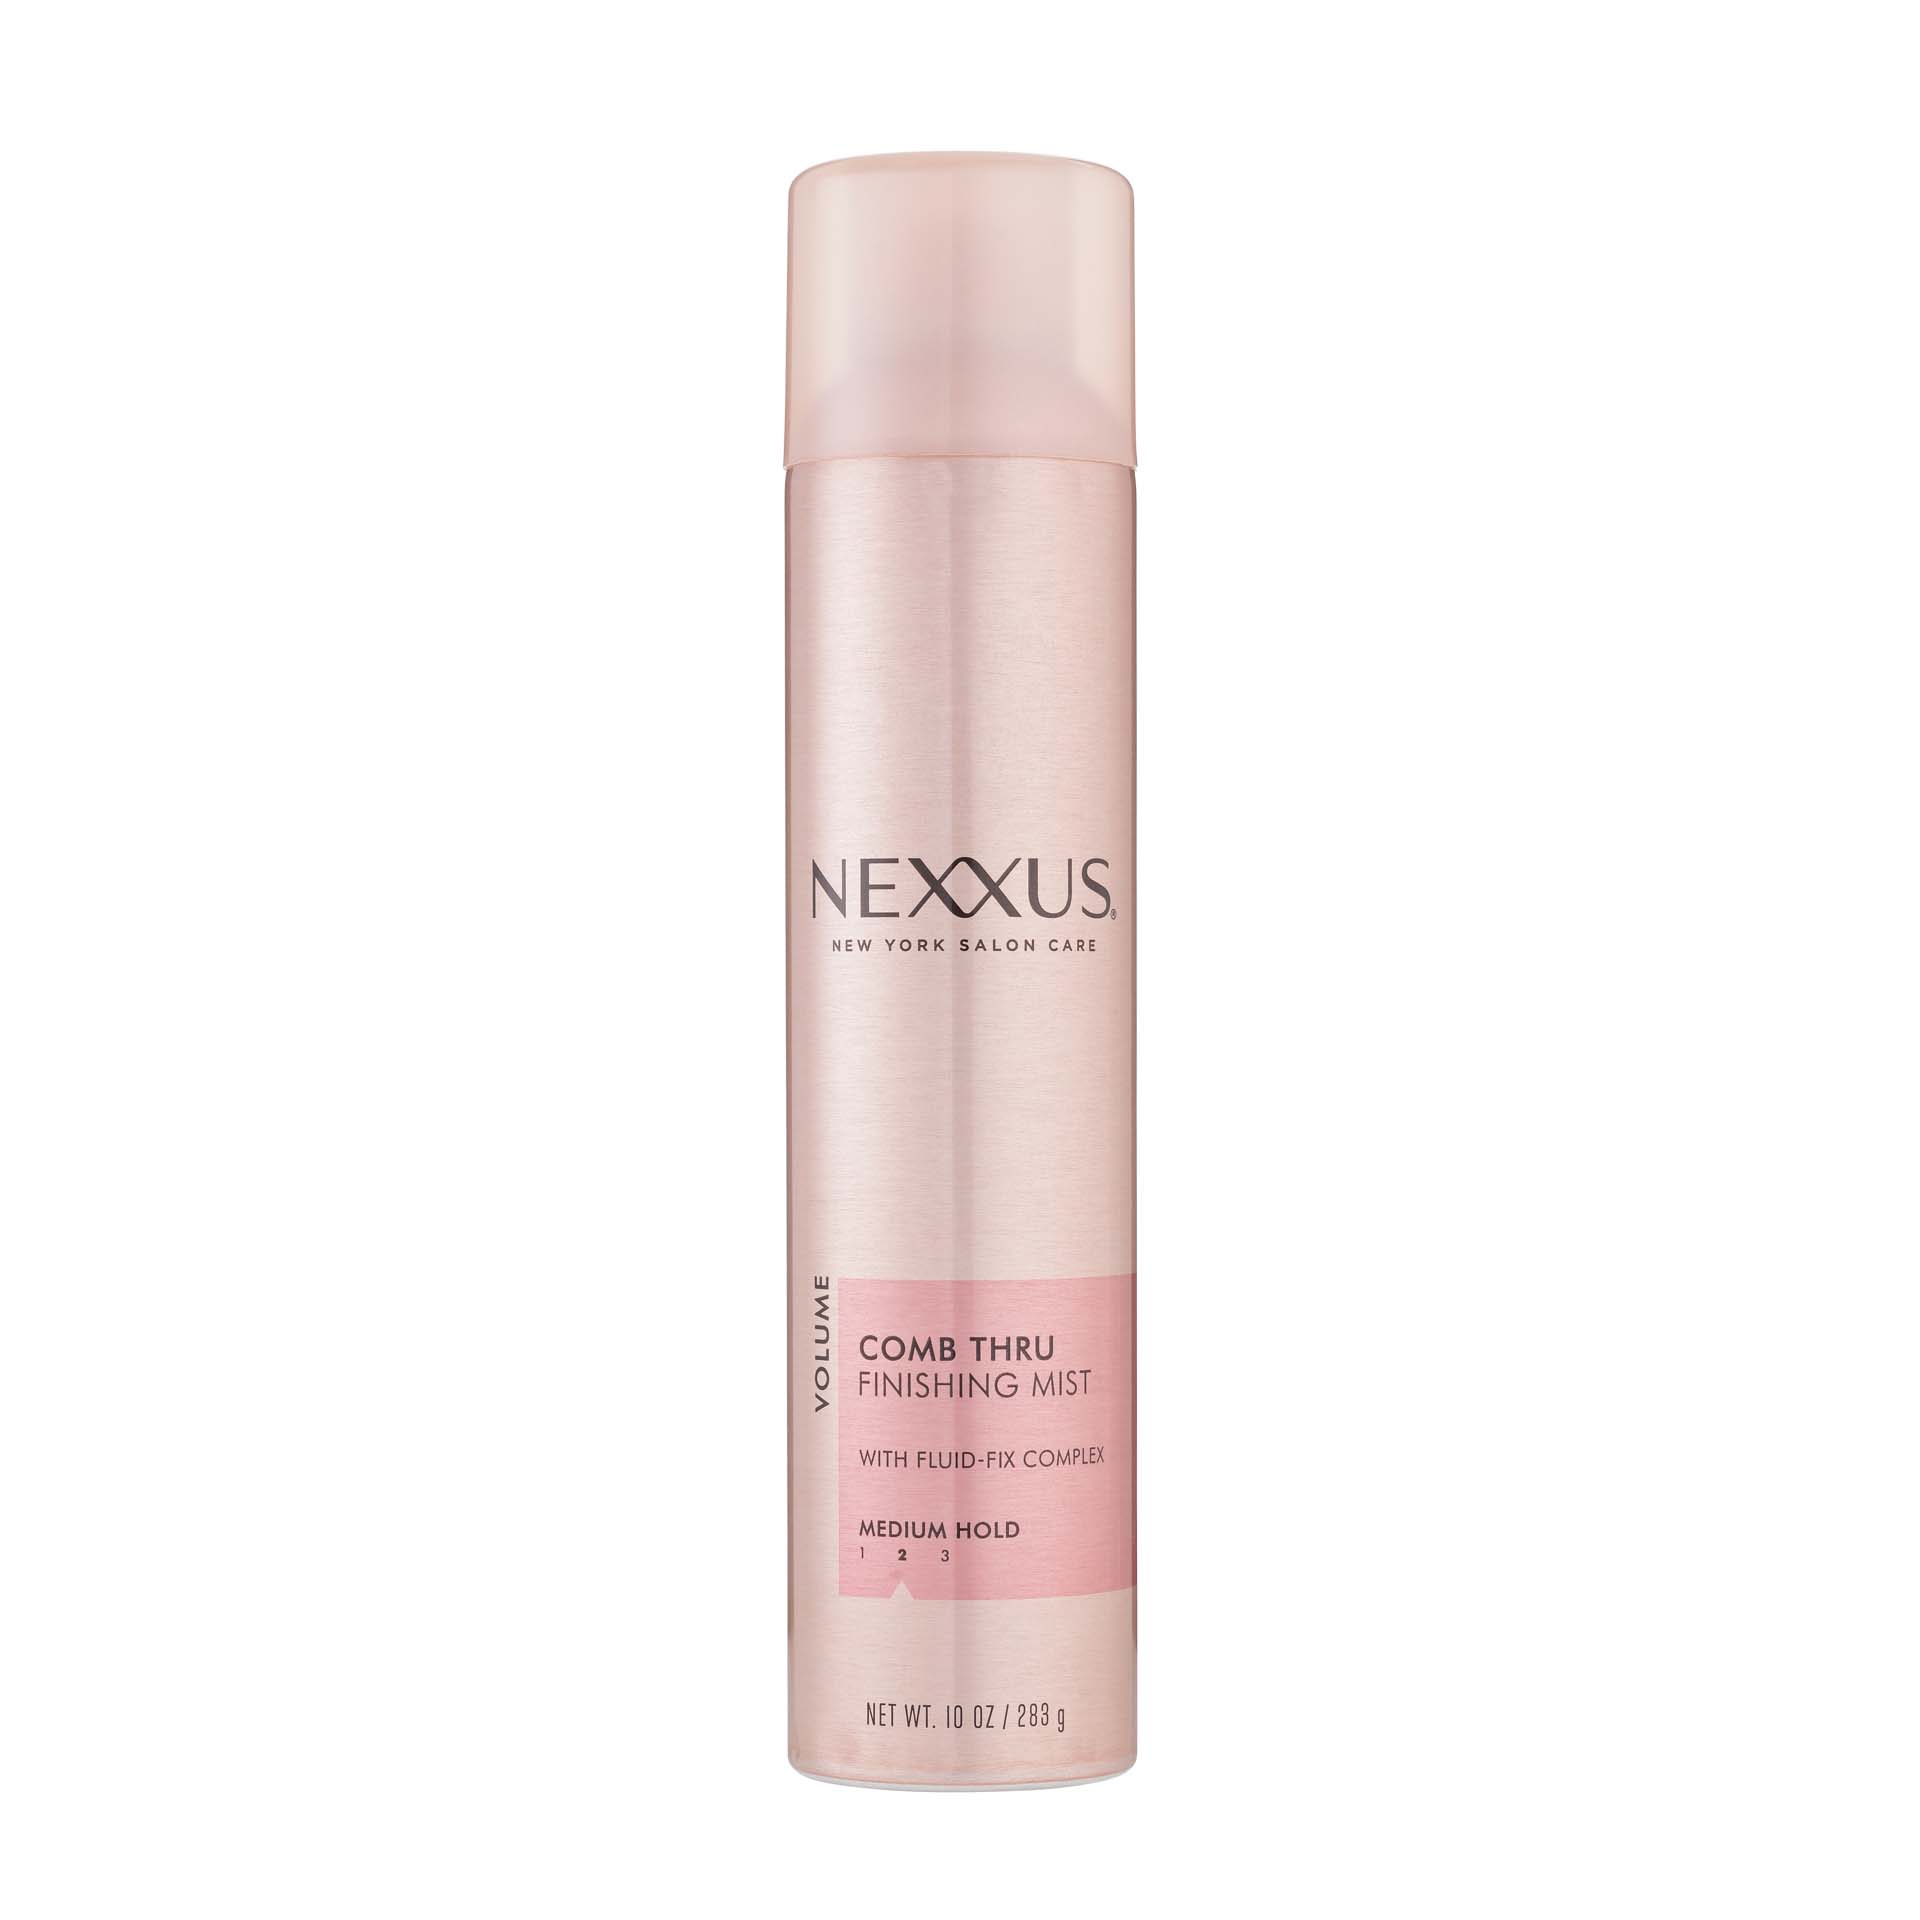
Finish with medium-hold hairspray.
Lock your bow hairstyle in place with a hairspray that tames frizz and flyaways while offering touchable hold, like Nexxus Comb Thru Finishing Mist.

Done!
Tug each loop to make sure they’re even, and you’re all set! Your bow hairstyle is complete.

Be sure to snap a picture of your finished look and tag us over @AllThingsHairUS!
