
The Process of Getting Box Braids: A Complete Guide for Beginners
Become a braiding pro!
Box braids styles are a well-loved natural hair protective style loved by many with naturally textured tight curly and coily hair. Although this hairstyle is so loved, it can be quite expensive and time-consuming to install at a salon. As a result, many naturalistas globally are learning how to style their own box braids. Are you a naturalista who has thought about learning how to box braid your own hair but doesn’t know where to start? Or maybe you’re on the fence about taking the time to learn? Why not get your hair done by the person who knows your hair best? You. Here are some helpful steps to help you get started on your box braid styling journey!
A Step-by-Step Guide on How to Do Box Braids Styles
Read on to learn how to install your own box braid on your own and with limited spending! Also, check out these box braid style ideas you can try.
Step 1: Wash and Clarify Hair

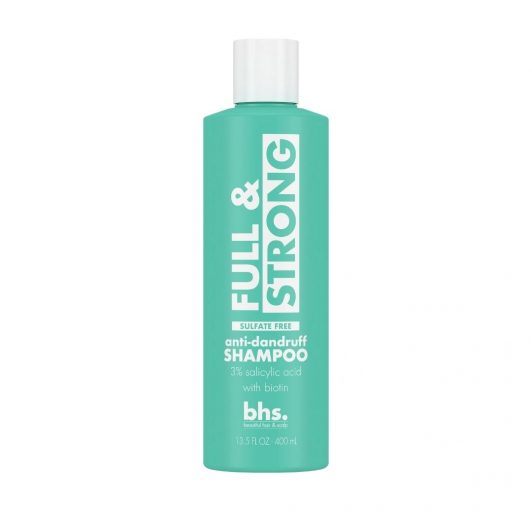
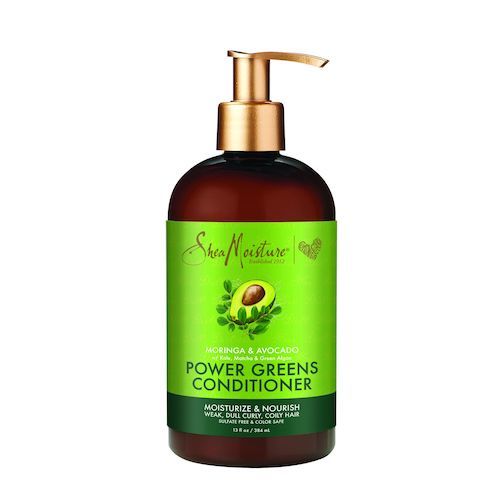
In order to start braiding your hair, you must have a clean scalp. Starting with clean, moisturized, and energized hair helps guarantee that your style lasts longer and looks sleeker. We recommend the BHS Full and Strong Anti-Dandruff Shampoo paired with the Shea Moisture Moringa & Avocado Power Greens Conditioner.
Step 2: Blow Dry Hair for Easy Parting

This step is not an absolute must. However, blow drying and stretching your hair is really helpful when attempting to make your hair more tangible. Having blow-dried hair makes detangling easier and helps speed up the hair-parting process, especially if you have type 4 hair. Sectioning your hair in 4-8 sections to carefully detangle and comb out your hair is key!
Step 3: Prepare your Braiding Tools

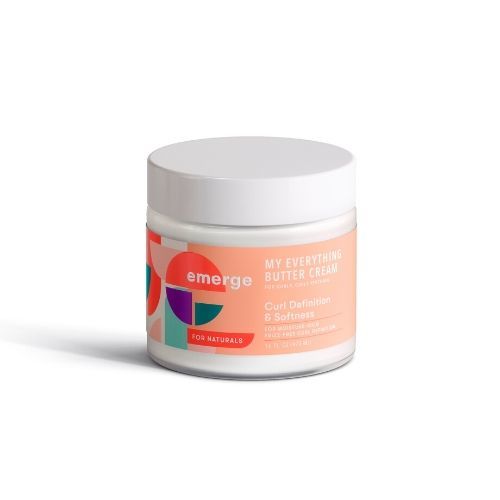
For the most seamless preparation process, we recommend using pre-stretched hair. You can choose from various hair colors and textures, such as straight braiding or curly hair. You will also need a detangling brush, a tail comb to part your hair throughout the process, and clips to hold your hair in various sections while you’re not working on them. We also recommend a styling cream designed for natural hair, such as Emerge My Everything Hair Styling Butter Cream.
Step 4: Time to Braid!

Once your braiding hair has been split up evenly, it’s time to start braiding. Whether you decide to do the rubber band method, three-strand braid, or a 2 strands twist, starting your braid is the biggest first step. Do what method feels right to you and takes breaks as needed.
Important Tips to Remember While Achieving the How To: The Process of Getting Box Braids:
- Remember also to part your hair evenly as you work through each section of your hair.
- It is important to split your braiding hair in half when installing them to the front of your hair. However, when braiding the back of your hair, fold your hair a bit higher as opposed to perfectly halfway. Fold the hair accordingly before installing, depending on what section of your hair you’re on, to help ensure that your braids are an even length throughout your mane.
- Use 2 mirrors to check up on your parts in the front and the back of your hair, especially the sections that are not clearly visible from an initial glance of your hair.
Use styling gel to make your hair parts clearer.
Step 5: Finishing Touches

Be sure to seal the ends of your braids by dipping them in boiled water. Dry it with a towel, and use some hair mousse and a scarf to secure your hairstyle until you are ready to show it off! It is recommended to wear a silk scarf or bonnet to preserve your braids over time and increase their longevity.
What methods will you be perfecting when mastering the technique of How To: The process of getting box braids? Show us your DIY box braids by tagging us @AllThingsHairUS.

