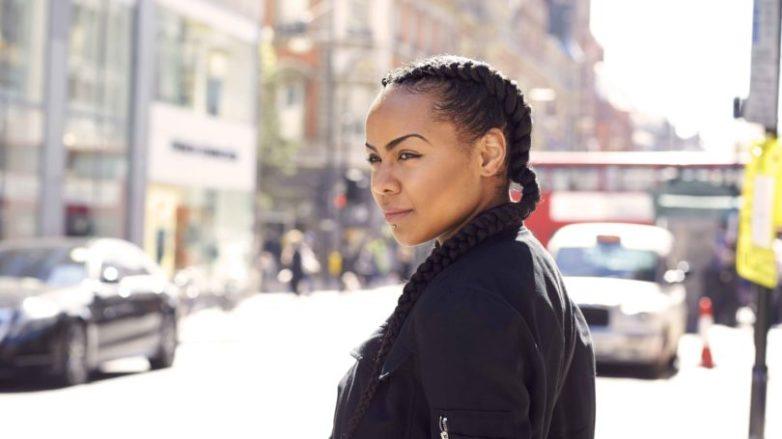
The Boxer Braid: Cornrows, or Dutch Braids, Rebooted
Get in on the boxer braid trend, a rebooted braided style inspired by a Black hairstyle that's been around way before social media made it famous.
You Will Need

Love Beauty and Planet Blue-Green Algae & Eucalyptus Conditioner
Love Beauty and Planet Sulfate-Free Blue-Green Algae & Eucalyptus Shampoo
Emerge Style Goals Gel
First things first: These cool braids are officially called cornrows. In some cases, they’re referred to as pigtail Dutch braids a.k.a. reverse French braids, because of the way the plait bumps up instead of being indented down in the middle. And although the boxer braid hairstyle has been worn for centuries—as a heritage hairstyle within the Black hair community—it has been rebranded as boxer braids in the last few years. Some say it’s because it’s the hairstyle of choice of female athletes as they duke it out in the ring, while there are others that say it’s a social media and celebrity marketing ploy.
But whether they’re called cornrows, double Dutches, boxer braids, or reverse French pigtails, they’re actually pretty easy to create: You can sport this look while at the gym, for date night, or even for work! They’re super impressive and get your hair out of your face, which is a total win/win in our book.
Read on to check out how you can create your very own boxer braids:
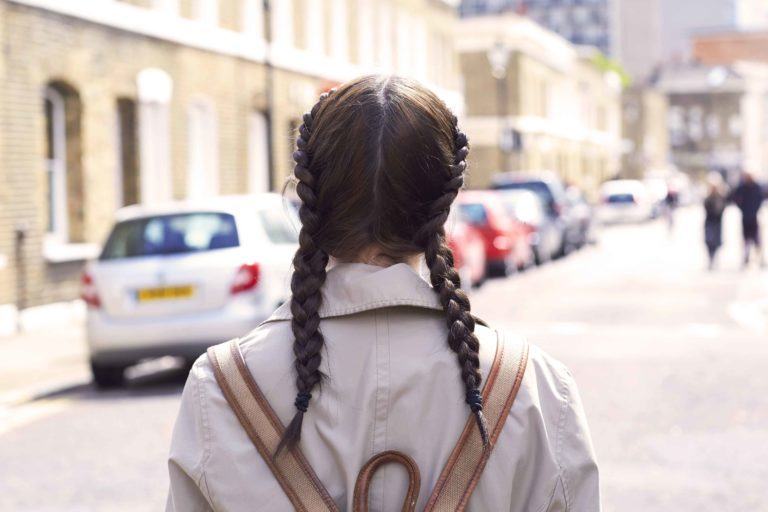
How to Create a Boxer Braid or Pigtail Dutch Braids
Step 1: Start on clean, washed, and blow-dried hair.
Few things hold a braid better than strands that have been shampooed, conditioned, and prepped for the tugging. Do so with a fortifying system, such as Love Beauty and Planet Blue-Green Algae & Eucalyptus Shampoo and Conditioner. This duo works to gently cleanse and nourish your hair.
Love Beauty and Planet
Love Beauty and Planet Sulfate-Free Blue-Green Algae & Eucalyptus Shampoo
Love Beauty and Planet
Love Beauty and Planet Blue-Green Algae & Eucalyptus Conditioner

Step 2: Blow-dry until 90 percent or completely dry.
Make sure that your hair is dry before you start your boxer braid style.
Step 3: Detangle and brush out any knots.
Create a middle part all the way from your hairline to the back of your head, as if sectioning your hair for pigtails. Using the end of a fishtail comb can help give a precise part line.
Step 4: Clamp one section off.
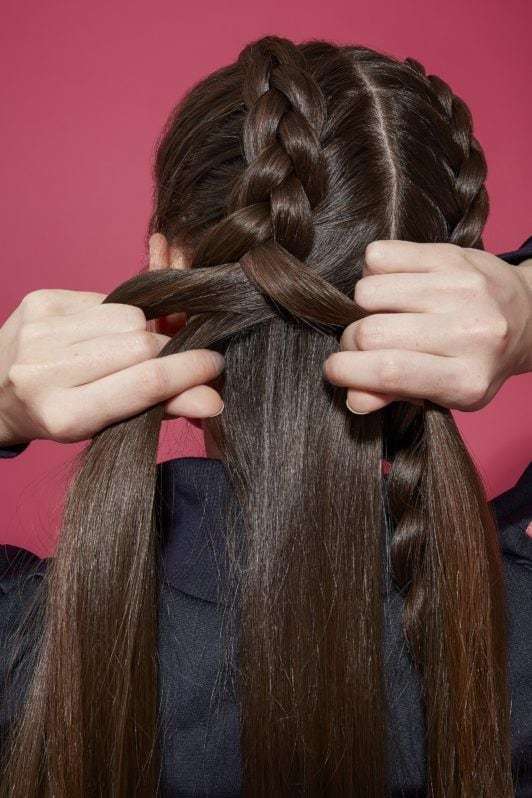
Begin Dutch-braiding the loose section from the hairline downwards. A Dutch braid is a reverse French braid: The side sections are crossed under instead of over the middle section. This will result in the braid looking as if it’s virtually on top of your head, like a ridge on your scalp. Continue past the point it detaches from your nape, and braid until the ends. Secure with a hair tie.
Step 5: Repeat step 4 on the remaining side.
Secure the ends with a hair tie. Finish with some high shine. Spray your style with Bed Head by TIGI Headrush Shine Hair Spray.

Looking to style your edges afterward? Don’t forget to use a gel, like Emerge Style Goals Gel, to keep your hairline looking snatched.
How to Master the Boxer Braid in 8 Steps
Still not ready to tackle the trend? It might look like it takes a skilled set of hands to create—but we’re here to prove otherwise. As a totally budge-proof updo option, the boxer braid is a lifesaver when you need to keep your hair up and away from your face.
Perfect for everything from a fitness class to a festival, it’s easily suited to all hair types and textures. Convinced? Follow our easy step-by-step tutorial to master this look once and for all.
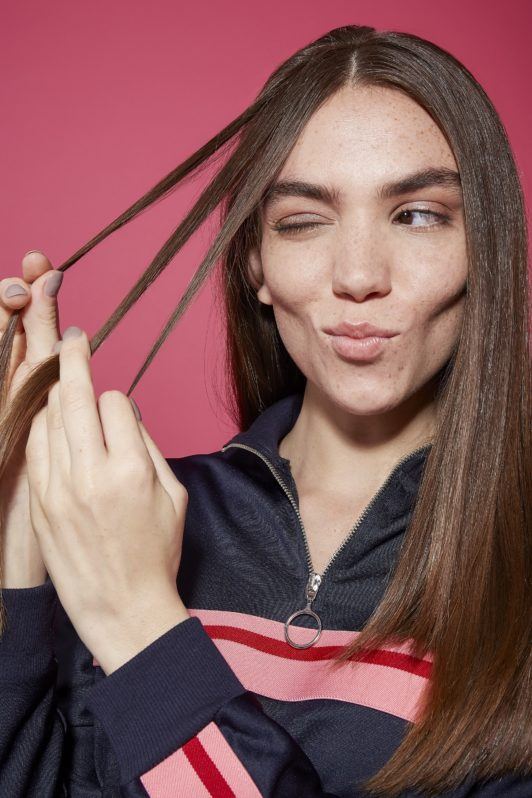
Divide the hair.
Using a comb, create a precise center part. Separate the hair into two sections and tie up the section you are not focusing on, if needed. Next, take a small section of hair from the front of your head and use your fingers to divide it into three even pieces. This will form the start of your boxer braid.
Start braiding.
Take the three separate sections of hair and start weaving them into a braid at the top of your head. Cross the left section of hair under the middle strand and then cross the right section underneath the middle.

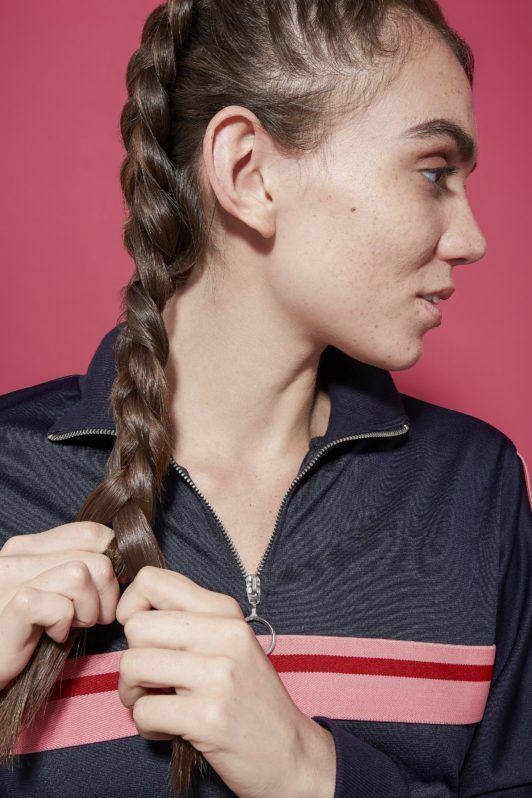
Braid from front to back.
Continue this plaiting process as you braid back towards the nape of your neck. Pick up small sections of hair from either side of the braid as you move down, the same way you would with a French braid.

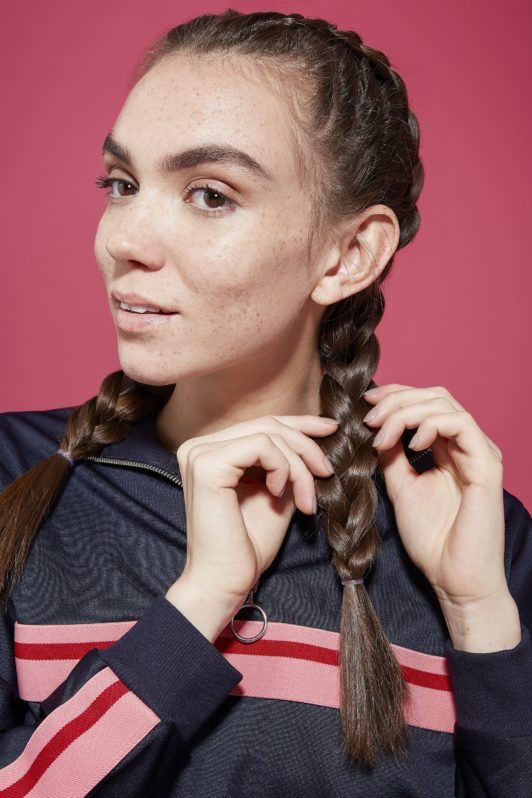
Tie to secure.
Once you have braided all the way down to the end of your hair, leave around a one-inch section at the bottom loose and secure the plait tightly with a hairband.
Repeat the process.
Now you’ ve completed one boxer braid, it’s time to move on to the other side of your head.
Taking the loose section of hair from the other side of your part, repeat this braiding process, moving from front to back and securing with a hairband.
Pancake and finish!
This step is optional, but if you want to create a fuller-looking braid, (especially if you have thin hair), then use your fingers to gently tug on either side. This will loosen the braid very slightly and help it look thicker. That’s all there is to it!
You Will Need
Love Beauty and Planet Blue-Green Algae & Eucalyptus Conditioner
Love Beauty and Planet Sulfate-Free Blue-Green Algae & Eucalyptus Shampoo