Spring Clean Your Hair Products While You’re Stuck at Home
It's clean up time!
As the sweet smell of spring begins to linger in the air, we all get that spring-cleaning itch. The act of spring cleaning goes way beyond the closet. It’s not just about storing all of your chunky knits, furs and coats to make room for light and airy pieces. This time stuck at home is also the ideal time to spring clean your beauty closet and medicine cabinets. Spring clean hair products and styling tools so you can start the season off on a clean slate. Begin your spring cleaning at home with this handy guide below:
Spring Clean Hair Products and Styling Tools

1. Hair Brushes and Combs
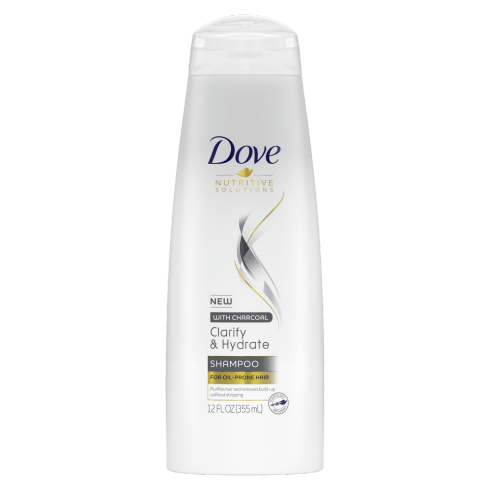
Truth be told, you should really spring clean hair brushes and combs not just during spring, but at least once or twice a week! They’re a trap for oil, lint, and dirt, which is probably why your hair can sometimes feel weighed down and dirty after a hair wash. You can simply use a shampoo like Dove Nutritive Essentials Clarify & Hydrate Shampoo to rinse them out and let them air-dry. If you need to use them right away, blow-dry them with cool air only.
2. Heat-Styling Tools
You know that residue you often see on your heat styling tools? That’s not meant to stay there. Remove the gunk with a mixture of baking soda and water. Mix the two until you create a paste-like consistency. Take a cloth and dip it into the paste and apply it to the flat iron plates or curling iron barrel (make sure they’re unplugged!). Let the mixture sit for a few minutes, then gently scrub the plates of your flat iron. Remove any excess baking soda with a clean, damp cloth and allow your tools to dry. When it comes to your blowdryer, rinse concentration nozzles and diffusers with a soapy solution. Dishwashing liquid or shampoo works just fine.
3. Hair Products
We’re all guilty for having products for months and years, but did you know they expire? Gather all of your hair products together, take a seat and put on some music, because it’s inventory time. Check the labels of your products to find expiration dates. To do this, turn the product to the back and locate an icon that looks like an open jar. You’ll notice a number on the jar: This number indicates how many months the product is good for after opening and using. If you remember the time you began to use the product you’re in good shape, and that will help you determine whether you should toss it or keep it. But before you toss, read how you can recycle instead!


