Guide on How to Use a Curling Iron on Any Hair Length
Become a curling iron pro in no time—no matter your hair length.
There’s nothing quite like a headful of curls to give an air of laid-back femininity to whoever dons them. Now, if you’re not of the natural curl persuasion, there are these little magic tools—*cough* a curling iron *cough*—that can make even the straightest short or long locks perfectly coiled. Read on and learn how to use a curling iron for beginners on any hair length!
How to Use a Curling Iron on Long Hair
To learn how to bring this look to life, keep reading to find our step-by-step guide on how to use a curling iron with a clamp on medium to long tresses:
1. Be conscious of curling iron sizes.

Not all curling irons are created equal. That said, depending on the type of curls you’re trying to achieve, you need to be cognizant of the different sizes and how they relate to your finished look. It’s simple: If you want looser waves, go for a 1 to 2-inch curling iron; for tighter curls, look for a barrel size that’s under an inch. Also, bear in mind that it’s important to read curling iron reviews before making your purchase. From a 3 barrel curling iron to automatic curling to a spiral curling iron, there are literally dozens of options out there, and it’s important to figure out which is best for you.
2. Choose the right temperature.
Like all other heat styling tools, hotter temps are ideal for thicker hair. They can style thicker hair more efficiently, while lower temperatures are best for finer, thin hair.
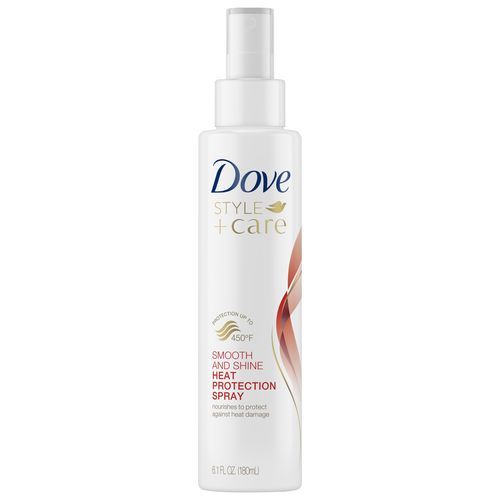
Heated styling tools can damage your hair, so we recommend trying a heat protection spray like Dove Style+Care Smooth and Shine Heat Protection Spray, designed to defend your hair while nourishing it with lightweight conditioner.
3. Pick a quality-made curling iron.
We’re talking ceramic and tourmaline! These types of curling irons are viewed as the healthiest hot tools for your hair. Ceramic curling irons are a solid option because they evenly distribute heat across your tresses, while tourmaline curling irons are the ultimate choice because they dispense negative ions that seal the cuticle of your hair, which lends to a super smooth, frizz-free finished look.
4. Section your hair.
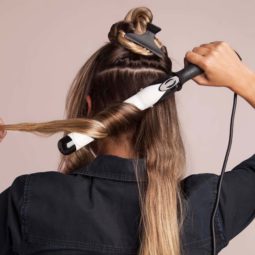
Long hair means that you have lots more to curl. Divide your hair into several sections and secure each section that you aren’t using with a double-prong or a duckbill hair clip. Although many of these clips will work, plastic versions typically leave less of a kink in the hair, which is sometimes difficult to curl over. Next, take a section in your hand from the underside of your hair, and you’re ready for hands-on curling iron action.
5. Clamp, curl, repeat.

Clamp at the ends and curl up until the entire barrel is covered with flat hair. You want to avoid layering hair across the barrel because it will cause hair to overheat in some areas and not heat at all in others, i.e., “hot spots,” which can potentially singe or severely damage your strands. Hold the hair for 10-15 seconds per section. If you unclamp your curl and find that your hair isn’t holding the spiral, simply re-curl, and then, for all other curls, hold for slightly longer than your initial curl to avoid having to double-heat your locks.
6. Shake it out.
Once your head of curls is in place, peek in the mirror and determine if you love the look or want to loosen it up a bit. If you want to opt for the latter, simply flip your head over several times to shake your hair out. We recommend shaking your curls out this way instead of finger-combing them because sometimes your hands contain oils that will quickly make your hair look a little greasy or even flatten the spiral altogether.
7. Lock it in.
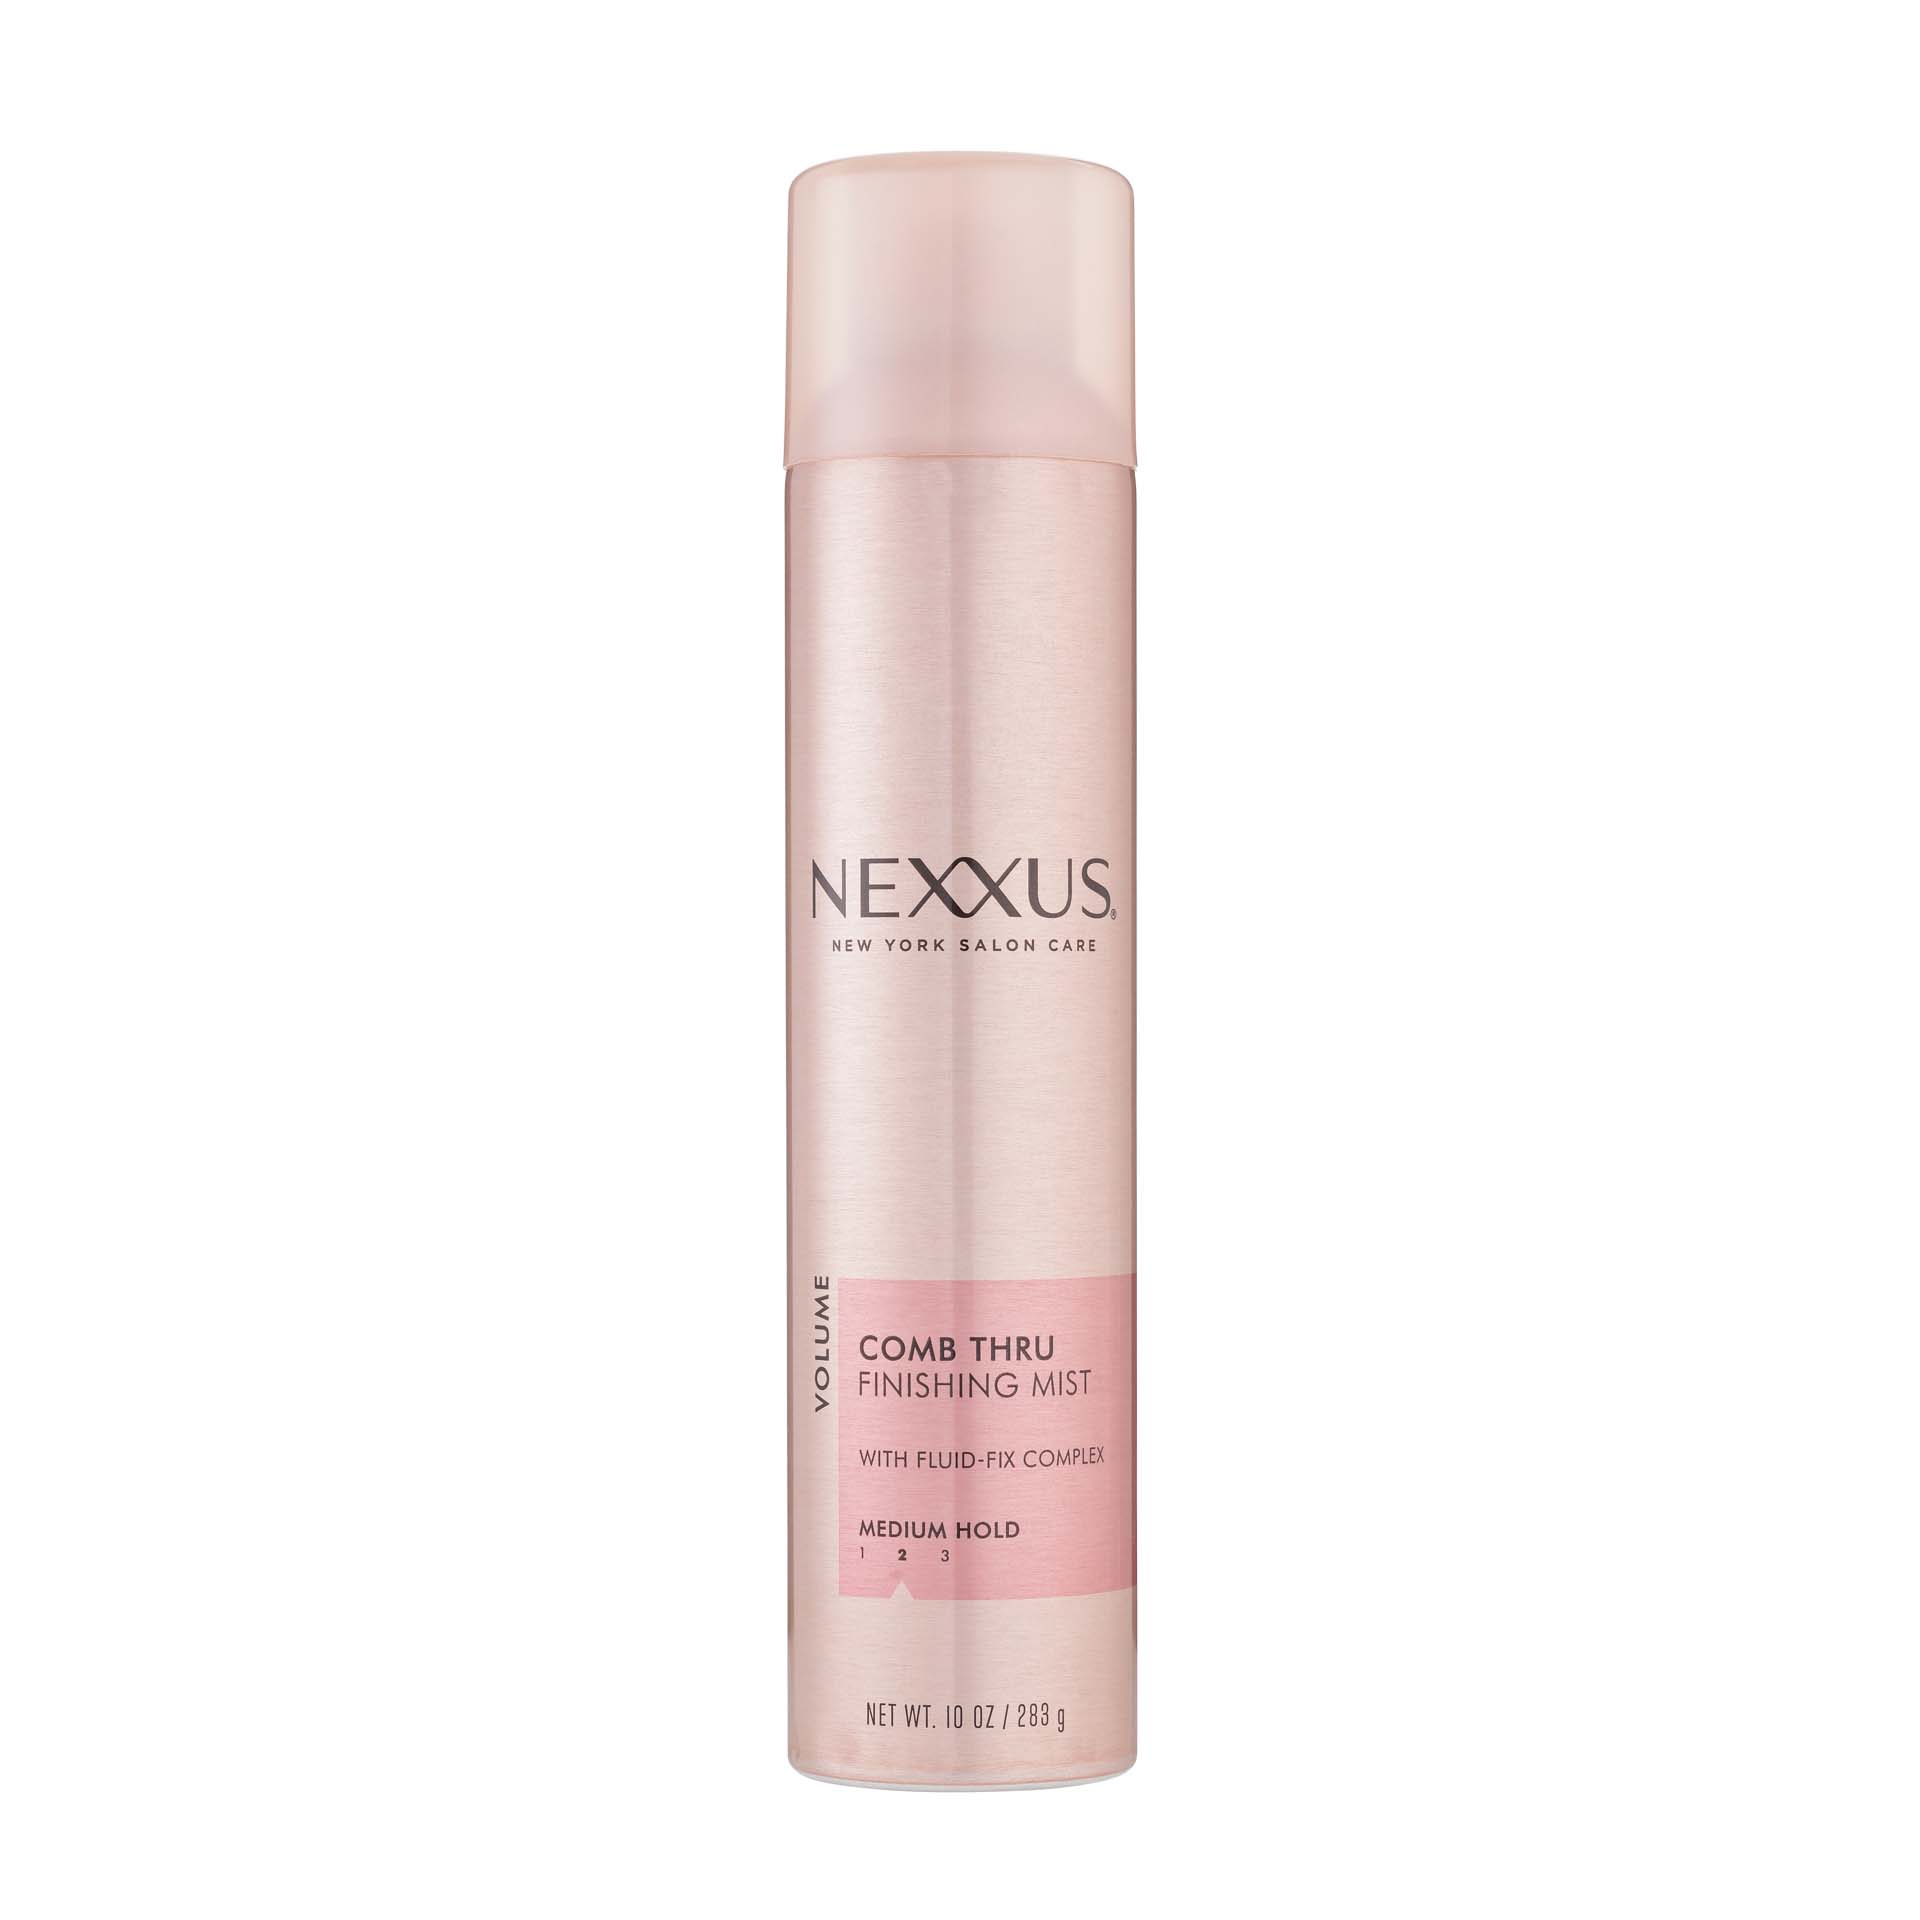
If you feel like your curls might not hold on their own, add a little medium-hold hairspray to the mix to create a lasting look. We love Nexxus Comb Thru Finishing Mist, a hairspray that adds softness, shine, and all-day hold without any of that unwanted crunch.
How to Use a Curling Iron on Short Hair
Styling short hair can be a challenge. How to use a curling iron on yourself for short hair? Even trickier, as some of us still can’t seem to look beyond the traditional blowout. Understandable since the main sell of short hair is its lighter, wash-and-go appeal. Though we’re not one to fix what isn’t broken, we also love taking on a good hair challenge—especially when it involves trying out a look that’s been trending both on fashion runways and street-style blogs.
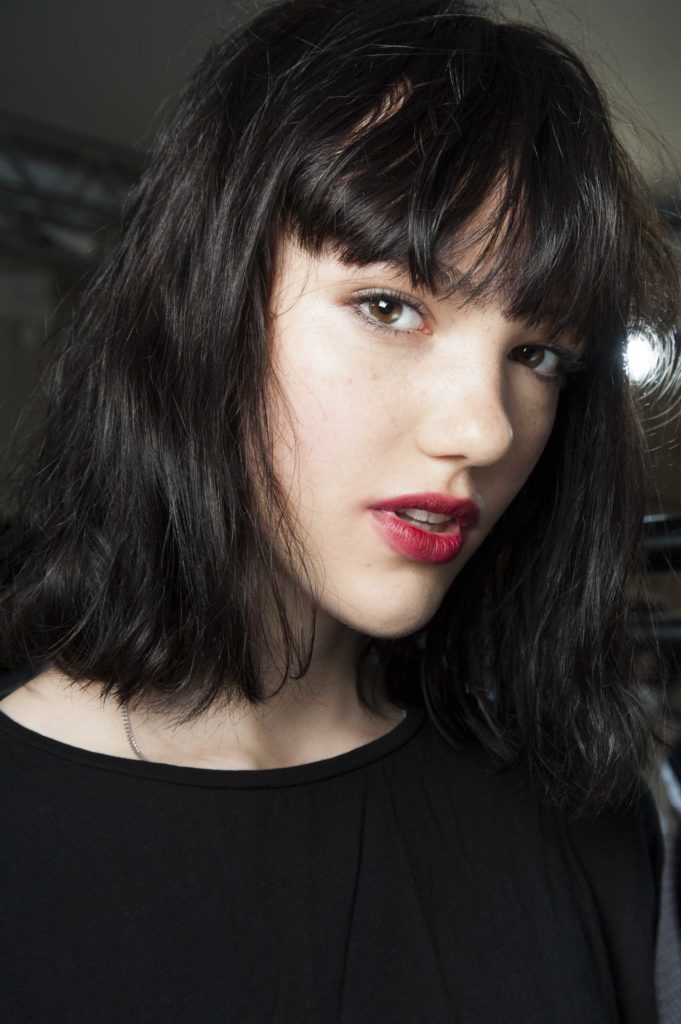
One of the hottest looks this year is the curled and texturized bob. Sadly, not all of us have personal glam squads at our beck and call, ready to get us ~done~ whenever we want. However, we can get this celebrity look for less with the right tools and some D.I.Y. tricks. And in the comfort of our homes, too! Read on to learn more about how to use a curling iron on your short locks:
Step 1: Choose the right curling iron.
The first step to styling short hair with a curling iron is to choose the ideal barrel for your hair length. Curling iron barrels usually come in increments of an inch, with some starting from 5/8” all the way to 2”. Smaller barrels produce smaller, tighter curls. This makes it ideal for use on shorter hair since it might not have enough length to loop around larger barrels and form a ringlet. We recommend barrels that are ¾” to 1 ¼” thick for short to medium-length hair. Any larger, and the curls barely form a bump—but then, if that’s the look you’re going for, well and good! #beachwaves
Step 2: Shampoo and condition.
We love starting fresh with every style, particularly with curls; you can never have a clean-enough canvas. Dirt, oil, and product grime may give your locks unnecessary slip and limpness, prematurely flattening your curl midday. Unwashed hair is also harder to style to begin with. It may not absorb styling products as optimally as hair that’s been properly washed and conditioned.
Step 3: Protect and prep.
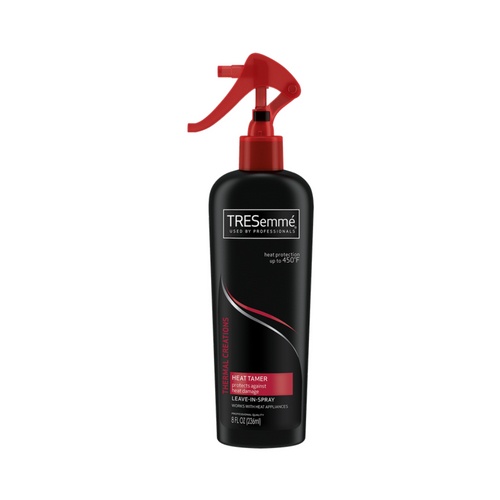
Before subjecting locks to any mechanical styling, it’s always in your best interest to coat them with a thermal protectant. If you’re skeptical and chalk this up as a superfluous step, just think of not having potholders when getting freshly baked cookies from the oven—that scald is real, and wet locks are especially vulnerable to getting damaged from it. Creams might be too heavy on short or fine hair and can do some damage, so we actually prefer sprays applied from the root to the tip. We like how TRESemmé Thermal Creations Heat Tamer Spray evenly coats hair without the weigh-down.
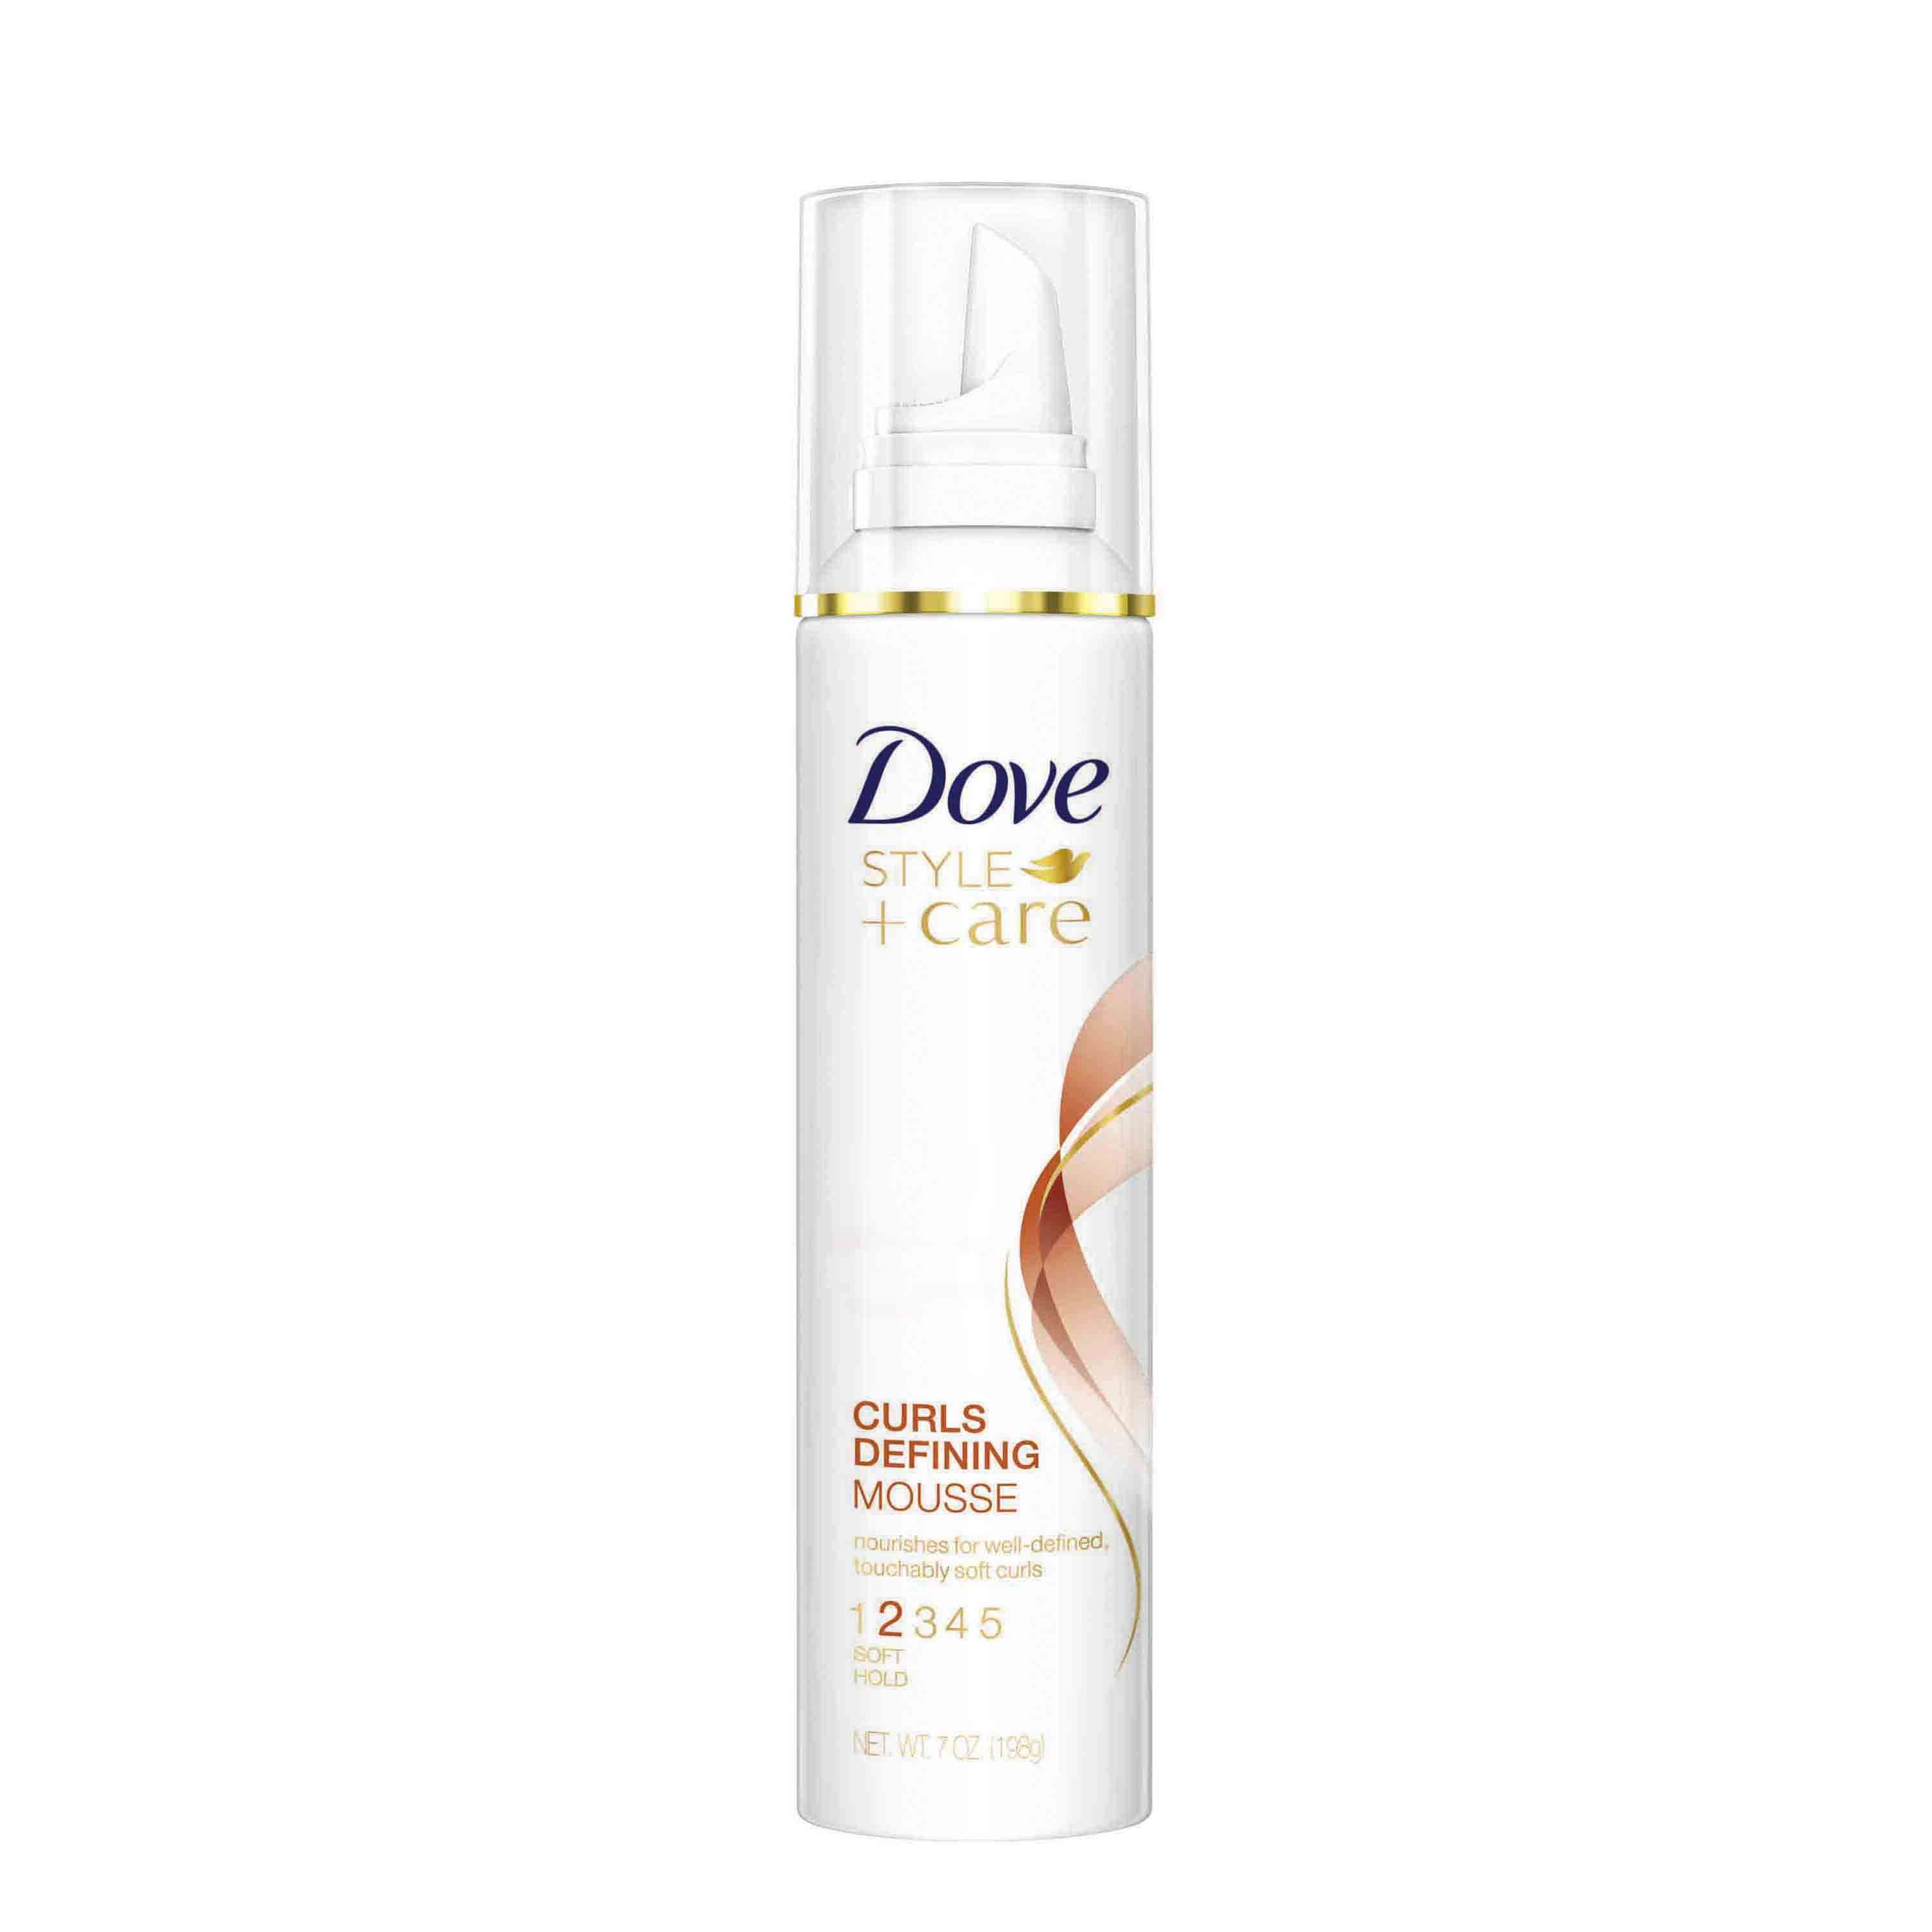
If you want more control and curl definition, add a mousse or blowdry lotion to your locks after your heat protectant. Curl-specific variations—like Dove Style+Care Curls Defining Mousse—can provide some frizz protection as well. Distribute throughout strands using a comb or your fingers.
Step 4: Blow-dry.
Before curling hair around an iron, dry hair with a blowdryer until damp, or be a good girl and wait till it’s 90% dry, which is healthier for your strands.
Step 5: Section your hair.
Part hair in six sections and secure each with a darby or duckbill clip, as you would with long hair. This isn’t a hard and fast rule, as some short hairstyles can do with less sectioning. Sometimes, you’d be surprised by how quickly you can curl your hair if you just eyeball it.
Step 6: Begin curling.
We usually like curling long hair away from the face to open up our features. But for a fresher, chunkier look when dealing with short hair, we like mixing up the curl directions (in short, go buck-wild). Regardless, curls look best when the sections are about 1 ½” thick. Starting with your bottom partings, proceed to twirl each section around the iron, winding till you reach around ear height. Leave around ½” of hair uncurled at the ends before you twirl—leaving the ends loose gives a more modern feel. Leave the iron on for around 10 seconds for a solid curl. Repeat on all top sections as well.
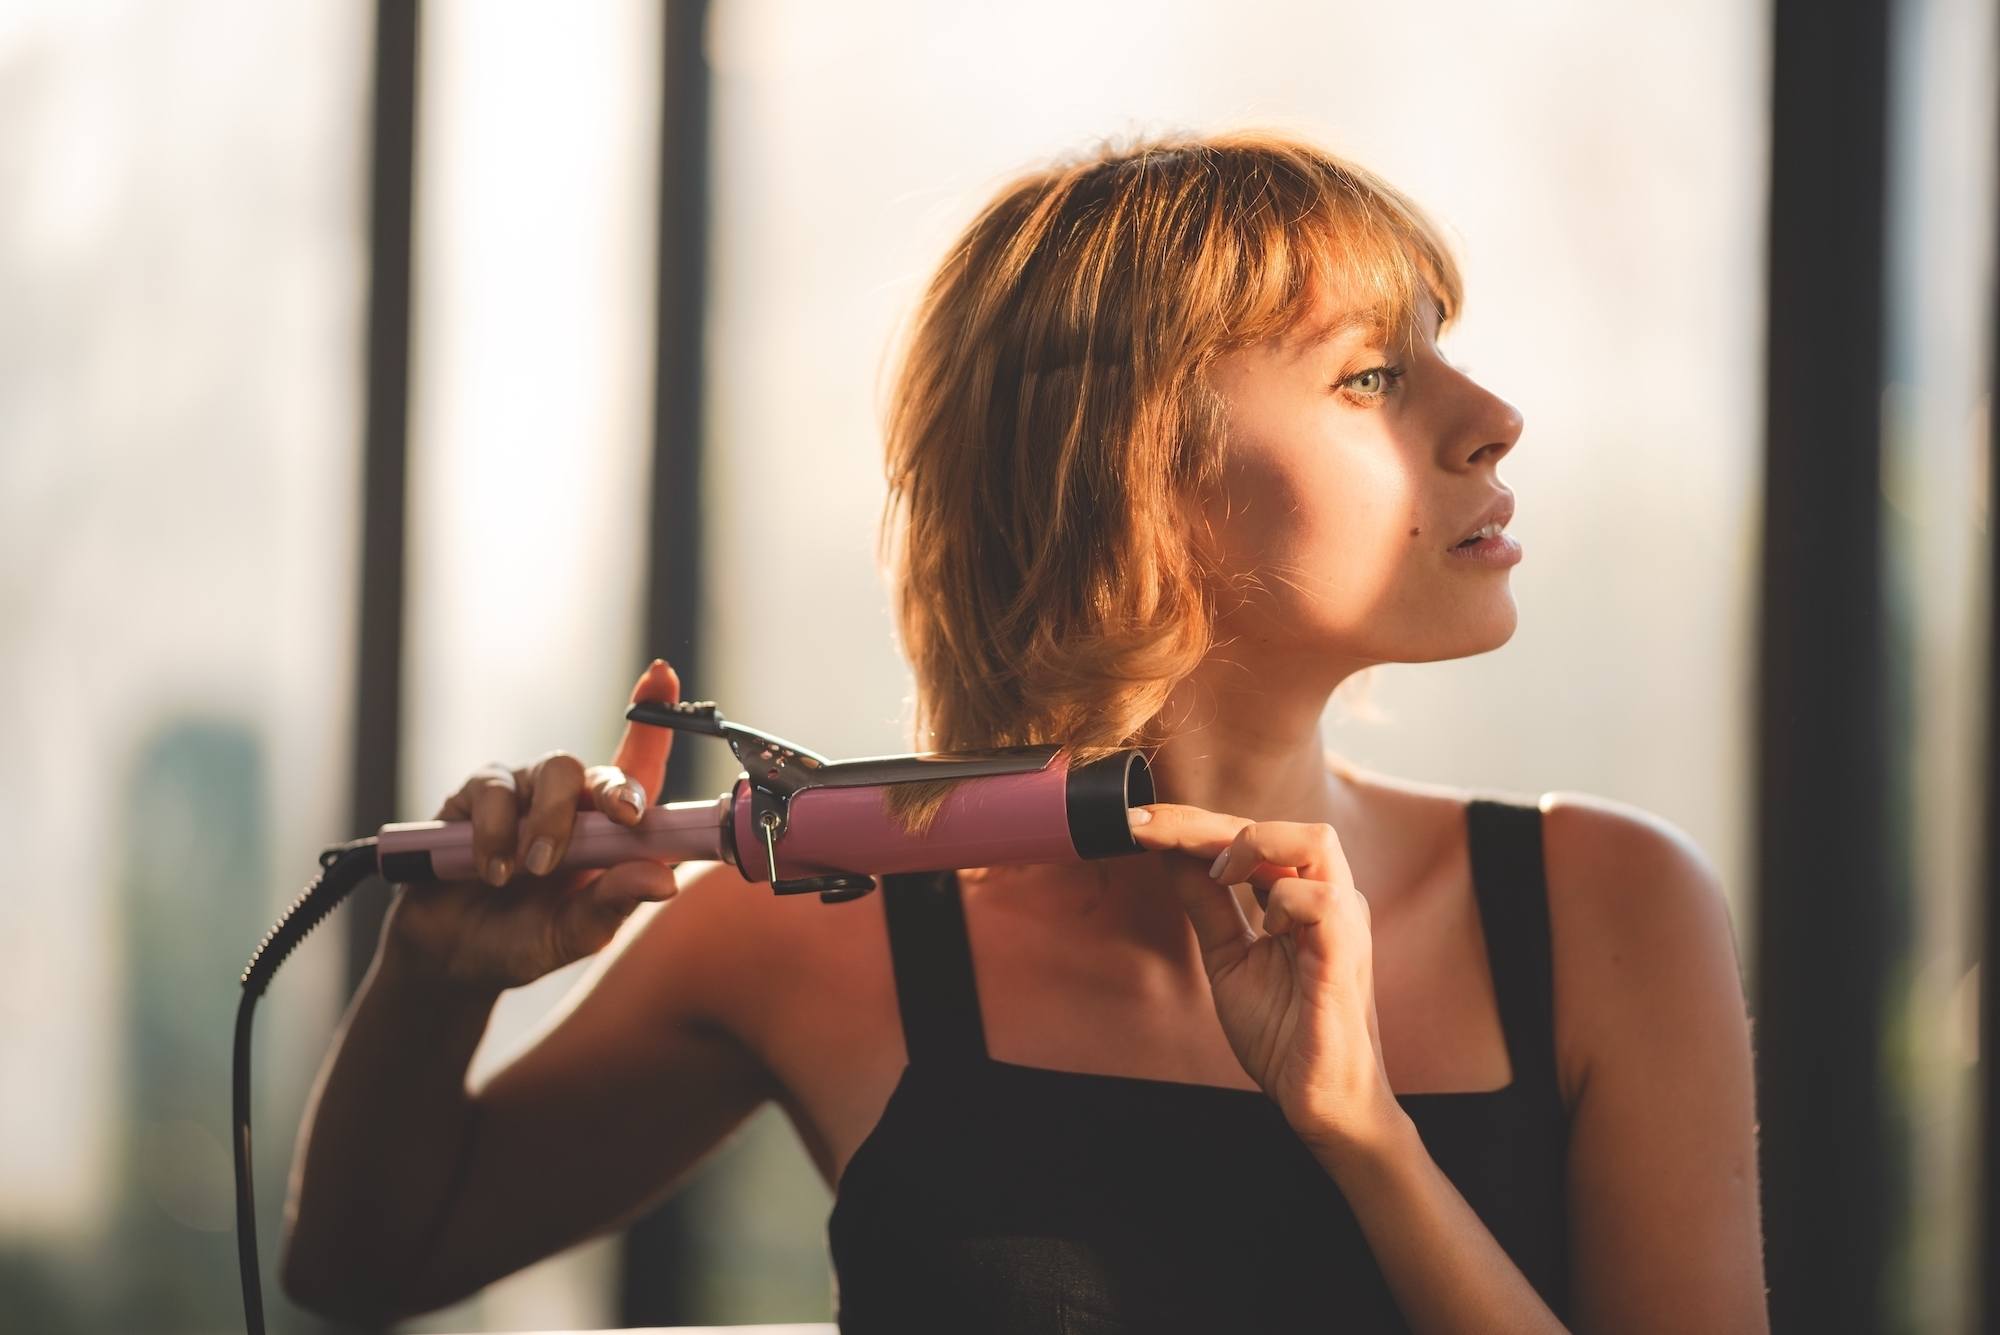
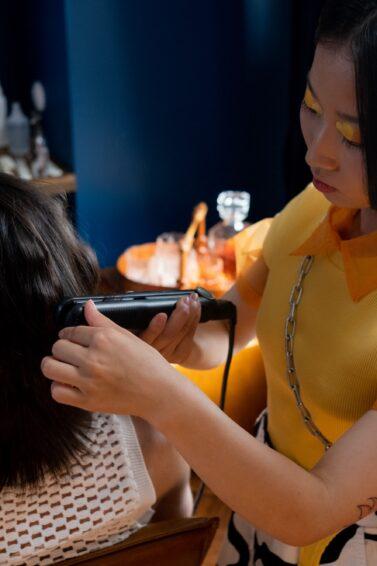
*A note on clamped irons and wands: If you’re using a curling iron with a clamp, hold the prongs open while twisting hair around the barrel. Clamp prongs together when you’ve reached ½” near the end. For wands, start from the top of the section and work downwards, leaving the same amount of allowance at the ends for a good curl to form. Be careful with the heat!
Step 7: Shake it off.
Once all sections have been curled, proceed to fine-tune the sections around the hairline as desired. Depending on the look you’re going for, either finger-style each section to separate the ringlets slightly or gently brush hair for a softer, more natural look. Finish with some light hairspray, such as Nexxus Comb Thru Finishing Mist that we mentioned above, for an all-day yet touchable hold.
That’s it! Use these tips to make the most of one of our favorite hot tools.
