How to Find the Best Curling Iron for Your Hair
Achieve #CurlPower with these tips.
There’s nothing quite like a headful of curls to give an extra dose of oomph to any hairstyle. If you haven’t been blessed with some natural texture, the easiest way to fake it is to invest in a curling iron.
Not all curling irons deliver the same results, and women with different hair types and curl goals will opt for different curling irons. Keep reading to find the best curling iron for your strands and preference:
Let’s Find You the Best Curling Iron for Your Hair!

1. Choose the Right Barrel Size
Not all curling irons are created equally! Depending on the type of curls you’re trying to achieve, you need to be cognizant of the different sizes and how they relate to your finished look. If you’re wanting to learn how to curl hair with curling iron barrels (and instead of a curling wand) to get looser waves, go for a 1 to 2-inch curling iron. If you want to master how to curl hair with a curling iron for tighter curls, look for a barrel size that’s under an inch.
2. Choose the Right Temperature
Just like with all other heat styling tools, hotter temps are ideal for thicker hair, while lower temperatures are best for fine, thin hair. Take note of the temperature range of a curling iron before you buy. This will ensure that your curling iron will reach the temperature you need!
3. Pick a Quality Made Curling Iron
We’re talking ceramic and tourmaline. No matter what hair type you have and what your curl goals are, your strands will thank you for using quality hot tools. Ceramic curling irons are a solid choice because they evenly distribute heat across your tresses. But tourmaline curling irons are the ultimate choice! They dispense negative ions that seal the cuticle of your hair which lends to a super smooth, frizz-free finished look.
4. Section Your Hair
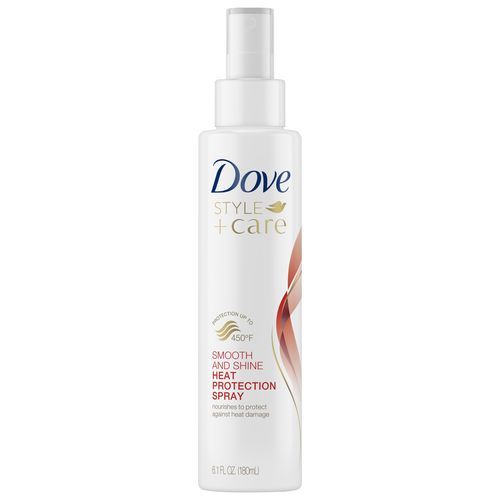
No matter your hair type or which curling iron choose, you’ll want to section off your hair before you curl. Start prepping your hair by spritzing on some heat protectant, like Dove Style+Care Smooth and Shine Heat Protection Spray. Divide your hair into several sections and secure each section that you aren’t currently curling with a double-prong hair clip. Although any of these clips will work, plastic versions typically leave less of a kink in the hair. Next, take a section in your hand from the underside of your hair and you’re ready for hands-on curling iron action.
5. Clamp, Curl, Repeat
Clamp at the ends and curl up until the entire barrel is covered with flat hair. You want to avoid layering hair across the barrel because it will cause hair to overheat in some areas and not heat at all in others. Hold the hair for 10-15 seconds per section. If you unclamp your curl and find that your hair isn’t holding the spiral, simply re-curl. For all other curls, hold for slightly longer than your initial curl in order to avoid having to double heat your locks. It takes a bit of patience, which is the real secret to learning how to use a curling iron.
6. Shake It Out
Once your whole head of curls is in place, take a peek in the mirror and determine if you love the look or want to loosen it up. If you want to opt for the latter, simply flip your head over a couple of times to shake your hair out. We recommend shaking your curls out this way as opposed to finger-combing them. This is because sometimes your hands contain oils that will quickly make your hair look a little greasy.
7. Lock It In
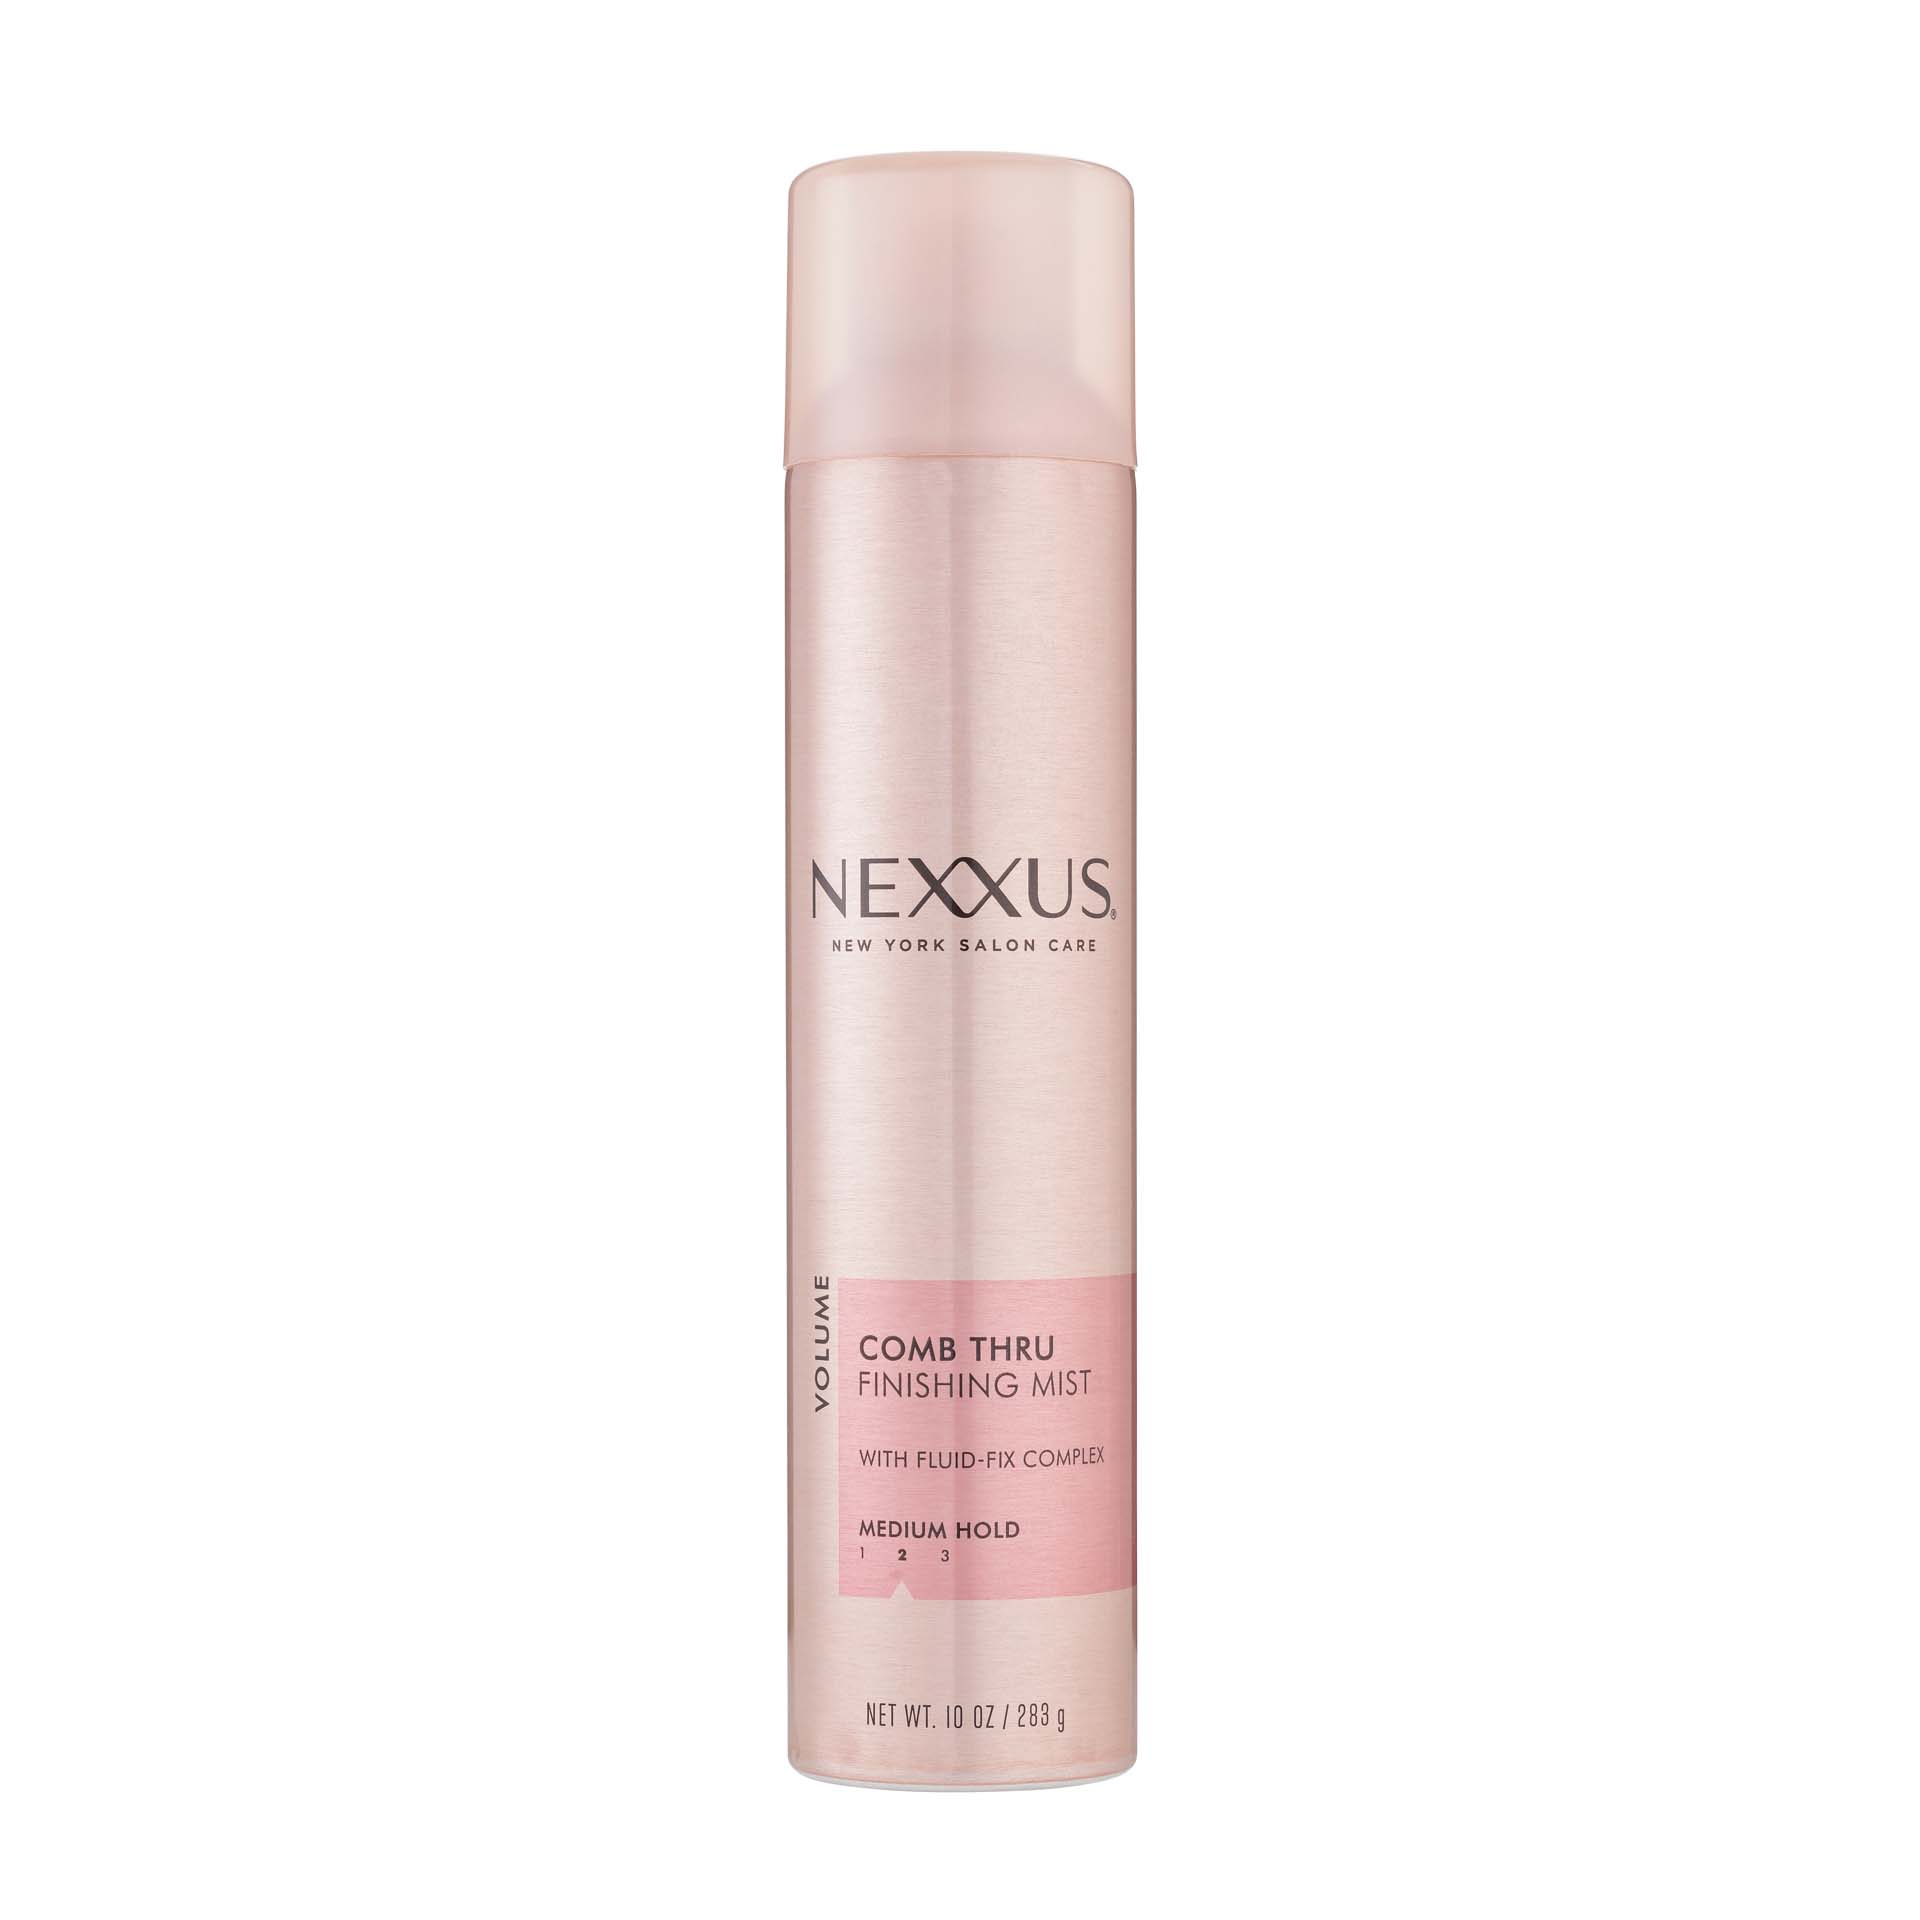
If you feel like your curls might not hold on their own, add a little medium-hold hairspray to the mix to create a lasting look. We love Nexxus Comb Thru Finishing Mist. This hair spray helps add softness, shine and all-day hold without any of that unwanted crunch.


