Create the Perfect Halo Braid in Under 15 Minutes
Get in on the hottest hair trend with halo braids!

We love trying out the latest braids as a way to style our hair, and one of our favorites is the halo braid. About a half-step more complex than (but just as awesomely Pinstagrammy as) the crown version, the halo braid has a similar headband effect that can work for weddings, work or jaunts with your friends. This time, however, instead of the braid just going across your crown and stopping behind each ear just like a regular headband, this particular braid look circles all the way around the head from the forehead to the nape, like a full-on—you guessed it!—halo.
Perfect for gals with medium to long hair looking to step up their festival hair game (so much more original than a flower crown, trust us), the braided halo is especially stunning and with highlighted or ombré-colored hair, as color imparts braids with more dimension. To help you in trying how to do a halo braid on yourself, we’re sharing three ways in which you create this cool braided style. First up is an angelic holiday halo braid on short hair featuring vlogger Ingrid Nilsen, then we have the classic halo and finally a messy and whimsical halo as seen at the Alice + Olivia show for NYFW. Read on to learn more about how to do a halo braid on your own hair today!
How to Make a Halo Braid for the Holidays
Wash and condition your hair.
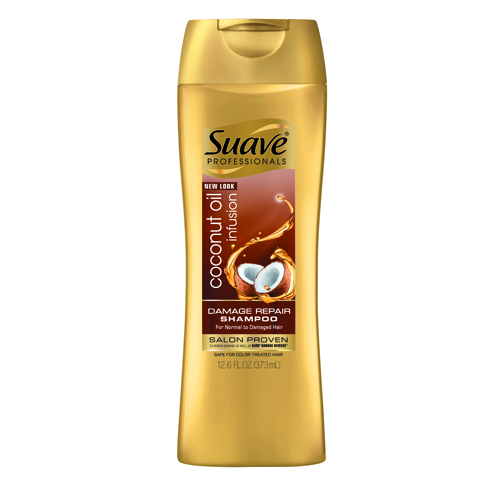
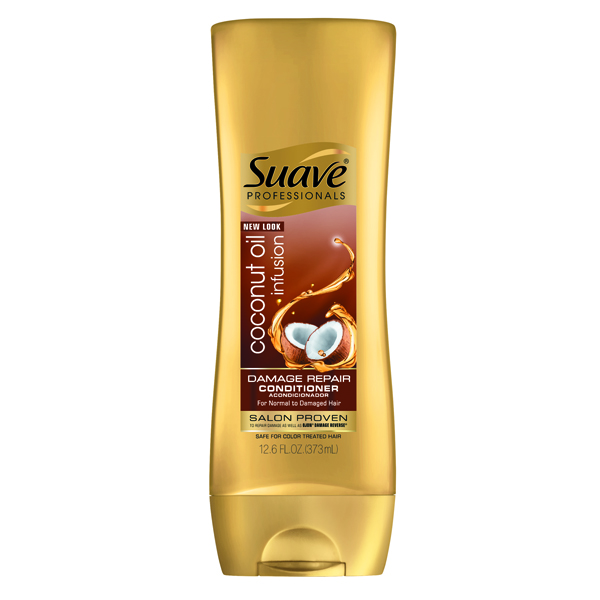
To begin your style wash and condition your hair with Suave Professionals Deep Moisture Coconut Oil Infusion Damage Repair Shampoo and Suave Professionals Coconut Oil Infusion Deep Moisture Damage Repair Conditioner. This system works to cleanse and provide your hair with weightless moisture.

Blow-dry your hair and brush.
Blow-dry your hair until it’s completely dry. Then brush through your hair to create a smooth base before styling.

Create your section.
Create a deep side part, then continue parting your hair towards your ear. Hold this back section of your hair in place with a large clip.

French braid on both sides.
Braid each side of your hair French braid style all the way down to the ends. Then secure it with a hair elastic.

Massage or pancake your braids.
Pull your braids apart to pancake them, or use Ingrid Nielsen’s massaging technique. Either method you choose will widen your braid and give it a chic undone texture.

Create your updo.
Take sections of hair from the back of your head, wrap them around and pin to secure. Continue until the entire back section is pinned up. Pin your braids into your back section, then massage your hairstyle to create volume and a slightly undone texture.

Lock in your look.
Use TRESemmé Tres Two Extra Hold Hairspray to lock in your halo braids updo style.


How to Create the Classic Halo Braid
Start with clean hair.
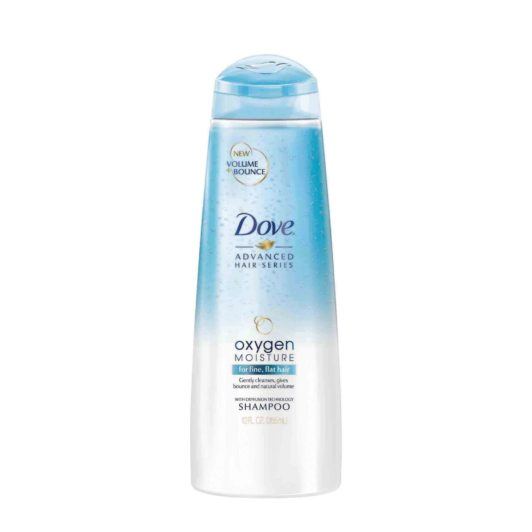
Clean, freshly washed hair gives the best traction for updos like braids. Shampoo and condition with Dove Oxygen Moisture Shampoo and Dove Oxygen Moisture Conditioner, and then blow-dry as usual.


Section and French.
Part hair as you normally do, with one section thicker than the other. Starting with your thicker section, begin a normal French braid, or a braid that incorporates hair from the scalp as you go along, from the part line downwards.


Continue along the nape.
Continue French-braiding even as you reach your neckline, moving the plait from behind the ears across your nape.

Move across your neckline.
As you direct the braid across your nape, your braid might thicken in width. This “pancaking” is part of the look and gives more texture to your overall halo braid.

Continue till the opposite side.
Make sure to incorporate hair consistently as you French braid towards your opposite side.

Continue with a regular braid.
Continue French braiding till the opposite end of your neckline, then detach the plait from your scalp once you hit your other ear by switching to a regular three-strand braid. Secure the ends with a clear hair tie.

Connect and secure the plaits.
Overlap the two parts and secure together with bobby pins, making sure to tuck and conceal all pins and seams.

Pancake your plait.
If you want a more uniformly-shaped halo all around, carefully flatten your braid by gently tugging at the loops.

Done!
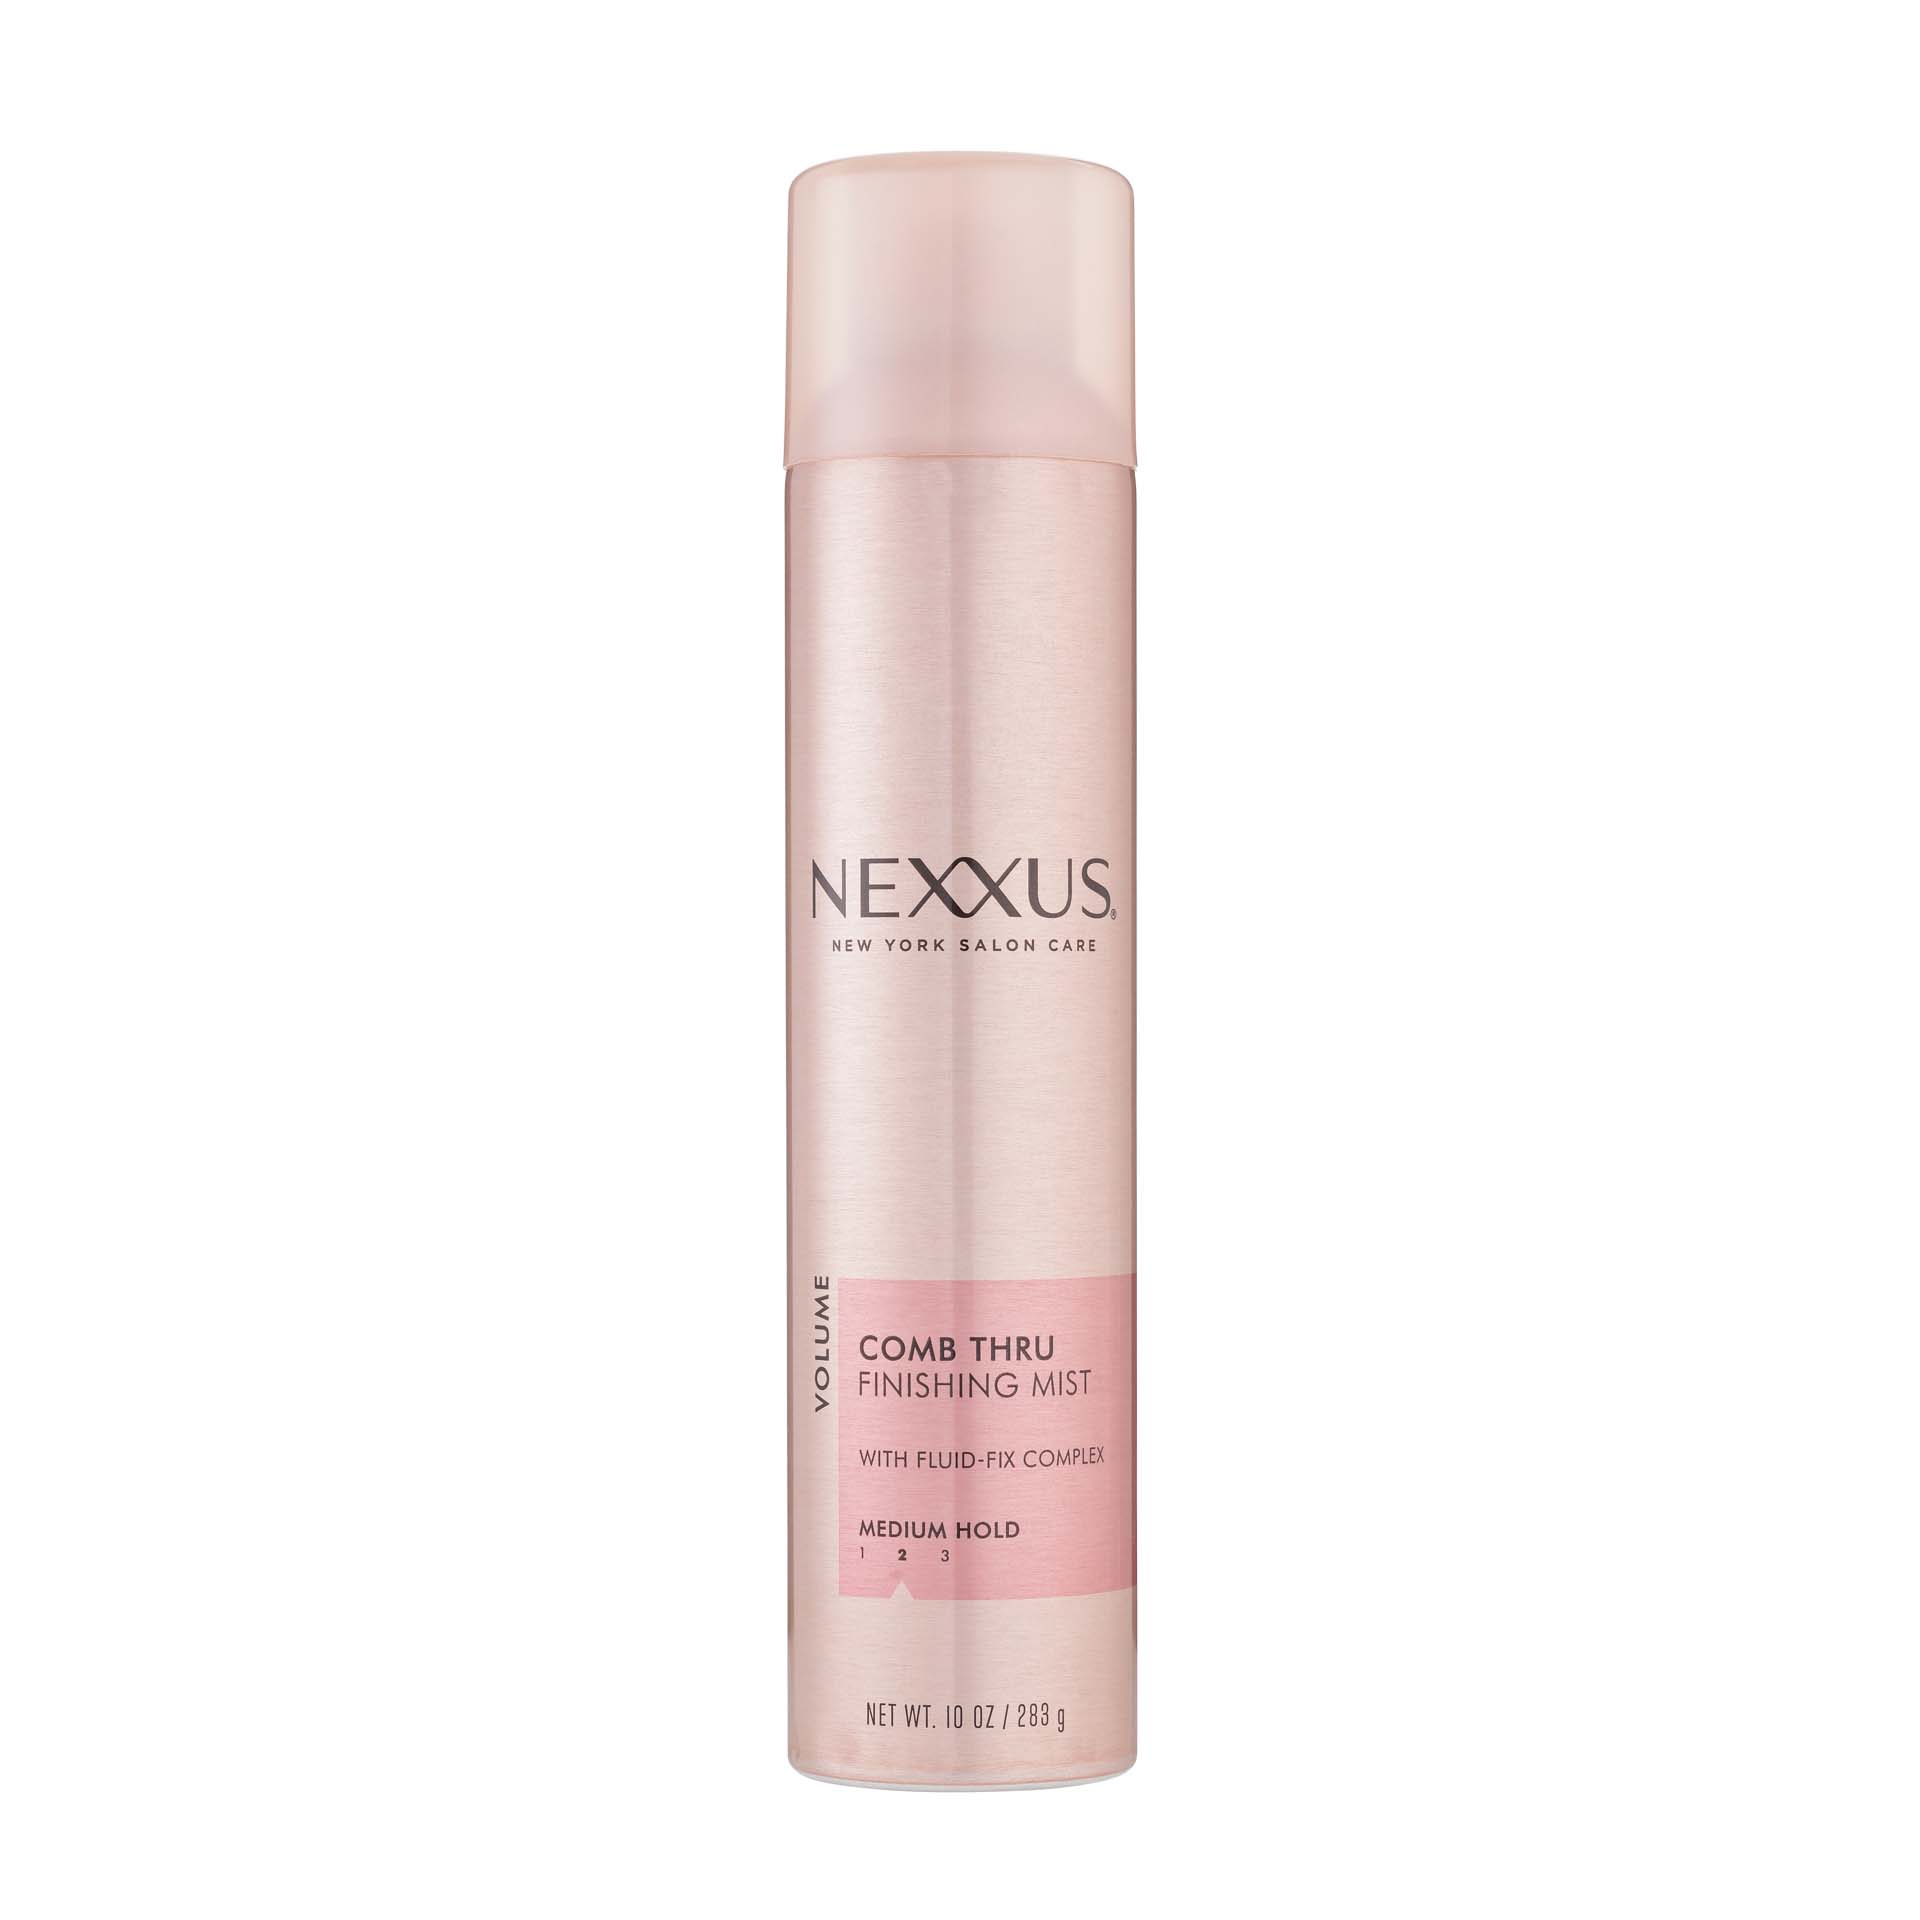
All finished! If you want a more texturized, diffused feel (see picture), skip on the hairspray. Otherwise, spritz on a light mist such as Nexxus New York Salon Care Comb Thru Finishing Mist to keep the braid and frizzies in check.

Messy Halo Braid Tutorial from the Alice + Olivia Show
Step 1: Start in the shower.
Wash your hair with a smoothening shampoo that also leaves strands radiantly shiny and healthy-looking from root to tip—crucial for a braided updo that entails some tugging. We like TRESemmé Keratin Smooth Shampoo and TRESemmé Keratin Smooth Conditioner. Rinse well and towel-dry.
TRESemmé
TRESemmé Keratin Smooth Shampoo
TRESemmé
TRESemmé Keratin Smooth Conditioner
Step 2: Get foamy.
Squeeze a dollop of some mousse onto the palms of your hands, then apply evenly onto your hair. Tip: Break the product through by blow-drying while squeezing hair with your hands—this also helps create some texture and a manageable hold.

Step 3: Tease your hair!
Using a rat-tail, fishtail or teasing comb, gently backcomb hair all throughout your head, from tip to root, to create even more texture. Avoid the pieces in front or at your fringe area.
Step 4*: Or… you can hack around this with dry shampoo.
In a pinch, you can skip the wash with a messy halo braid and refresh hair instead with a volumizing dry shampoo. Next, inject more volume and a deconstructed feel by teasing with a paddle brush. Feeling confident/have more time on your hands? Utilize a curling iron or flat iron to create more texture all throughout.

Step 5: Part hair in the middle, then braid.
Grab a section of hair on each part of your head, a few inches from your forehead (leave some hair at the fringe area to wisp around for later). Braid each strip using a regular three-strand braid (or a fishtail—whichever you fancy) and secure at each end with a hair elastic. Slightly pancake or pull each chain apart for a looser, more fashionable-looking plait.

Step 6: Create your messy halo braid by looping each across.
First, bring one braid up to the front, cross it over to the opposite side and fasten with pins behind the ear. Repeat with the other braid. Twist the hair on your fringe area around your finger to create some tendrils, then lock everything in place with a hairspray to prevent any unfurling as you go about your day. You’re all set and learned how to halo braid with an edge.


