Inverted French Braid: Style It On with Nikki Phillippi
Check out this gorgeous inverted French plait from one of our favorite beauty vloggers.
You Will Need
We’re so excited to announce the launch of a brand new hair series on All Things Hairinch braid, which is also known as a Dutch braid. This is an easy yet stylish look that works for a day at the office to a night out with your besties. Not only that: In the full video (see above), she also gives us the scoop on some of her favorite hair care products to help ace this hairstyle.
Read on to learn how to do an inverted French braid à la Nikki in minutes:
Bun Tutorial: The Inverted French Braid, A.K.A the Dutch Braid
Wash and condition hair.
Start by washing and conditioning your hair. Nikki uses Dove Radiant Shine Shampoo and Dove Radiant Shine Conditioner, which helps nourish your locks as well as make them smooth and shiny. Nex, apply a small amount of TRESemmé Beauty-Full Volume Hair Maximizer to give fine hair a voluminous lift. Next, blowdry or air-dry your hair, and finally brush it out to ensure that it’s smooth and free of knots. Now you’re ready to get started on how to do an inverted French braid.

Add curls via a curling iron.
Part your hair in half, then pull it up into a bun. Clamp up the top part of your hair. Then, use a curling wand to twirl the bottom part of your hair in different directions. Nikki also suggests to let your hair set in the curl when you release it from the wand, and says that this will help your hair maintain the shape of your new ringlets in your inverted French braid. Once you have created curls throughout your entire head, shake your hair out.

Create your part.
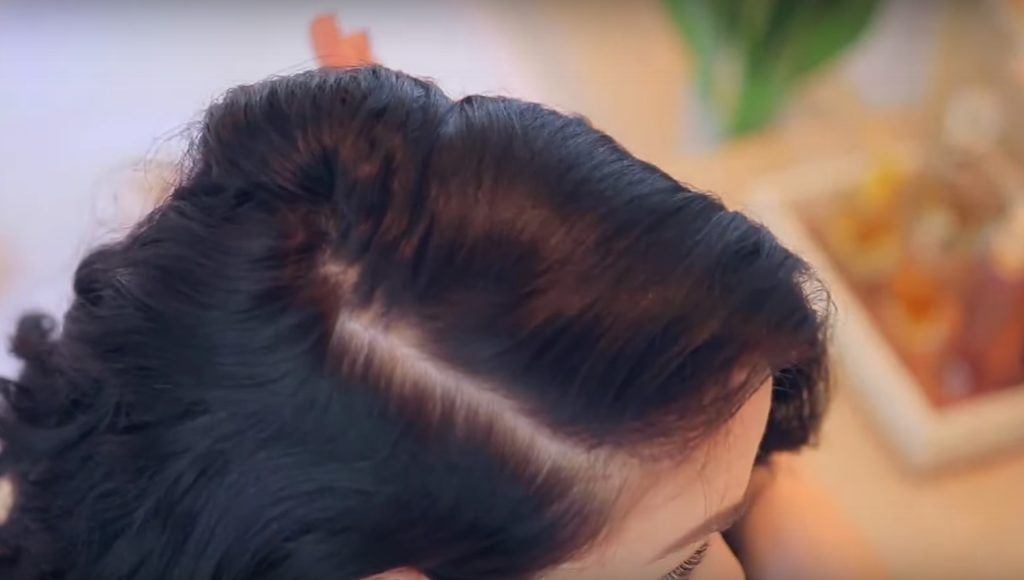
Make a part on one side of your head, and then one down the back of your head. The back section of hair goes into a low mini-bun.

Start your inverted French plait.
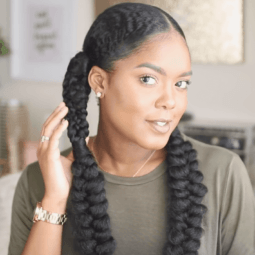
Divide the front section of your hair into three equal strips. Starting from the section of hair on the left, pull your hair under and across the middle section, and all the way towards the right section to create your braid. Repeat this process until you get to the end. This will create a chunky-looking braided hairstyle also known as a Dutch braid. A Dutch braid, or a French braid inverted, features a stitch that crosses under instead of over, resulting in a raised-up weave.

Pancake your braid.
Once you finish your inverted French braid, secure it will a hair tie. Then, pancake your braid, or pull pieces of your chain links apart to create thickness and texture.

Create your low bun.
Next, take the rest of your hair and create a low, messy bun. Nikki says you can vary that up to whatever side of your face you’d like; she opted for the placing her bun on the side with the braid for this look. Hold and secure your low bun together with a hair tie. Pin any loose pieces of hair together with some bobby pins.

Lock in your style.
After all of that awesome hairstyling, you’ll want to hold on to this look as long as possible! Spray a light coat of TRESemmé TRES Two Ultra Fine Mist Hair Spray throughout hair to lock your hairstyle in place. Bonus: Your hair won’t feel sticky or stiff!

Final look!
Et voila! Your inverted French braid is complete – now go forth and rock everywhere you go.

When you try out Nikki’s inverted French braid tutorial, be sure to tag us and use the hashtag #StyleItOn on Instagram and Twitter so that we can see your awesome ‘do. We’ll also be posting even more Style It On challenges in the coming weeks so stay tuned!


