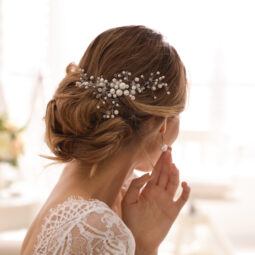
30+ Fab Beehive Hairstyles and Tutorials to Inspire Your Inner 60s Goddess
Big hair sure looks good on you!
Hair Types
You Will Need
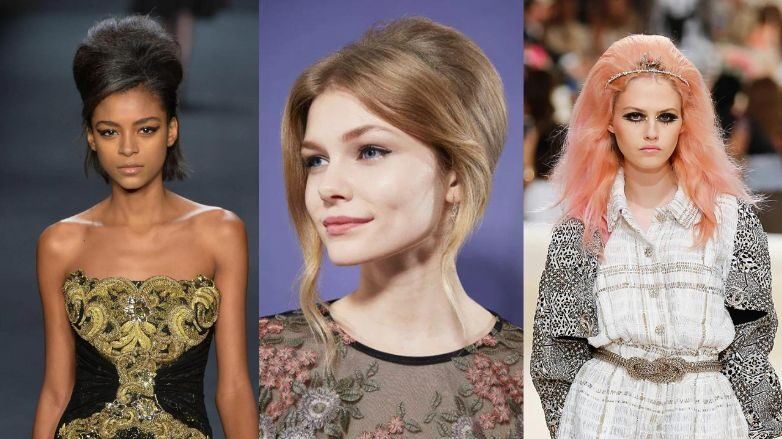
Looking back on our fabulous history of hair, it’s pretty astonishing what people used to do to create distinctive and unique styles. The amount of time, effort, and skill that went into some looks are definitely things to admire, especially since some of us modern gals are always on the hunt for the easiest, simplest ’dos and just can’t be bothered! One such high-maintenance (and high impact!) style that we’ve seen creep back into our current landscape is the beehive. Popular in the ’60s, beehive hair is all about its signature super-volumized, shellacked conical shape piled neatly on top of the head—much like, you guessed it, the shape of an actual beehive.
Beehive hair is formed by running a comb up and down the hair shaft, a.k.a. teasing it, to create a volumized backcombed effect, which is then lightly combed over to smoothen. The longer or thicker the hair, the higher and denser the beehive!
Look 1: How to Create a Half-Up Beehive Hairdo
Before we get into the ins and outs of creating the style, however, first, some interesting background on the hairstyle itself: After less voluminous styles took over the 1950s, beehive hair was a refreshing contrast. In the 1950s, styles like the bouffant, which focused more on the width of your hair rather than height, dominated the hair industry. The beehive hairstyle was a refreshing update since it emphasized the height of your style and didn’t require you to cut your hair shorter, as did the bouffant.
For a modern (and perhaps easier) twist on this classic look, we’re sharing several ways to rock a beehive hairdo, featuring a classic half-up, half-down combo, big birthday beehive, a ’60s-inspired look, and a cool beehive hairstyle for the holidays from the super-charming beauty blogger Dulce Candy.
Read on to check out how to master beehive hair with some help from our detailed tutorials:
Start with clean hair.
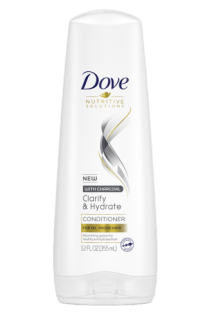
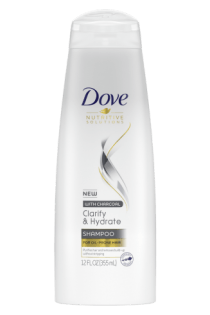
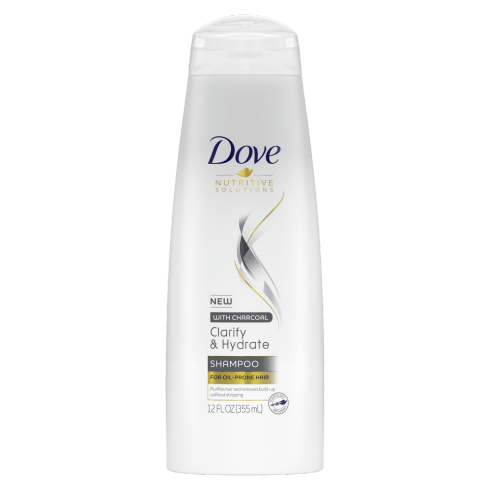
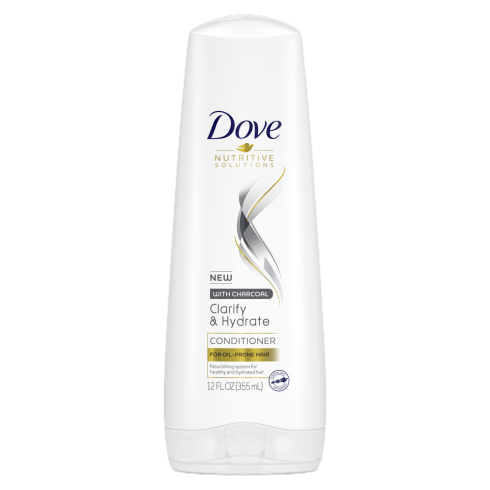
Start with clean hair before you create your beehive. Try out Dove Nutritive Solutions Clarify & Hydrate Shampoo and Conditioner. Make sure that your hair is completely dry before you start.

Use some hair oil.
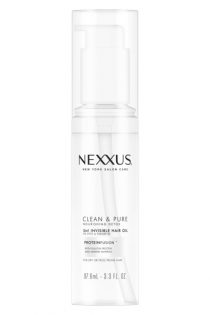
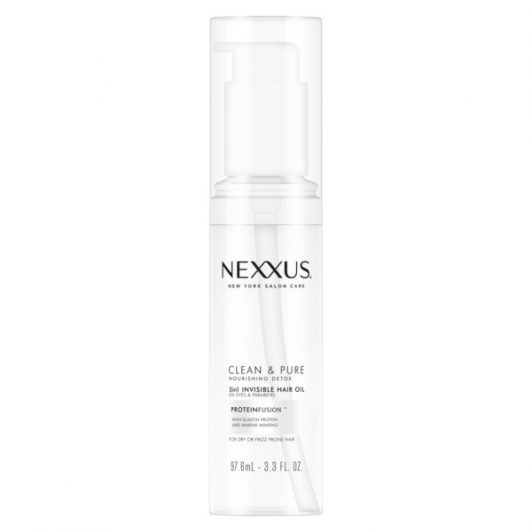
Place some hair oil onto your palms. This will give you some much-needed ‘slip’ as you comb and tease your looks for your beehive hair. Remember a little goes a very long way. We love Nexxus Clean & Pure Nourishing Detox 5-in-1 Oil for the job.

Work in sections.
Leave two strands of hair in the front of your face and lift up the middle section.

Continue to tease!
Tease your hair throughout the middle section until you achieve the desired height.

Direct hair to one side.
Continue to tease around your hair to form the shape of your half-up half-down beehive.

Bring the front section towards the middle.
Using both hands, bring the front sections towards the middle. Once all sections have some lift, hold all three together as you twist each section of your hair together, creating a mini-bouffant. Pin your twisted strands together, covering and clipping the bottom part of your hair. Hold it together with a bobby pin. When everything is in place, finish everything up with some hairspray.

Look 2: A Glamorous Birthday Beehive Hairdo

Step 1: Wash and condition.
Start off by washing and conditioning your hair with a volume-enhancing system. This style depends on mega amounts of volume; even the thickest hair will need all the help it can get.
Step 2: Blow-dry.
Blow-dry your hair with your head upside down. This will ensure the roots dry away from your scalp, infusing more volume at the root.
Step 3: Tease hair.
Separate a small parted section at the front of your hairline, comb the rest towards the back of your head and then begin teasing. Concentrate the teasing on the top half of your head, and don’t hold back. The more volume, the better! We can reel it in later on.
Step 4: Comb hair back.
Using a brush, lightly comb the very top section of your teased hair and pull it into a high bun. The trick is carefully shaping the teased section and not disturbing the style while creating the bun. Secure it with a hair tie.
Step 5: Lock it in!
Use some bobby pins to secure any stray hairs and spray the entire style with TRESemmé Compressed Micro Mist Boost Hold Level 3 Hair Spray. Comb the front sections away from your face and tuck them behind your ears. Rock this glamorous birthday style with ease all night long!
Look 3: Modern Beehive Hairstyles by Dulce Candy
Start with clean, freshly-washed hair.
Beehive hairstyles are all about va-va-volume. Washing hair can remove any heavy buildup and sebum that might weigh down your lift.

Apply a leave-in product.
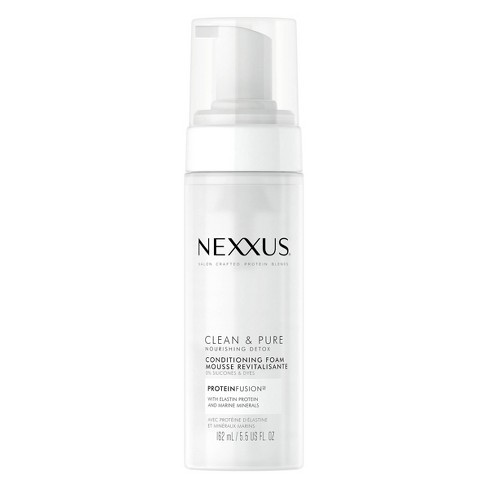
A leave-in foam, like Nexxus Clean & Pure Nourishing Detox Conditioning Foam, helps give hair that much-needed shot of moisture and protection for pre-styling, all via a super airy, lightweight formula.

Blow-dry and create your part.
Blow-dry your hair till 90 percent dry, and use the end of a rat-tail comb to create a crisp side part.

Section off your fringe.
Section off your front hairline (or your fringe), to separate it from the rest of your hair.

Clip fringe up and out of the way.
Using a duckbill or darby clip, clamp your front fringe area out of the way for now.

Start teasing your crown.
Working in increments, pick up a section from your crown area just behind your fringe and start backcombing from end to root with a teasing brush.

Tease all sections.
Go across your head to the other side, being careful to tease all sections to (relatively) the same height.

Smooth out your bump.
Taking a flat, wide brush, gently smooth down your new bump, going from the root to mid-length.

Straighten out kinks with an iron.
The best beehive hairstyles have a completely flat hairline before the bump. Remove any kinks near your parting and your hairline by flat-ironing your front sections, but be careful to retain a slight curl at the ends.

Create a half-updo and pin back!
Using your fingers or the end of a rat-tail comb, section your hair into a half-updo and pin your hair back just below the bump. Dulce Candy cautions against pulling too tight, or else you deflate your baby beehive!

Finish with hair spray.
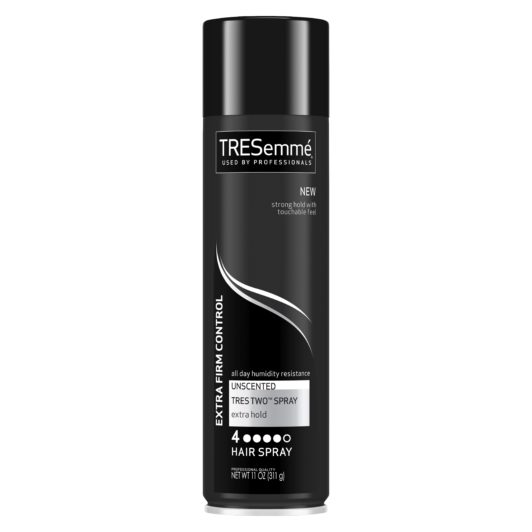
The Sixties never scrimped on hairspray, and neither should you! It’s the best product to help keep all that volume in place while taming down any halo frizz and flyaways too. We love the non-crunchy yet firm hold we get from TRESemmé TRES Two Extreme Hold Hairspray.

Put on a sparkly accessory!
Take on some tinsel with a party-worthy headband. Nestled perfectly at the crease of your bump, it’s a dainty touch that adds some sparkle and pulls your entire look together.

Look 4: How to Create ’60s Beehive Hair
Section hair.
Start with clean, center-parted hair, and divide it into four sections, secured with clips. The first two sections should start from the top of the ear and go over to the middle parting; these will hang in front of your face. The third and fourth sections should be divided horizontally across the back of the head and clipped at the nape of the neck.

Use a dry shampoo.
Using a comb or your fingers, lift the top horizontal section of hair at the back of your head and spray some TRESemmé Between Washes Volumizing Dry Shampoo at the roots. Gently run your fingers through the hair, concentrating on the scalp. This will add shape and volume to your beehive, so it has a solid base.

TRESemmé
TRESemmé Volumizing Dry Shampoo
Tease hair.
Take a small amount of hair from the top horizontal section and use a small brush to backcomb the hair down to the root. The more you backcomb, the bigger your beehive will be! Use a mirror to double-check that you’ve styled the entire section and have no areas that aren’t lifted at the root.

Brush hair into place.
Smooth over your backcombed section with a bristle brush to ensure there are no flyaways and you’re left with a dome shape to the hair. Be sure not to put too much pressure on the brush as this will flatten the volume you’ve just worked so hard to create!

Gather hair into a bun.
Using a comb or your hands, gather the teased section of hair together and pull it towards the back of your head. Take the ends of your hair and roll them under so it looks like a neat bun style. Secure into place using bobby pins.

Pin up the lower section.
Twist, the lower section of the hair and then, using your fingers, twirl the hair into a neat, low bun at the base of your beehive. Pin into place and make sure all the hair from the back sections is tucked into your updo.

Style your tendrils.
Leave the front two sections of your hair loose to frame your face for a ’60s-inspired look. Alternatively, you can pin them loosely behind your ears.
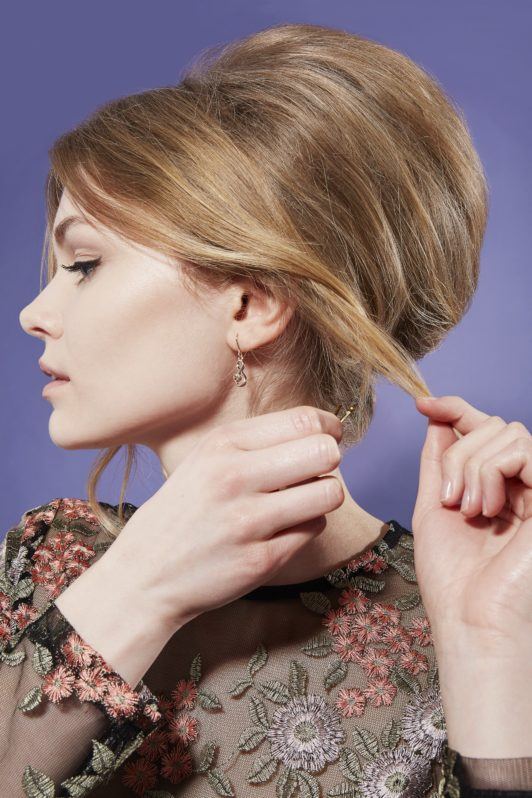
Done!
And voila… You’ve now mastered an eternally chic ’60s style. Perfect for pairing with a party dress or your best office attire, the bold beehive is here to stay.

30 Modern Ways to Wear the Iconic Beehive Hairstyle
Check out 30 modern ways to wear a beehive hairstyle:
1. Half-Up with Long Hair
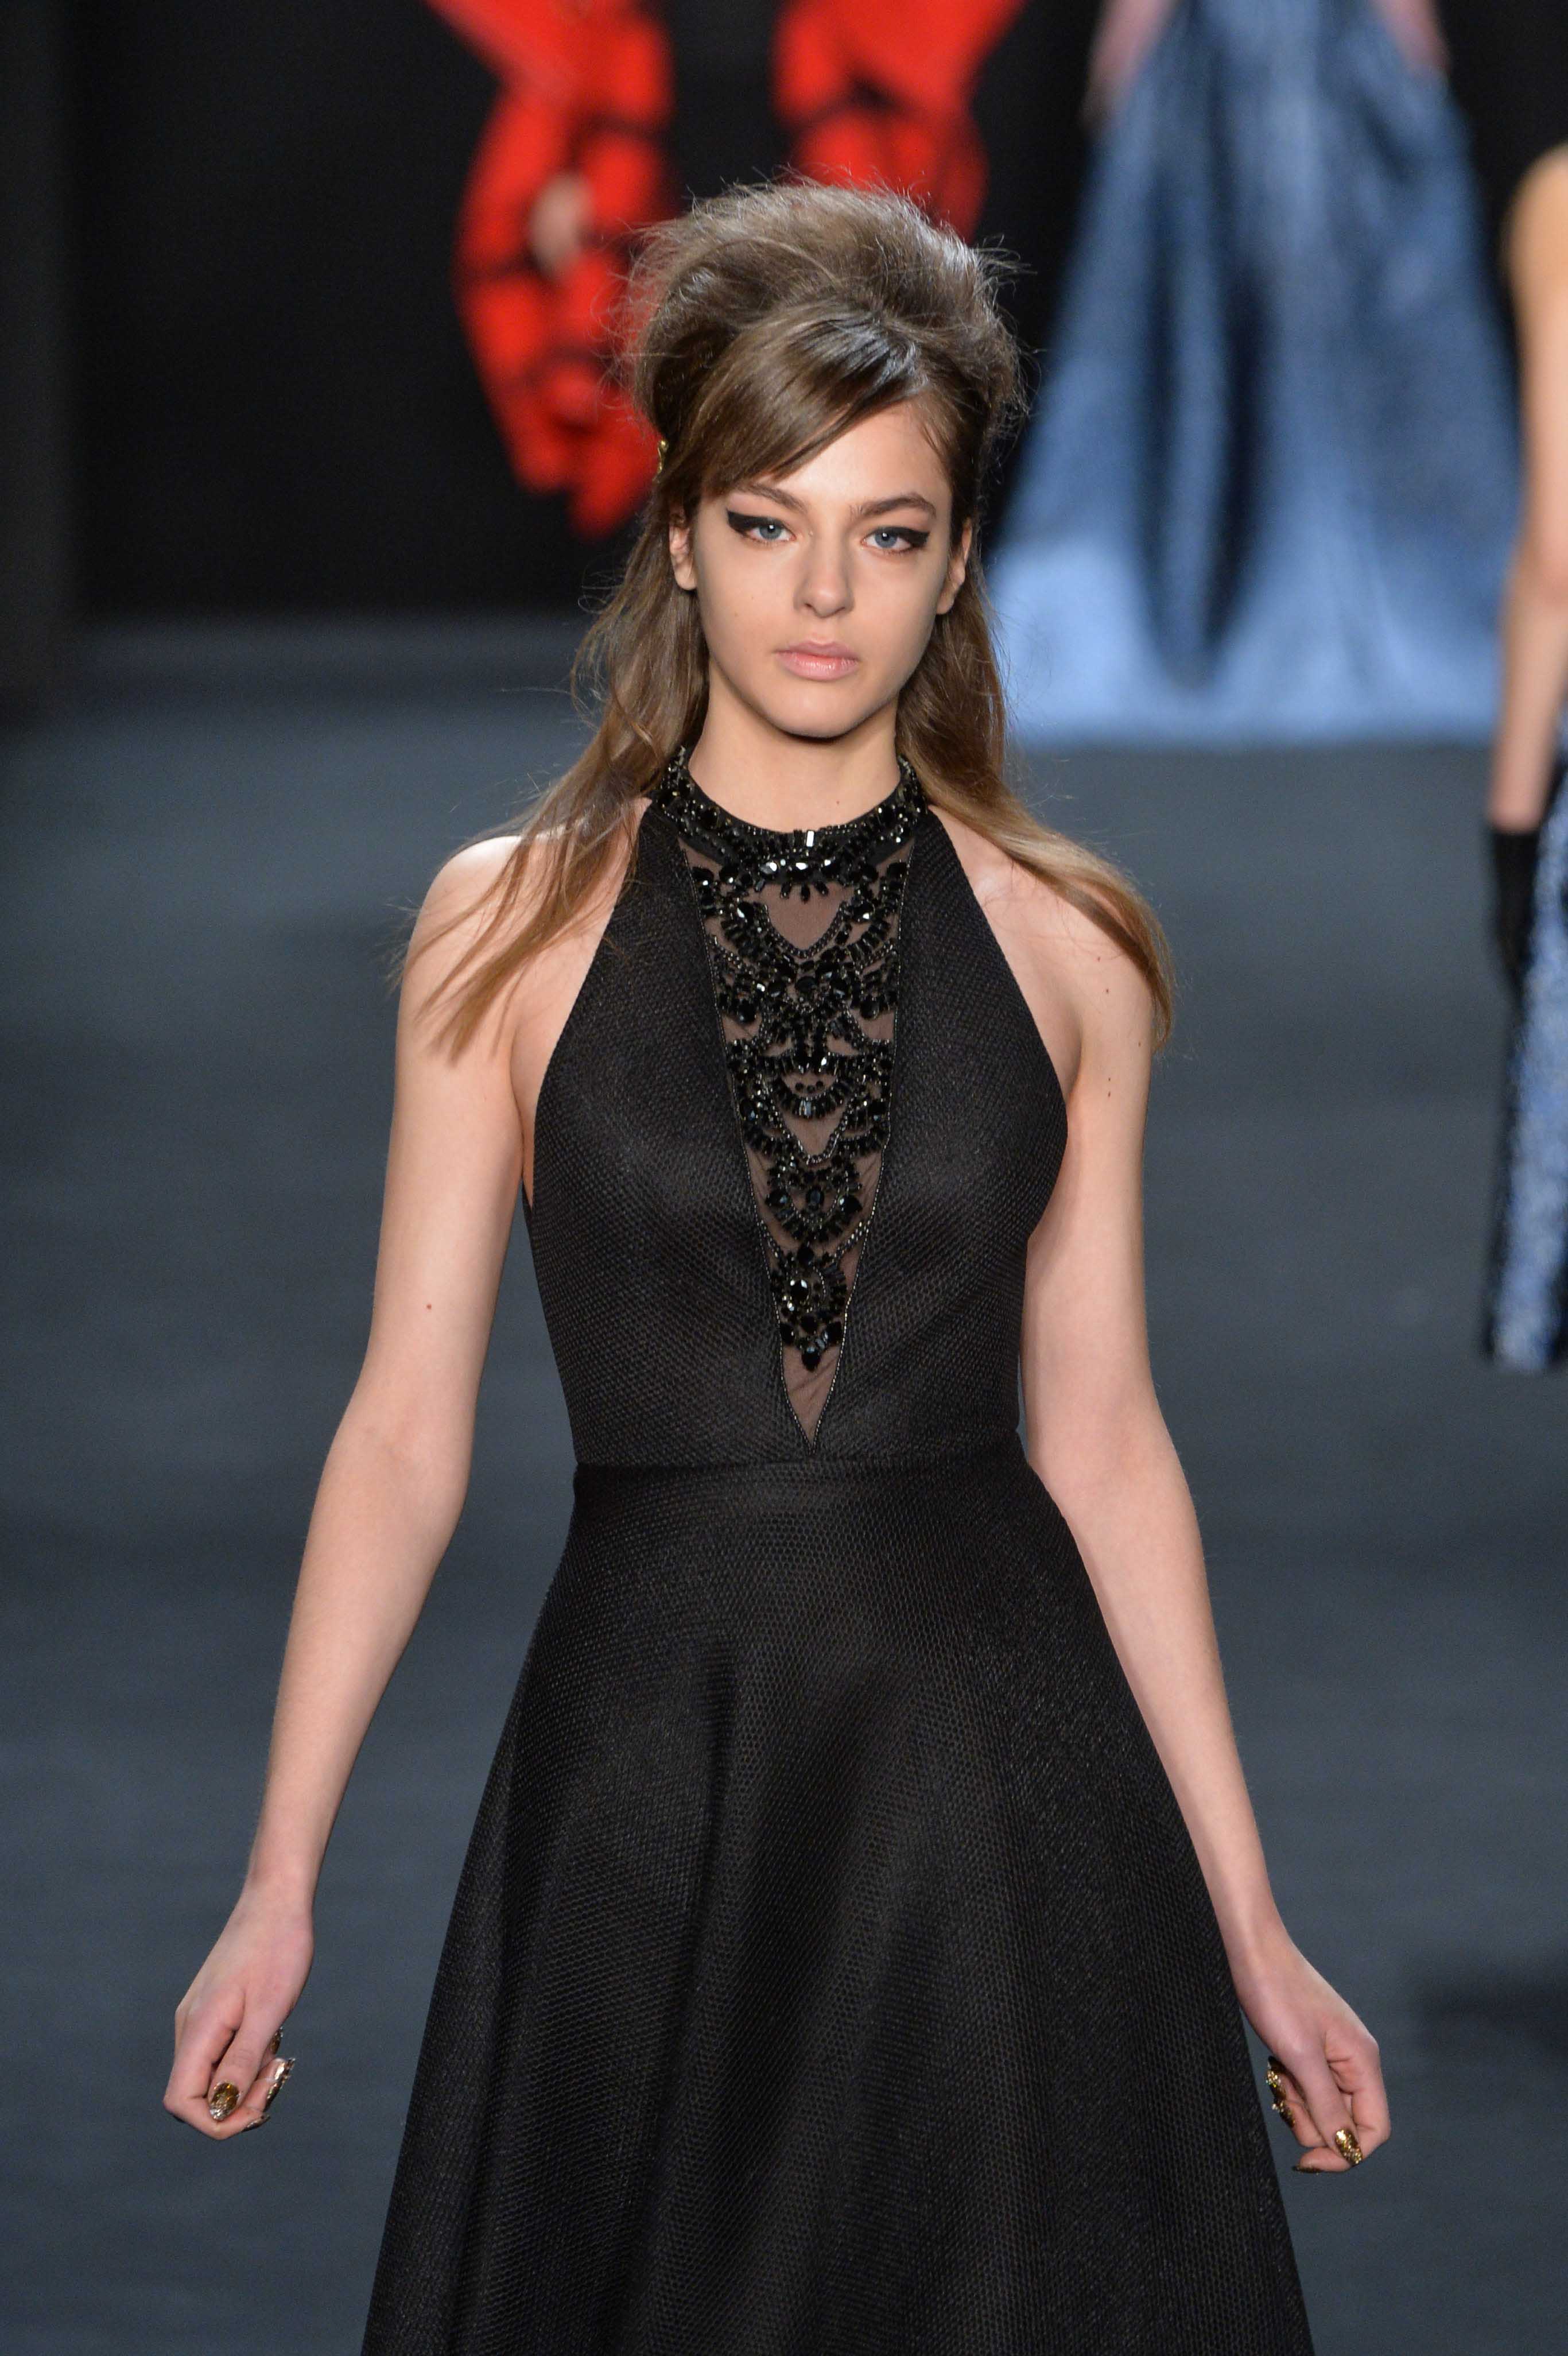
A backcombed half-updo plus side-swept bangs? Make this your next prom look. This look is all about messy and undone elements. Don’t bother smoothing out the top of the style and instead embrace the messiness of the style.
2. Softly Rounded

A perfect way to infuse some ’60s-inspired volume into any wedding or formal hairstyle. The subtle beehive bump pays homage to the style without veering into super dramatic territory.
3. Short Beehive
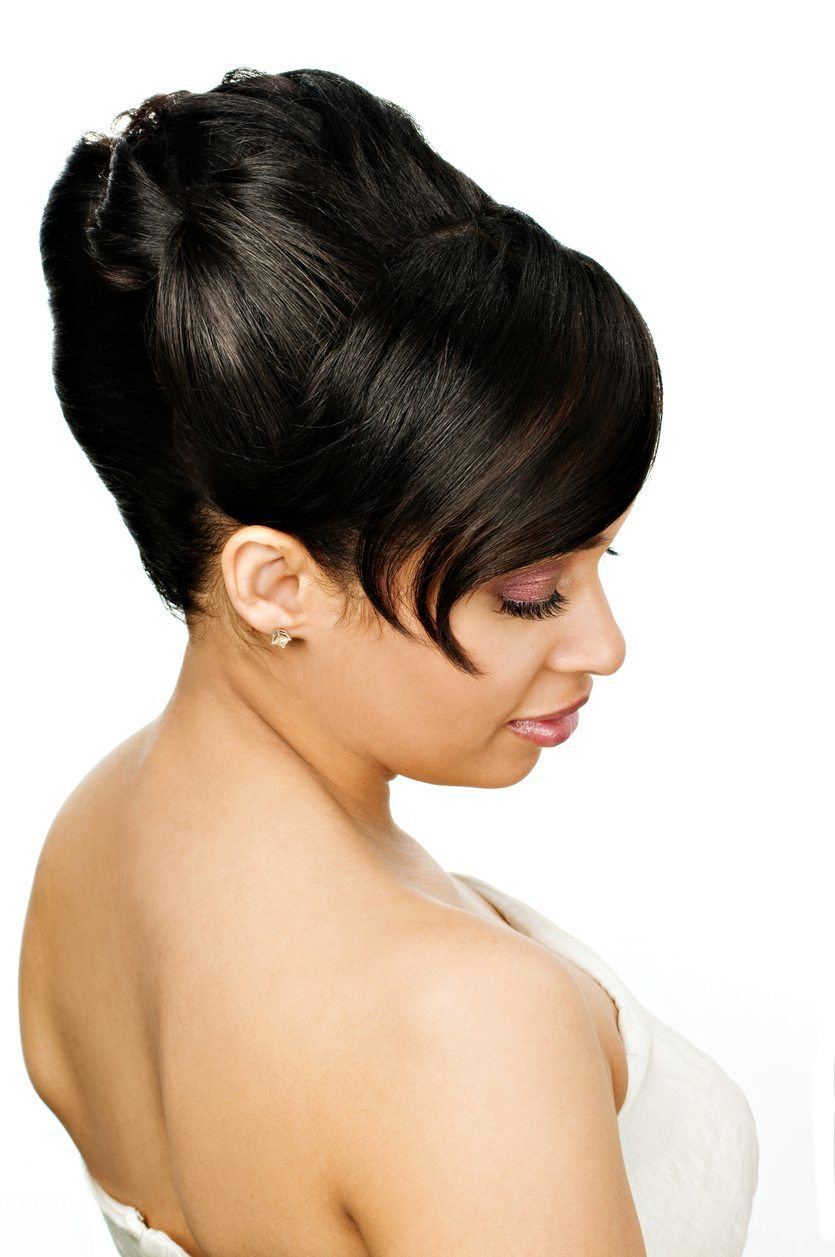
Short hair? No problem: Use bobby pins to pin up your blown-out hair, section by section. This prom-inspired style features volume up on top that includes a beehive element. Paired with side-swept bangs, this style couldn’t be any more perfect.
4. Classic ’60s

Use a hair bumper (a true 1960s hair hack!) to get even more substantial volume at the crown. We love this as an alternative to a style that sits completely vertical. By opting for a more horizontal shape, you can customize this look to your unique style.
5. Wispy

Loose tendrils (plus that timeless storybook auburn shade) give a slightly Victorian take on the beehive. Use a curling iron to add a subtle curl to the loose strands, and skip the hairspray, so the waves fall naturally.
6. Sleek

Nothing says ice-princess chic more than a sharp side part and a bumpy half-updo (with fur and diamonds, of course). Use a shine serum on your strands before you start styling to add a high-shine finish to your style.
7. Tousled

A modern-day gal’s take on a classic: no-fuss parting and easy, natural volume up top. This face-framing style flatters just about every face shape while also allowing you to include the signature volume up on top.
8. Middle-Part Half-Updo

A center part makes the look even more approachable. Soft and easy, this modern take on a beehive style is appropriate for work, date night, the weekend, and beyond! Use a comb or hair brush to smooth out the top of the style.
9. Middle-Part Half-Updo, Wavy

Layer on some mermaid waves to that middle-parted beehive for an added dose of ladylike charm. These face-framing pieces add an easy and laidback finish to your style for a slightly less formal option.
10. Beehive Bob

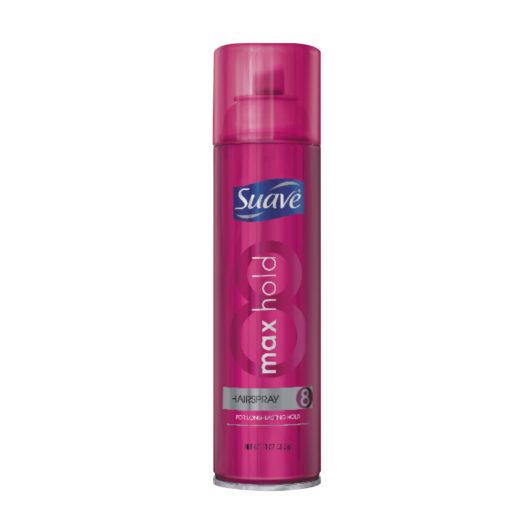
Nothing is impossible with the right amount of firm-hold hairspray! We love the staying power of Suave Max Hold Aerosol Hairspray. Use this hairspray to solidify your style and ensure that volume stays put all night long.
11. Pretty in Punk

Salmon pink and loose around the ends? There are no rules. Slide a sparkling tiara at the front of the style to highlight the beehive shape and add another touch of drama to your bold hairstyle.
12. Copper

Call us obsessed, but a half-updo beehive in a trending, shiny ginger hue? A showstopper. This is another example of a style that depends on messiness so don’t bother with any product to smooth out the look!
13. Bangs with Ponytail

Hands down, our fave everyday way to style a bumped-up ’do this decade. Pair your bump with a full set of fringe and a mid-height ponytail for this super vintage style. It will stay put all day long!
14. Crisp and Cropped

Close-to-the-nape haircuts can achieve a beehive hair hack by teasing slightly at the crown and spraying the bangs to one side. This deep side part adds a modern twist to the classic vintage style.
15. Curly Updo

Why not play with a slightly curly texture up top for some added interest? Forget about your flat iron, and instead, use a curling wand to add some wave to your style before you start styling.
16. Straight Base

A sharp, straight high hairline base gets some ‘60s beehive flavor when pulled into a high pony, which is then teased for volume and fashioned into a bun. This style combines sleek and edgy with vintage and nostalgic with ease.
17. Uptown

From the seamless fringe and hairline parting to the soft, dainty texture, this is the iconic beehive hair look of that ladies-who-lunch. Embrace the classic elements of the beehive style with this perfect throwback style.
18. Bumpy Pony

Tease the crown first, then gather all hair into a really low ponytail (like kissing-the-nape low). Gently smooth the teased part over with a fine-toothed comb, then finish it off with a shine spray, like Bedhead by TIGI Headrush Shine Hairspray.
19. Headband
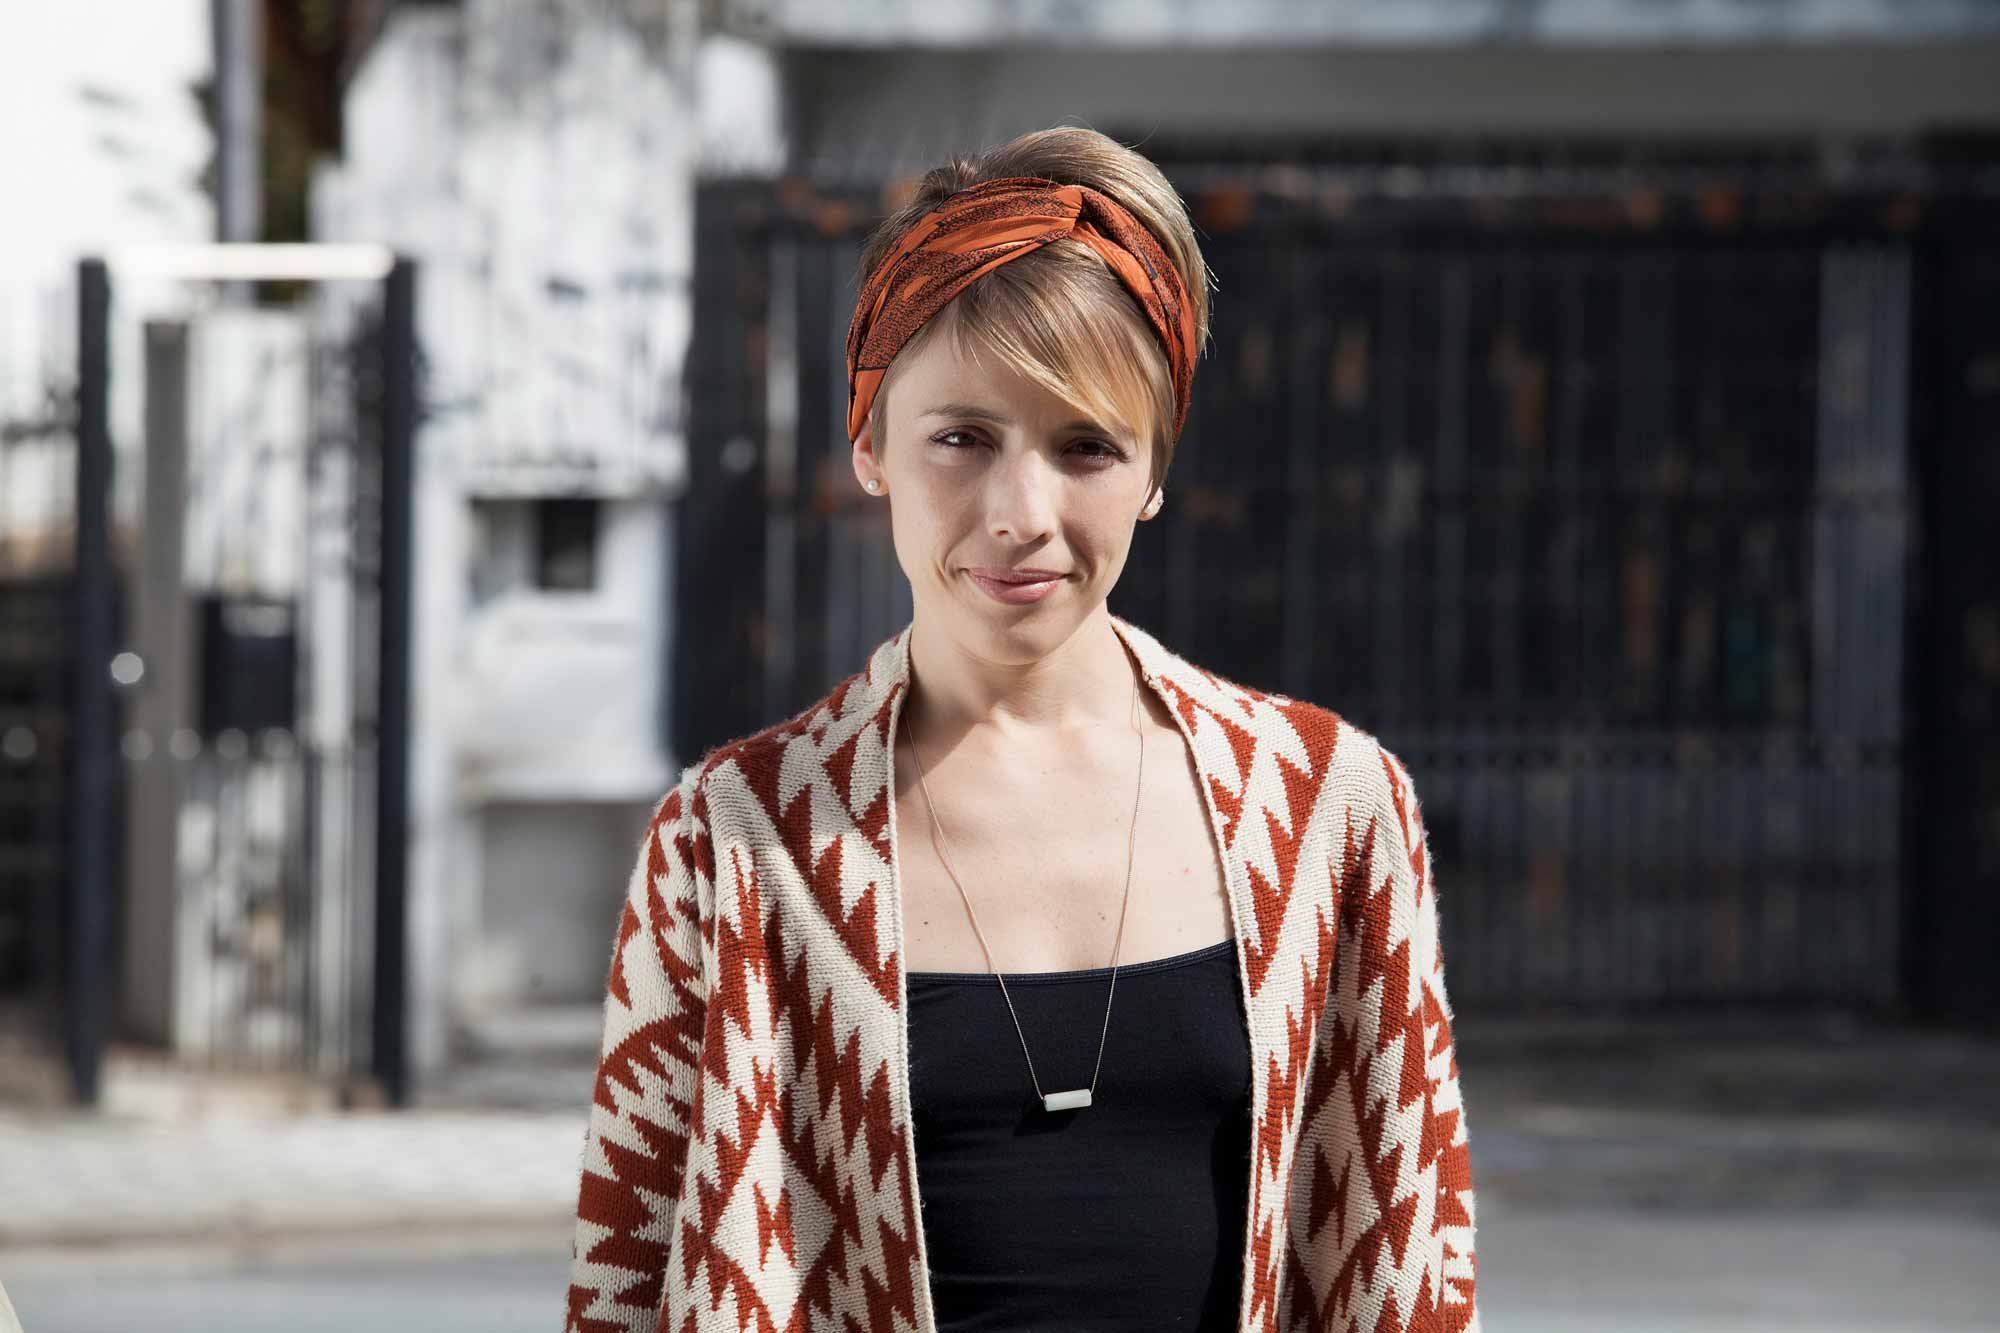
Beehives in the summer? Why yes, please: A cute scarf or headband affords a boho, heat-friendly touch. It also keeps any frizziness from taking over and ruining your style!
20. Bleached and Bouncy

Two words: hot rollers. Set hair in rollers, then creates a high half-ponytail leaving the bang area free and splitting the pony in the middle for that center-parted effect. Finish off by creating a center part in the bang area and fluffing up those curls with a brush.
21. Magpie

This downtown take on the beehive involves creating a side bun on the upper half and a low, side-swept ponytail. This unexpected combination of styles allows you to wear multiple trends in the same style!
22. Beribboned

A classic black ribbon gives a choker-like feel to this otherwise precious hairstyle. We love the contrast of a bold black ribbon with bright blonde hair, but you can create this kind of contrast on any hair color!
23. Hair Sponge
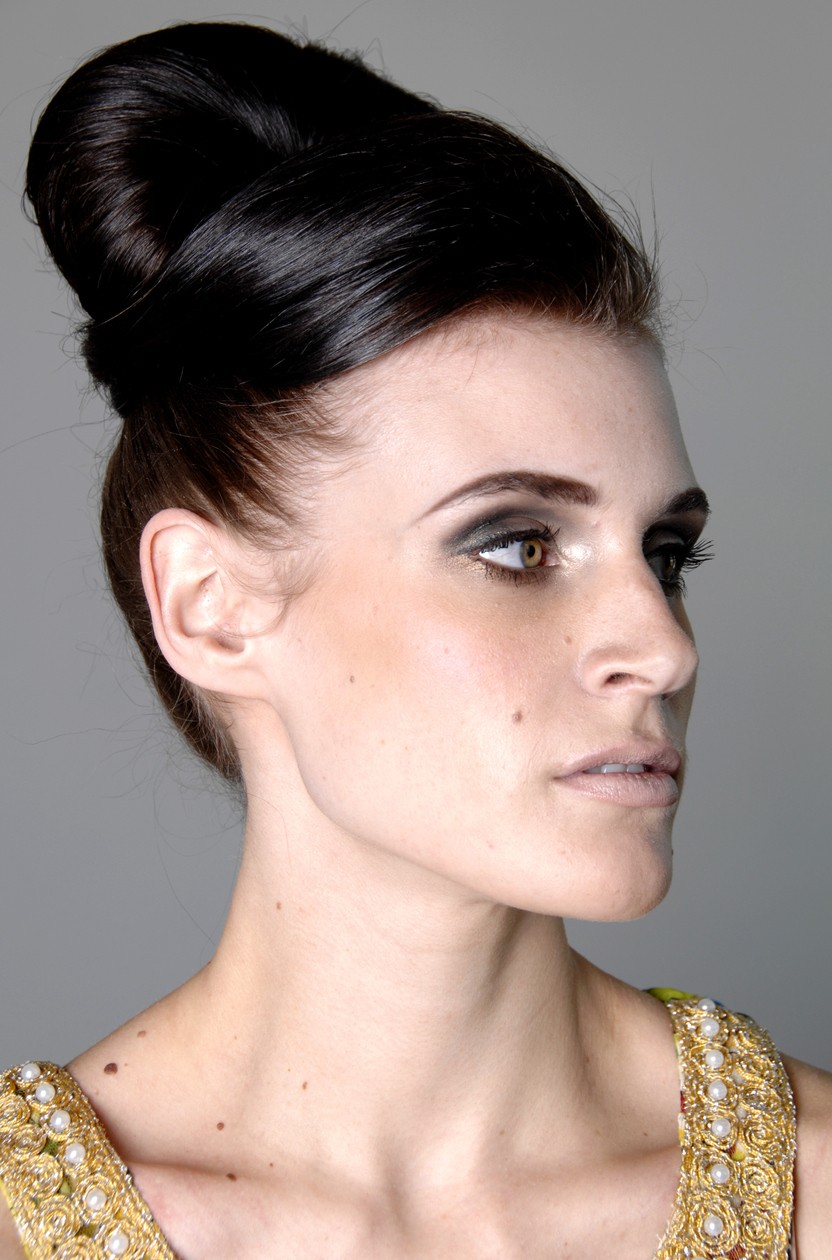
Have finer hair? Never fear: Use a hair sponge close to your base color to create fullness at the crown, and camouflage any seams with your fringe. Click here for a quick hair sponge tutorial!
24. Soft and Low-Key

Instead of teasing, simply create a loose, low chignon—then use the end of a rat-tail comb to purposefully pick underneath the crown for a more controlled “bump.” You can tease the hair at the crown of your head before you start styling to increase the volume instantly.
25. Accessorized
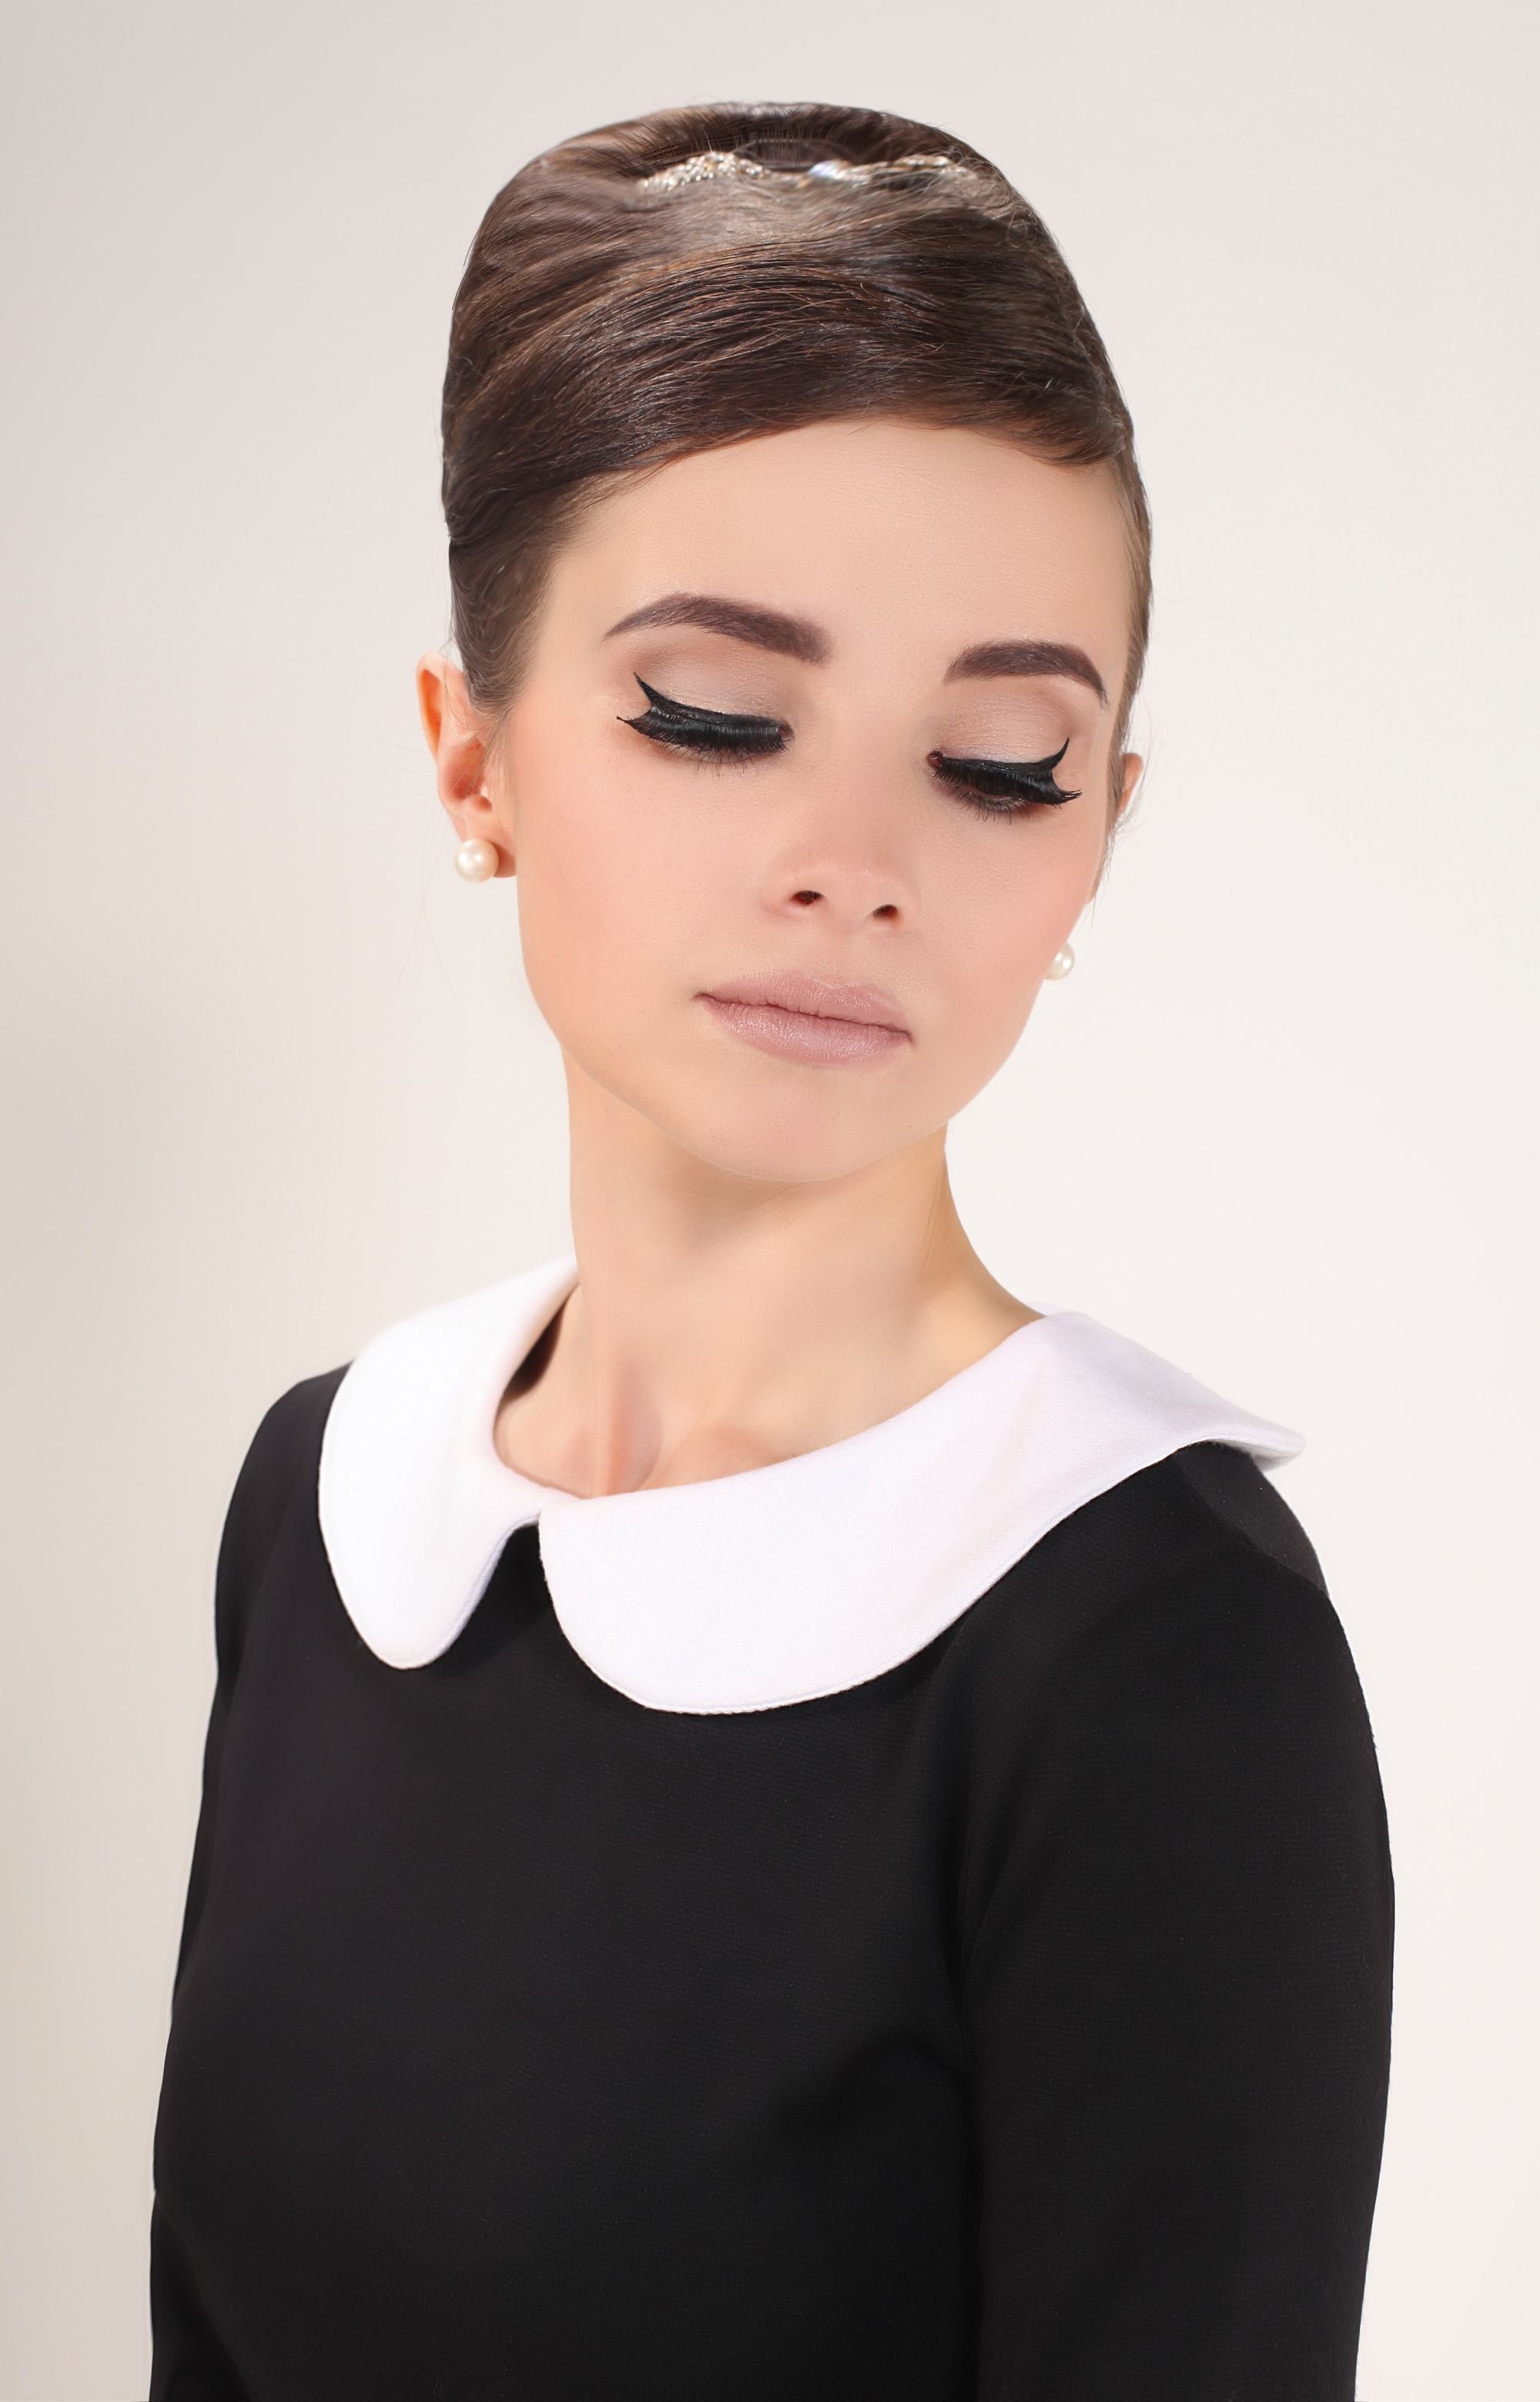
Pick the sparkliest, the most feminine accessory you can find (we’re partial to rhinestoned anything)—yes, even a baby tiara!—and nestle it in the middle of your beehive for that good ol’ Hollywood princess touch.
26. Leather Headband

On the flip side, grunge up your beehive by leaving the lengths loose and shimmying up a skinny leather or satin headband at the base. This breaks up the beehive for a doubled-up style that’s super edgy and cool.
27. Retro Blown-Out

Can you say divine? We love the beehive effect on loose, straight, blown-out hair—so luscious. This is a great way to combine the vintage with the modern and rock current and throwback trends all at the same time.
28. Sweet and Wavy
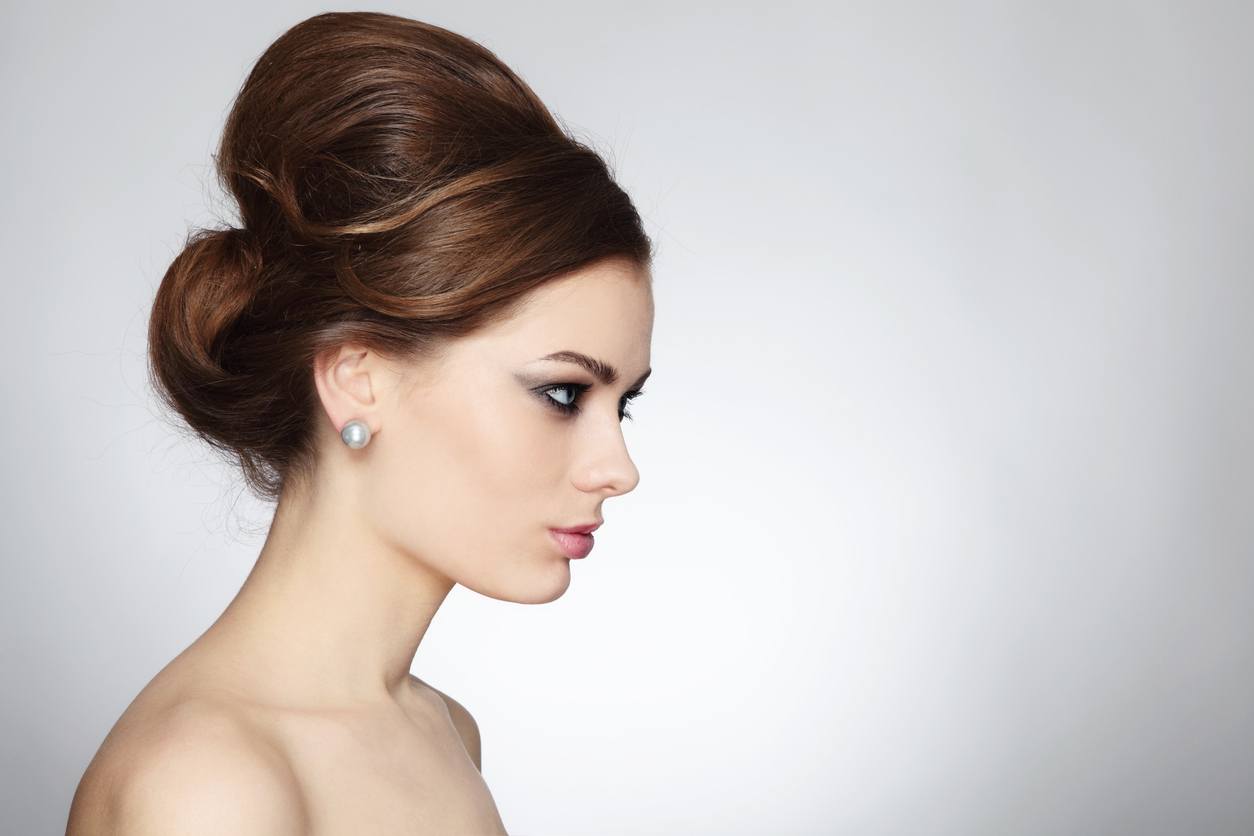
A crowd-pleasing wedding look for all seasons, this sweet and wavy beehive style is what vintage hairstyle dreams are made of. Use a generous mist of hairspray to lock the style in place.
29. Scarf

Another scarfed look, only this time, loosely tied around. Bonus points for matching ’60s-friendly pastel eyeliner! Tie the bow in a dramatic fashion to make sure it makes a statement! We can’t get enough of this bright and bold style.
30. French Bombshell

For those days, you’re biking along the French Riviera in the summer because, hey, why not? Use bobby pins locked together in a criss-cross fashion to secure the half-up portion of this style.
Looking for more hair inspiration? Be sure to check us out over @AllThingsHairUS!
