How to Create a Headband Braid in 8 Easy Steps
Everything is prettier with a ribbon.
You Will Need
Looking for ways how to do a headband braid? To be honest, we weren’t really thinking this literally when they said that hair was the ultimate accessory.
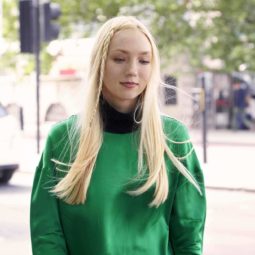
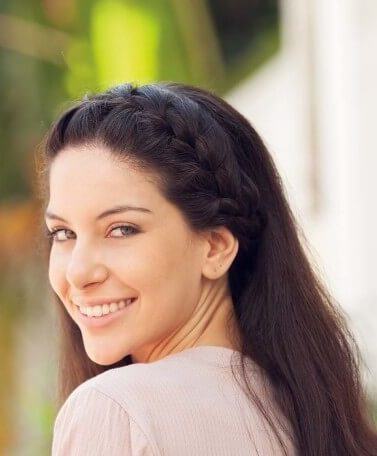
Not that we’re complaining: The half braided hair headband is another super-cute braid trend having a renaissance moment this year. Festival bunnies and forward-thinking gals alike are now taking to this delightfully meta-trend, which basically makes use of a French braid from ear to ear (or partline to ear, for on-the-go gals who want an abbreviated version), forming a headband made of your own hair. Super cool, right?
How to Create a Headband Braid
The headband braid can keep pesky strands from messing with our fresh-face flow, especially now that high summer’s around the corner. Read on for a quick and easy tutorial on how to create a plait around the head.
TRESemmé
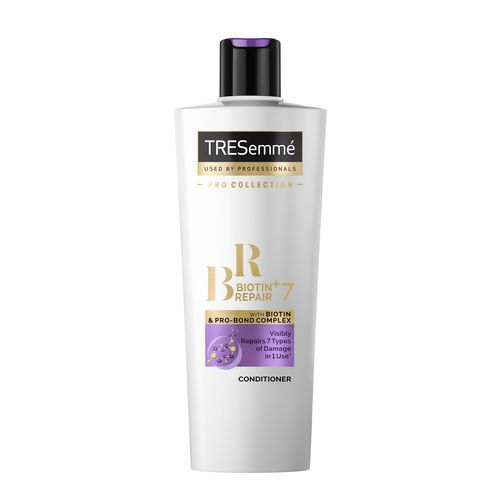
TRESemmé Biotin + Repair 7 Shampoo
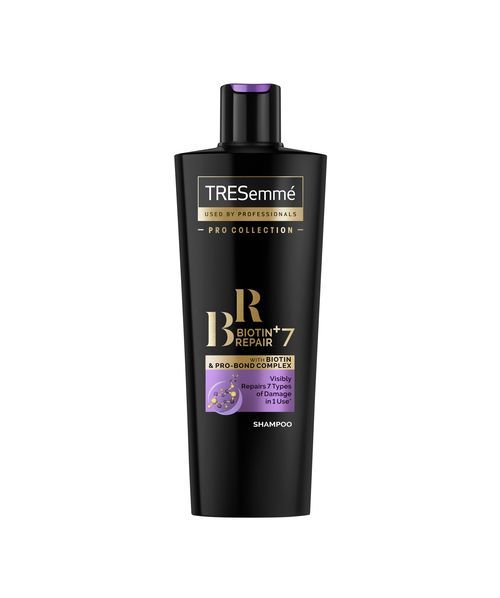
Start with clean and blowdried hair.
A fresh base is always the best base. Shampoo and condition hair with a fortifying wash and care system like TRESemmé Repair & Protect 7 Shampoo and the TRESemmé Repair & Protect 7 Conditioner, then blow-dry your hair.

Apply a small amount of hair serum or oil.
Braids expose cowlicks and flyaways like no other. Hair oil or serum can help infuse strands with moisture and keep frizz at bay, making those weaves look immaculate. Pump a tiny amount (just slightly bigger than a pin-prick, really) into your palms and run through your locks. We like the effects of TRESemmé Keratin Smooth Serum (not pictured), which works to seals in some major shine.

Section off the hairline area.
Using the end of a fishtail or rat-tail comb, create a well-defined part a few inches behind your hairline. For this half-headband version, first part your hair as you would normally before sectioning off the front. You should end up with a thick strip of hair that begins at your forehead.

Divvy up into three small sections.
Take three small locks from that freshly parted section, as in a regular French or three-strand braid.

Start French braiding.
French braid your hair, moving downwards from your partline towards your ear. The top of your head should start to resemble a waterfall effect, as you incorporate strands regularly into each weave.

Continue braiding till the tips.
Braid till the ends, switching to a regular three-strand braid right above your ear, so the plait is detached from your scalp. Secure with a hair tie. Pancake (a.k.a. flatten/fatten) the braids to even them out, as they tend to get thinner, especially towards the tips.

Tuck the tail under.
Swoop your finished plait underneath the rest of your hair, and secure it at your neckline with some bobby pins.

Make a tiny bump.
Want more personality to your headband braid? Create some lift at the backseam by gently tugging with the end of a fishtail comb.

How to do a braided headband: Step-by-step guide
Whether you want to update your everyday look or try a new hairstyle for an upcoming special occasion, all you need to do is follow our easy hair tutorial to learn how to get a braided headband look at home. We’ve also included the products you’ll need to get the perfect headband plait — bonus!
Section your hair.
To create your headband braid, you’ll need to section a large piece of your hair with a tail comb. This section should be approximately 3 inches-wide and should start from your deep side part and finish just behind your ear on the opposite side.

Get ready for braiding.
Ready to learn how to make a braided headband? Then take a 1-2 inch-wide portion of hair from the section that you created in step 2 and divide this section of hair into 3 equal parts. Now cross the left section over the middle section, before crossing the right section over the new middle section.

French braid your hair.
Once you’ve completed this process twice, continue braiding along the hairline, but this time makes sure to pick up a small pieces of hair as you weave, just as you would do a French plait.

Pancake your braid.
Once you reach the opposite ear, you can stop picking up strands of hair to interweave into your braid, and simply continue plaiting your hair until you reach the end. Once you’ ve braided your hair all the way down to the tail, secure your plait with an elastic band. Then pancake it to make it appear thicker and fuller. To do this, use your thumb and index finger to lightly tug at your braid.

Secure your braided hair.
Pull the tail of your plait around your head, so that it lies flat against the nape of your neck. Secure it to the underneath bit of your hair with some bobby pins every few inches to ensure it stays hidden under the rest of your mane.

Curl your remaining hair.
Now that you’ve completed your headband braid, it’s time to focus on the rest of your mane. Working on 1-2 inch sections of hair at a time, use your curling iron to make loose waves. Only hold the curling iron in place for a few seconds, as you don’t want to make ringlets, here!

Final look.
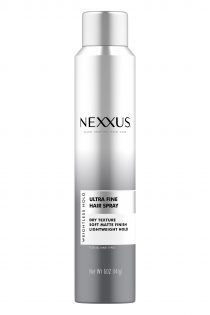
Secure the final look with a mist of Nexxus Weightless Style Ultra Light Hair Spray! And there you have it: a boho-inspired headband braid that will impress all who gaze upon it!

How to Braid your Hair like a Headband with Short Hair
Think that short hair can’t be braided? Well, think again, because the good news is that the headband braid can be done on short tresses too. Yes, you heard us correctly. This is because the headband braid is a flat plait and doesn’t require lots of lengths. Neat, eh?

So, want to know how to braid your hair like a headband on short tresses? Easy! Just follow these steps, below.
Step 1. Start with second-day hair and use dry shampoo to give your strands some grip.
Step 2. Section hair from ear to ear, pull the back section away, and secure it with a clip.
Step 3. Starting from behind one ear, divide a section of hair into three equal strands. Begin to French braid your hair.
Step 4. Continue to plait, adding in strands along the way to create your braided headband.
Step 5. Keep plaiting all the way to the end, then use a bobby pin to discreetly secure your braid behind your ear, like our model above.
Step 6. Pancake your braid and set the final look with hairspray.
