Tutorial: How to Create a Fishtail Braid in 5 Ways
A classic style you can always fall back on.

Time
Skill
You Will Need
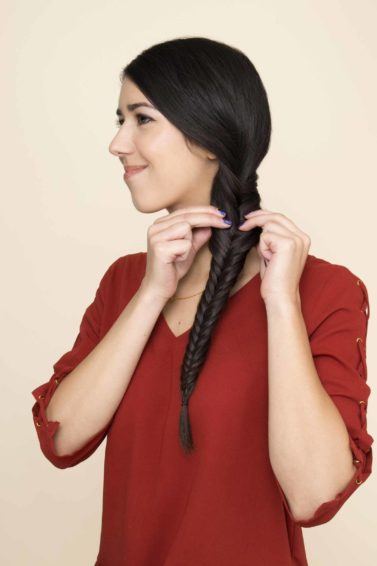
Of the many fun variations of braided hairstyles out there, the fishtail braid is one of the most coveted braids. Making the rounds on runways and street-style mavens everywhere, it’s not just a clever way to keep hair from sticking to your neck when it’s hot out. The fishtail braid’s appeal stems from its complex-looking herringbone plait that quirkily resembles—you guessed it!—a fish’s tail.
Looks can be deceiving, though, as this fish plait is surprisingly low-maintenance. This look is also super versatile, as it paves the way for some chic updos like a low bun. This half-futuristic, half-folksy braid that’s been having a major renaissance seriously takes less than five minutes, hand to heart.
Fishtail Braid Tutorial #1: How to Fishtail Braid
That said, we put together five different tutorials on how to achieve the fishtail braid. These tutorials will ensure you’ll master how to make a fishtail braid, no matter your hair type or skill level. Read on:
Step 1: Wash and condition early.

TRESemmé
TRESemmé Thick & Full Shampoo

TRESemmé
TRESemmé Thick & Full Conditioner

Wash and condition your hair the night before with TRESemmé Thick & Full Shampoo and Conditioner. Let your hair dry overnight for a little bit of natural texture. Minimal time spent on heat styling during this busy time of year is always appreciated for the final result of the fishtail braid.
Step 2: Add some sleekness.
Run a few drops of the Suave Moroccan Infusion Styling Oil throughout your strands for some instant shine, and prepare to start fishtail braiding. Make sure to spread the product evenly through your mane for an all-over shine!
Step 3: Time to braid!
Part your hair into a deep side part and gather it all to your preferred side. Separate it into two sections and begin crossing one smaller section from one side over into the other. Be sure to pull each added section firmly before moving to the other side.
Step 4: Secure your fishtail braid.
Continue braiding until you get to the bottom of your hair and secure the fishtail braid with a hair tie. Gently pull the braid apart for more dimension, and viola! You’ve achieved the ultimate ‘running errands’ style that still manages to be chic.
Fishtail Braid Tutorial #2: How to Create a Half-up Fishtail Braid

Step 1: Create Soft Curls
Starting with clean, dry, and detangled hair, Dove Quench Absolute Leave-In Detangler can jump in and help make hair smoother and more manageable if needed. Comb hair back and prep hair with a heat protectant to protect your hair from any heat damage. Create soft waves with a one-inch curling iron.
Step 2: Section hair and create fishtail plaits
Gather a small subsection of hair on both sides of your crown. Split one side into three strands, then begins creating your fishtail braid. Braid hair from root to mid-length, then tie on an elastic band to hold the braid in place. Move on to the opposite side and repeat the same steps to create your plait.
Step 3: Connect your braids to create a half-pony
Cross braids from the left and right side over to the back of your head. Once you’ve connected your braids, tie an elastic band around them to create a single ponytail. Take a subsection of hair from your ponytail and wrap it around the elastic band to conceal it and add a stylish touch to your hairstyle.
Step 4: Set fishtail braid with hair spray
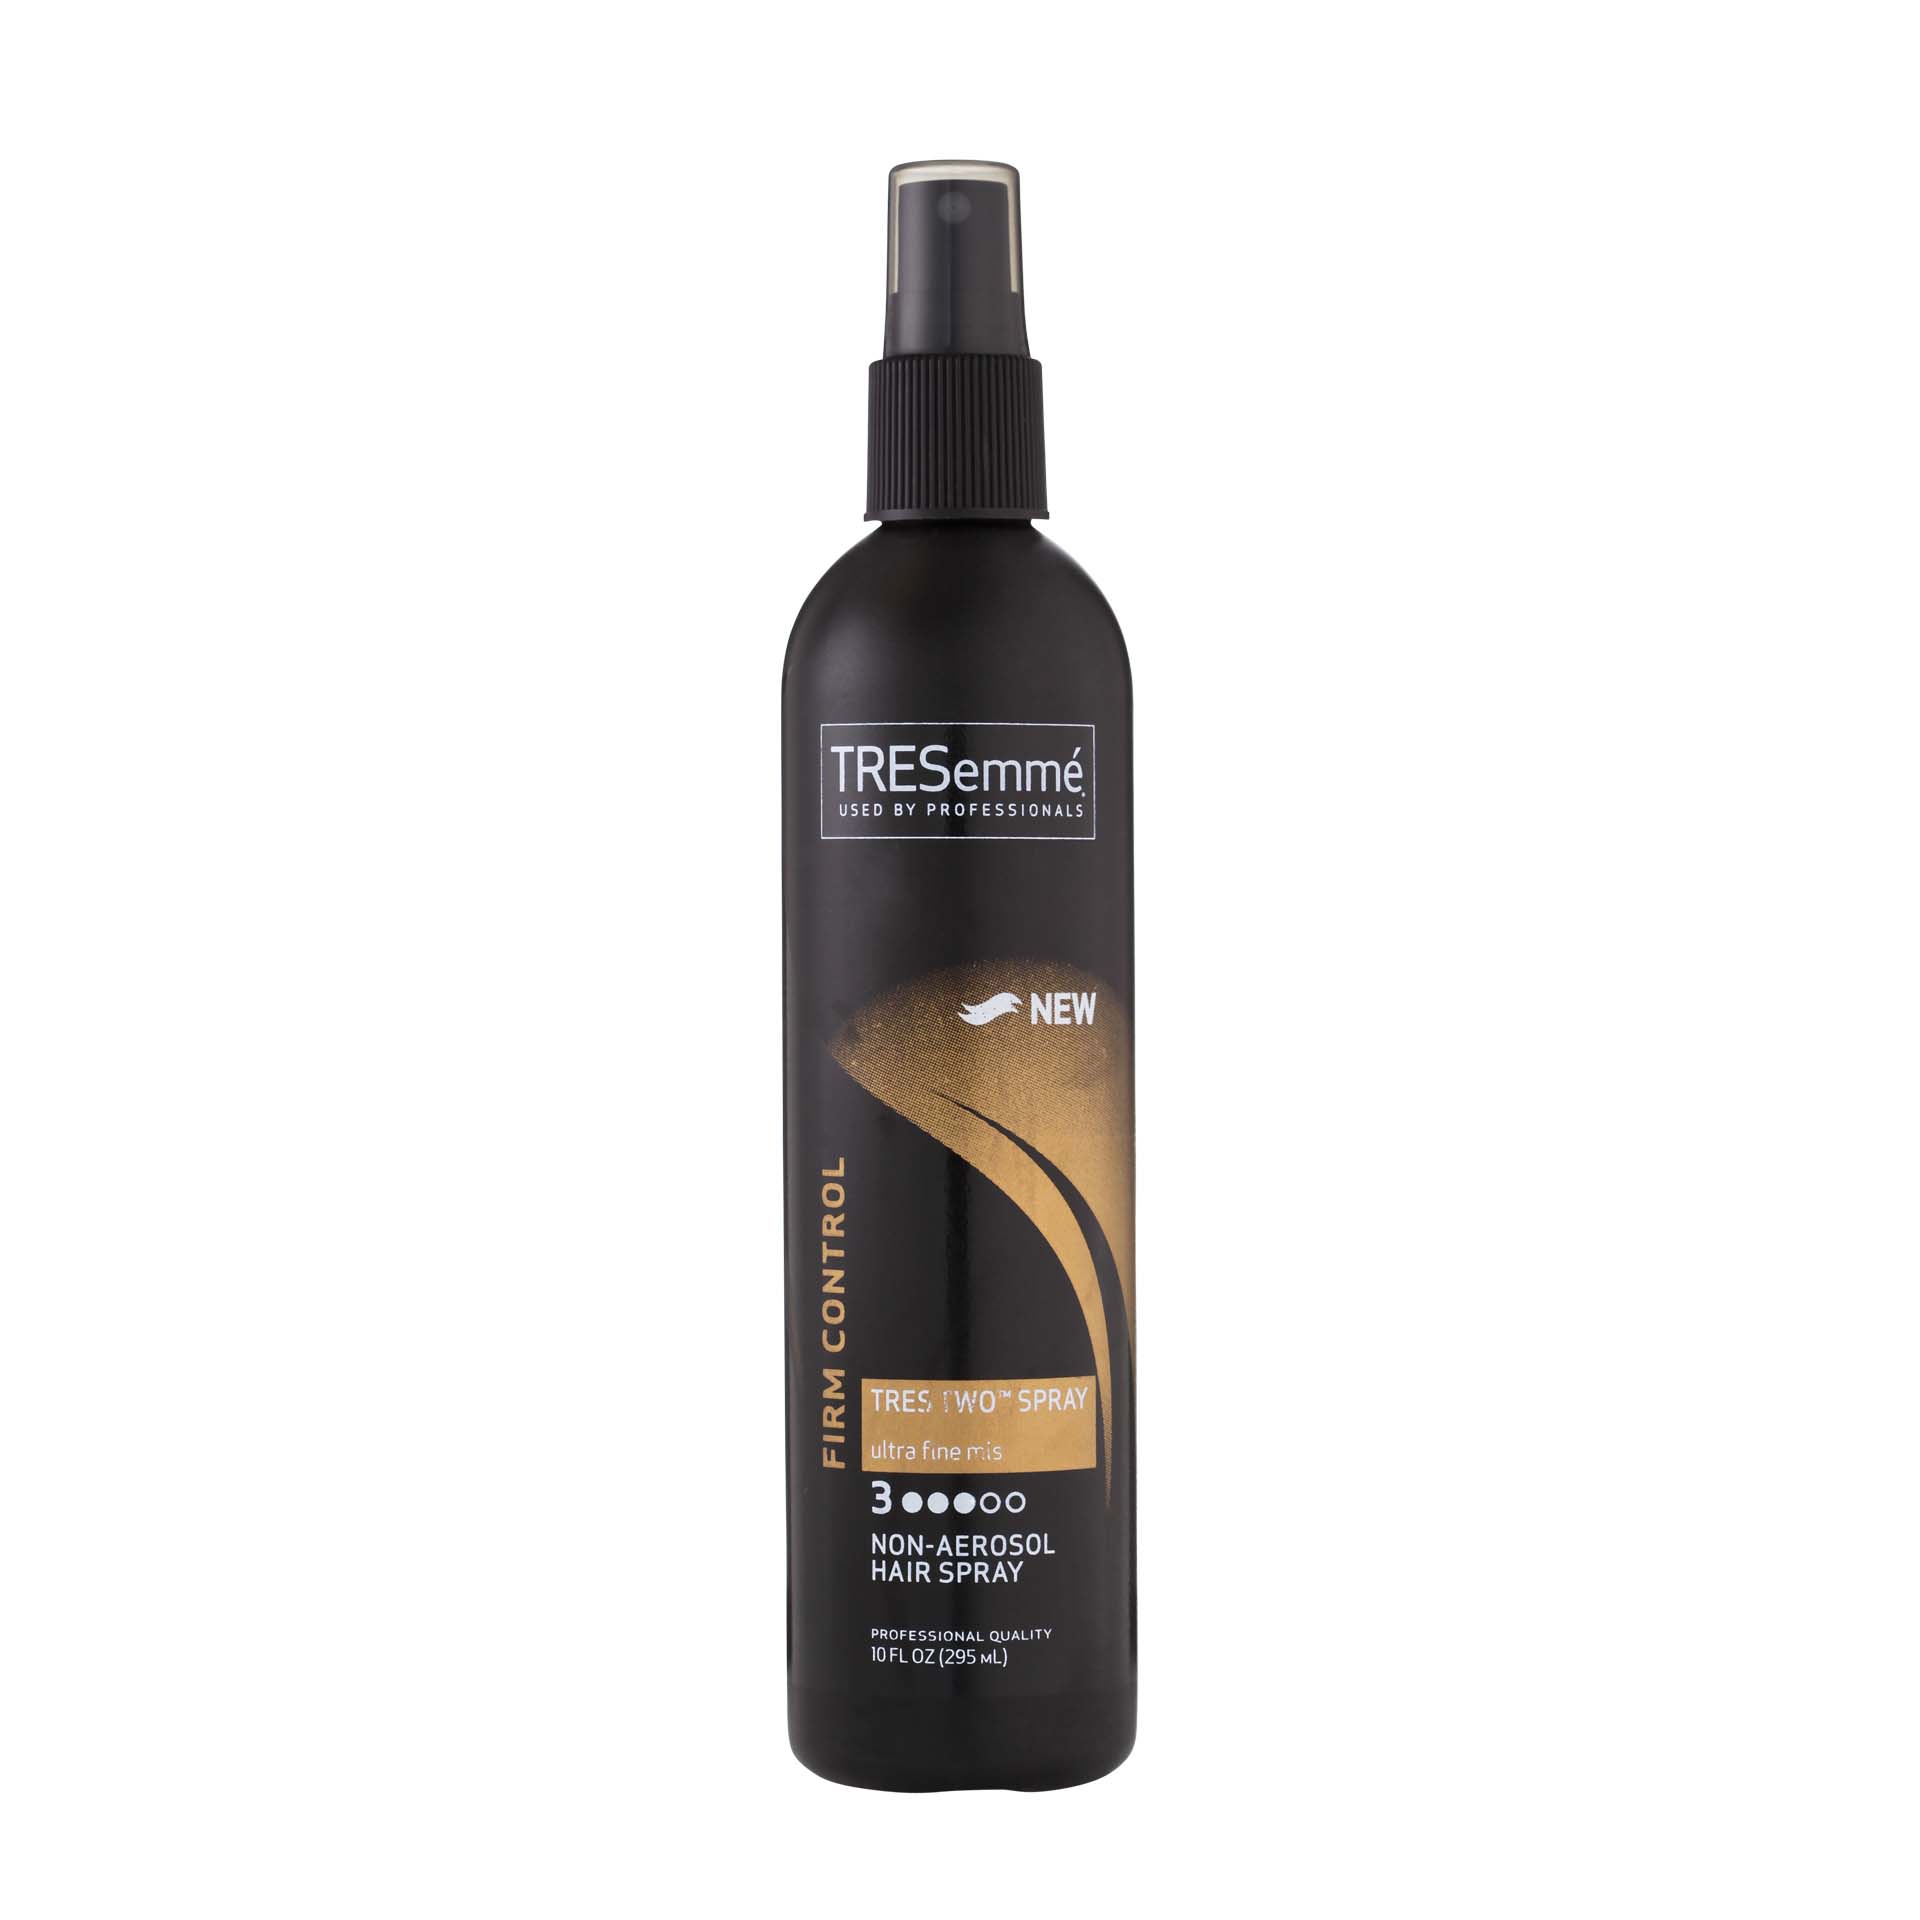
Finish off your hairstyle with a hair spray that provides a flexible hold, like TRESemmé TRES Two Ultra Fine Mist Non-Aerosol Hair Spray.
Fishtail Braid Tutorial #3: Basic Easy Fishtail Braid
Wash and detangle hair.
For a shiny finish, wash hair with Suave Professionals Moroccan Infusion Shine Shampoo and Conditioner. Dry hair with blow-dryer.
Ed’s note: Typically, you can create a fish braid whether the hair is straight or curly, but we like having a clean slate without any residue (more traction!). To add a fringe, pull out hair at the front section to frame your face.

Section your hair.
Gather your hair into a side ponytail, then divide it into two equal sections. Hair hack: Before you section, you can also tie on a hair elastic to anchor your ponytail in place.

Begin the fishtail stitch.
Pull out a piece of your hair from the left back section to begin the stitch. Pull it across and over to the outer right section, incorporating it.

Create the second section
Next, pinch a section of hair from the outer right section, then cross it over the middle and incorporate it into your entire left section.

Continue the plait.
Repeat Step 3 and 4, weaving downward. You’ll begin to see that telltale herringbone or fishtail pattern form as you move downwards your ponytail.

Tie it off.
Secure the end of your braid with a hair tie or elastic.
Ed’s note: Our model simply flipped her plait over to tie it off, but if you’re digging the look of an inverted plait, try a Dutch fishtail braid instead. To achieve, simply cross the side sections over instead of under.

Pancake your braid.
Gently pull the braid apart, a.k.a. pancake it, to create a fun, mussed up, texturized effect. This will also add width to the braid.

Done!
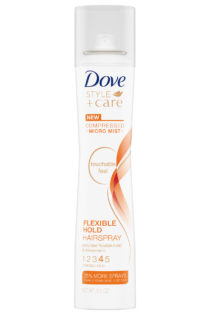
Set your hair with Dove Style+Care Strength and Shine Flexible Hold Hairspray to give your braid some light hold. Practice makes perfect!

Fishtail Braid Tutorial #4: How to Do a Fishtail Braid on Curly Hair
Start on clean, freshly washed hair.
Prep your hair by shampooing and conditioning with a system designed for curly hair, such as Dove Absolute Curls Shampoo and Conditioner. You can also opt to prep dry hair with a leave-in conditioner instead, such as Dove Absolute Curls Leave-In Detangler, to help unfurl any knots and protect hair against breakage from tugging.

Part hair to one side.
Create a deep side part with your fingers or a wide-toothed comb, even bringing all hair over one shoulder. Prepare to section your ponytail.

Start braiding.
Split your ponytail into two halves and begin your fishtail braid. To achieve this, pinch thin slivers from the outside edge of each half. Alternately cross them into the middle, taking each into the opposite big half. Continue until the end.

Pancake your plait.
Secure the ends with a hair elastic. Gently tug the sides of each weave to flatten (or fattening!) it and create a more interesting texture.

Done!
A spritz of humidity-protecting hairspray, like Suave Professionals Luxe Style Infusion Anti-Humidity Hairspray, seals the deal. You’re all set!

Fishtail Braid Tutorial #5: Messy Milkmaid Fishtail Plait
Prep hair.
Start by first washing hair with a weightlessly moisturizing system (we love TRESemmé Thick & Full Shampoo and Conditioner to prime for a texturized, wavy look).

Create two pigtails.
Tie your hair into two pigtails. Secure each pigtail in place with an elastic just below your ear. If you have fringe or long layers near your face, leave these free.

Start braiding one pigtail.
Now it’s time to fishtail plait your pigtails. Working on one pigtail at a time, divide your hair into two equal sections. Then, take a thin piece of hair from the outer edge of the right section, and pull it over to the left section.
Repeat the same technique on the left section of your hair, ensuring that you are holding your tresses tightly while you braid so your plait doesn’t come loose.
Once you reach the bottom, secure your fishtail plait with a clear elastic. Then, pancake your plait to loosen it and make it appear slightly disheveled, before repeating the whole braiding process on your other pigtail.

Create your milkmaid crown.
You’ll now need to secure both pigtails across your head to create the milkmaid braid effect. Take your left plait and place it across the top of your head near the front, just behind your loose sections of hair that you pulled out. Secure it with bobby pins every few inches down the plait.

Secure your milkmaid braid.
Now do the same with the right plait, placing it just behind the left one, and securing it in place with some more bobby pins.
Ed’s note: If you have long hair and find that your braids don’t finish in the center of your head, you can bring them down behind your ears and secure them there so that the ends are hidden from view.

Curl your front fringe.
For a romantic finishing touch, use a curling wand to curl the front loose sections of your hair. Lock in your look with TRESemmé TRES Two Freeze Hold Hairspray so your style stays put all day long. Done!

Want to learn how to master more chic looks like this? Be sure to check out our newsletter below!


