Rose Bun Hair: The Simple Yet Chic Style You Need on Tap
Mimic the romance of May's prettiest flowers with a romantic floral-inspired chignon.

Time
Skill
You Will Need
Regular updos are great and all, but why not elevate your go-to evening look with something a bit more… shall we say, seasonal? This beautiful rose bun hair tutorial gets you in step with them darling buds of May because, well, the flowers are definitely a-bloomin’, and hey, who said weddings and festivals get to have all the floral fun?
Read on for a detailed step-by-step guide to getting this charming, spring-ready look, just in time for all your Mothers’ Day celebrations:
Tutorial: Rose Bun Hair

Step 1: Start with just-washed hair, or use a dry shampoo.
The rose bun hair look is best on locks with a bit of grip. Freshly shampooed hair has that just-washed body that’s perfect for gathering hair up into an intricate updo, so we suggest rinsing hair in the shower beforehand. Cleanse with a lightweight moisturizing system, like Nexxus City Shield Shampoo and Nexxus City Shield Conditioner. Rinse and towel-dry.
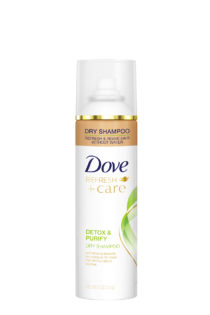
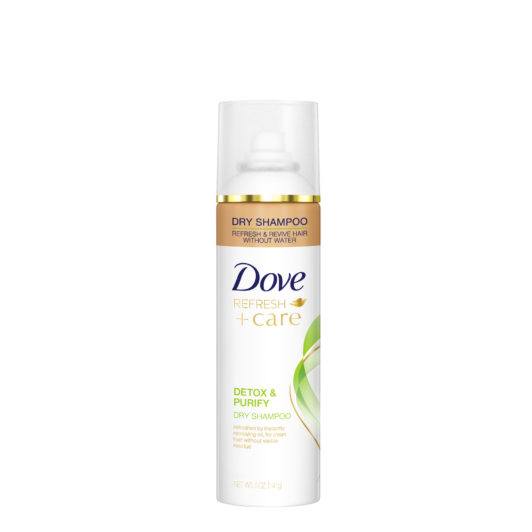
You can also skip this step in a pinch and just do a quick refresh with a dry shampoo, like Dove Refresh+Care Detox & Purify Dry Shampoo.
Step 2: Spray on a heat protectant.
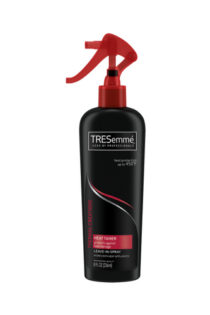
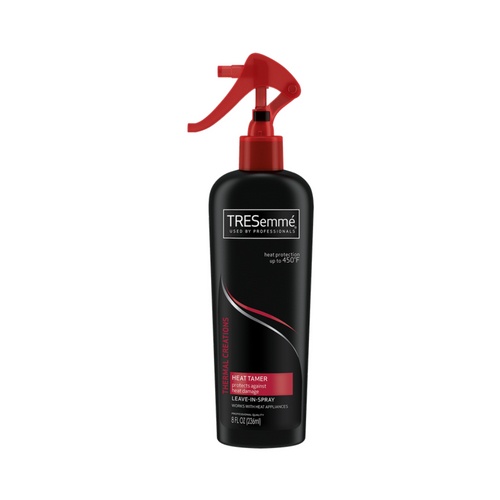
Apply a thermal protectant, like TRESemmé Thermal Creations Heat Tamer Spray, onto strands before styling.
Step 3: Curl your hair.
Using a medium-barreled curling iron (1 1/2”), curl hair around vertically. Editor’s tip: Curling all your sections in one uniform direction looks better with rose bun hair.
Step 4: Divide your hair into three sections.
Split hair into three: left, middle and right. Next, take the top middle section and clamp it out of the way.
Step 5: Gather the low-middle section into a low ponytail.
Create a ponytail with your remaining middle section. Tease/backcomb, then smooth the top over to create some body and volume.

Step 6: Create your rose bun.
Coil your hair around to create a bun, but instead of going from inside-out, like in a regular bun, start with a big coil, then spiral hair around from the outside in. You should end up with a cinnamon-like bun. Secure the innermost hair in the middle with pins.
Step 7: Remove the top middle clip and tease.
Backcomb your top middle section to create volume and a bit of height, then smooth it over. Wrap it around the outermost edge of your rose bun, then pin.

Step 8: Repeat on your side sections.
Tease and then smooth over each side section, then loop it around your rose bun, securing with pins. If each section is too thick, feel free to split them up further into more manageable sections before pinning them around your main bun. Secure all around with pins until your style feels stable.
Step 9: Set with hairspray.
Finish up your rose bun hair look with a light coating of hairspray, such as TRESemmé TRES Two Extra Hold Hairspray, for budge-free hold and frizz protection. All done!


