How-to: A Step by Step Guide to get that Perfect Beachy Wavy Look!
You Will Need
Effortless beachy waves are the It Girl style of choice, simply because it has that “I woke up like this” vibe mere mortals aim for on a daily basis. Luckily, you don’t need to be a mermaid to sport a mane full of tousled tresses.
Getting perfectly imperfect beachy waves, especially for you straight texture gals, has its technique. Though it’s not complicated, choosing the right styling products and curling iron is essential as well as doing a neat prep work beforehand.
While we can’t promise you a trip to the beach, this trendy ‘do will take you a step closer, even if it’s just mentally! So, keep reading and learn how to get beachy waves in minutes.
Work those roots.
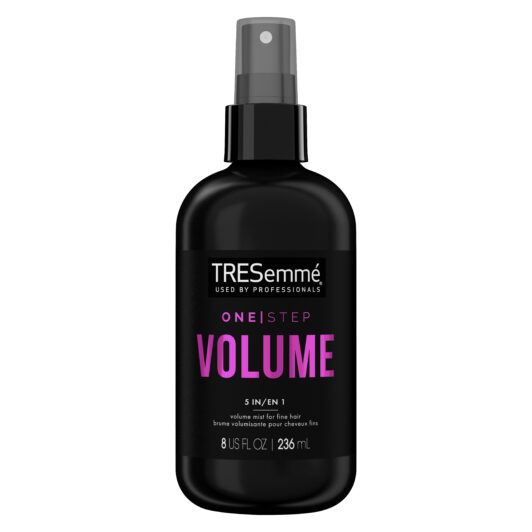
Why use 5 products when you can use 1 that does it all? For all day volume, heat styling protection, strength, frizz control and light hold, start by spraying TRESemme One Step Volume 5-in-1 Volumizing Mist For Fine Hair all over your hair. To level up your voluminous style, focus the spray on the roots as well as your mid-ends to hydrate and protect from the heat.

Blow dry your hair.
To keep building up more texture, roughly blow dry your hair using just your fingers. By not smoothing it out with a brush, for example, you’ll be creating the same effect as if you were air drying it by the beach. One can dream, right?

Divide and conquer.
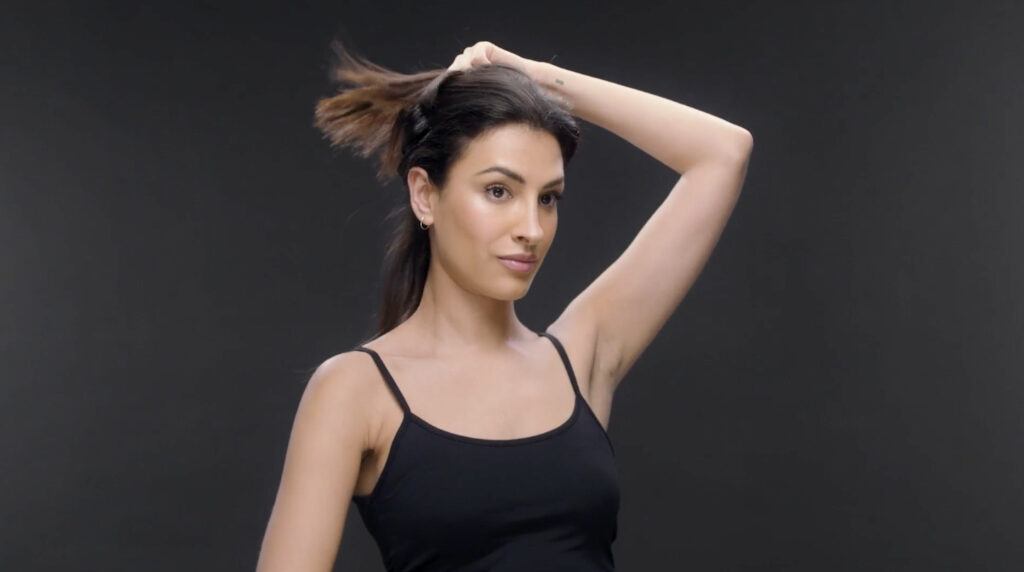
Split your hair horizontally into two sections – a larger one on top of your head which you’ll be clipping back and work on it later; and a smaller one near the cape of the neck, where our beachy waves will start making their appearance.
Start curling.
Slow and steady wins the race! Take a thin piece of hair (approximately an inch or so) and wrap it around the curling iron, loosely, with downward movements. Here are some key rules: start your waves a few inches down from the roots, and don’t leave it for too long or you’ll end up with big, bouncy spirals! In fact, the technique is to leave the ends out while curling and once it’s done, pull down the strand to give it a more natural finish to your waves.
For effortlessly textured beachy waves, try a curling iron with a 1 to 1.25” barrel size – a larger one will only create loose waves (or similar results to blow drying with a round brush) while a smaller one tend to be preferred for well-defined curls.

Repeat.
Repeat the process making sure you’re grabbing an inch or two hair piece at the time. As we want a natural look, alternate the direction of each curl – one strand clockwise to the back; the next one counter-clockwise towards the front.
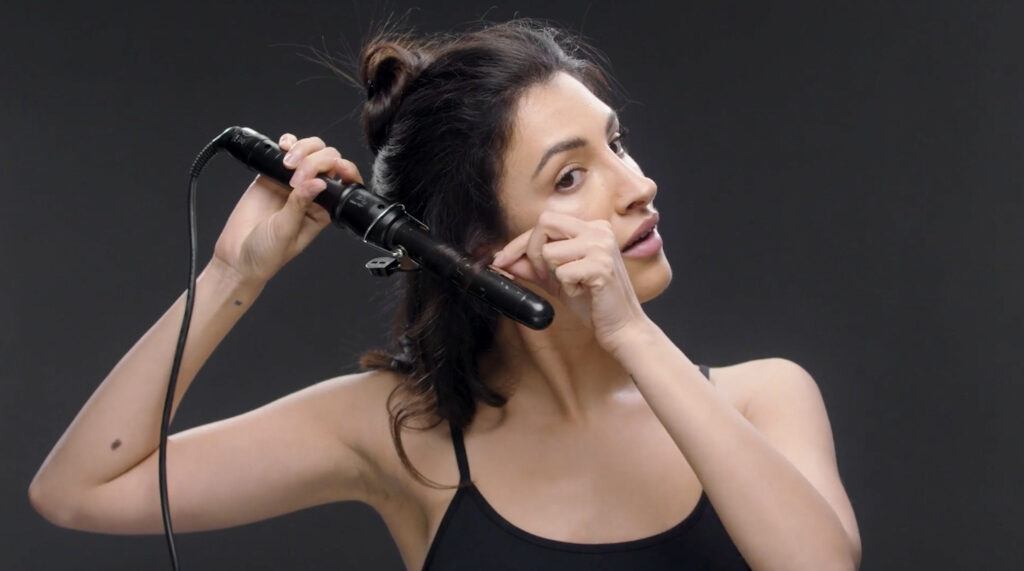
Style the front section.
Unless you have bangs, the key for an updated style is to curl your front and top pieces away from the face. You’ll do so by twisting the strands counter-clockwise (as you probably did while alternating the rest of your hair). When the curl is done, firmly pull it to the side to set it in place.
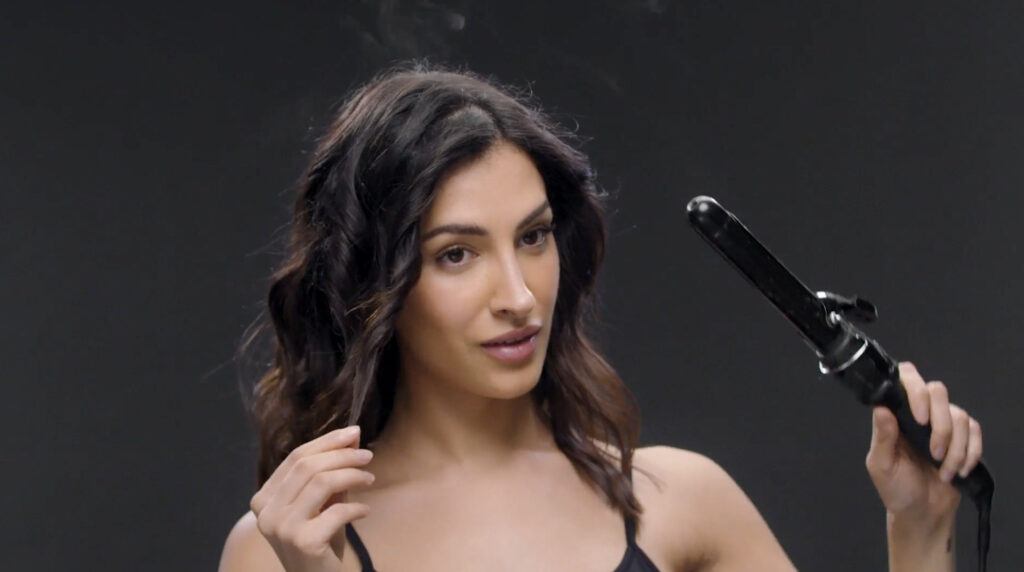
Done!
Now run your fingers through your hair to loosen up your curls, and that’s it! Beachy waves don’t require any sleek finish, so let your mane have some fun and depending on the occasion, dress it up or down with killer makeup or classic accessories.

Beachy waves were once considered a summer staple and and now you can rock this effortlessly chic style year-round with this simple technique. No sand or salt water required!
Share your looks with us on Instagram at @AllThingsHairUs!


