
Snake Braid: 2 Ways to Ace this Boss Look
Get creative with your hair with a cool snake braid technique.
Do you love braids? Do you love buns? If you’ve answered yes to both, we’ve got the ‘it’ hairstyles that you’ve got to try. Enter the snake braid. These unique braided hairstyles combine three-strand braid techniques and buns to create cool new hybrids of a low bun and French plaits that meld together, forming a stylish updo. You can say that we’re mildly obsessed with these fun hairstyles. They’re super versatile for school, work and your weekend adventures. Read on to try out the latest braided hair trend:
Snake Braid Bun Tutorial
Start with clean hair.
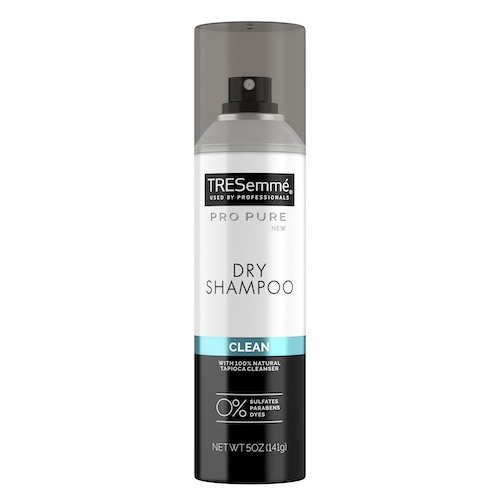
To begin your snake braided bun, begin with refreshed and hair. If you haven’t washed your hair in a day or so, revive your locks and soak up some of your hair oils by using some dry shampoo like TRESemmé Clean Pro Pure Dry Shampoo. Bonus: This product won’t leave any visible residue!

TRESemmé
TRESemmé Clean Pro Pure Dry Shampoo
Apply some serum to your hair.
Apply some serum to your hair to help tame frizz, like TRESemmé Keratin Smooth Serum. These snake braid hairstyles will be a whole lot easier if your hair is smooth and soft.

Comb your hair.
Comb the serum throughout your hair for even distribution. Create your middle part with the assistance of your comb and fingers.

Create your first braid.
Start with your first braid by dividing your hair into three sections. Then create your three-strand braid.

Braid to the ends.
For each section of your hair, be sure to braid your hair all the way down until the very ends. This will help keep your braids tidy and ensure that they won’t be loose before you create your bun.

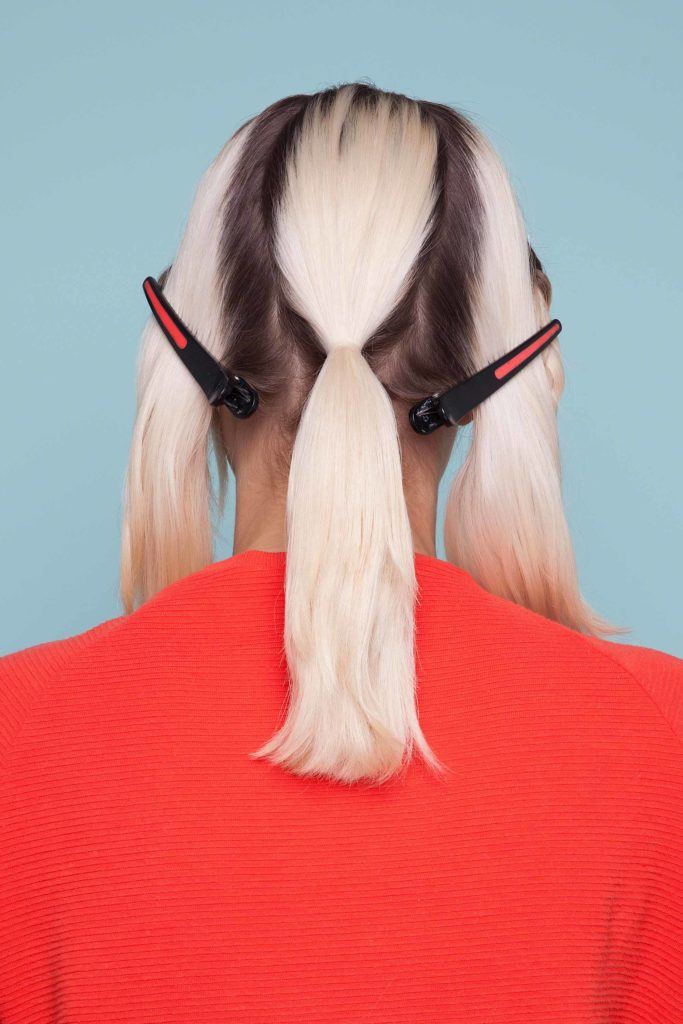
Create your back sections.
Create three even sections at the back of your hair. Secure the middle section with a ponytail holder. This will serve as the base for your snake braided bun.
Complete the braiding.
Complete braiding your sections, including your ponytail. Wrap the braided ponytail into a tight mini bun. You want to make this part small so there’s room to layer your remaining braids around it explained in the following steps.

Wrap braided sections around bun.
Wrap each braided section of your hair around your newly created bun. Then secure this braided bun in place with some carefully-placed bobby pins.
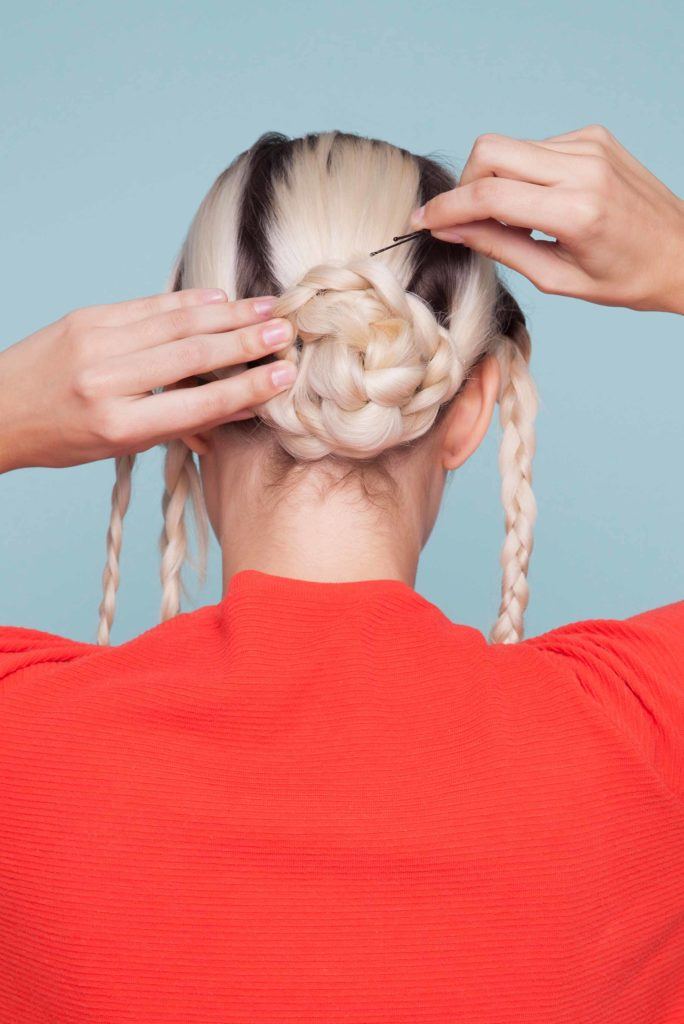
Your snake braid is done!
Look at that snake braid in your hair! Awesome work! Now, tame any wayward strands or frizz by applying some additional serum to the base of your hair. Then, spray your snake braid with some hairspray, like Dove Style+Care Extra Hold Non-Aerosol Hairspray, to ensure that it stays in place. Formulated with Nutri-Style Complex, this hairspray helps give your hair proper holding power without leaving your locks feeling sticky. A shine spray such as Bed Head for TIGI Headrush Shine Spray helps give that lasting pop of shine.

And now, for a pancaked version:
How to Create a Pancaked Three-Strand Snake Braid
1. Section off your hair.
To start your snake braid, section off the front portion of your hair. If you don’t have bangs, this will be the section of hair that would be considered your bangs. Next, you’ll want to split this section into three separate pieces for your braid.
2. Begin braiding your hair.
Once you have your hair divided, begin a regular three-strand braid until you reach the end of your hair.
3. Scrunch up the braid to create a snake braid.
When your braid is complete, hold down the middle piece of hair and push the two sides upwards until you reach the top of your head.
4. Create the snake-effect in your braid.
Now it’s time for the exciting part of the style! Gently pull apart your scrunched-up braid, so you create the snake-effect, You should end up with a braid where the two outer pieces of hair look like a squiggle.
5. Secure your snake braid in place.

After you’ve separated the scrunched-up braid and you’re happy with the snake-effect you created, secure your braid in place with a hair clip or hairpins.
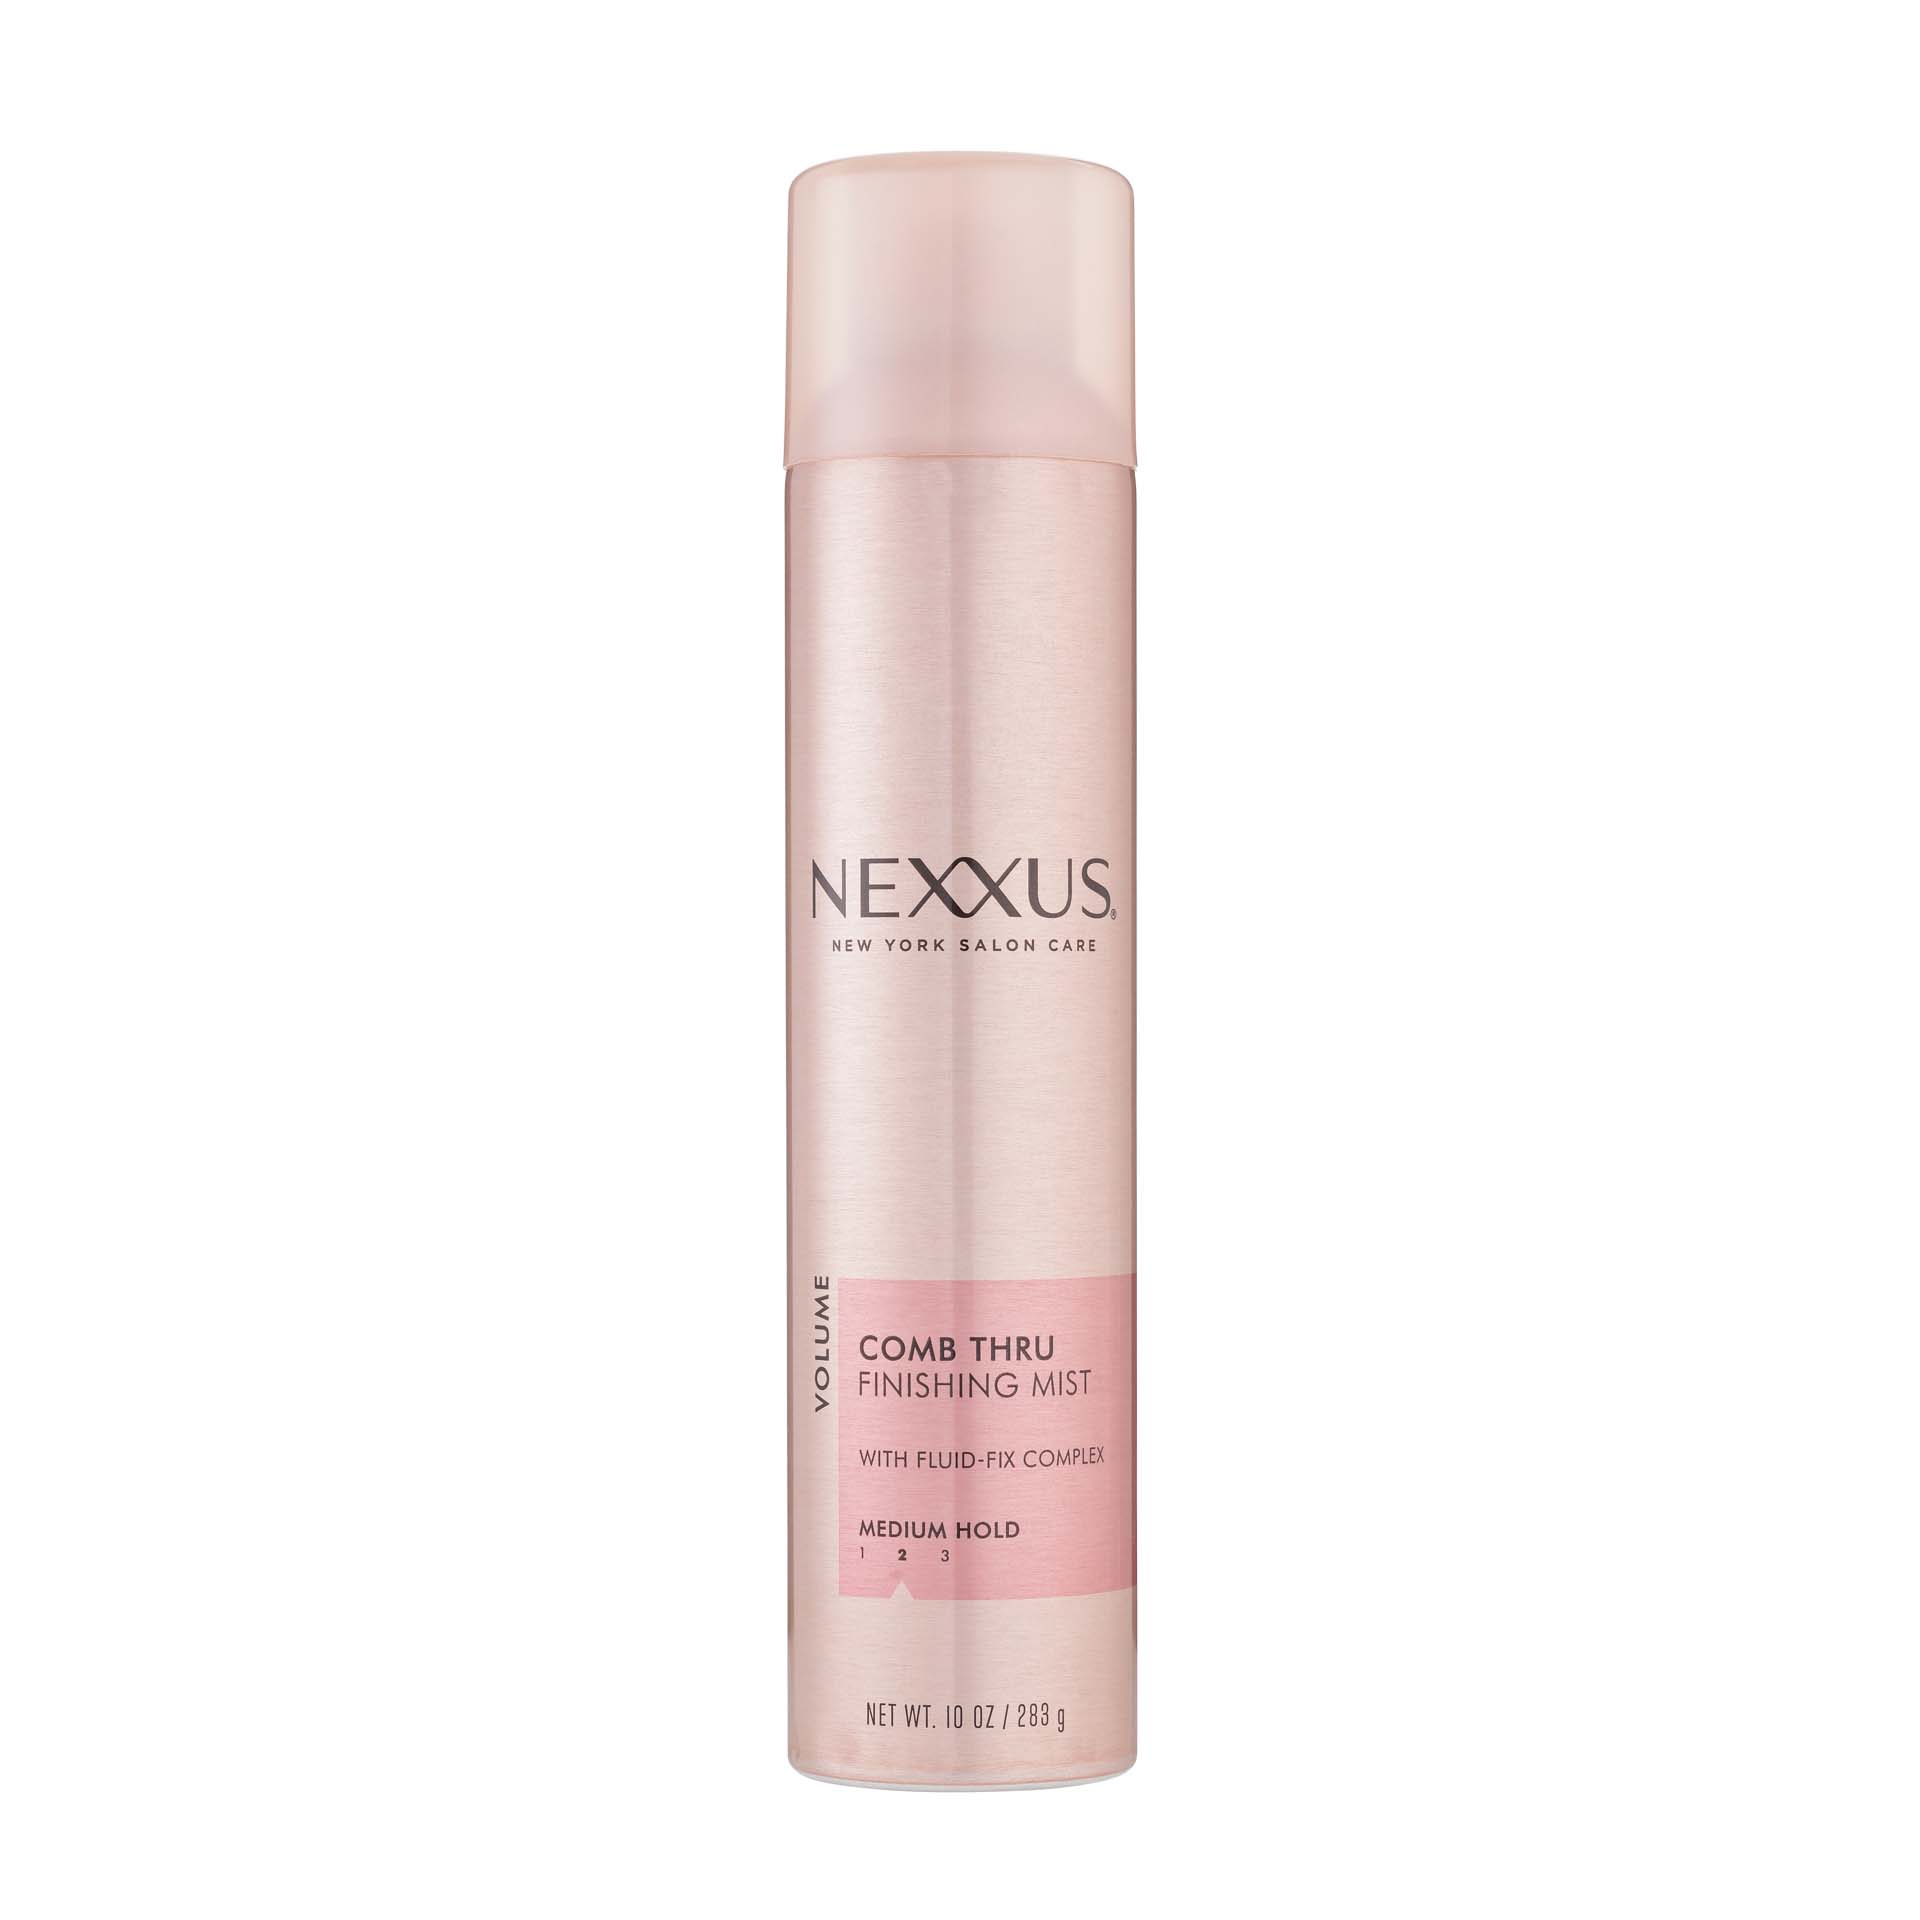
6. Make sure your braid doesn’t move.
So, you have a unique snake braid, we bet you’ll want your style lasting all day long. Lock your style in place with Nexxus Styling Comb Thru Finishing Mist.
