Tutorial: A Step by Step Guide to Achieve the Perfect Messy Bun Look

In a world where time is everything, having an easy and effective beauty routine will surely put a smile on your face every morning. That’s why this messy bun becomes the hairstyle of our dreams: effortlessly chic, cool, and quick – literally, it only takes a couple of minutes to master!
Texture is key to create a casual, tousled topknot. Thus, a mousse is the perfect styler to enhance your waves or curls in a natural way. That’s pretty much it! What we love about it? It looks good with both freshly washed hair or when you haven’t washed your hair in a day or two.
Follow our steps to make a messy bun, and get ready to steal the spotlight with that low-key, model off-duty vibe!
Prep your hair.
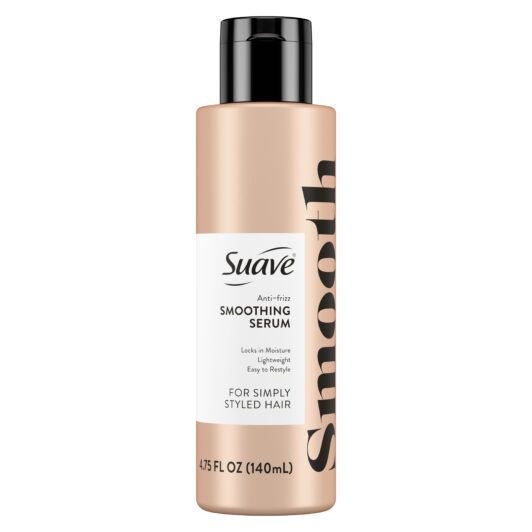
Starting with damp hair, apply a product like Suave Simply Styled Flexible Definition Wave Mousse. Remember to always shake the mousse well before turning the can upside down to dispense, then apply evenly from your roots to mid-ends. Thanks to its lightweight formula, this mousse is the perfect BFF when it comes to defining curls or waves and preventing frizz, all without that crunchy finish.

Diffuse.
Go for the extra mile by diffusing your hair with upward movements to add more volume and definition to your curls – a dream team for any cute, messy bun!

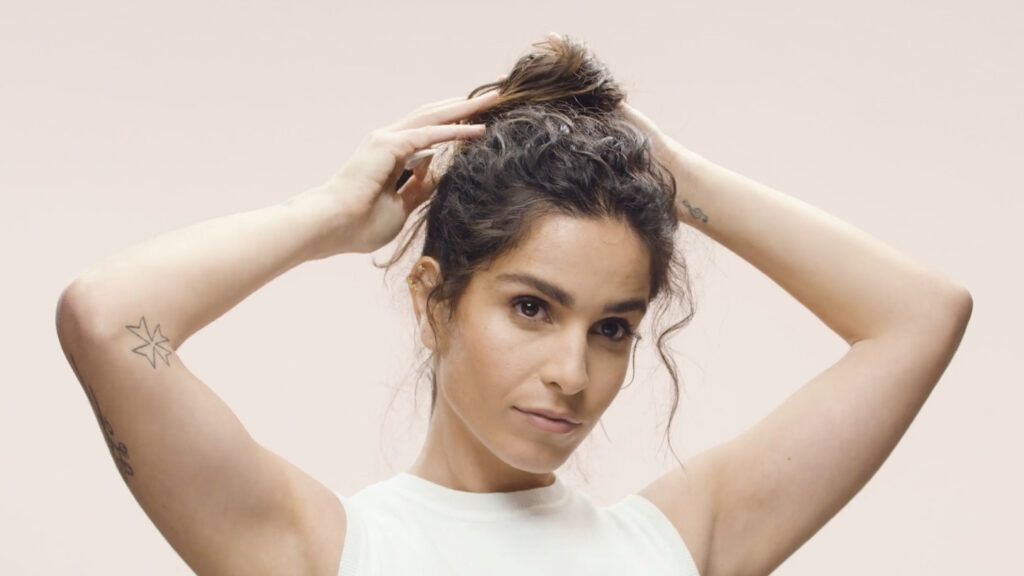
Pull into a high pony.
No complicated techniques here. Simply pull your hair up into a high ponytail, making sure you’re not grabbing it as tightly as you would with a chignon or a sleek pony to keep that perfectly undone look. Secure it with a tie.

Volume up.
Grab your ponytail up and backcomb downwards to the base. By gently teasing your hair, you’ll be creating even more volume for your bun, no matter your hair length or texture.

Twist it!
Now that your ponytail is backcombed, start twisting from the base towards the ends, then tuck and hide it into the elastic. Remember – for a truly chic messy bun, we’re aiming for coolness, not perfection!

Secure your messy bun.
At this point, your hair resembles the perfectly imperfect messy bun you’ve always wanted to master. That’s the magic of using an awesome trifecta (mousse, diffuser, and backcombing). No need to worry about flyaways – a perfectly imperfectly messy bun is about movement! However, you might want to secure your masterpiece with a couple of bobby pins so it stays in place longer, especially if you have short hair.
Done!
Separate and define some hair pieces in the front and sides to elevate that effortless, chic cool look. That will be the last stretch to complete your messy bun in minutes.

A messy bun isn’t a style to lounge around the house while doing laundry anymore. In fact, this look has found its way as the epitome of casual-chic ‘dos, becoming the perfect hairstyle for night outs, office meetings, and even weddings. All you need to do is pair it with trendy or classic makeup and accessories, depending on the occasion.
Share your looks with us on Instagram at @AllThingsHairUs!


