Tutorial: How to Achieve a Stylish and Classic Low Ponytail Look
You Will Need
Mastering the art of simplicity is now possible with this low ponytail. Perhaps the easiest of most hairstyles – a chic, classic ‘do, perfect for any texture and length.
A cute low ponytail doesn’t require much precision or technique. Instead, focus on key products to protect your hair from hot tools and to tame flyaways.
Sure – anybody can make a 2-second pony, but how do you truly make a low ponytail stand out? Details are everything here: front pieces a la Cher Horowitz; twists and crumples; and a smooth, shiny mane courtesy of a well-thought prep work. Bad hair day? As if!
Keep reading and learn how to tie a low ponytail in minutes.
Start with damp hair.
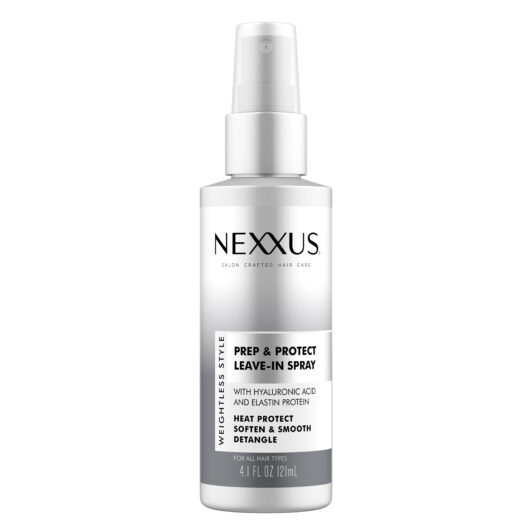
Starting with slightly damp hair, spritz a leave-in product like Nexxus Weightless Style Prep & Protect Leave-In Spray to detangle, moisturize, and protect your locks from heat damage. Make sure to evenly coat your middle and ends – that’s where we usually need a bit more moisture.

Protect, protect, protect.
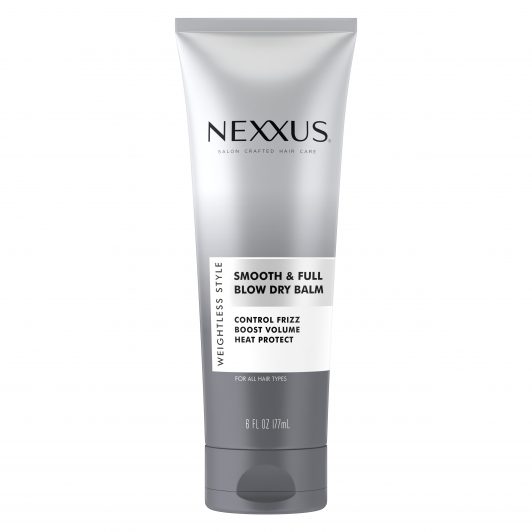
As we will be using some hair tools to style your low ponytail, a heat protecting and smoothing styling cream is extremely important for roots to tips. Go for a balm such as Nexxus Weightless Style Smooth & Full Blow Dry Balm. Its weightless texture will protect against heat damage, boost volume and control frizz to add softness and shine…all without feeling greasy!

Blow dry your hair.
Take a round brush and blow dry your hair straight with downward motions. Focus on your roots to create a bit of volume, and on your mid-section to smooth out any roughness. You’ll need a sleek canvas in order to elevate this cute low ponytail look!

Separate your sections.
Here’s where the magic begins! Make a clean middle-part, separate a good chunk of your front section (you can also use a rat tail comb for more precision), and set aside the rest of your hair in the back.
Now, go ahead and divide that into four more pieces: two larger ones at the end of the front section, and two thinner ones close to your forehead. The latter will give you that 90’s cool girl vibe we’re aiming for!

Clip it!
To keep things neat, clip your larger front sections slightly to the back of your head so you can focus on the smaller pieces – feel free to apply a bit of gel in them to prevent frizz and, of course, to add more shine and definition.

Brush to create the low ponytail.
It’s time for your masterpiece. Brush into a low ponytail, making sure you’re grabbing all of your hair in the back. A paddle brush is recommended for this step. If you want to add volume to the crown of your head, don’t pull your pony as firmly as you would with a completely flat, smooth-out ‘do. Once it’s done, secure it with a hair tie.

Twist front sections.
Remember those larger front sections you clipped earlier? Take one of them and start twisting it counter-clockwise from the base all the way to the end of the strand. Tuck and hide the end into the ponytail we created in the last step. Secure with bobby pins and repeat the process on the other side.

Wrap around.
If your twists are long enough (and can’t be easily hidden into your pony), simply wrap the ends around and secure with more bobby pins. This is the easiest way to upgrade a basic low ponytail in seconds!

Done!
That was quick, wasn’t it? Far from being a “boring” hairstyle, the classic low ponytail will save the day when you’re in a rush. No clean hair required!

Let’s be real – a low ponytail is the real MVP when it comes to hairstyles. You can dress it up and down depending on the occasion, and it also serves as the sleekest, chicest canvas for a more elaborated look: loose waves for a romantic vibe, defined curls to show off that awesome texture, or throw a glam-curve with some vibrant accessories.
Share your looks with us on Instagram at @AllThingsHairUs!


