My First Time Trying Tape-In Hair Extensions
Let's just say I'm never going back.
For years now, I have been obsessed with wearing clip-in hair extensions. While I didn’t wear them every day, you could catch me with longer, fuller hair almost every weekend. I love my natural hair but I have a hard time getting it to a super long length, which I love so much! The volume hair extensions offer are also a major bonus. I had been doing a lot of research into a more long-term hair extension option, and that’s when I learned about tape-in hair extensions. The process was incredibly easy and I’m very happy with the results, let me take you through everything you need to know about getting tape-in hair extensions:
Getting Tape-In Hair Extensions
Before

The Process
Day 1
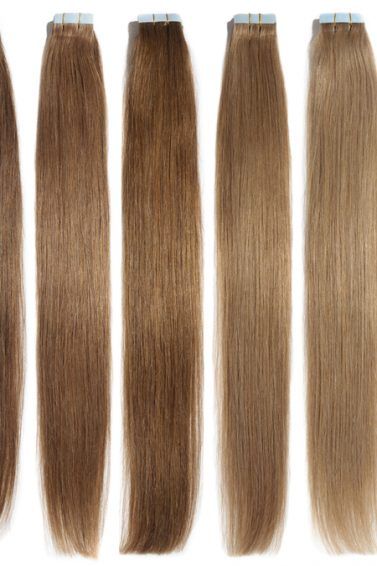
Getting my tape-in hair extensions was a two-part process. I had to go in for a consultation meeting with my hair stylist to go over what I wanted and to get color matched. I got my hair done by Ben Cohen at Lior Malka Salon in NYC. Ben was absolutely wonderful, he was so thorough from start to finish and did an amazing job! At the end of the appointment, I had to buy my extensions, and let me tell you, it is not cheap. Although it’s expensive, that’s a good thing. This is real human hair you are purchasing and you want it to be the best quality!
Day 2
I came in a week later to get the tape-in hair extensions applied. The first step was to wash and blow dry my hair to prep it for application. Next, Ben began sectioning my hair and adding in the extensions. Tape-in extensions look and work exactly how they sound. At the top of the hair section is a transparent piece of tape, with hair on both sides. The pieces of tape get separated and then sandwiched in between a section of your own hair.
The process was quick and painless! Once the tape-ins were applied they didn’t require any heat to activate the stickiness. When I run my hands over my head I can’t feel any bumps or hints of tape-in hair extensions.
Aftercare
The aftercare is incredibly simple! The main points to remember is avoiding the tape when washing your hair, particularly when using conditioner. You also have to try to avoid dunking your head in the pool. Other than that, you can treat it like your own hair.
I still wash my hair with my absolute favorite Dove Hair Therapy Rescue & Protect Shampoo and Dove Hair Therapy Conditioner.
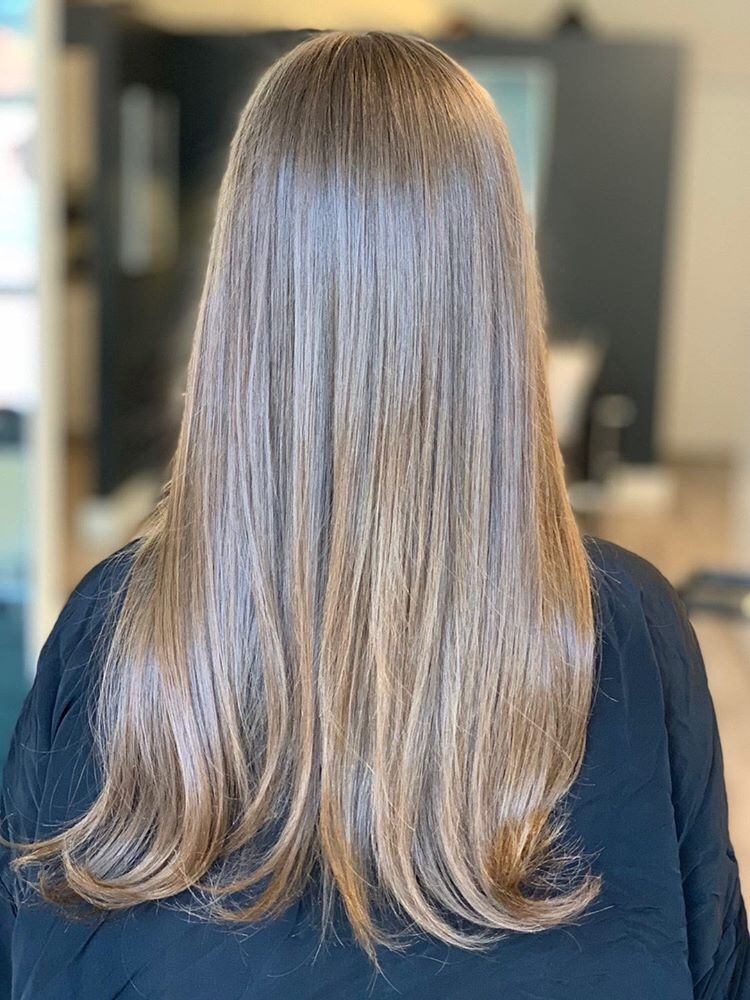
After

Styling
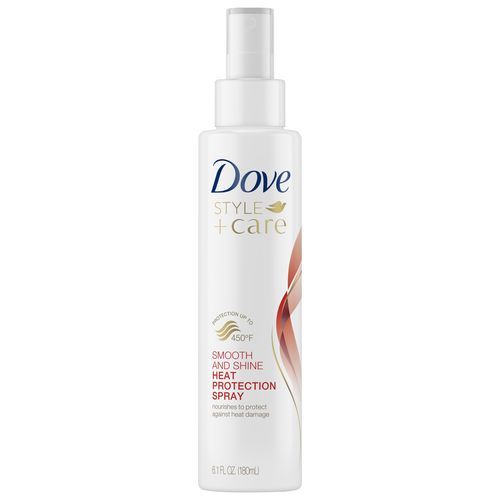
Styling with tape-in hair extensions is so easy, but it does require a little more patience. When brushing and styling your hair, be mindful that there is more of it and you should be delicate around the tape. Instead of blowdrying my hair in one go, I now dry my hair in separated sections to make sure they’re all dry and styled the same. Since all of this is real hair, I still use my Dove Style+Care Smooth and Shine Heat Protection Spray before any styling.
Final Thoughts
So, what are my final thoughts on tape-in hair extensions? I love them! They were 100% the right decision for me since I wanted longer, fuller hair and was already relying on clip-in extensions to get the job done. Now, I don’t have to worry about re-applying my extensions every day and styling is much easier since they’re fully secured in my hair. The price is expensive, but if it’s something you’ve wanted for a while, then I highly recommend giving it a try!


