How to Maintain Your Blowout Hairstyle and 10 Ways to Wear It
Hold onto that coveted blowout just a little bit longer.
Oh, that coveted blowout hairstyle. We can’t get enough of the results as we leave the salon or house with hair that’s sleek, frizz-free, and, yeah, even has some bounce. But then there’s the cost and time spent creating this killer style. At *$45 per blowout session and around an hour in the chair, we’re always trying to figure out ways to hold on to our blowout style just a little bit longer. Read on to discover some of our insider tips for maintaining your blowout. Plus, we’re showing you how to easily do your own blowout hairstyle yourself:
*NYC prices
How to Maintain Your Blowout Hairstyle Longer
We get it, blowout hairstyles aren’t always cheap, so it’s no surprise why you’d want to make your style last as long as possible. Scroll to find out the top ways we preserve out blowouts.
1. Don’t Brush it on Day 1

Revel in your gorgeous blowout on Day One by trying your best to look and not touch! We know it’s hard, but trust that it’s worth it. Also, avoid brushing or putting any additional product in it. Doing so can create more oil and cause your hair to lose its newfound volume.
2. Use a Comb
This is especially important for the first few days. A comb helps maintain your hair’s style and body, whereas a brush can flatten the look, creating a limp and dull effect.
3. Sleep with a Light Hair Oil
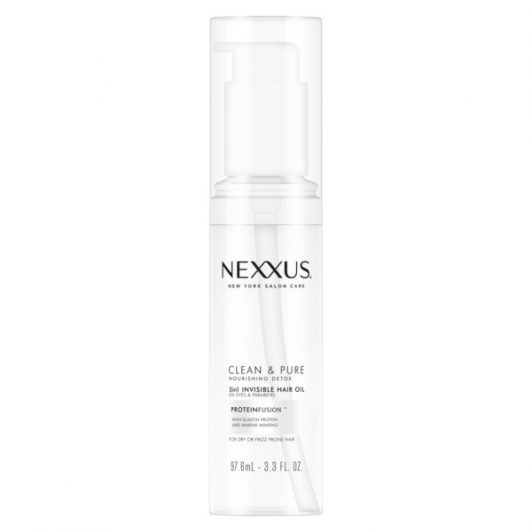
Maintain the sleekness of your blowout by using some hair oil like Nexxus Clean & Pure Nourishing 5-in-1 Invisible Hair Oil whose formula can help smooth frizz and make your hair soft. Squirt a dime-sized amount into your hands and mix it around as you work the oil into your strands, focusing on the frizzy or unmanageable areas.
4. Sleep with a Low Ponytail and Headband
A lot of how your hair is going to look during the week is dependent on how you wear it during bedtime. Make sure to lightly wrap your hair in a low pony. Anything with too much grip can cause your hair to retain a bend. Also, cover the front of your hair with a loose headband or hair wrap to help tame any frizz or flyaways.
5. Revive Your Hair
Love Beauty and Planet
Love Beauty and Planet Coconut Water & Mimosa Flower Dry Shampoo
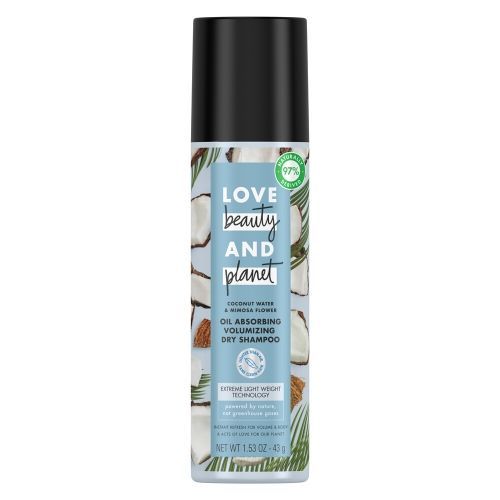
By day three, you may notice that your locks are starting to get a bit limp. Revive them with a dry shampoo like Love Beauty and Planet Coconut Water & Mimosa Flower Dry Shampoo whose formula absorbs your hair oils as it cleans and revives your hair. Simply spritz some dry shampoo onto your roots and then use your fingers or a comb to distribute the product throughout your ends.
6. Refresh your blowout hairstyle.
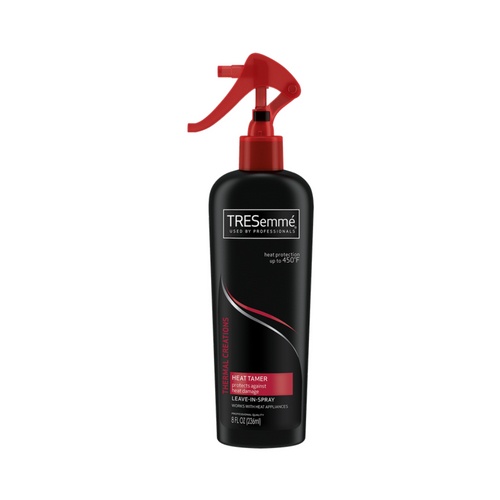
Another technique for holding onto a blowout is to re-blow-dry your hair. This step usually happens on day three or four and is really only done in certain areas where you start to see frizz or where you think your hair needs a lift. This is also a good way to revive any curls or bounce created during your blowout. Make sure to apply a heat protectant to your hair like TRESemmé Thermal Creations Heat Tamer Spray whose formula can help to protect your hair from heat styling as it also helps to guard against dryness and frizz.
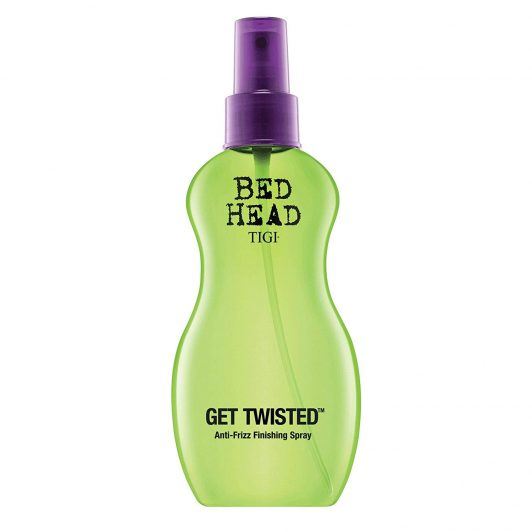
If you find that you have flyways post-blowout, use some Bed Head by TIGI Get Twisted Anti-Frizz Finishing Spray, whose formula can protect and nourish your hair as it tames annoying frizz.
How to do an Easy Blowout Hairstyle
You know, sometimes you may not want to have to go to a salon to achieve that sleek and smooth blowout. We’re sharing how you can easily achieve similar results yourself!
1. Start with Freshly Washed Hair

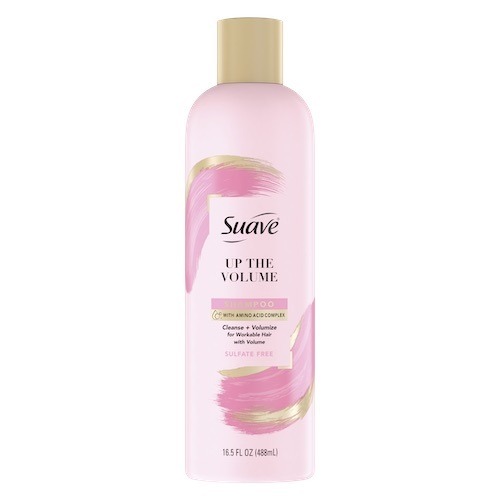
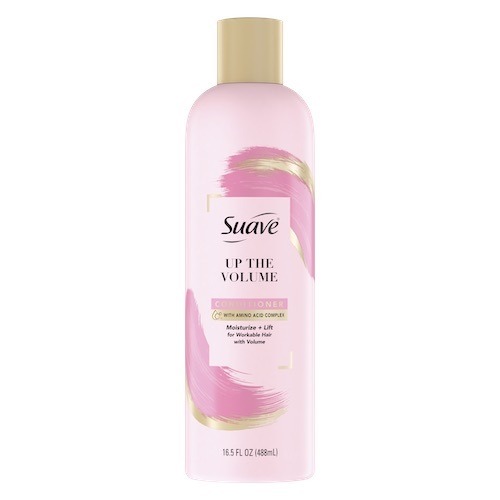
When doing a blowout, you want to begin with clean hair that is still wet. We love using a set like Suave Up The Volume Shampoo and Conditioner. This set is one of our favorites because it helps add an extra dose of volume while moisturizing and softening your hair.
After your hair is washed and conditioned, use a towel to gently squeeze out excess water so your hair isn’t dripping wet
2. Apply a Protectant/ Blow-Dry Accelerator
Using a hair protectant is an absolute must, which is why we opted for a blow-dry accelerator. A blow-dry accelerator has so many benefits when it comes to giving yourself a blowout. We love Suave Blow Dry Accelerator in particular because it protects your hair up to 450°F, speeds up your blow-dry time, and also uses an Amino Acid complex to help soften strands.
3. Section off Your Hair
Once your hair is clean, and a protectant is applied, section off your hair to make blow-drying more manageable. This will be easier if you have layers already, but if not, there’s no need to worry. Use a clip to split your hair in half, like when you do a half-do.
4. Apply Nozzle and Begin Drying Hair
When your hair is sectioned off, it’s time to start drying! You’ll want to attach a nozzle at the end of your blow-dryer. This will help the air stay in a centralized location, giving you more control over your style and where the air blows.
Use a round brush to brush through small to medium sections of the hair slowly. While brushing through your hair, you’ll want to hold the hair dryer with the other hand, slowly running it over that same section of hair where you are brushing.
If you want an extra voluminous look, hold the section of hair up towards the opposite side of your head while focusing the nozzle at the root for a few seconds. Trust me; this extra volume boost can make a huge difference.
10 Blowout Hairstyles to Inspire You
Are you thinking about trying a blowout hairstyle on your own strands? Here are 10 looks to inspire you:
1. Voluminous Blowout

The number one use of a blow dryer has got to be for adding more volume to your strands. With the right techniques and some good old patience, you can create a super voluminous style on your strands. Try flipping your hair upside down as you blow-dry to create this level of volume.
2. Textured Blowout

While most blowouts are sleek and shiny, a streamlined go-to style, if you will, this look is all about the texture. Skip the round brush and use your fingers and a blow dryer to rough dry your strands.
3. Stick Straight Blowout

If you’re into sleek straight styles, this blowout is for you. Use the thin nozzle attachment on your blow dryer, and make sure to dry your strands in a downward direction to ensure a lack of frizz.
4. Sleek and Shiny
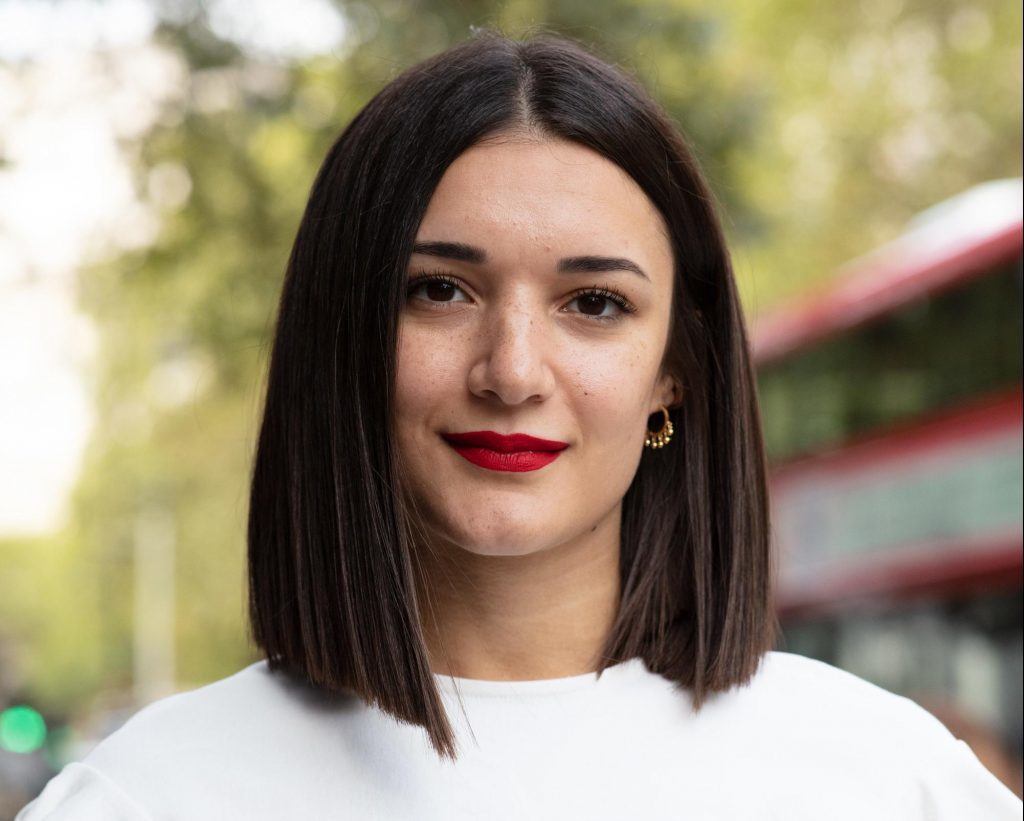
If you’ve invested in a new blow dryer in the hopes of creating sleek and shiny styles, you’ll want to add a bottle of hair oil to your cart, too. Hair oil will take your strands from sticking straight to sleek and shiny!
5. Oversized Curls

You may not know this, but your blow dryer can likely replace your curling iron completely. Especially if you’re looking to create loose, big curls. Use a round brush and a high-power blow dryer to create large voluminous curls.
6. Layered

Show off your expertly cut layers with a fresh blowout. Expert styling will help highlight each layer independently for an overall impactful look.
7. Curled Ends

Curl just the ends of your style for a 70s-inspired style. Use a round brush to ensure frizz-free sleek strands on the top sections, and make sure to flick your wrist into a curl near the ends of your hair.
8. Body and Movement

You can also use a blow dryer to add some body and movement into your style. Focus the brush and nozzle of the dryer at your roots to create some instant volume at the top of your style.
9. Blown-Out Bob

Take a classic bob to the next level by using a blow dryer to curl the ends under your chin. Use a large round brush for a super dramatic curl and a smaller brush for a more subtle finish.
10. Angled Layers

Make the most of your blowout and use this styling method to show off your best angles. A gentle flick of your wrist will help you create a slight curl at the bottom of your style.
Blowouts are an easy way to achieve a gorgeous style that’ll leave your hair polished and looking refreshed. We hope these tips help you hold onto this gorgeous style a little longer.
