Tutorial: 2 Easy Ways to Create Pin Curls
A Golden Age classic technique that never goes out of style.
You Will Need
Have you ever wondered how some women are able to stretch the life of their curly hairstyles? The answer is pin curls. This styling technique creates gorgeous curls that last for days. Allow us to introduce you to this simple yet effective technique. Oh, how we love pin curls!
Not only has this style been a favorite during the 1900s, many women today use pin curls as a hack for creating quick curls or preserving their curly hairstyles. Pin curls are also an amazing method for heatless curls if you’re trying to stay away from hot tools.
Want to get your Hollywood curls to last all week? Read on to learn how to get this curly style.
Tutorial 1: Creating Pin Curls
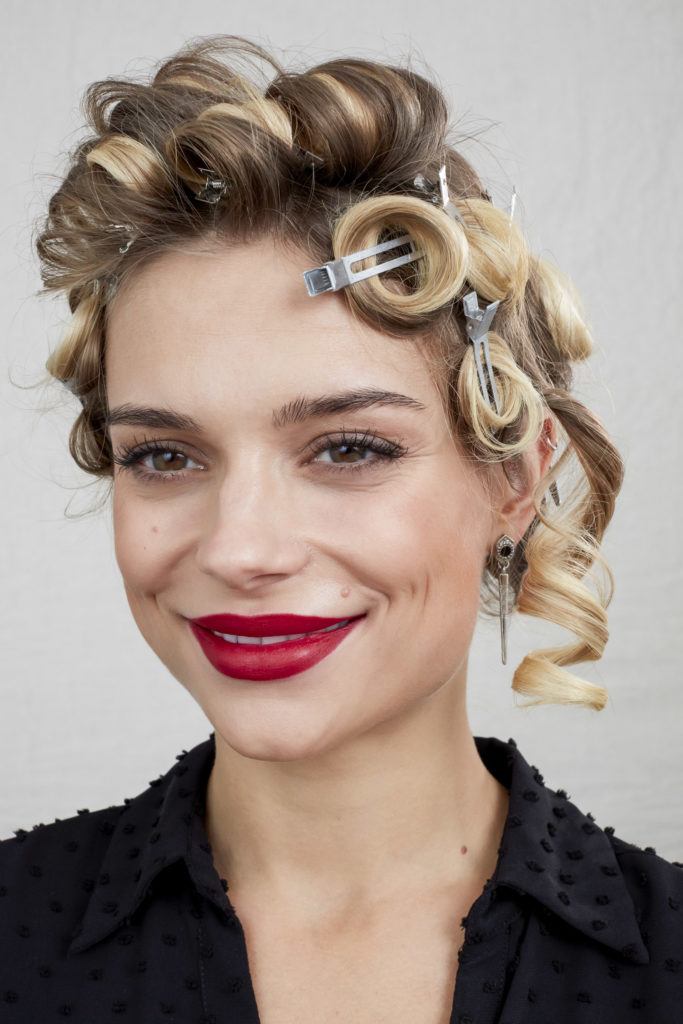
Classic pin curls create a timeless look. Did you know you can actually easily achieve them yourself too? Check out one way to achieve this hairstyle below.
Apply curl-setting cream.
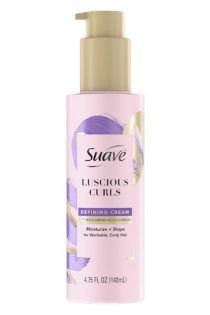
Apply a curl-setting cream like Suave Luscious Curls Curl Defining Cream and comb through your hair. This will help define your curls and help your hair stay frizz-free!

Curl the bottom.
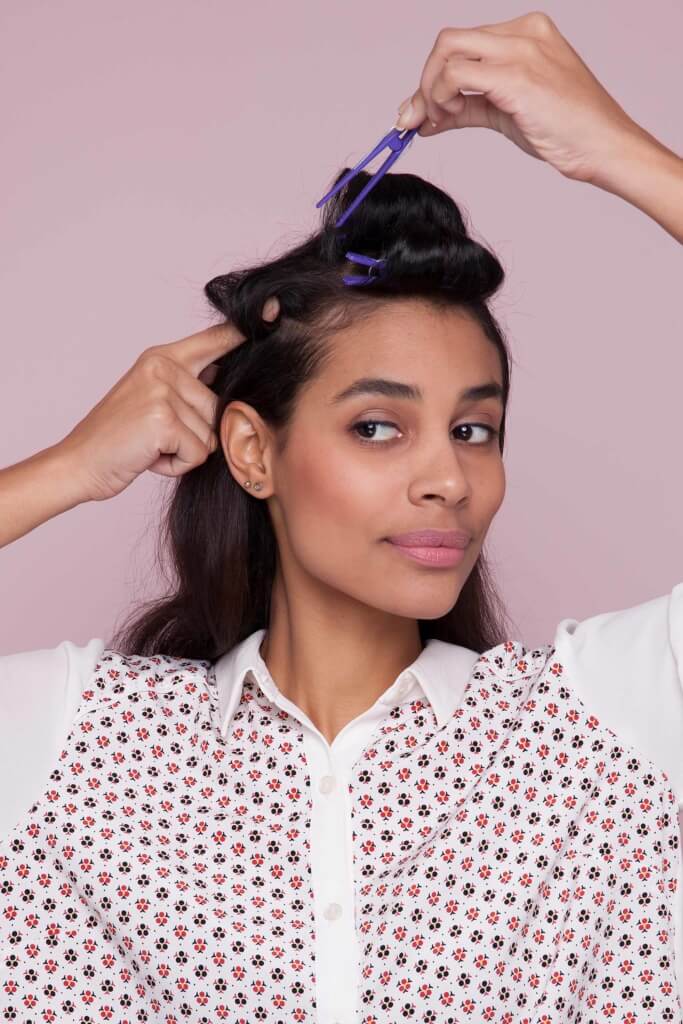
Section the back and clip the top out of the way. Take 2-inch sections of hair and continue rolling and pinning the bottom.

Curl all of your hair.
Undo the loose section and repeat until all air is pinned. Then, let your pin curls set.
Apply wax or serum.
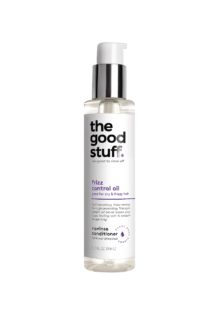
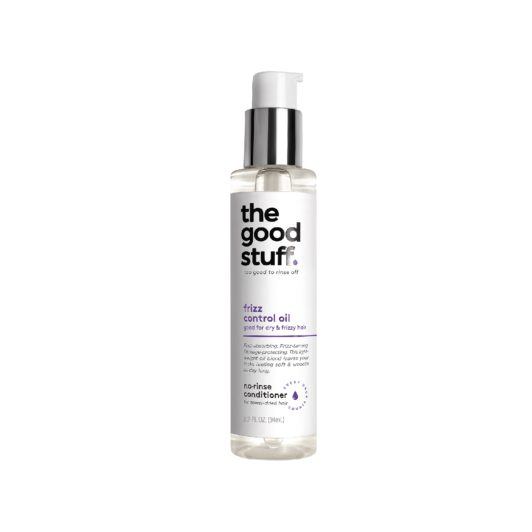
Shake out your hair and smooth strands with an oil or serum. The Good Stuff Frizz Control Oil will give you the perfect glossy finish. Apply a dime-sized amount to your fingertips and run your fingers through your pin curls to smooth any unwanted frizz.

The Good Stuff
The Good Stuff Frizz Control Oil
Brush.
After your look is frizz-free, gently brush them out. This will create a softer look instead of having many harsh ringlet curls.

Set in place.
Set your pin curls in place with a smoothing hairspray. We love TRESemmé Compressed Micro Mist Hairspray Smooth Hold Level 2 for the job! This hair spray is one of our favorites because it’ll lock in your style without making your hair feel crunchy.

Done!
Your look is complete! If you want to go the extra mile, try styling your curls. You can add some flair to an updo, or pin a few small curls flat against your head to jazz up a chignon style.

Tutorial 2: Overnight Pin Curls
Begin on damp or dry hair.
Pin curls can be done on damp hair or dry hair that has already been styled as a means of night time maintenance to preserve the curly look. If you already have curls done, setting your dry hair in pin curls at night is a great way to hold the shape until the next day. If you’re using this method as a hack to create quick curls, start with clean and detangled hair.

Apply product.
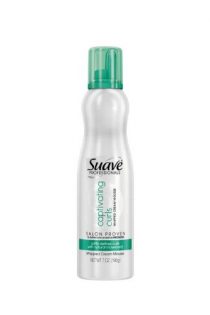
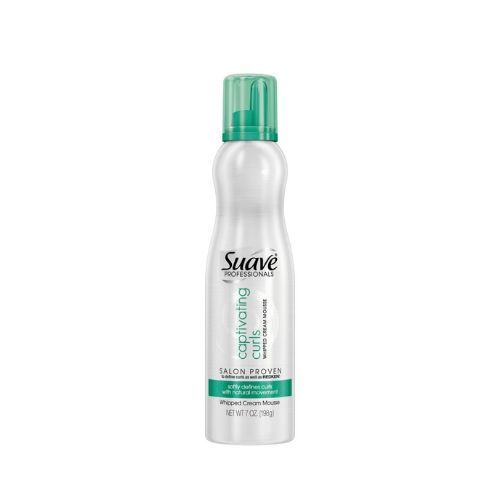
This step is optional depending on the reason you’re adding pin curls to your hair. If you’re creating pin curls on damp hair apply a mousse, like Suave Captivating Curl Mousse Cream for bouncy waves. On the other hand, if you’re using pin curls as a method to preserve your hairstyle at night, no need to re-apply product unless needed.

Create your curls.
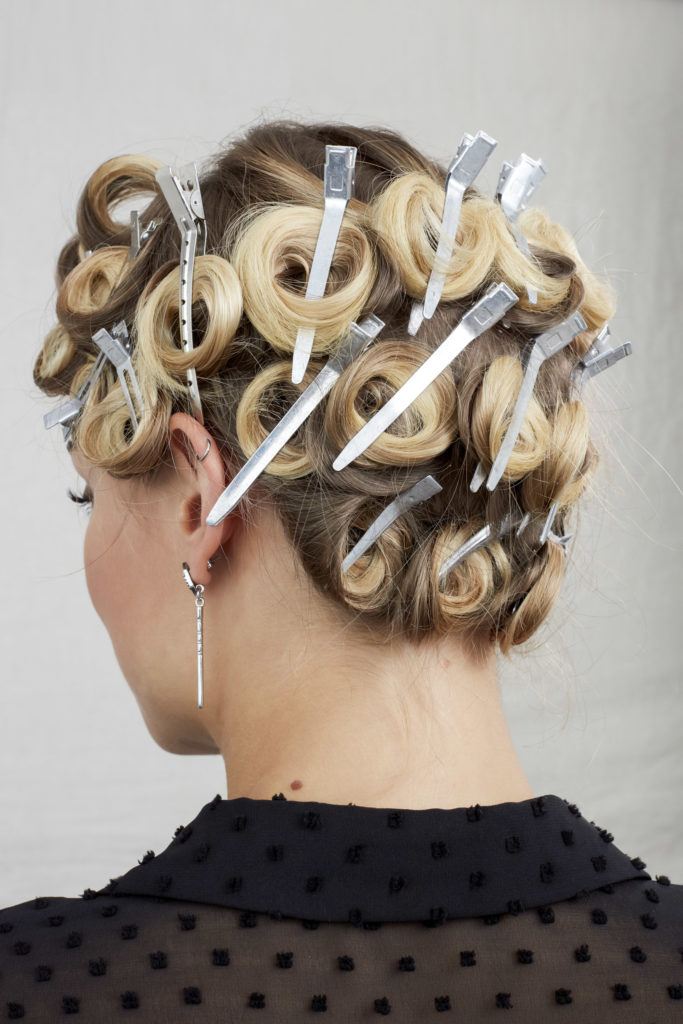
To create your curly style, gather a section of your hair then place your pointer fingers at the tip of your hair (one on top and one underneath) and wind the hair down over your fingers and towards your scalp. Remove one finger then use a clip to secure your curl in place.

Continue the process.
Once you’ve finished your middle section, continue onto the sides of your hair securing your curls with clips as you go, then move onto styling the back section of your hair.
Complete.
Once you’re done you can sit underneath a hooded dryer or use a hand-held blowdryer to set your style in place. If you’re using pin curls as a way to preserve your hairstyle, like Hollywood curls, then cover hair with a satin bonnet or sleep on a silk pillowcase. In the morning, release your curls, and style your hair as usual.

Are you ready to try out pin curls? Share your looks with us on Instagram at @AllThingsHairUs!

