How to Rock the Silver Hair Dye Trend
Welcome 2019's hair color of the year.
Granny hair a.k.a the gray hair trend has been making the circles for quite some time, and though we adore this alternative look in all its ashy glory, we think there’s a way to amp it up even further. The silver hair dye look has the same Pinteresty, unicorn aesthetic as gray hair, but a few notches lighter and glossier.
Like tinsel in a bottle, it evokes a similar sparkly, giddy feeling akin to fairy lights and fuzzy holidays—in short, perfect for the cozy seasons up ahead. We also think it just looks so cute and festive it hurts, especially when peppered with some glitter roots.
Read on for a quick rundown on how to get this pretty, super-ashy shade. Silver belles, it’s time to rev up that gray!
Tutorial: Silver Hair Dye

Step 1: Wash, condition and deep condition.
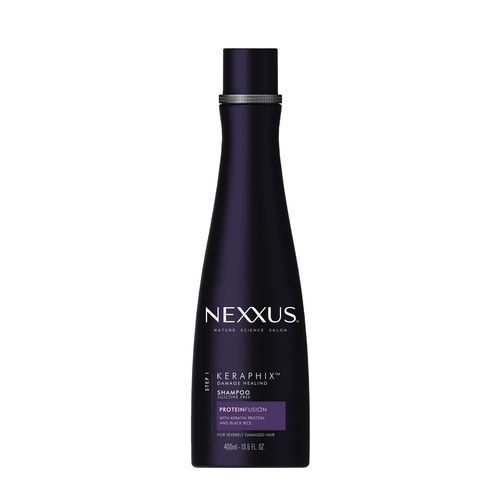
As any #grannyhair enthusiast knows, getting your locks this pale and ashy involves a lot of bleach. Unfortunately, some breakage and damage are inevitable with this level of stripping, so it’s always best to build up the sturdiness of your strands with a nourishing, strengthening system. We like how Nexxus Keraphix Damage Healing Shampoo and Nexxus Keraphix Damage Healing Conditioner prep and smoothen split-prone hair. An intense, deep conditioning treatment used weekly or every other day as needed, like Suave Professionals Coconut Milk Infusion Intense Moisture Mask, can also help infuse hair with much-needed moisture.
Step 2: Skip washing at least a day before.
Some even go as far as not shampooing for 48 hours, but we think a day’s worth of natural oils is enough coating for normal hair types. The chemicals in bleach can sting your skin upon contact, and a thin layer of sebum can help shield your scalp from irritation during the silver hair dye process.
Step 3: Prepare to be bleached.
We recommend having this done professionally the first time, so the process usually starts in-salon with your stylist applying bleach to your entire head, section by section. Depending on your base color, the ends usually have the most amount of hair dye and will take longer to strip. Once all your sections have been coated, allow it to sit for around 45 minutes, or till your strands become visibly yellow. Note: For those D.I.Y.-ing silver hair dye, you can get bleach, usually in powdered form, and developer (liquid form) at any beauty supply store. The ratio should be stated on the bottles and followed very carefully.
Step 4: Apply toner.
Do not panic: This cartoony yellow isn’t the end result! The next step is to apply a toner, which will remove all the yellow/orange/brassy pigments in your hair—common if you have a dark brown base—and lift your hair to a near-white, baby blonde shade. Estimated time: 30 minutes.
Step 5: Apply your silver hair dye.
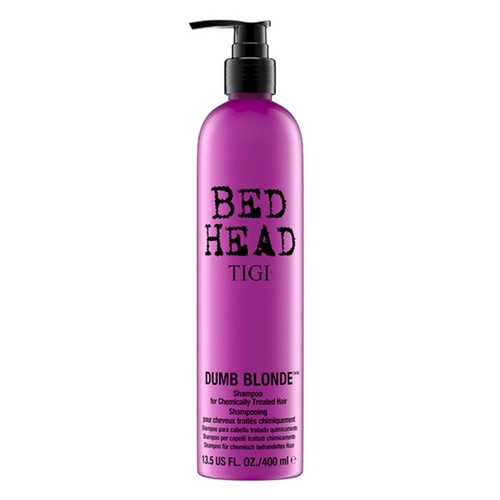
Some like just applying a purple shampoo, such as Bed Head by TIGI Dumb Blonde Shampoo, to toned hair and allowing locks to absorb the pigments as it sets (hair usually comes out with a light lilac-gray hue). For more permanent, professional-looking results, your stylist will mix a bespoke gray hue and start applying that dye from root to tip, then rinse it out after it sets. Estimated time: 90 minutes from application to rinsing.
Step 6: Get a gloss.
A hair glossing treatment is the key to making that silver hair dye looking sparkling and fresh. Ask your stylist to apply a gloss, which can effectively counteract any remaining brassiness and seal down your lengths, making your newly silver strands super shiny. It can also give that gleam that separates regular gray hair from silver.
Step 7: Don’t skimp on the home care.
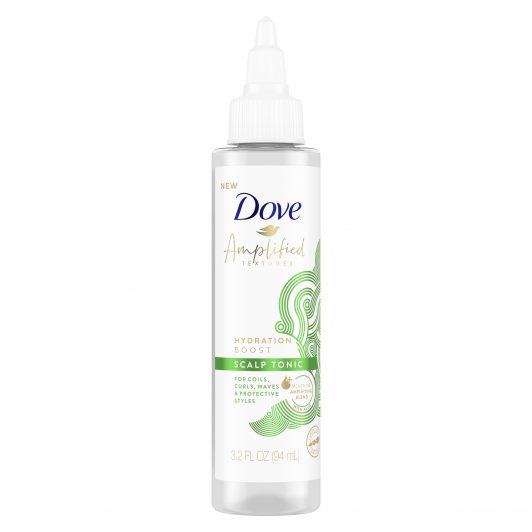
A purple shampoo (as mentioned), as well as a low-sulfate system, helps keep your silver vibrant and smooths down your locks at the same time. We also love how Dove Amplified Textures Hydration Boost Scalp Tonic, when spritzed post-wash, can give hair a luxurious sheen.


