Side Fishtail Braid: An Easy Look that’s Video Call-Ready
An elegant braid taken to the side is a classic for the holidays and beyond.

Skill
You Will Need
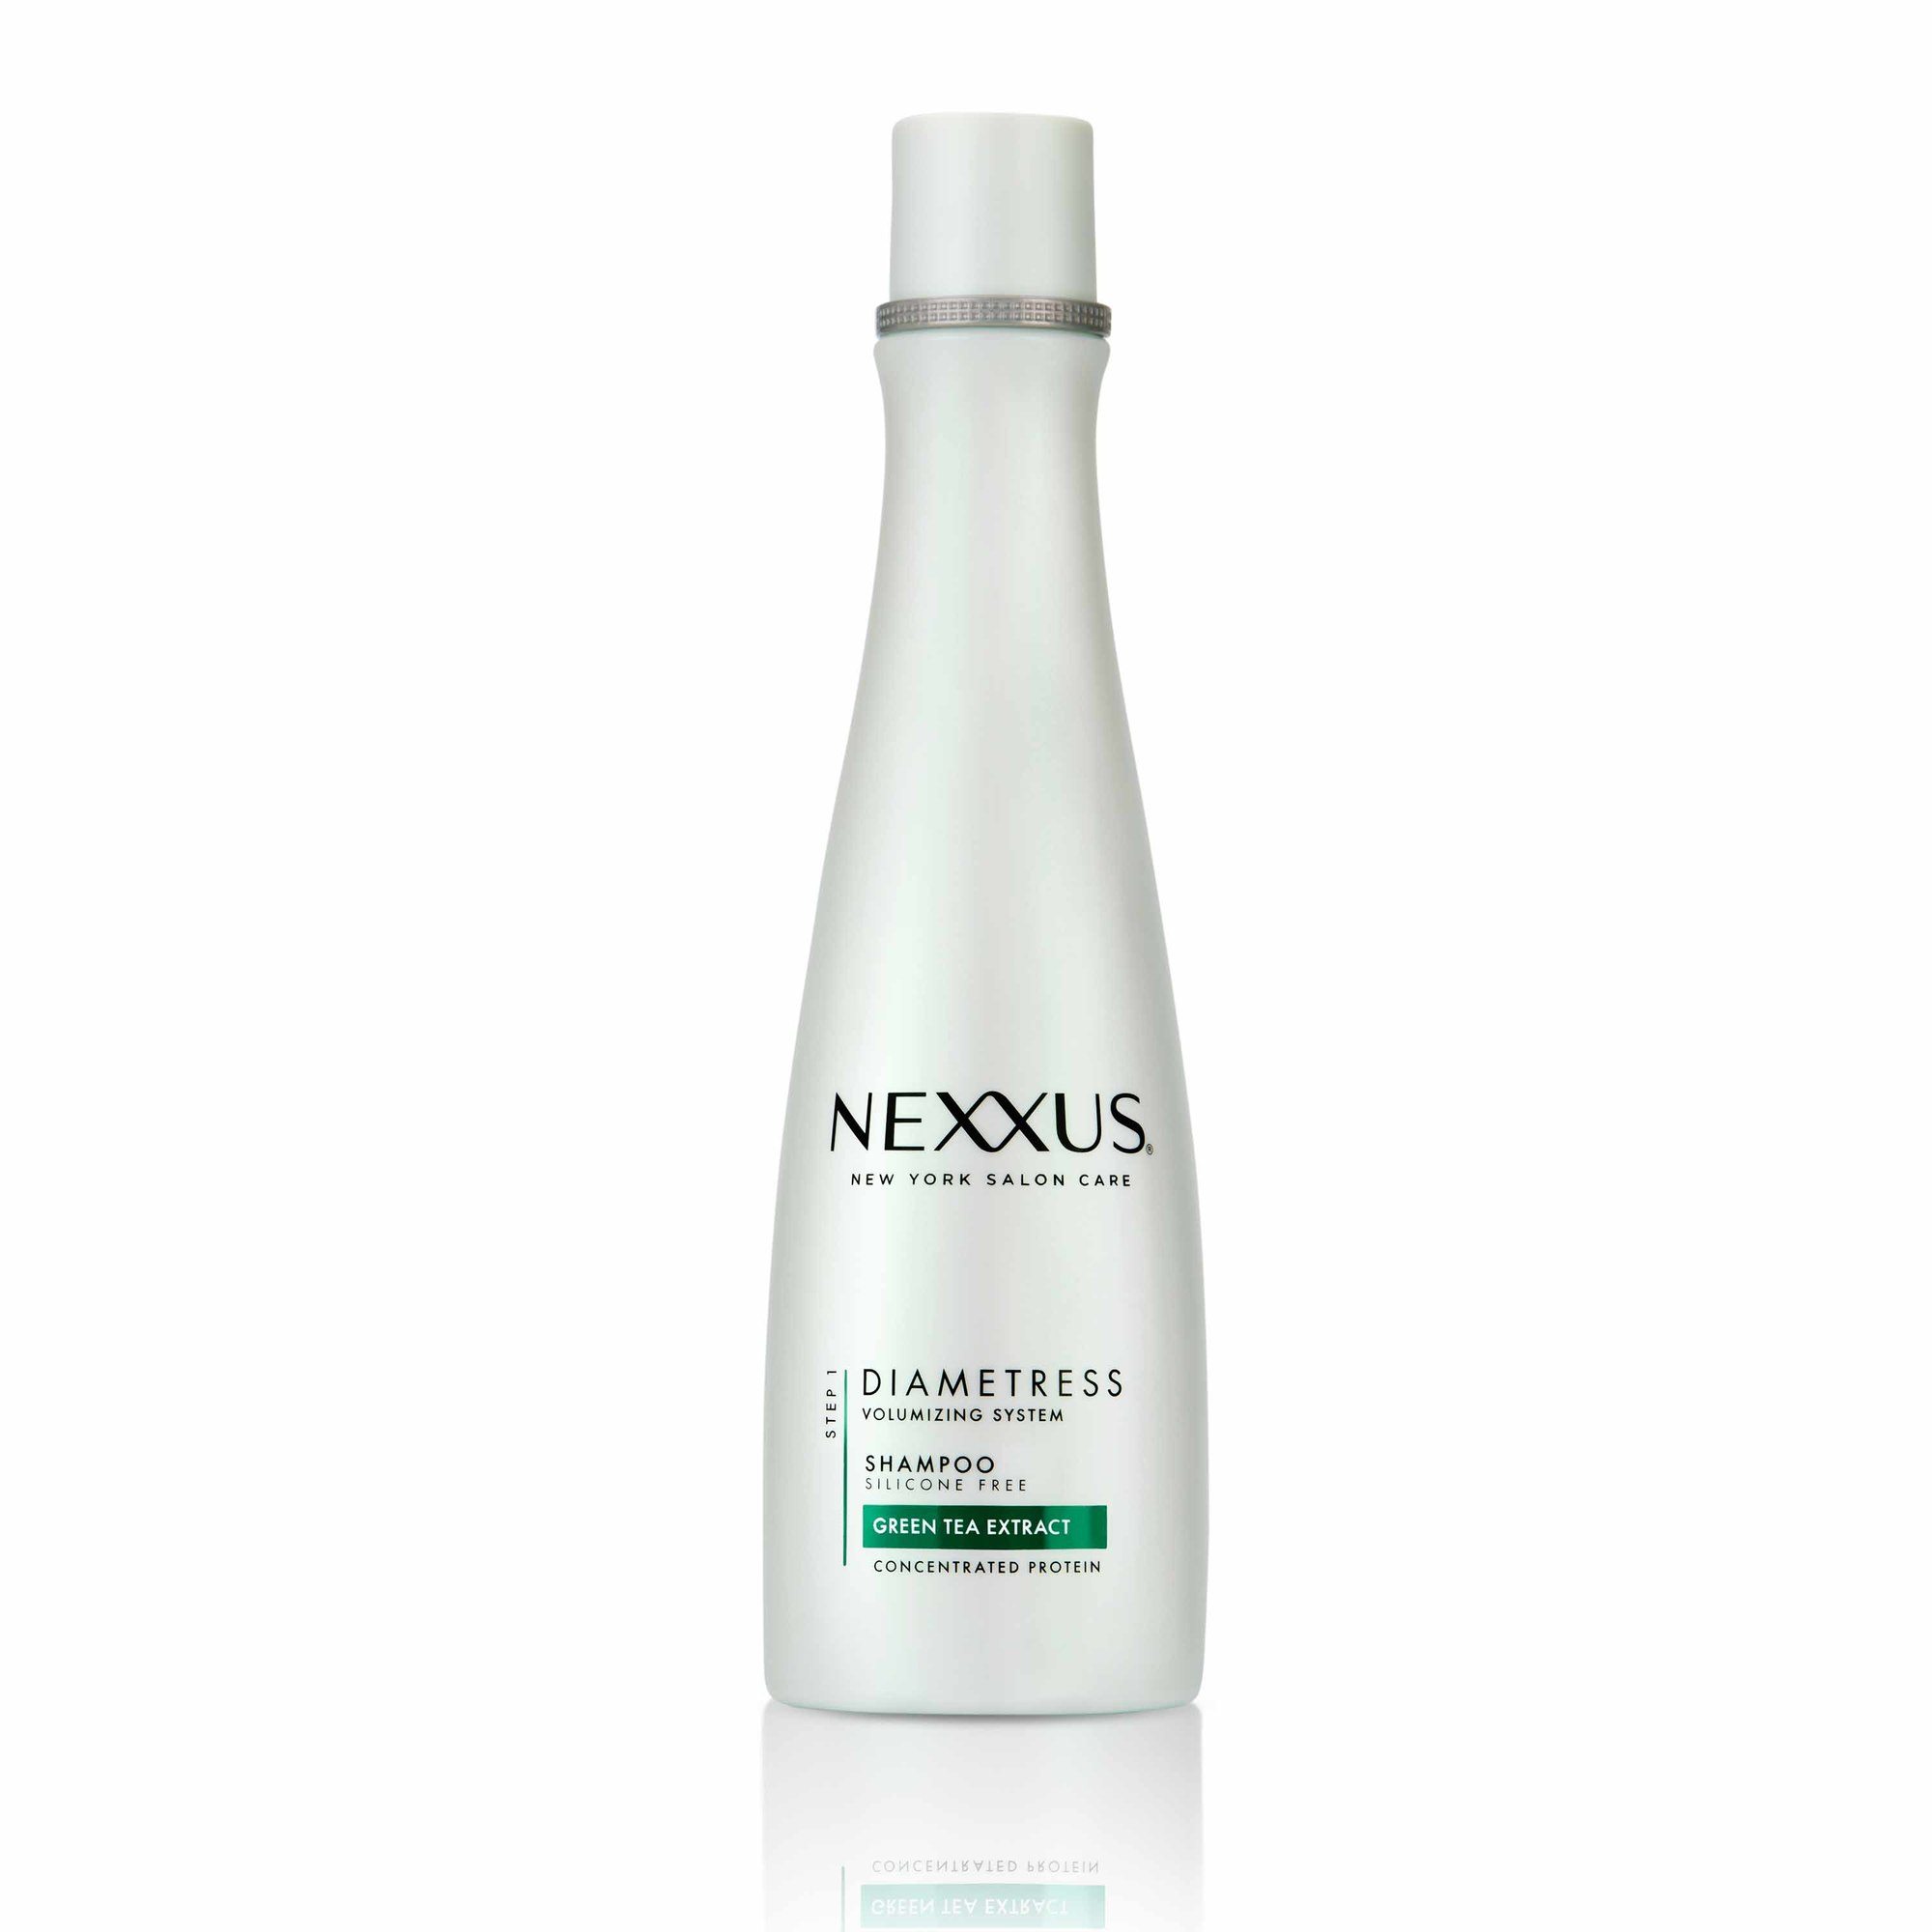
Nexxus Diametress Shampoo
Whether we’re keeping in touch with friends and family or connecting with our work team and having meetings, there’s a good chance many of us will be participating in a lot more video calls than we’re used to. We get it, we know it’s tempting to wake up and work from the comfort of your own bed right now, but taking the time to style your hair in a simple hairstyle, like a side fishtail braid, and changing out of those sweat pants you’ve worn for the past two days can put you in such a great mood.
Just because you want to look put together for your video calls, that doesn’t mean you need to spend hours doing your hair and makeup. We’ve put together a simple, step-by-step tutorial to creating an everyday side fishtail braid that anyone can follow. Read on to find out how you can achieve this braided hairstyle at home.
Side Fishtail Braid: An Easy Hairstyle for All of Your Video Calls
Start with Clean Hair for Side Fishtail Braid
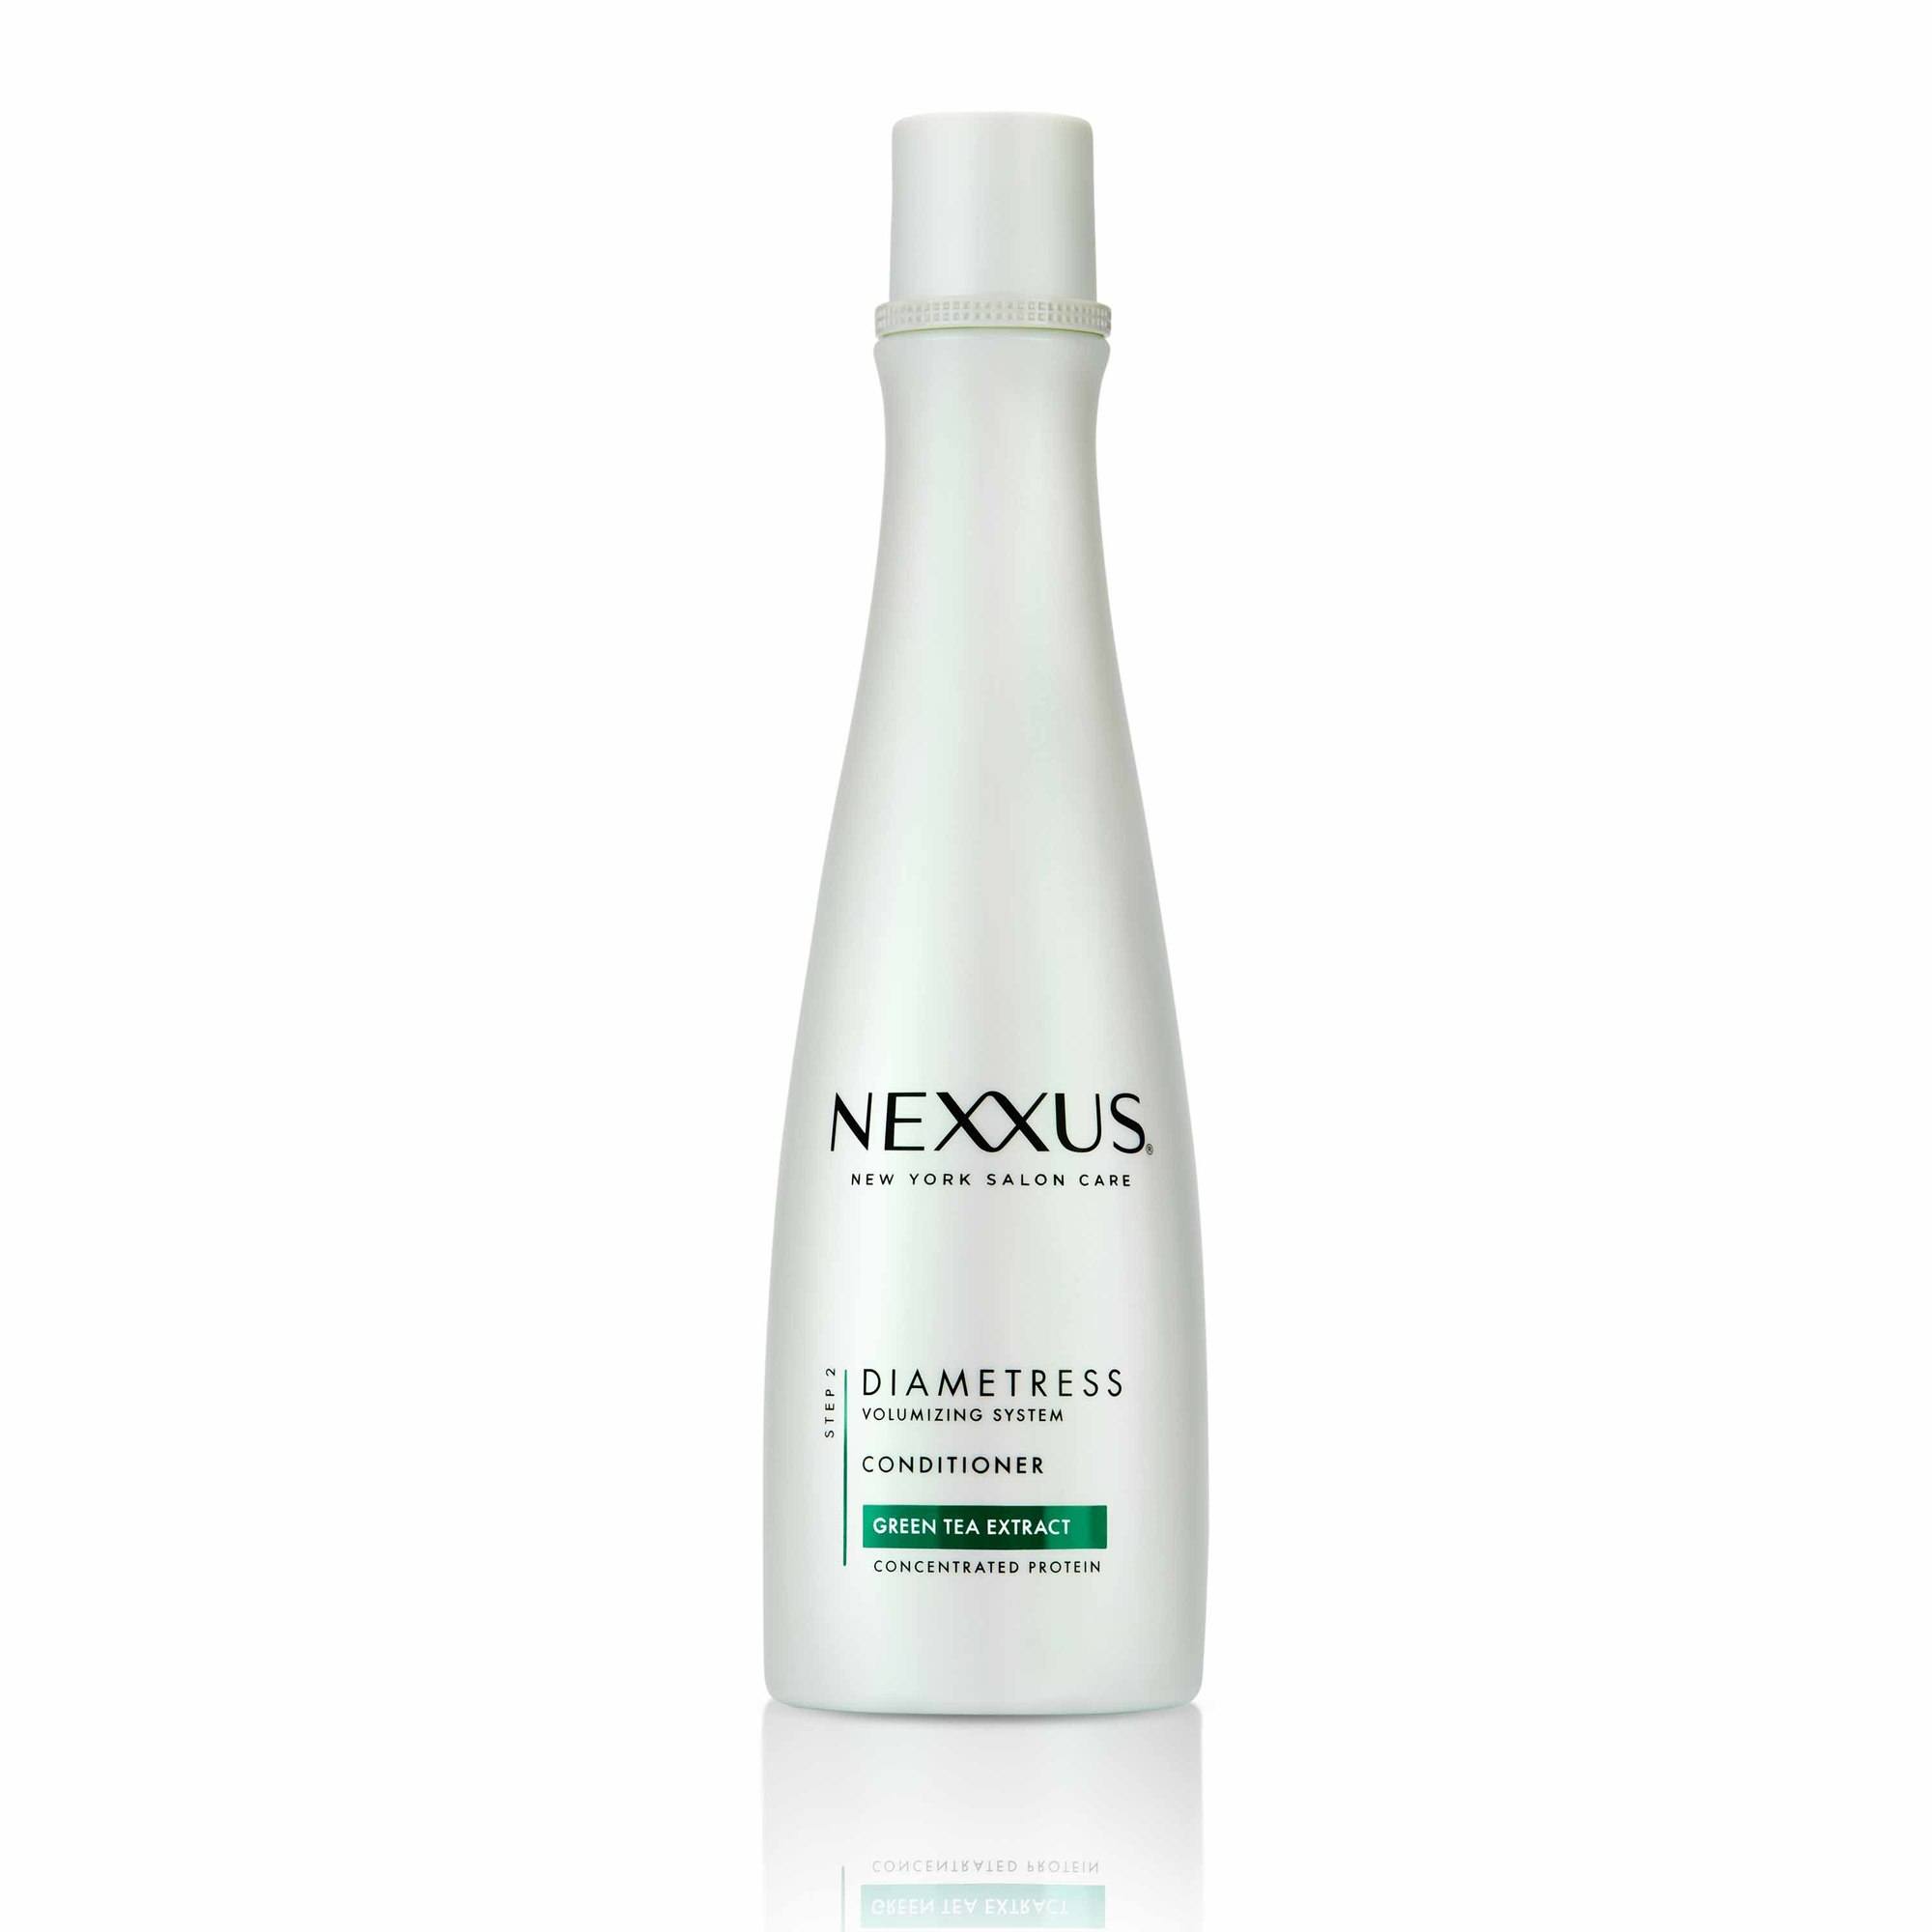
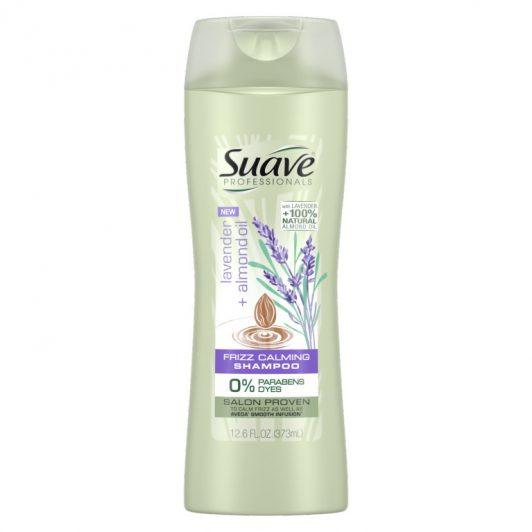
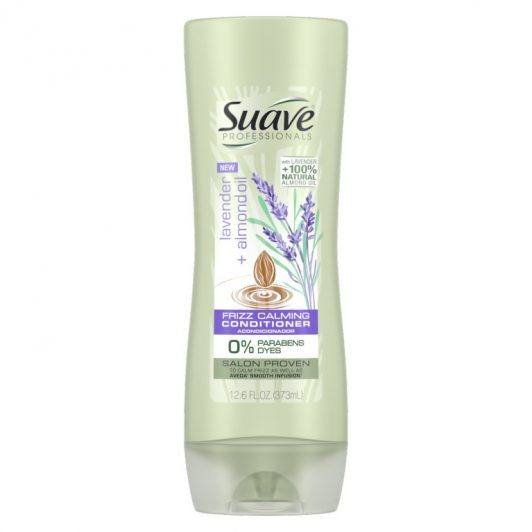
Prep hair for your side fishtail braid by washing with a system that strengthens and imparts thicker-looking strands. We like the smoothness we get from Suave Lavender + Almond Oil Frizz calming Shampoo and Conditioner. Rinse thoroughly, and follow up with a thermal protectant, such as TRESemmé Thermal Creations Blow Dry Balm, before blow-drying with a paddle brush.

Split Hair in Half
Brush hair over one shoulder, effectively creating a side part. Then split all your hair into two thick sections to start your side fishtail braid.

Pinch Off a Small Section of Hair from the Inner Section
Take a small piece of hair from your inner section (or the section nearest your neck) and cross it over to join your outer thick section.

Incorporate it into the Opposite Section
To continue your side fishtail braid, incorporate the thin inner piece into the thick outer section and then smooth down.

Repeat on Outer Section
Repeat the same process on the outer section of hair, which has your fringe/hairline pieces. Take a thin piece of hair on the outermost side of that section, and cross it inwards and over towards the entire opposite section.

Incorporate into the Inner Section
Grasp the new piece and smooth it down in the opposite section.

Repeat the process.
Repeat steps three through six, where you take the outermost piece of section A and cross it over to join the entire section B, followed by the outermost piece of section B crossed over to join the entire section A. (Takes practice.) Take your time, and working this way, from the outwards in, and you will eventually see a herringbone pattern emerge from the base of your plait.

Braid Until the End
Continue your plait till you reach the end of your hair. Secure with a neutral-colored hair tie or a bright or metallic ribbon, for a festive touch.

Pancake Your Plait
Pancake, or gently tug, the sides of each chain so it fattens out for a trendier look. You can also take this opportunity to even out any lopsided chains.

Finish Side Fishtail Braid With Hairspray
For a clean look without any halo frizz (a.k.a. those baby strands that stick out when hair is pulled back), finish your side fishtail braid off with a frizz-controlling hairspray, like Love Beauty and Planet Light Hold & Frizz Control Coconut Milk & White Jasmine Hair Spray. Hold the nozzle around 12″ away, or until your arm forms a capital letter L. You’re all set!

Once more, with feeling:

You Will Need

