Hair Dyeing 101: Basic Steps for Coloring Your Hair at Home
What to know before you dye.
Thinking about making a change to your hair color? Great! Here’s the good news: It’s your hair, you can dye if you want to. The bad news: It’s not always that easy. Hair dyeing is serious business, and even more serious when you’re doing it yourself. Before you color, make sure you know your stuff. Read up on how the process should be done, or leave it up to your colorist to decide for the both of you! In the latter case, if you decide to have a professional execute your dye job, make sure you’re honest about your hair condition during the consultation.
But for you D.I.Y. addicts, we’ve laid out a guide so you can conduct your dye job right at home, and what you should know before you get started. Read on to learn all about hair dye:
Hair Dye Basics

Hair dye ranges from semi-permanent to permanent formulas. Semi-permanent, demi-permanent and permanent are the three most common formulas. Each formula offers a different result and can affect your hair shaft in various ways.
During the process, coloring leads to the swelling of the hair shaft, which can make fine hair look thicker. Additionally, it can also enhance the natural shine and overall condition of the hair. Dyes are offered in a wide variety of tones or can be mixed to create the shade and finish you fancy.
Hair Dyeing Tutorial: From Formula to Finish
Figure out which formula is ideal for you.
Semi-Permanent
Formulated without ammonia or hydrogen peroxide, semi-permanent colorants are gentler than permanent formulas. The color remains until it has been completely washed out of the hair. This is a good option for those unsure of their color choice or only want a new hue for a limited amount of time.
Demi-Permanent
A cross between a semi- and a permanent colorant, demi-permanent hair color contains a small amount of hydrogen peroxide sans ammonia. Demi-colorants deposit more color into the hair shaft than semis and last for around 20 washes.
Permanent
These colorants are formulated with a mixture of hydrogen peroxide and ammonia. The chemicals enter the hair shaft and deposit the color deep into the hair and can’t be removed by washing. This hair coloring route is perfect for those who are ready to take the complete plunge.
Hair Dyeing Process
After you’ve chosen your formula, you’re now ready to dye.
Check for Irritants
It might seem like a tedious waste of time, but you should definitely do the suggested skin test from your boxed dye. After all, a new dye job isn’t worth an awful new skin job, too! Simply dabble a small amount of dye on the inner bend of your elbow. After 24 hours check for any form of an allergic reaction. If all clear, you’re good to go.
Prep Your Skin
Prevent having to rub skin raw to remove dye from your skin’s surface by prepping it—especially the hairline—with an emollient like Vaseline. Don’t forget to use those protective gloves throughout the entire process, too.
Strand Test
A step often overlooked, but seriously vital to the process is the strand test. This helps determine how quickly your hair will react and transform into the new hair color. It will also reveal the duration it takes to achieve the shade you covet. Once you’ve established the approximate time frame, be sure to keep this in mind throughout the entire dye application process.
Dye Application Process
1. Begin with Dirty Hair
Freshly washed hair is more prone to scalp irritation due to the manipulation of the skin while shampooing. Hair’s natural oils also protect the scalp from stinging caused by exposure to peroxides or bleach.
2. Section Hair
Divide hair into four workable sections and keep them in place with duckbill clips or hair claws.
3. Dye Application
After mixing your dye as per the box instructions, use an applicator brush for even distribution. Begin applying at the root, working section by section. Be sure to follow the directions, paying particular attention to your time window; going over or under the allotted time can alter the entire shade!
4. Wash, Condition and Style
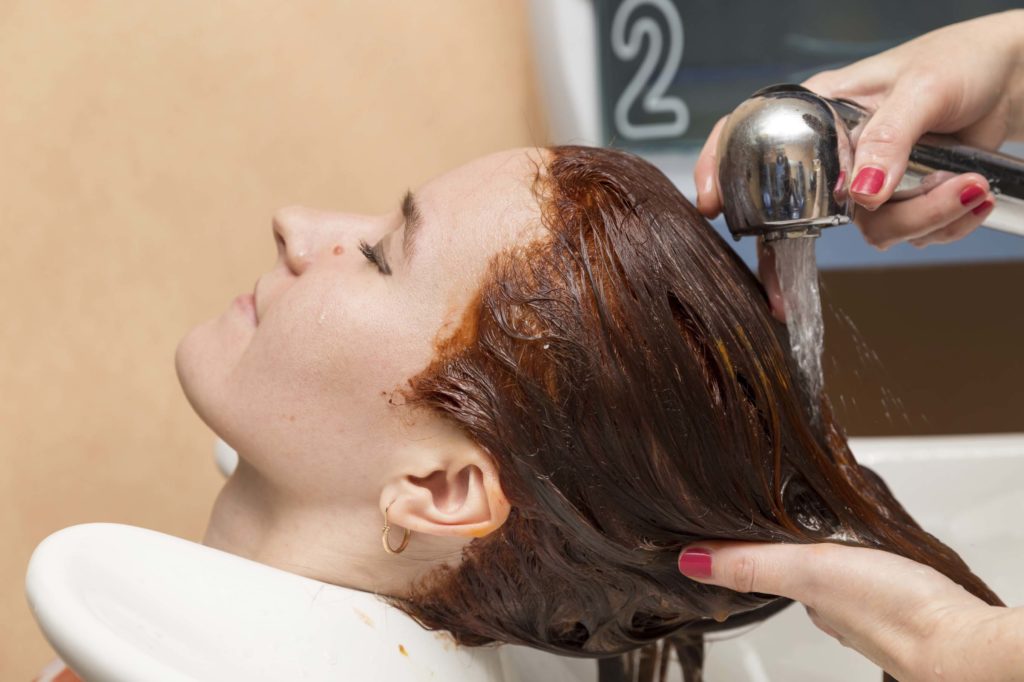
Using the shampoo and conditioner provided in the kit (or using your own formula for color-treated hair), rinse out the dye and proceed to condition. Don’t panic when you see considerable color bleed, as this is mostly from the color that’s latched onto your scalp. It takes a few rinses, but be sure that the water runs clear, indicating any excess dye is washed out. We suggest you carve out some extra time to deep condition your strands, too: After a dyeing process, your hair will need added moisture and treatment. To finish, style hair as you desire and go forth in the world with your fresh new ’do.
Products We Love:
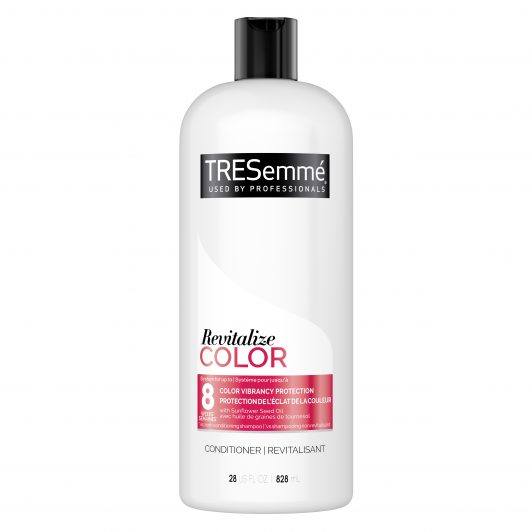
Color-treated hair calls for a customized hair care arsenal. Shampoos and conditioners specifically designed for colored hair like TRESemmé Color Revitalize Shampoo and Conditioner help maintain that vibrant shade and keep your hair healthy-looking.
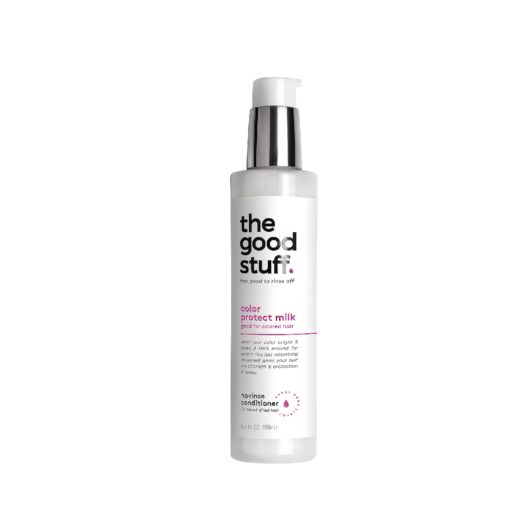
Using a color protection leave-in conditioner to maintain color is also a great idea. We highly recommend adding The Good Stuff Color Protect Milk to your hair care lineup.
The Good Stuff
The Good Stuff Color Protect Milk


