Hacks & Inspiration
from Hair Experts at Unilever
Bleaching Dark Hair: How to Go Light With Less Colour Damage
Kendra | March 20, 2020
Bleaching Dark Hair With Minimal Breakage
1. Before you begin bleaching, take inventory of your locks
Have you recently dyed your hair? Is your hair in desperate need of moisture? Do you have split ends? If you answered yes to any of these questions, it may not be the right time to expose your hair to the inevitable harsh breakage that comes with bleaching. Consider getting a trim and giving yourself a treatment.
Editor’s tip: When it comes to bleaching your hair, you need to be patient. Especially if you’re suffering from brittle hair. To get back on track with a healthy bleaching process, try Dove Intensive Repair Deep Treatment Mask to start your healthy colouring journey!
2. Pencil it in your calendar
Bleaching dark hair is much more of a process than bleaching lighter hair—the darker your hair is, the longer it takes to lift. Make sure you have a few weeks to bring the look to life, as the safest way to do this is in multiple sessions (think two to three weeks to make platinum magic happen!). It will take this long because it’s essential to wait a couple of weeks between bleaching sessions to let your hair rest from each chemical exposure.
3. Make a beeline for bleach powder and liquid peroxide
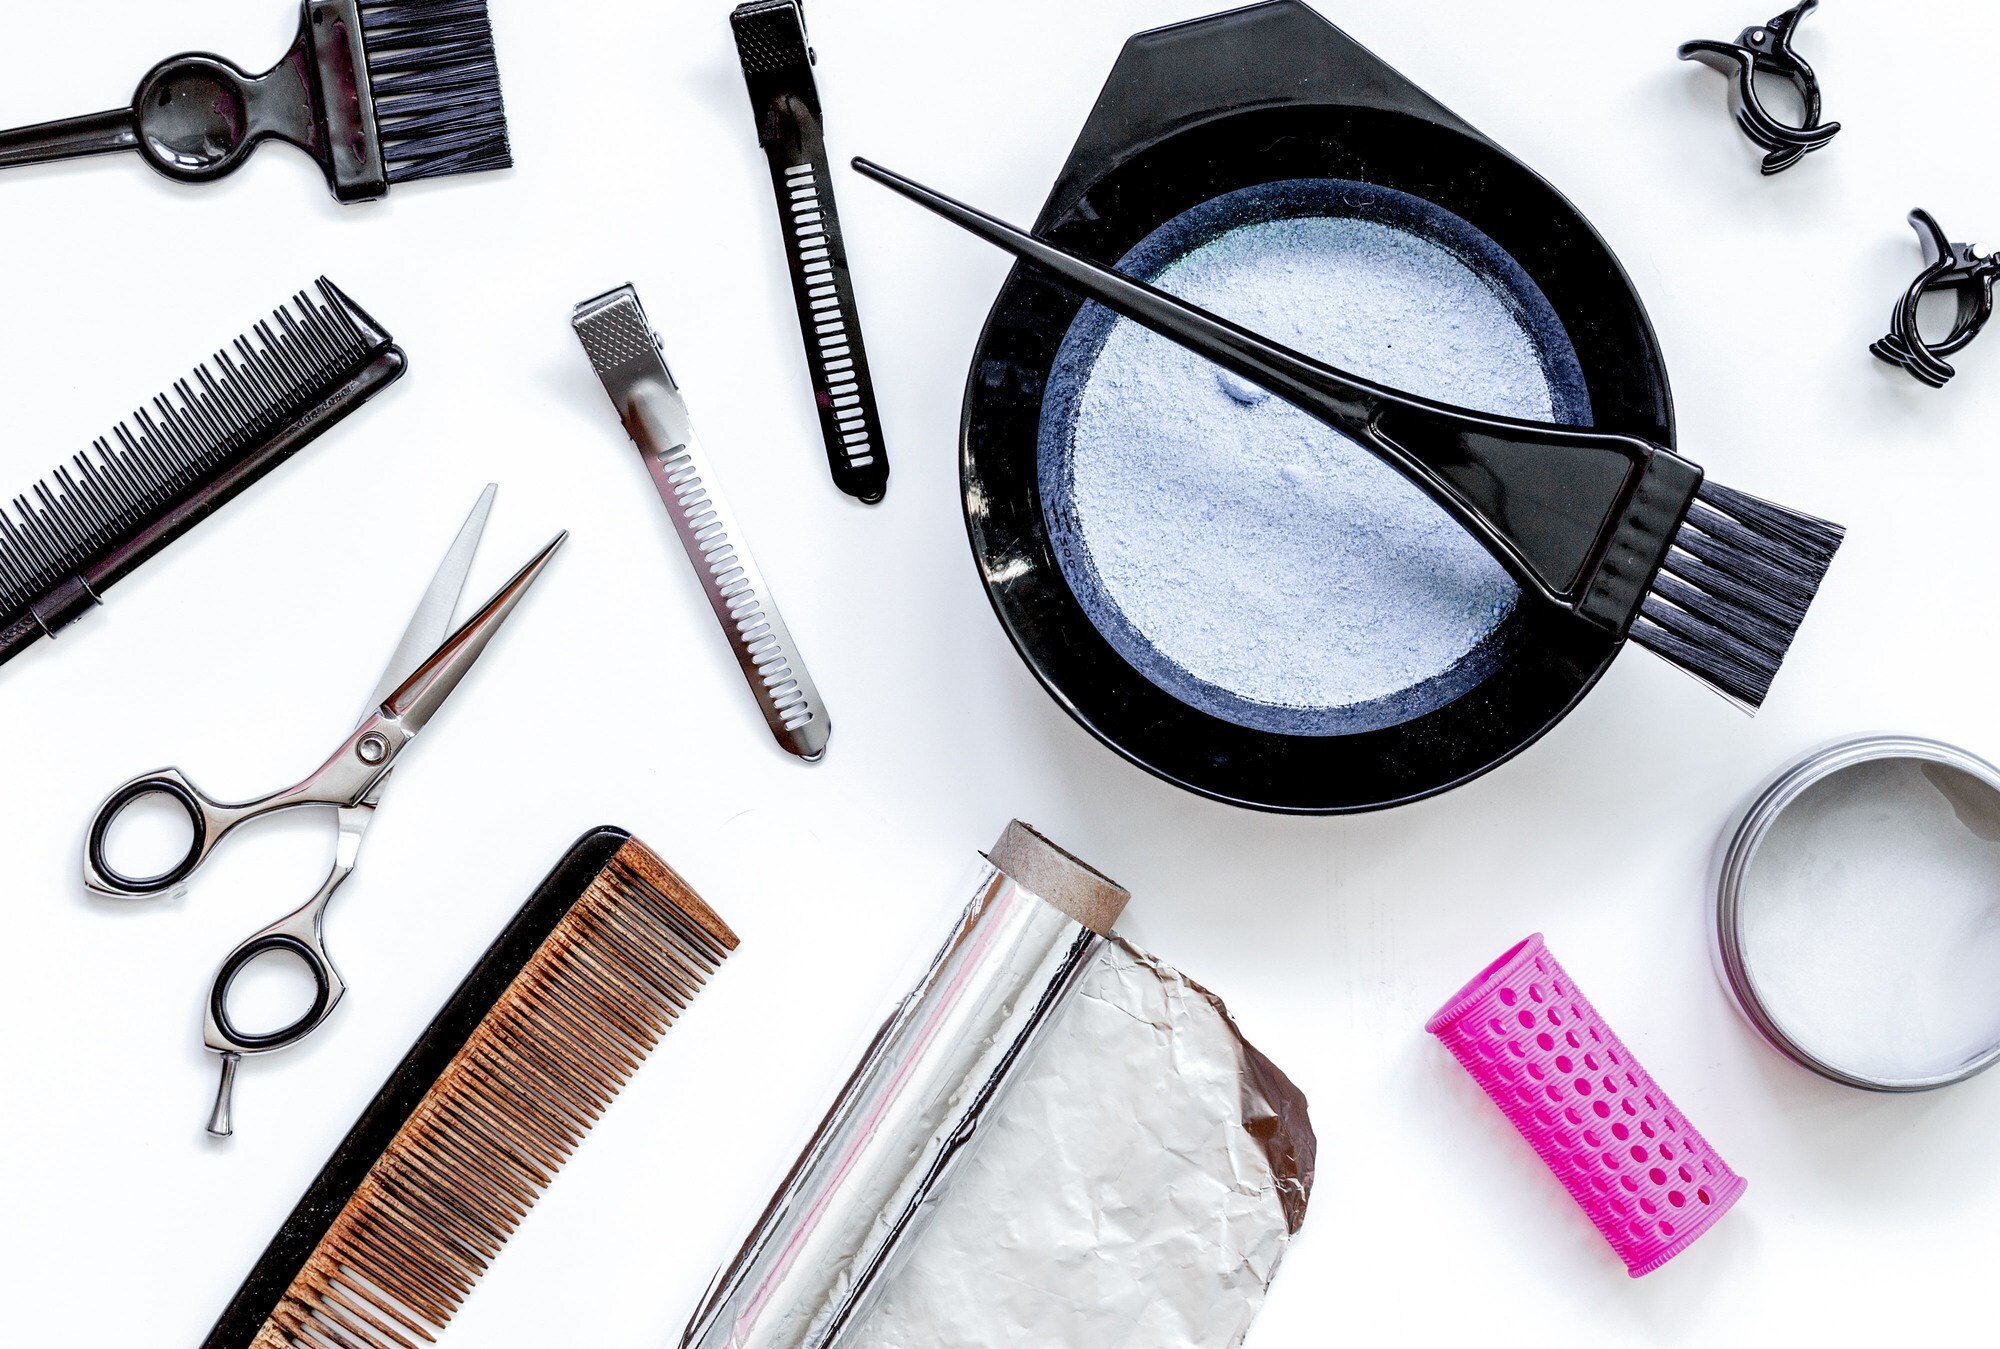
Bleaching dark hair will require the strongest combo on the market, and this is it. To be specific, keep an eye out for 30 volume peroxide and add that kit to your cart. And a word to the wise, if you think that 40 volume will bleach your hair faster, think again. If you try bleaching your full head of hair with 40 volume, it’s very likely that you could burn your scalp. Patience is a virtue!
4. Perform a strand test
As with all hair dying processes, make sure you check the product on one strand of hair before applying it onto your whole head. To get the most accurate results, dab the formula onto your strand and set a timer for five minutes. Check your strand whenever the timer buzzes and repeat until your desired blonde is achieved.
5. Moisturise your hair
In general, this process is super depleting, but it’s especially harsh when bleaching darker coloured hair. That said, treat your hair to a mask beforehand, like Dove Nourishing Oil Care Treatment Mask, or even a tried and true DIY mask. The more moisturised your hair is before the bleaching process, the less breakage will occur.
6. Section your hair off
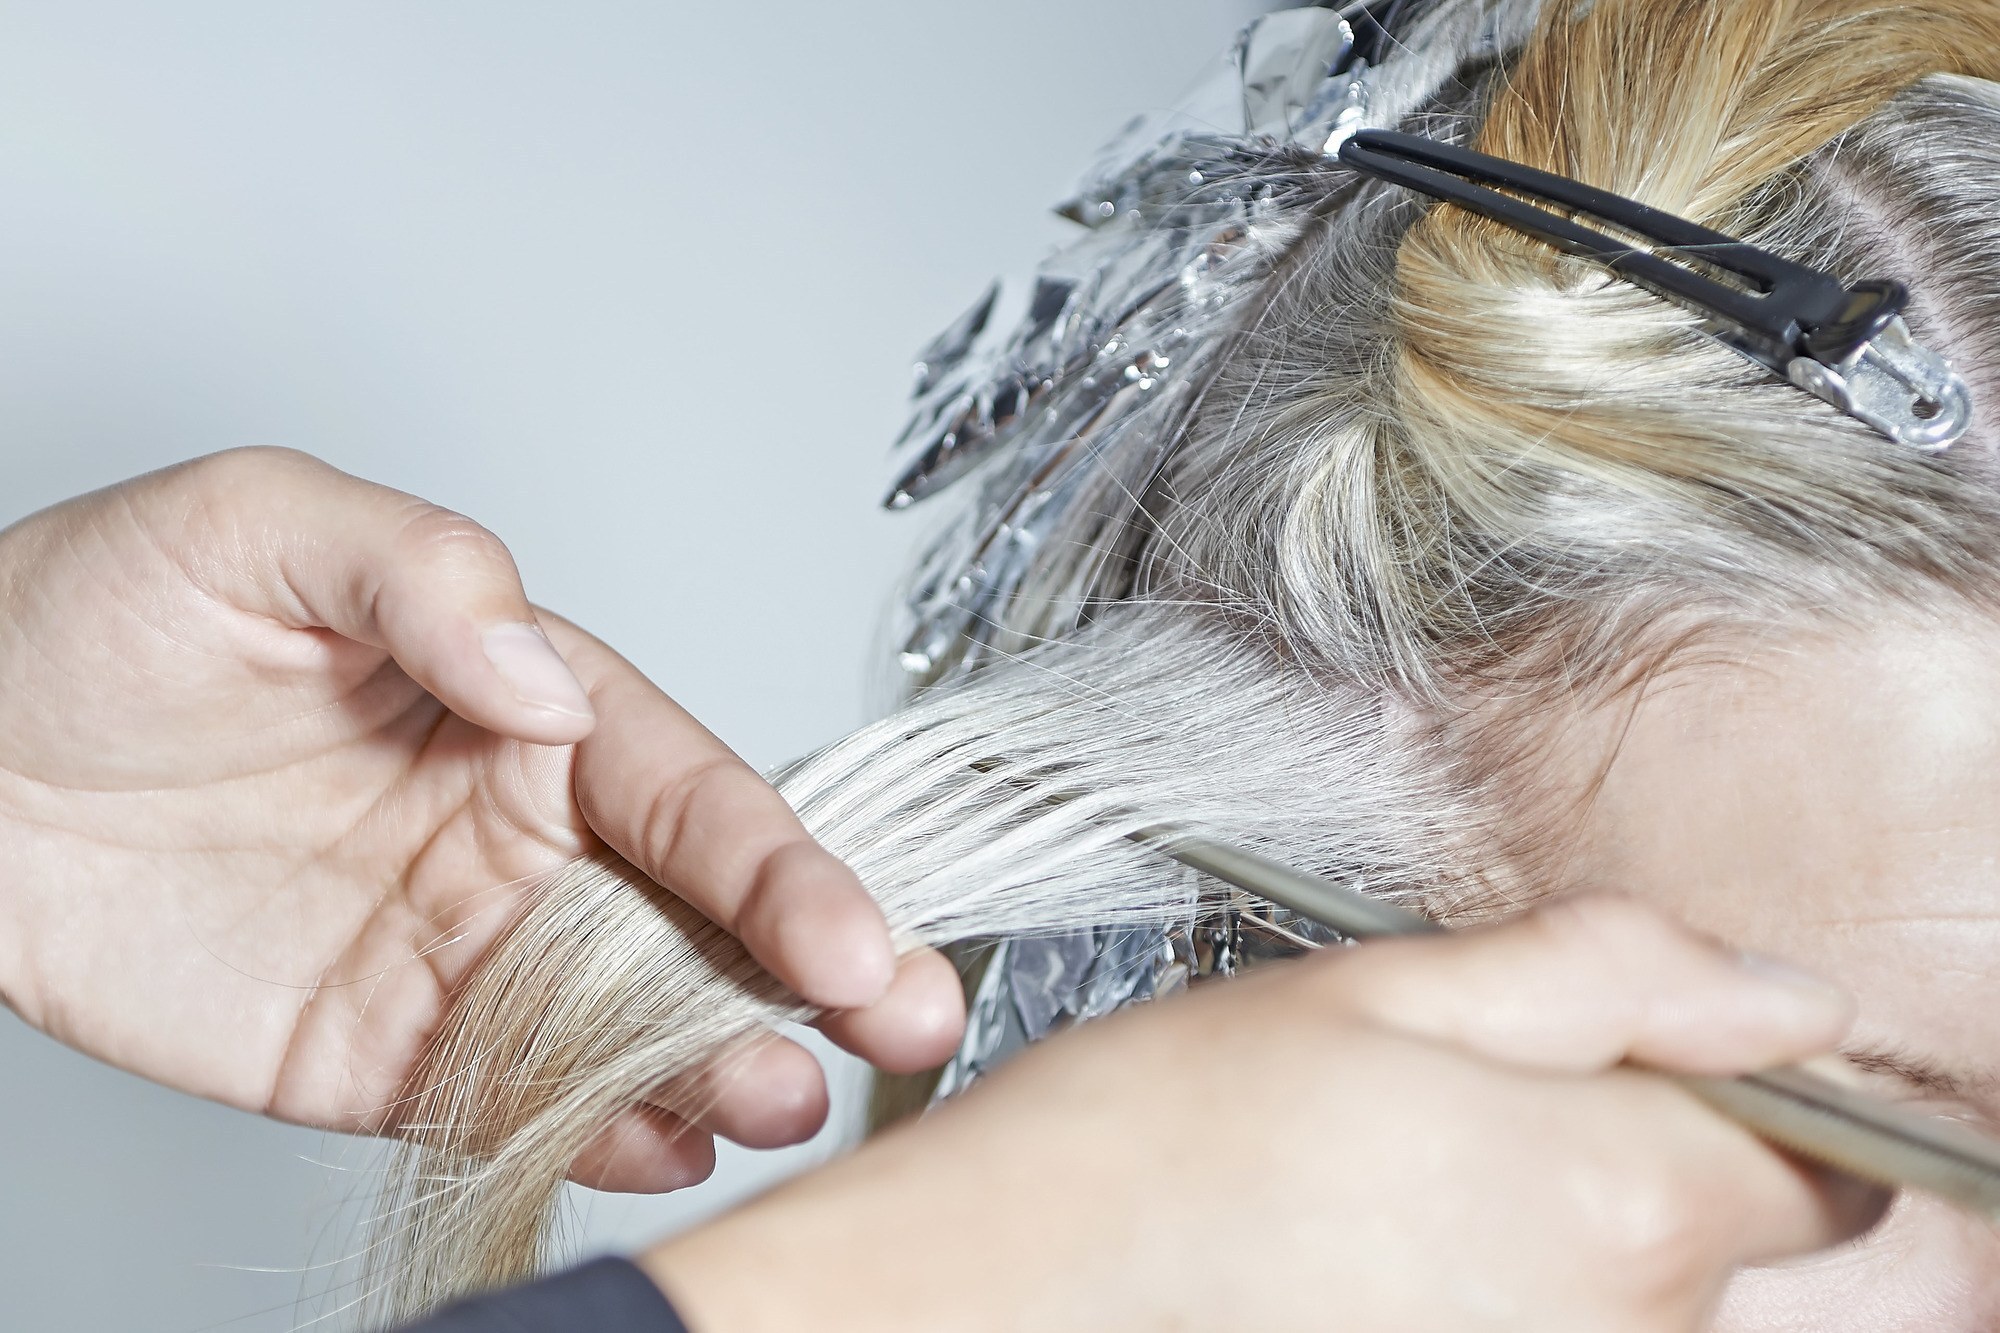
Section your hair into three to five parts. Bleaching hair section by section allows your strands to be fully saturated so your entire head will be evenly dyed, instead of some sections being splotchy or muddy.
7. Protect yourself
Bleach is some harsh stuff! Make sure to wear clothes that you don’t mind getting ruined, and always do it in a well-ventilated area. It’s also a good idea to use petroleum jelly to protect your forehead, ears and neck to create a barrier between your skin and the bleach, which can help lessen irritation and colour staining.
8. Begin bleaching
After you mix the bleach, apply it evenly from root to tip, starting at about a centimetre away from your scalp. Make sure each section is fully saturated before moving to the next. Once all of your hair is covered, put on the processing cap (or fold your foils) and wait for the magic to happen. It’s important to check your strands every five to seven minutes. If the maximum exposure time has buzzed, you need to rinse out the bleach. Be sure to give your hair at least a week’s worth of rest before bleaching dark hair again.
Although doing home bleaching is a money friendly way of colouring your hair, we recommend leaving the big jobs to the professionals. Having said that, there’s no harm in doing some light experimenting to see where your next hair colour step might lead you!
Products You Might Also Like
Our Tips & Advice
- slide 1
- slide 2
- slide 3
- slide 4
- slide 5
- slide 6
- slide 7
- slide 8
- slide 9
- slide 10

