;Resize=(250,70))
Hacks & Inspiration
from Hair Experts at Unilever
7 DIY Steps on How to Use Keratin Treatment at Home
Do you like giving yourself keratin treatments at home? Then make sure you’re doing it right
Natasha | December 12, 2019
We usually go to the salon to get hair treatments done, but what if you can do it yourself at home? That would most certainly be convenient, especially at times when you’re too busy or just can’t leave the house. One of the hair care pampering sessions you can DIY is a keratin treatment. You can definitely give yourself a keratin treatment at home and the result would be the same! But before we go into all of that, let’s talk about what it is and what it does.
What is keratin treatment?
This kind of treatment helps repair your hair, replacing the protein that your strands have lost due to chemical treatments, heat styling, and other damaging conditions your tresses have been exposed to. It rebuilds, softens, adds shine, and eliminates flyaways so your hair becomes more beautiful and easier to manage.
Keratin treatments do wonders to your hair, offering a wide range of benefits like adding moisture to the strands that help make them soft and smooth and making your tresses strong, shiny, and free from flyaways.
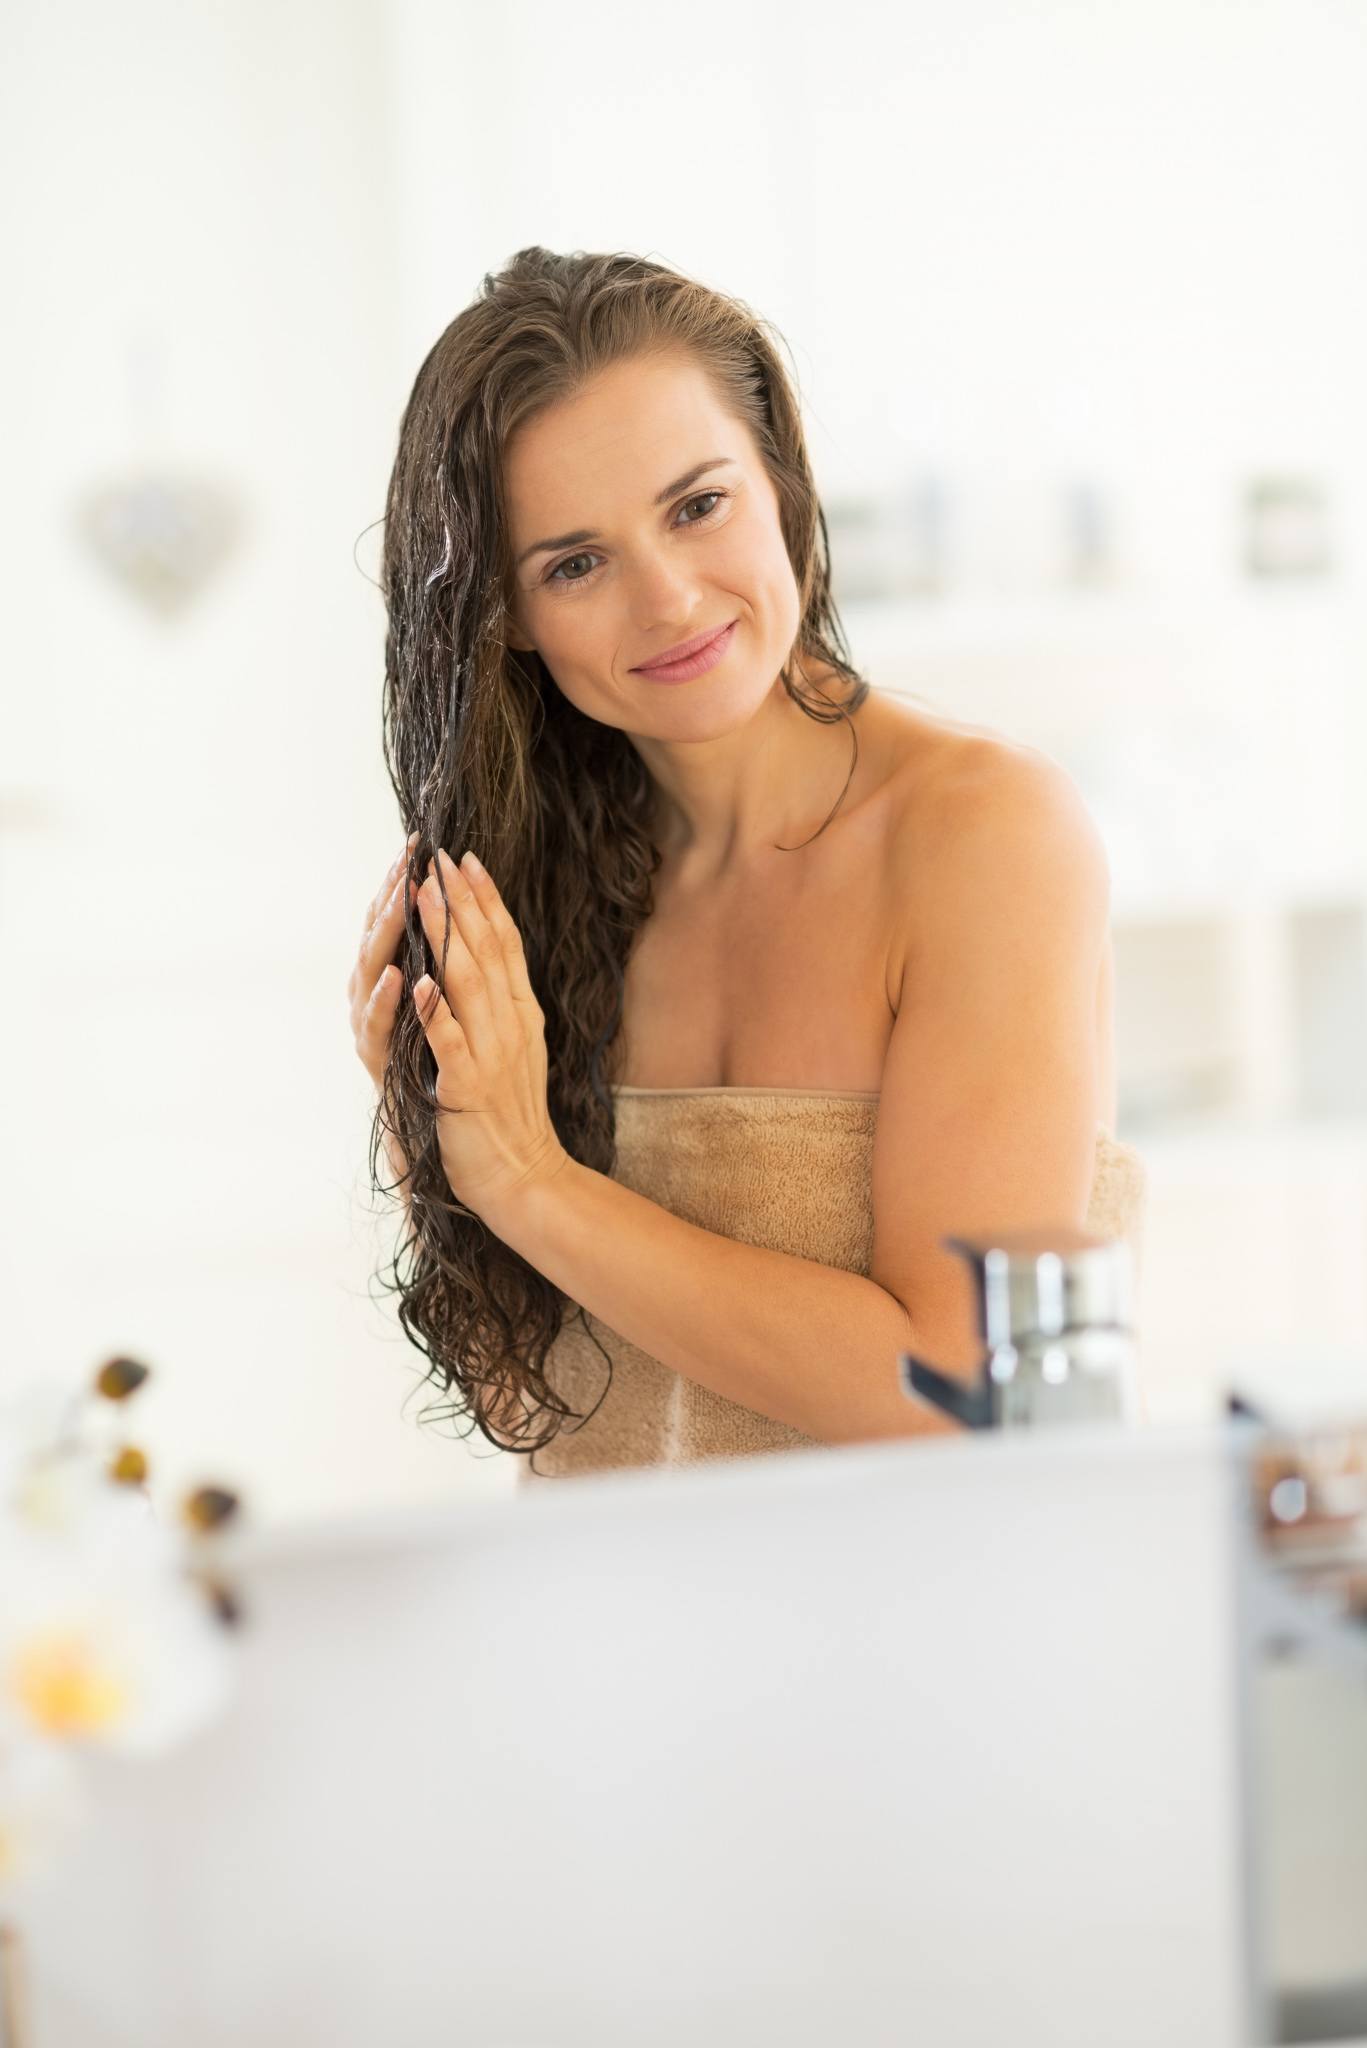
DIY Keratin Treatment
If you can’t make it to the salon, you can incorporate an at-home keratin treatment to your hair care routine – easy and fuss-free. But of course, you have to know how to do it correctly so you can make the most of its benefits. You can begin by getting to know our favourite keratin treatment product: TRESemmé Keratin Smooth Deep Smoothing Mask.
If you’re going to give yourself an actual keratin treatment, make sure to use a keratin mask like this. This product helps to give you an instantly smoother style.
Now, here’s a step-by-step guide to help you DIY that keratin hair treatment at home so you can give your locks a major reboot.
How to Use Keratin Treatment at Home
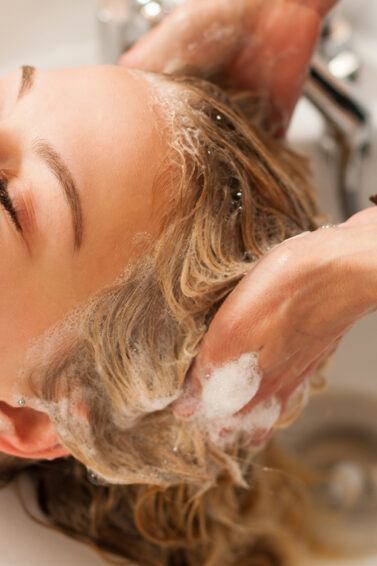
1. Shampoo your hair
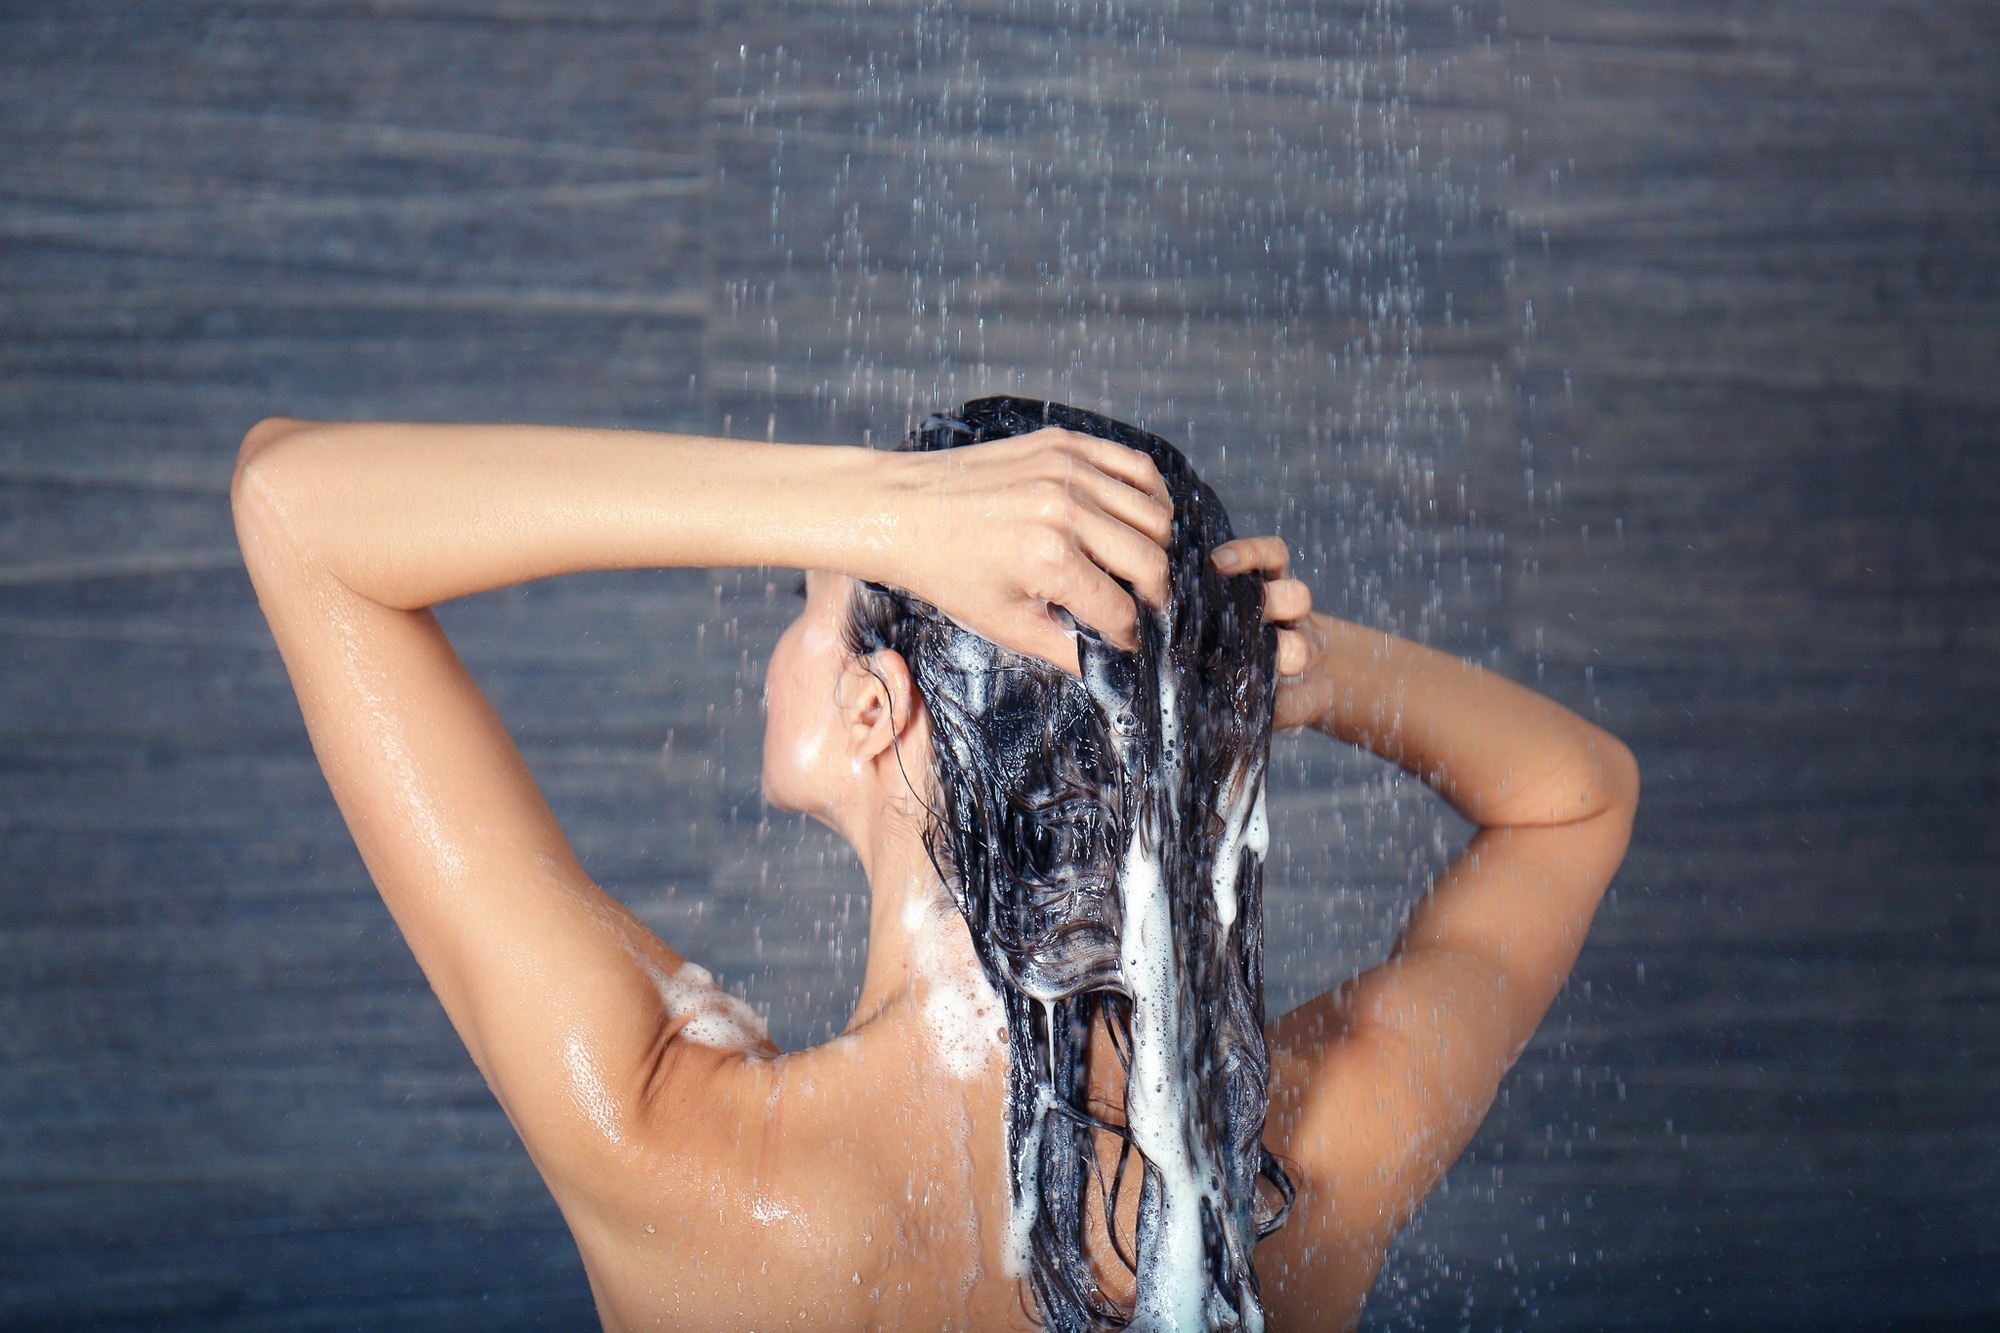
Wash hair with a good keratin shampoo for complimentary ingredient benefits. If you have straight hair, wash twice; if you have extremely curly hair, add one more wash. The focus here is to have 100% squeaky clean hair and scalp.
Note: DO NOT use a conditioner. Also, make sure hair is thoroughly rinsed before moving on to the next step.
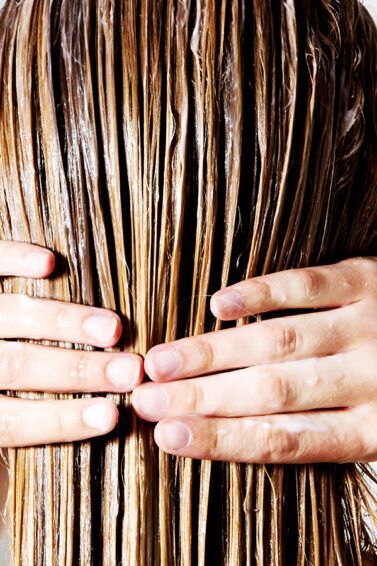
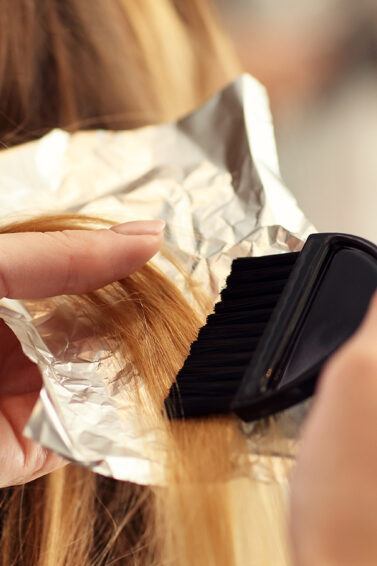
2. Massage treatment onto your hair.
Dry hair gently but leave some moisture so hair can easily absorb the product. Coat your strands with the keratin treatment, starting from the tips going up. Stop at one inch from the scalp. Gently massage your hair with the product.
3. Leave the treatment on your hair for 30 minutes

With the product still on your hair, comb your locks gently with a wide-tooth comb. Then let your DIY Keratin treatment set for thirty minutes.
4. Rinse your hair

Rinse thoroughly to make sure there’s no product residue left on your hair as this may cause buildup and flaking.
5. Blow-dry and iron your hair
Blow-dry your hair while brushing. Once completely dry, separate hair into small sections and lock the keratin in by ironing each section thoroughly. Iron your hair one small section at a time so the heat is applied evenly.
6. Wait

Keep hair dry—wait for 48 hours before washing. This gives the DIY keratin treatment more time to seep into your hair and work its magic. Make sure you don’t tuck your hair behind your ears or tie it. Just keep it down and straight.
7. Wash with shampoo and conditioner
After 48 hours, you can now wash your hair. Use shampoo and conditioner (we love TRESemmé Keratin Smooth Shampoo and Conditioner), then blow-dry.
What do you think of DIY keratin treatment? It is possible, not to mention easy, to give yourself a keratin treatment at home. Just make sure you’re doing it right!

Article
4A Hair Type: How to Take Care of Your Curls
For girls with springy curls. As much as we love talking about braiding and styling hair, we also love getting into the nitty-gritty of understanding different hair types. This is essential so that you can better understand what products will work best for you. 4A hair is positively gorgeous so we knew it needed a […]


Products You Might Also Like
Our Tips & Advice


- slide 1
- slide 2
- slide 3
- slide 4
- slide 5
- slide 6
- slide 7
- slide 8
- slide 9
- slide 10