Skip to:

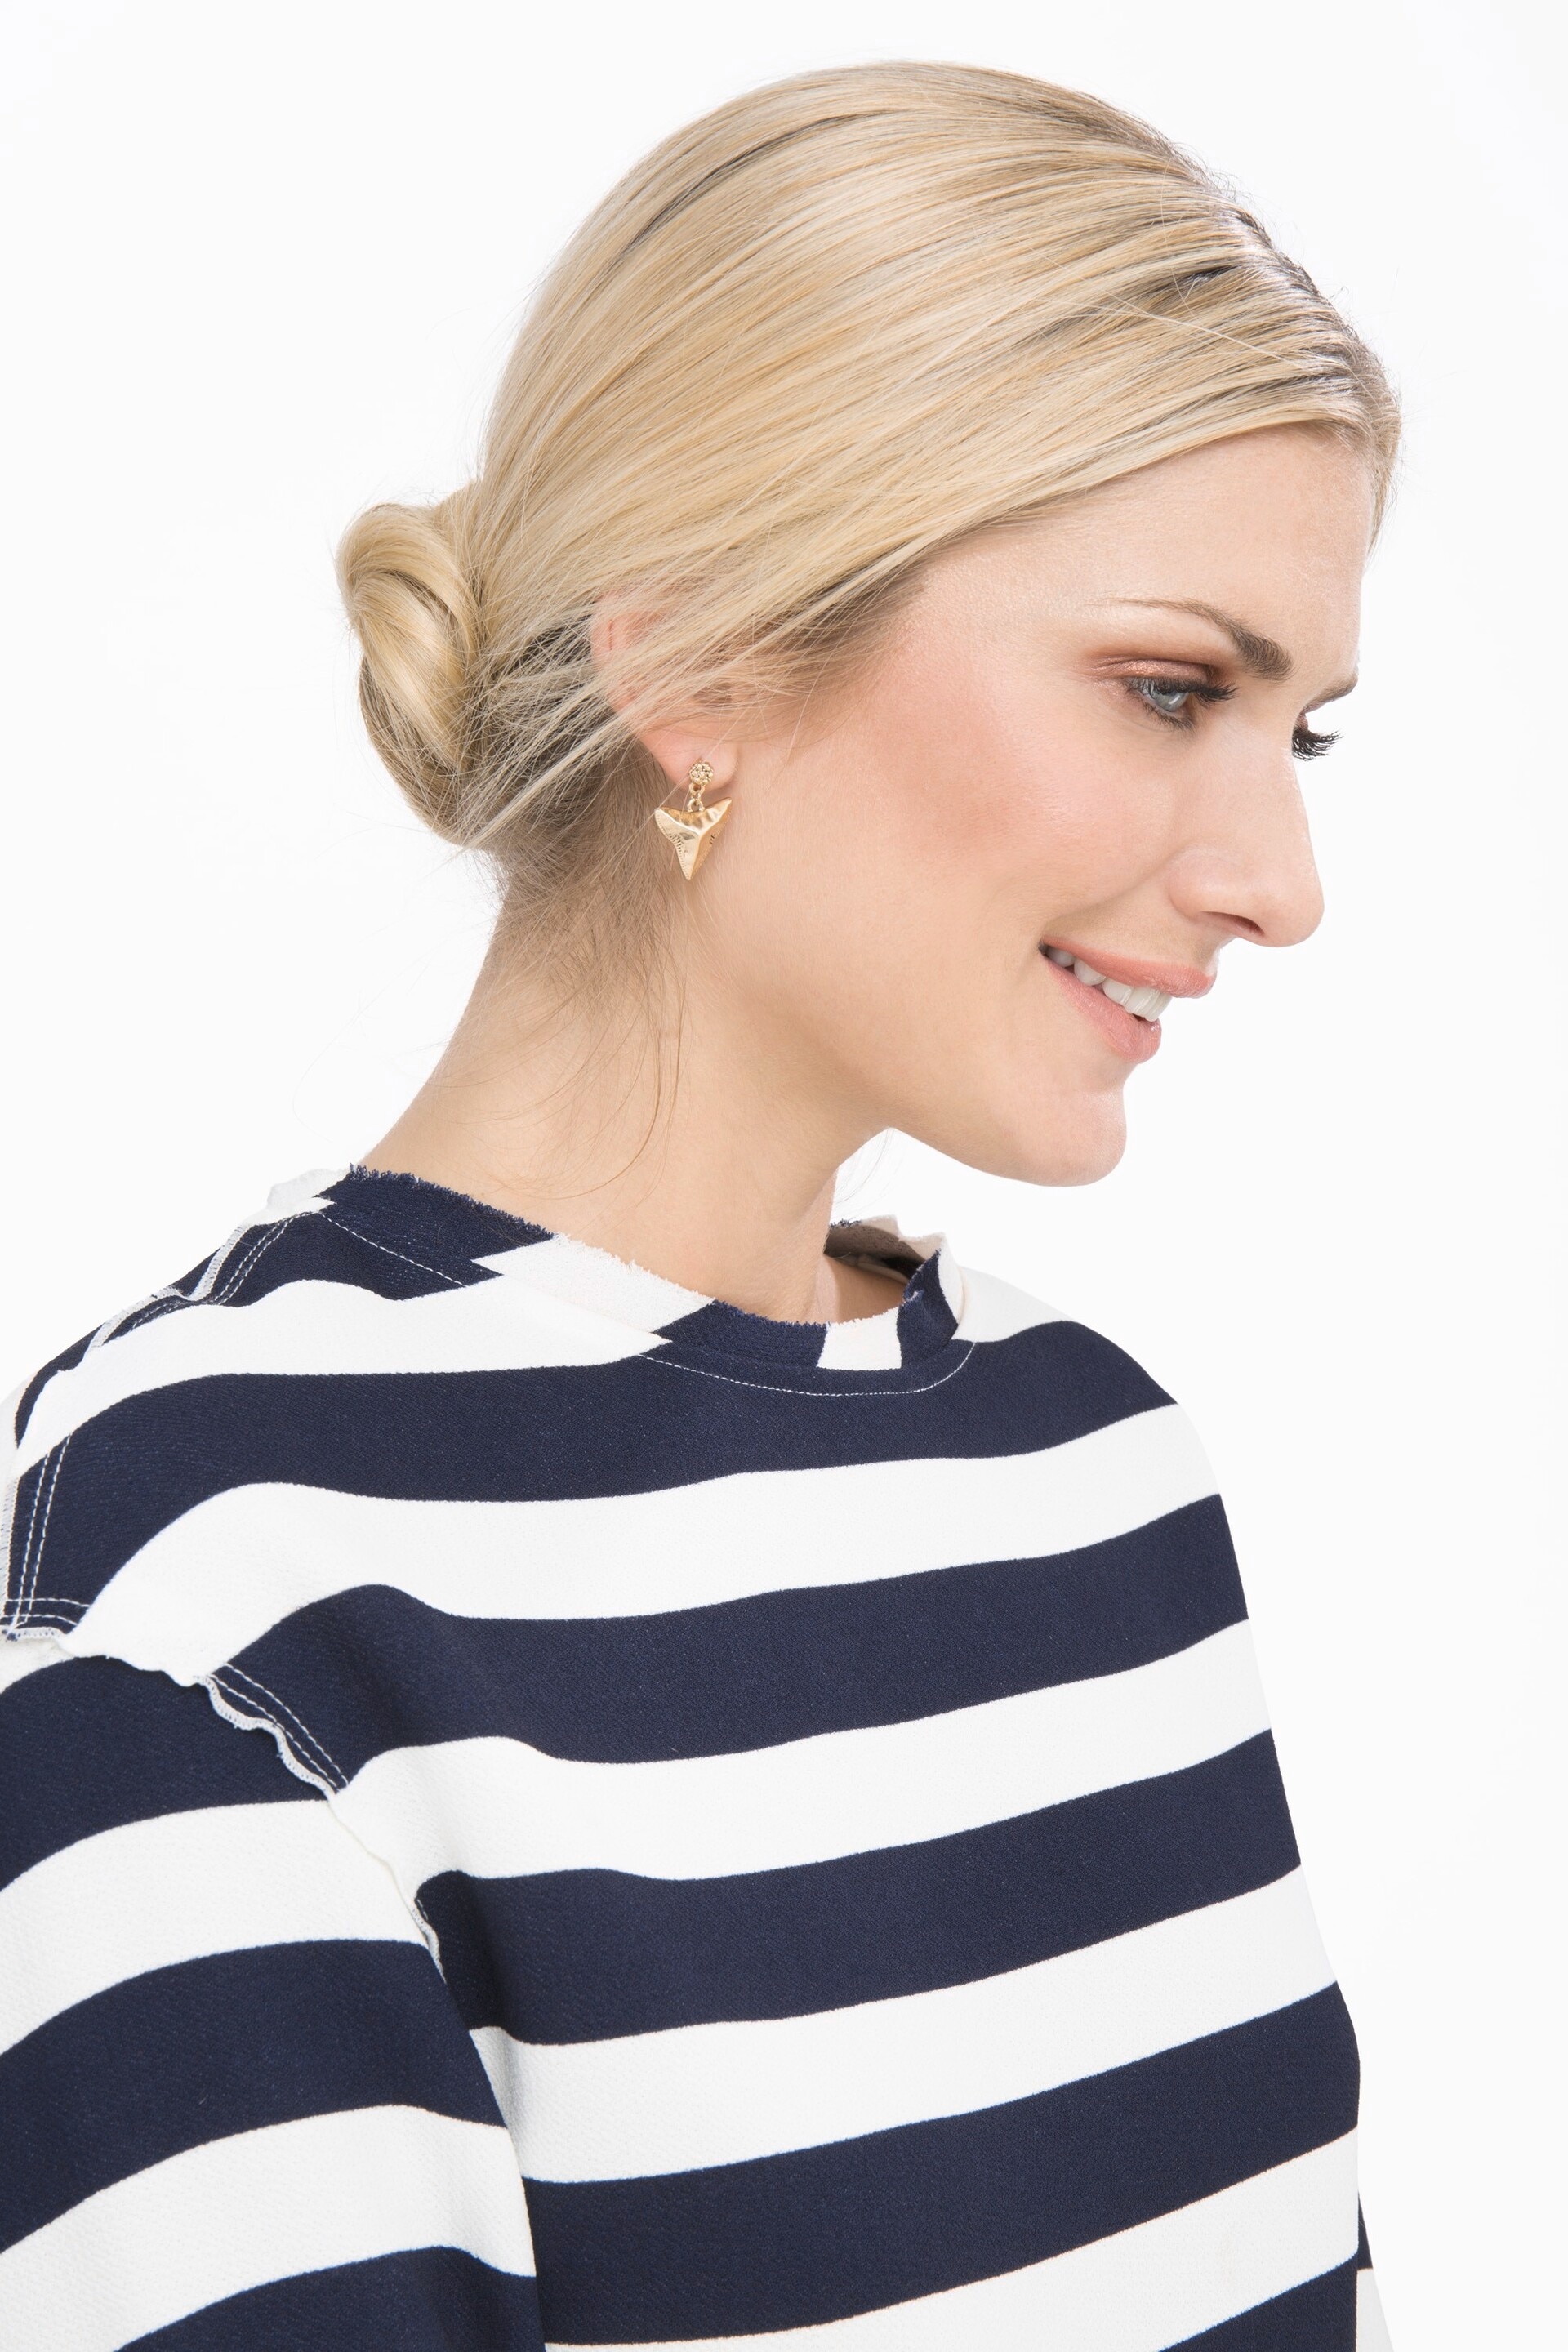
How to Do a Messy Bun in under 10 Minutes
Want to know how to do a messy bun? From the basics to occasion-worthy updos, this is your guide to becoming a messy bun pro.
Beth | August 19, 2019
Time
10-mins
Skill
- brush1
- brush2
- brush3
Easy
Hair Types
All Types
You Will Need
Perfect for casual weekends or even lounging around at home, it’s not surprising that the messy bun has become a cult classic in every lazy girl’s hair routine.
But what is a messy bun? Simply put, it’s a more undone version of the ballerina bun updo. You can wear your messy bun high on the head or low at the nape of the neck, meaning there’s a look to suit everyone’s personal style.
Follow our video tutorial above or keep scrolling below for 6 (yes, 6!) different ways to create a messy bun for every occasion.
Method 1: How To Do A Messy Bun – The Basics
So if you want a piece of the action but aren’t sure how to do a messy bun, you’re in luck as this updo is one of the easiest hairstyles around (seriously, even total hair newbies can master this look!).
1. Put Your Hair In A Ponytail
Messy bun tutorial step 1: Tie hair in ponytail. Credit: Verity Jane Smith
So, you’re ready to learn how to do a messy bun?
Start by using your fingers to rake your hair into a ponytail and tie with a hair elastic. Using your fingers rather than a brush will help add to the undone feel of the look.
2. Add Texture

Messy bun tutorial step 2: Spray with texturising spray. Credit: Verity Jane Smith
Spray your hair with a texturising spray like the VO5 Dry Texturising Spray to give your bun added texture and grip.
3. Tease Your Hair
Messy bun tutorial step 3: Tease ponytail. Credit: Verity Jane Smith
Fine hair? Plump up your hair by using a comb to gently backcomb random sections of your ponytail.
Check out all about how to tease your hair for more volume
4. Wrap Your Hair Into A Bun

Messy bun tutorial step 4: Wrap bun. Credit: Verity Jane Smith
Now the prep is done it’s time to create your messy bun! Twist your ponytail around on itself, wrapping it into a bun and securing with bobby pins.
Leave a few loose strands around your face for a more natural, lived-in look.
Editor’s tip: For a seamless finish, try to use bobby pins that match the colour of your hair. This way, you won’t be able to see the clip poking out of your bun.
5. Set With Hairspray
Messy bun tutorial step 5: Set with hairspray. Credit: Verity Jane Smith
Finally, all that’s left to do is to spray your hair with the TRESemmé Ultimate Shine Hold Hairspray to set it in place and prevent frizz.
6. Final Look
Messy bun tutorial step 6: Final look. Credit: Verity Jane Smith
And there you have it, you’re officially a messy bun pro! Now you know how to perfect this lazy-day style, don’t be surprised if it becomes your new go-to!
Method 2: Messy Bun Tutorial For Fine Or Greasy Hair
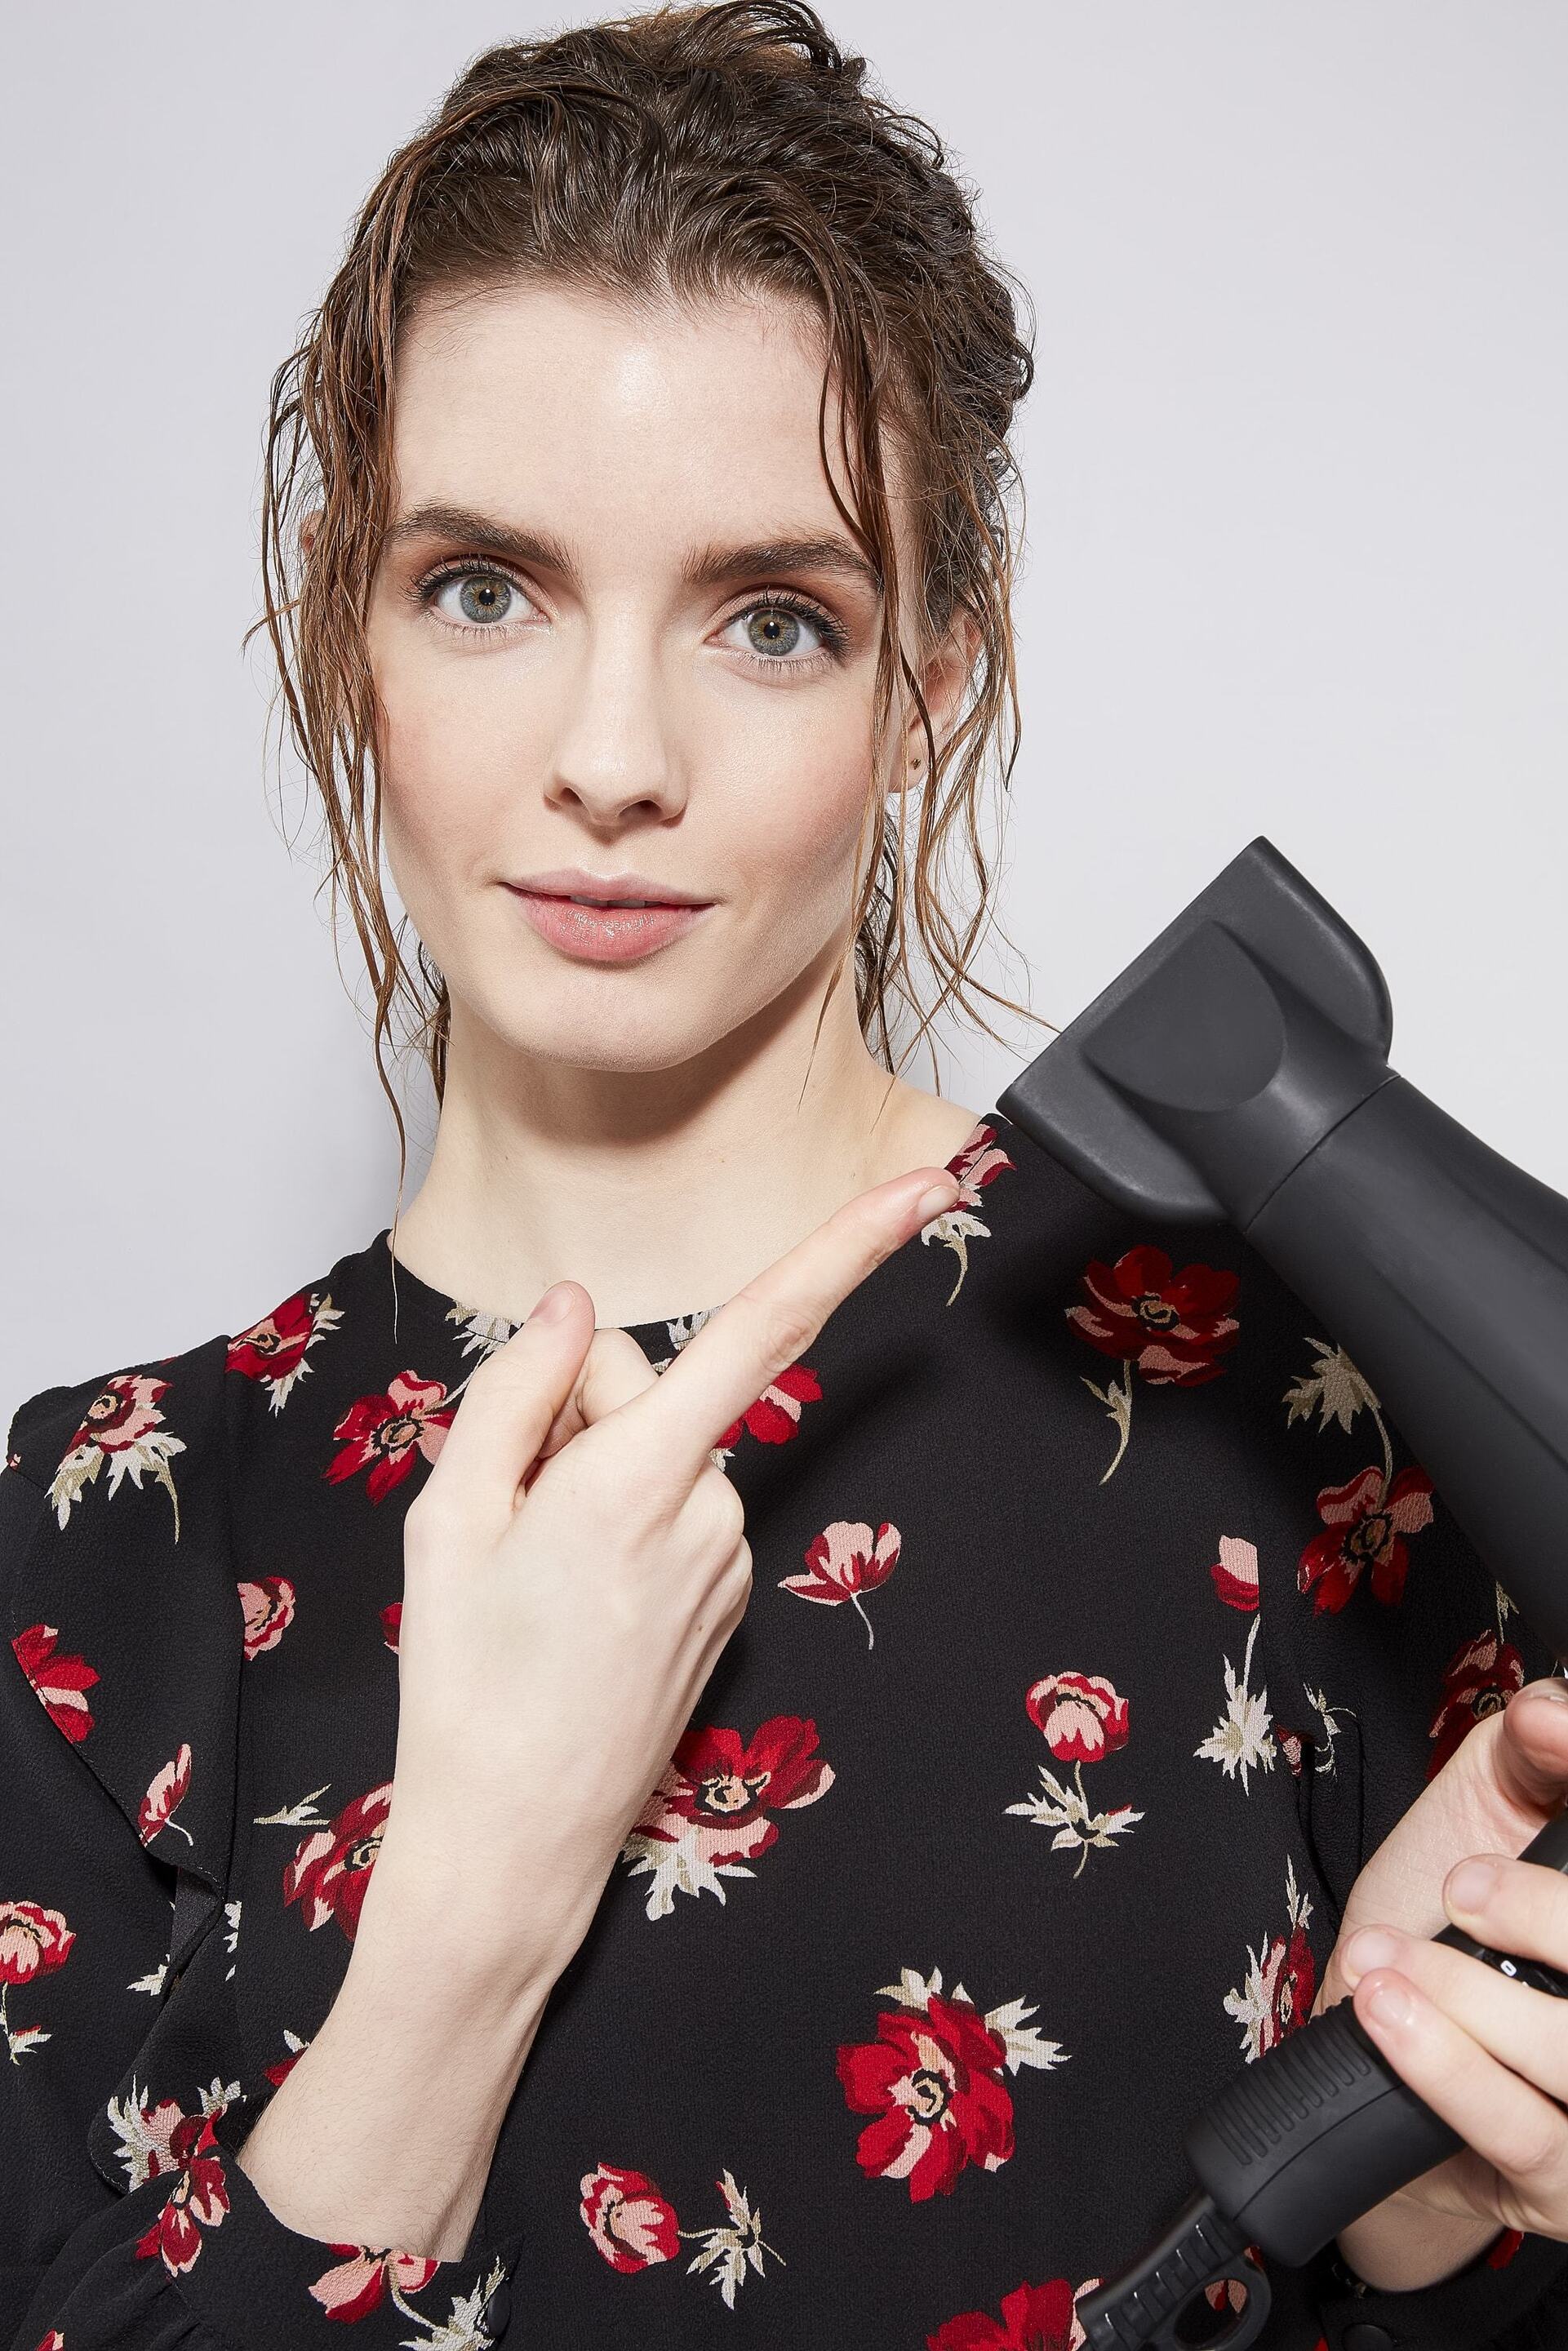
Did you know that messy buns are a perfect second-day hairstyle? It’s true! Whether you’ve woken up late and don’t have time to wash your hair, or your hair is just fine and generally more prone to oiliness, with just some dry shampoo & some clever styling, no-one will ever know…
1. Prep With Dry Shampoo
Add texture with a dry shampoo. Credit: Verity Jane Smith
Begin by spraying your hair with some dry shampoo to soak up any dirt or excess oils and give your strands something to grip onto.
Then brush through your hair to evenly work in the product and get rid of any knots.
2. Create a High Ponytail
Pull into a chic high ponytail. Credit: Verity Jane Smith
Then, gather all your hair and secure it into a super high ponytail, right on the top of your head. (It doesn’t matter if it’s not immaculate BTW – it’s not meant to look like you’ve spent hours on it!)
Tip: If you’re finding it tricky to get your ponytail as high as you’d like, try flipping your hair and creating it upside down!
3. Wrap Your Hair Around
Wrap, wrap, wrap! Credit: Verity Jane Smith
Now take hold of your ponytail and wrap it around the base to form a bun shape.
Pin the hair down with bobby pins, leaving some sections looser than others to create a perfectly-imperfect effect.
Tip: Got layered hair? Then you may find that your shorter strands spray out of your bun. Don’t worry though, as any stray pieces of hair can always be tamed with clips or slicked down with a little hairspray Besides, this just adds to the lived-in look!
4. Set with Hairspray
Secure your look in place with a strong hold hairspray! Credit: Verity Jane Smith
Although the undone vibe is essential to the messy bun, we don’t want it to get too much messier throughout the day!
Therefore, the last step in this messy bun tutorial is to set your hair with hairspray.
5. Final Look
Now you’ve mastered the messy high bun – go you! Credit: Verity Jane Smith
And it’s as easy as that! Don’t worry if your hair doesn’t look exactly like the photos, as the final result will be slightly different every time. Embrace the individuality!
Next read: More hairstyles to help you embrace the second-day hair
See how top blogger babes N1kk1sSecr3t and Tiny Twisst give the messy bun their own unique twists…
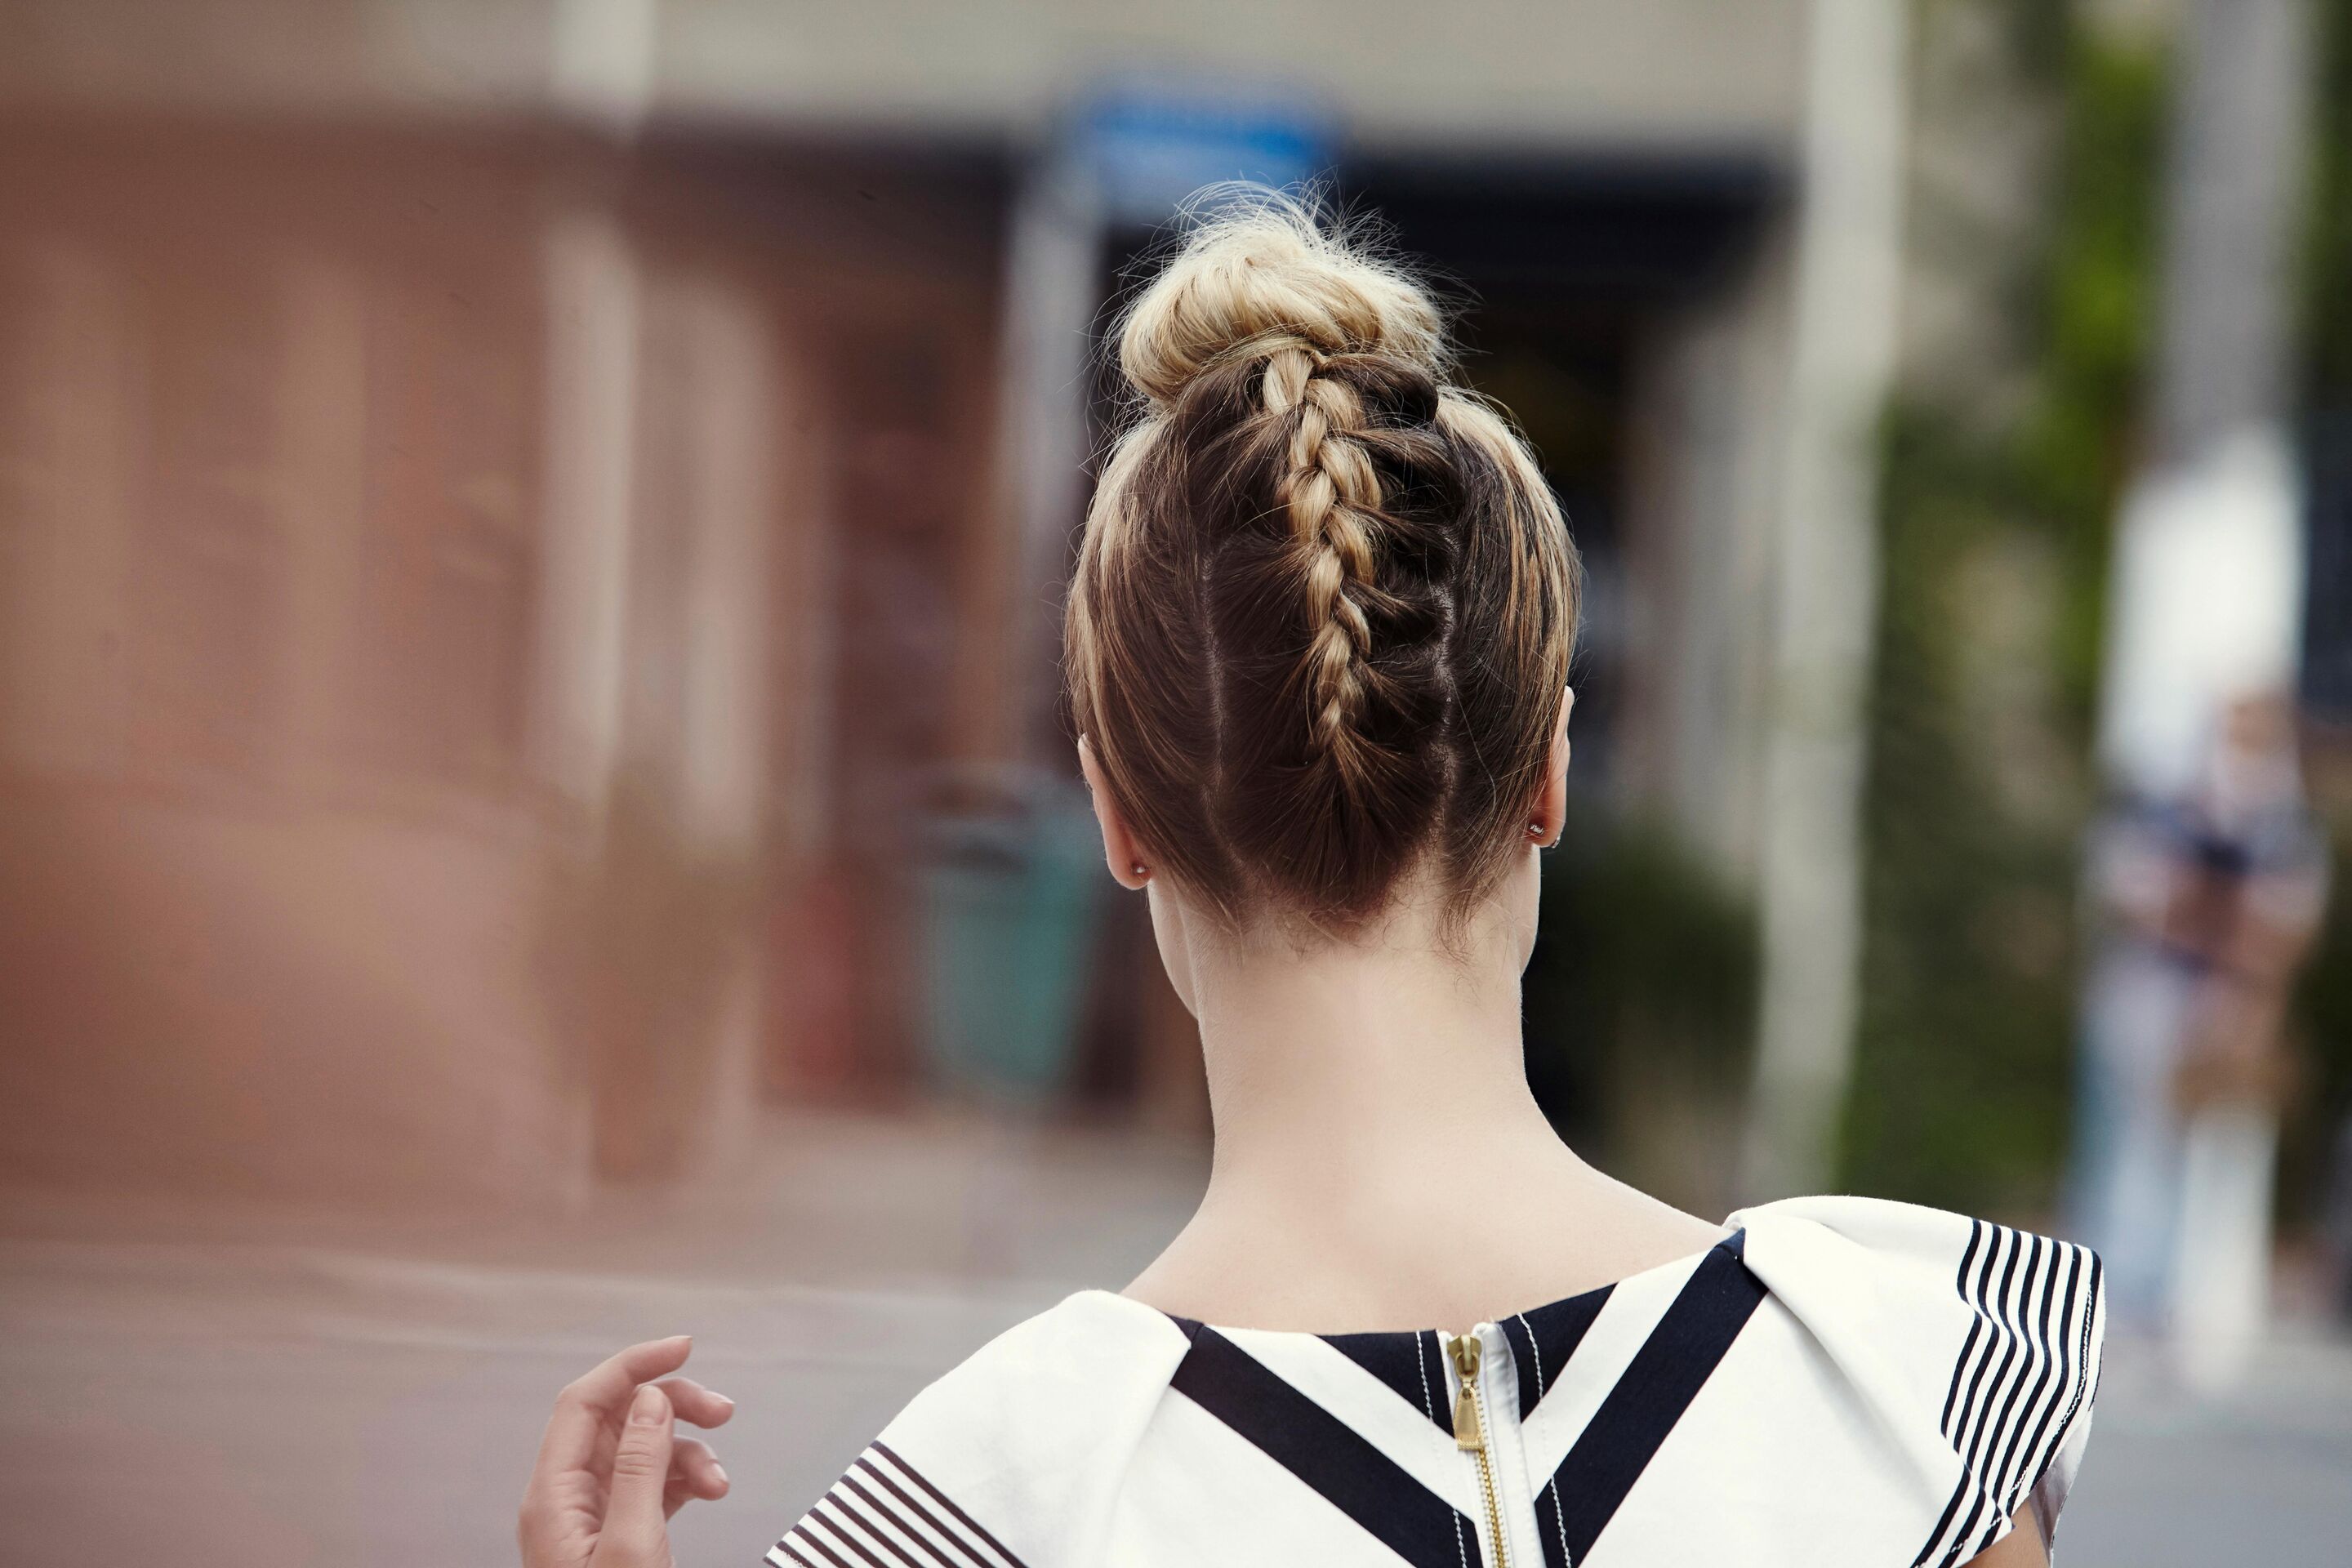
Method 3: Braided Messy Bun by N1kk1ssecr3t
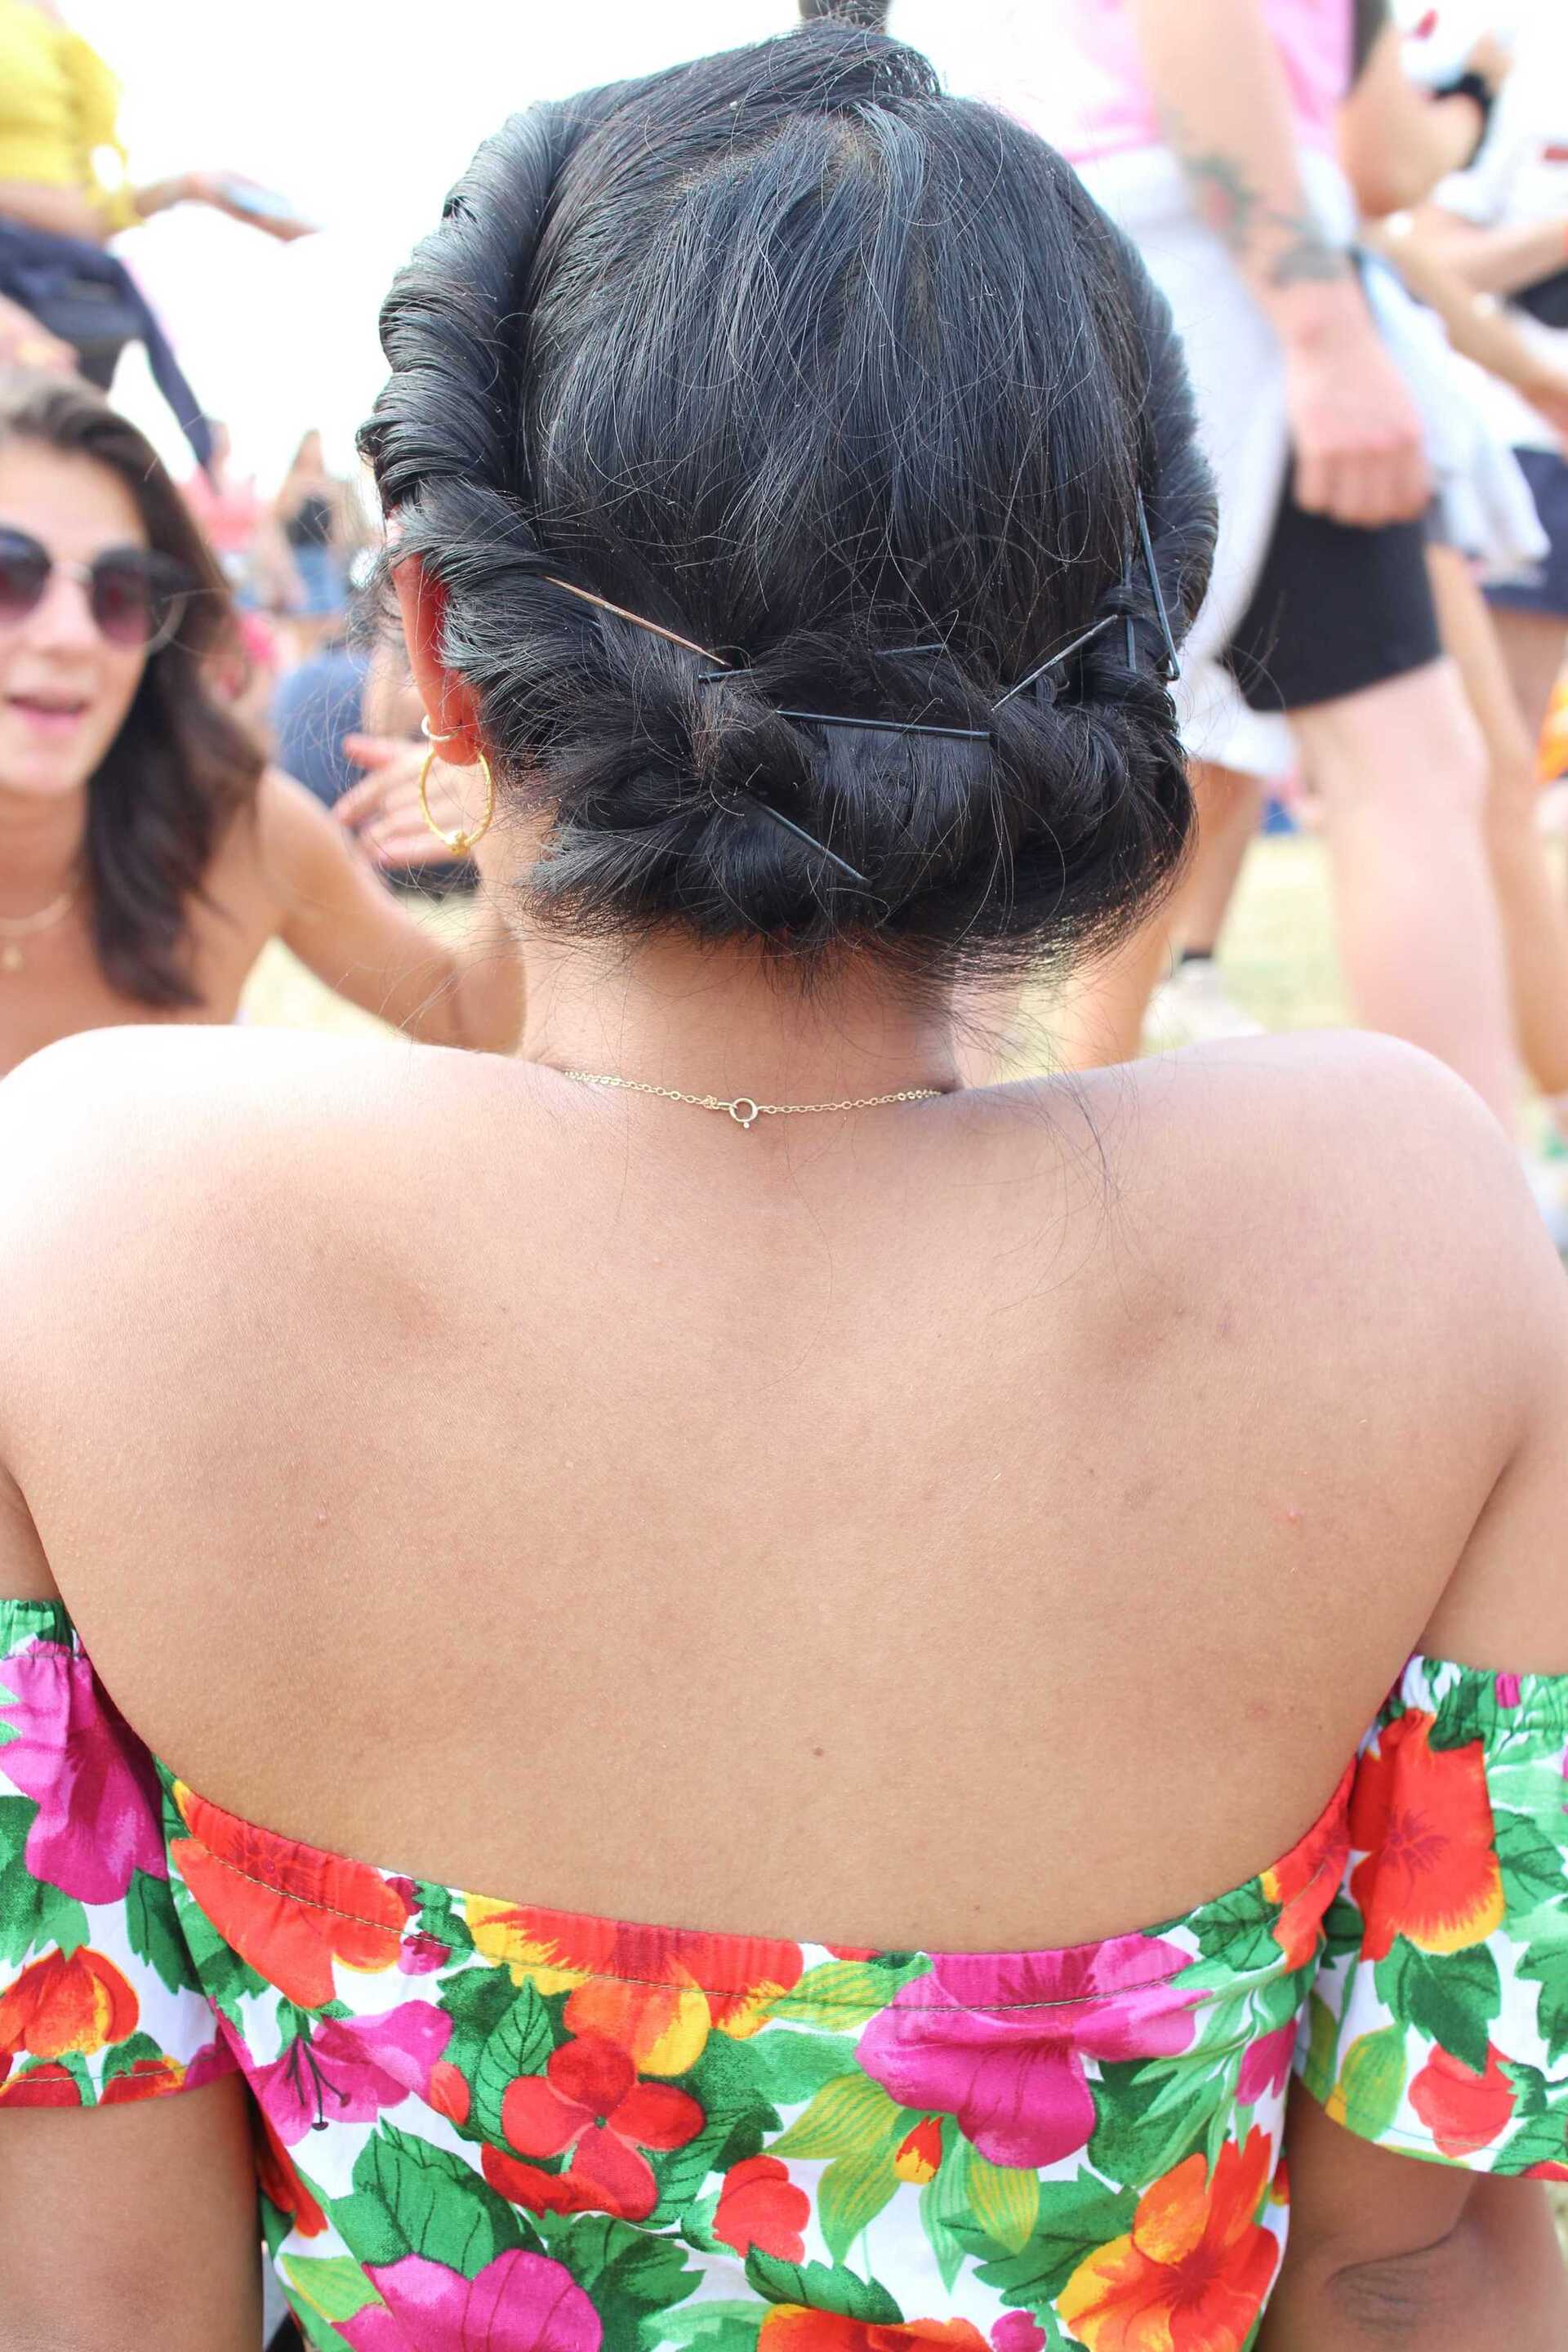
Method 4: Low Messy Bun Tutorial by Tiny Twisst
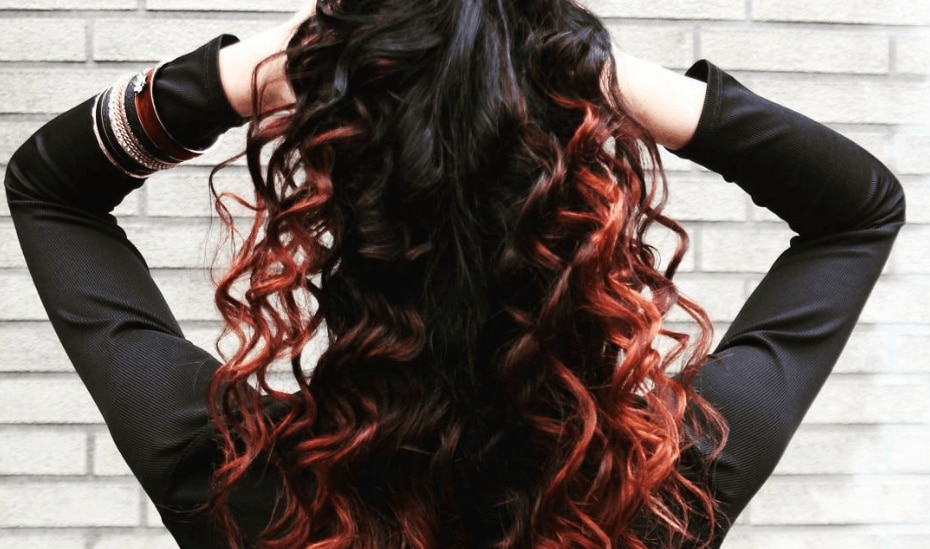
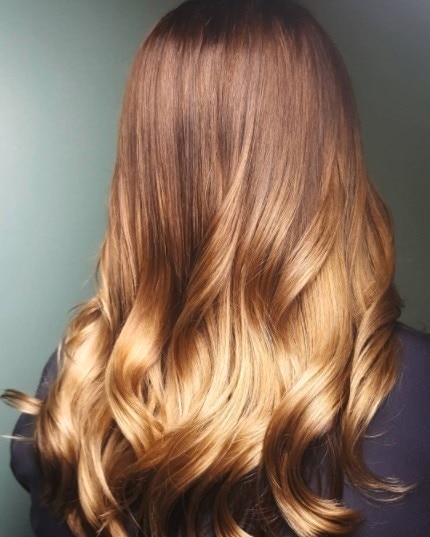
Method 5: How to Make a Messy Bun with Curls
Now that you’ve got the basics down, you might be wondering if there’s anything you can do to smarten up your look for more formal occasions? And the answer to that is…absolutely!
With just a few tweaks you can easily transform a standard messy bun into something really special. Our favourite way to do this? Curls of course!
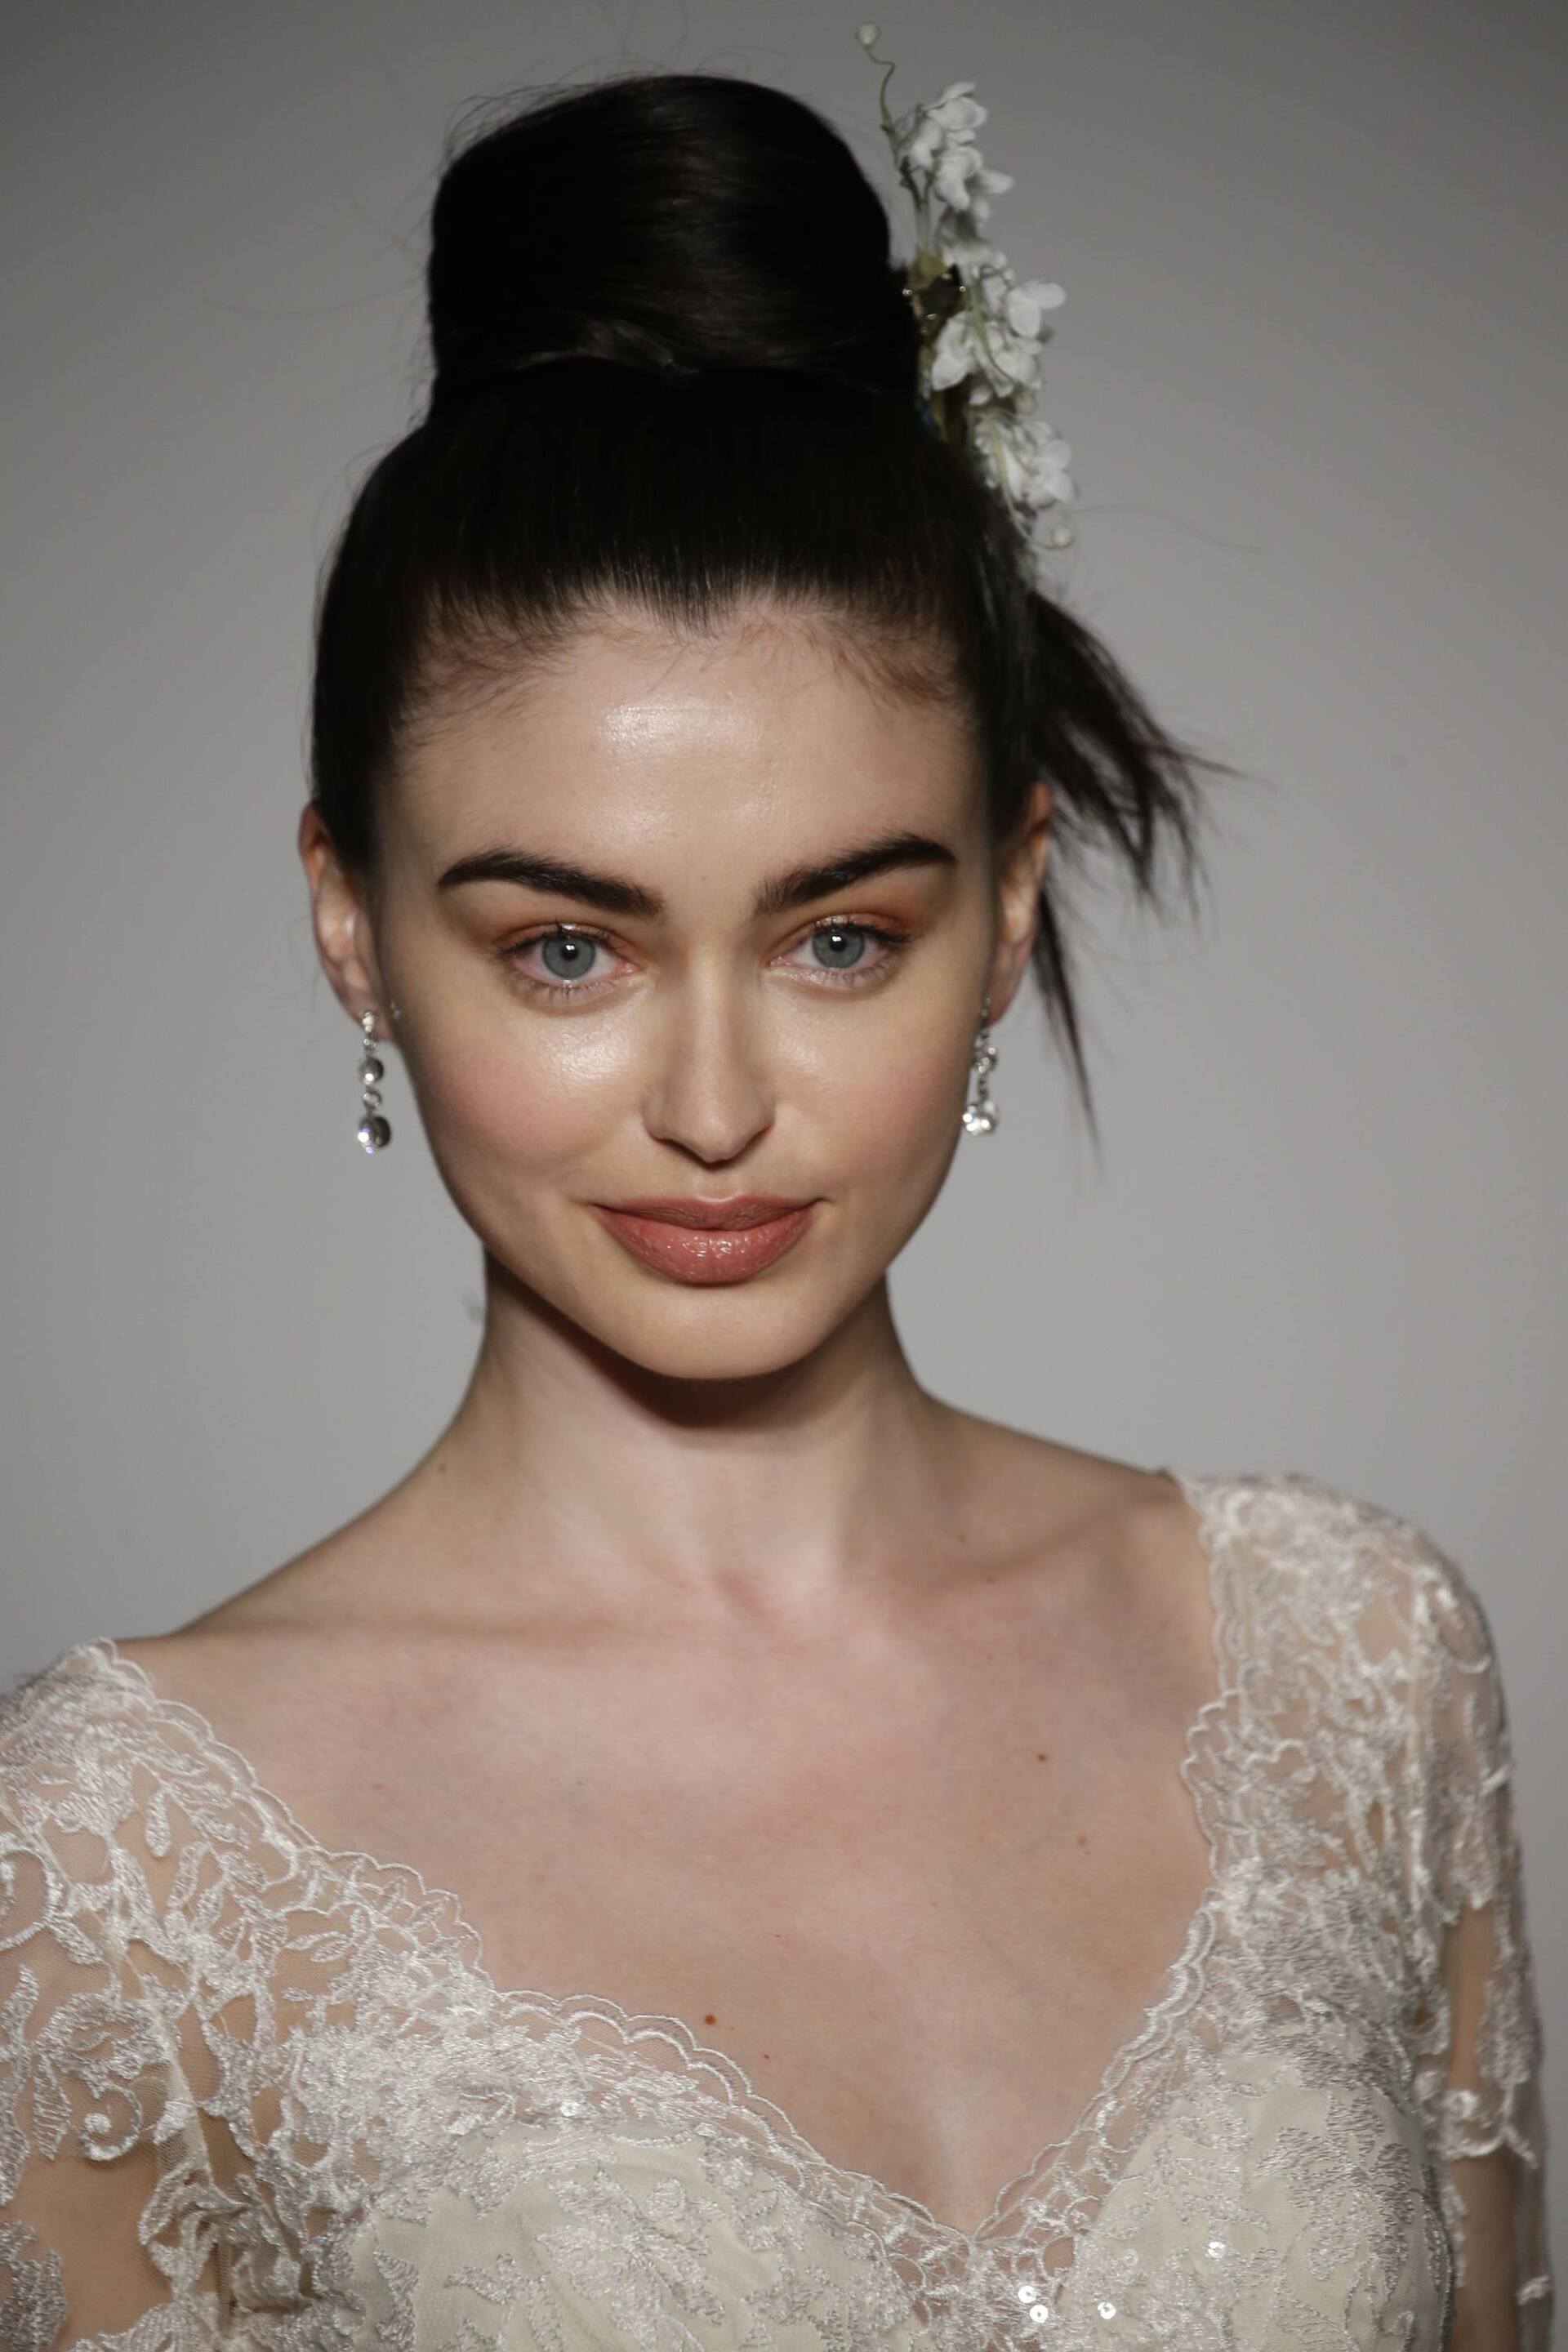
Try a curly messy bun!
How to Get the Look:
1. Start by sectioning your hair and giving your tresses a good all-over spritz of a heat protectant.
2. Then use a wide-barreled curling wand to curl pieces of hair around 1-2 inches thick at a time, to create loose waves
A curly elegant updo that anyone can do!
3. Gently twist your hair into a bun using the original messy bun tutorial method above, being careful not to flatten any of the volume from the curls you’ve just created.
4. Leave a few face-framing strands of hair loose around your hairline for a romantic, dishevelled look, secure in place with bobby pins and you’re ready for action!
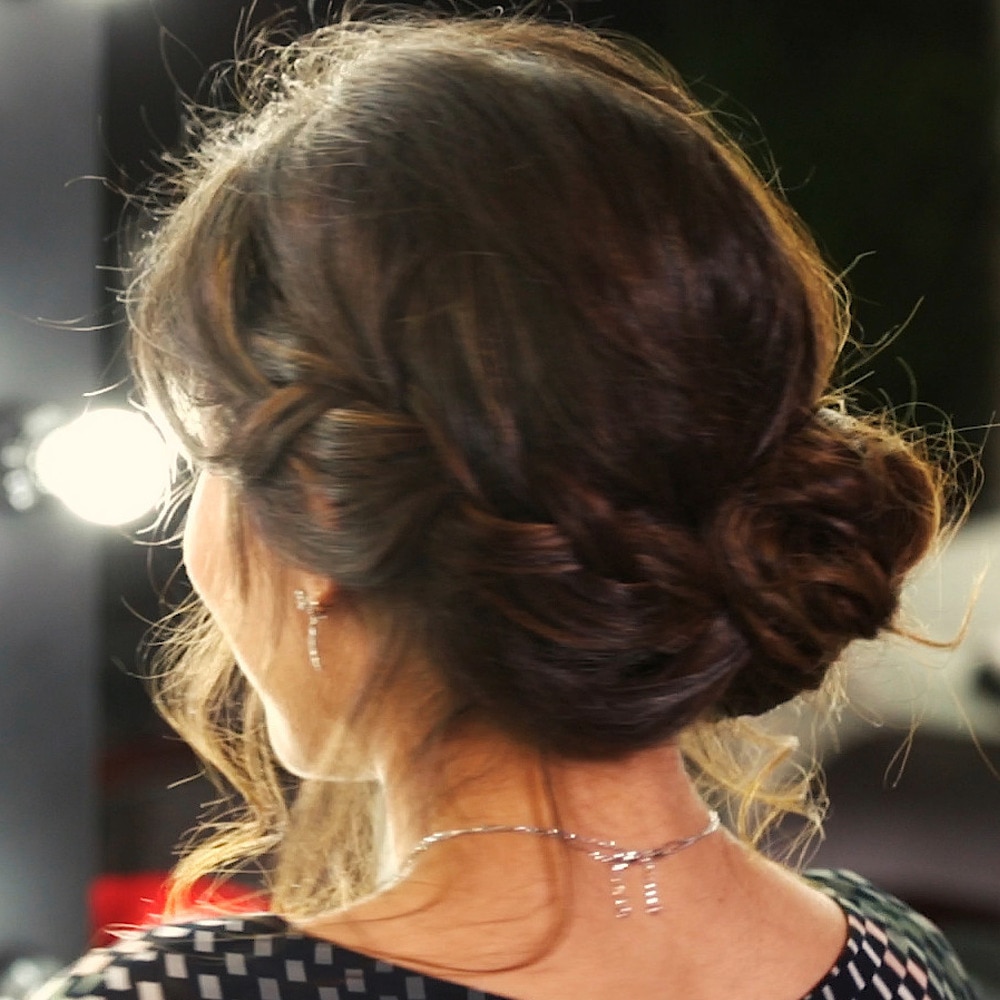
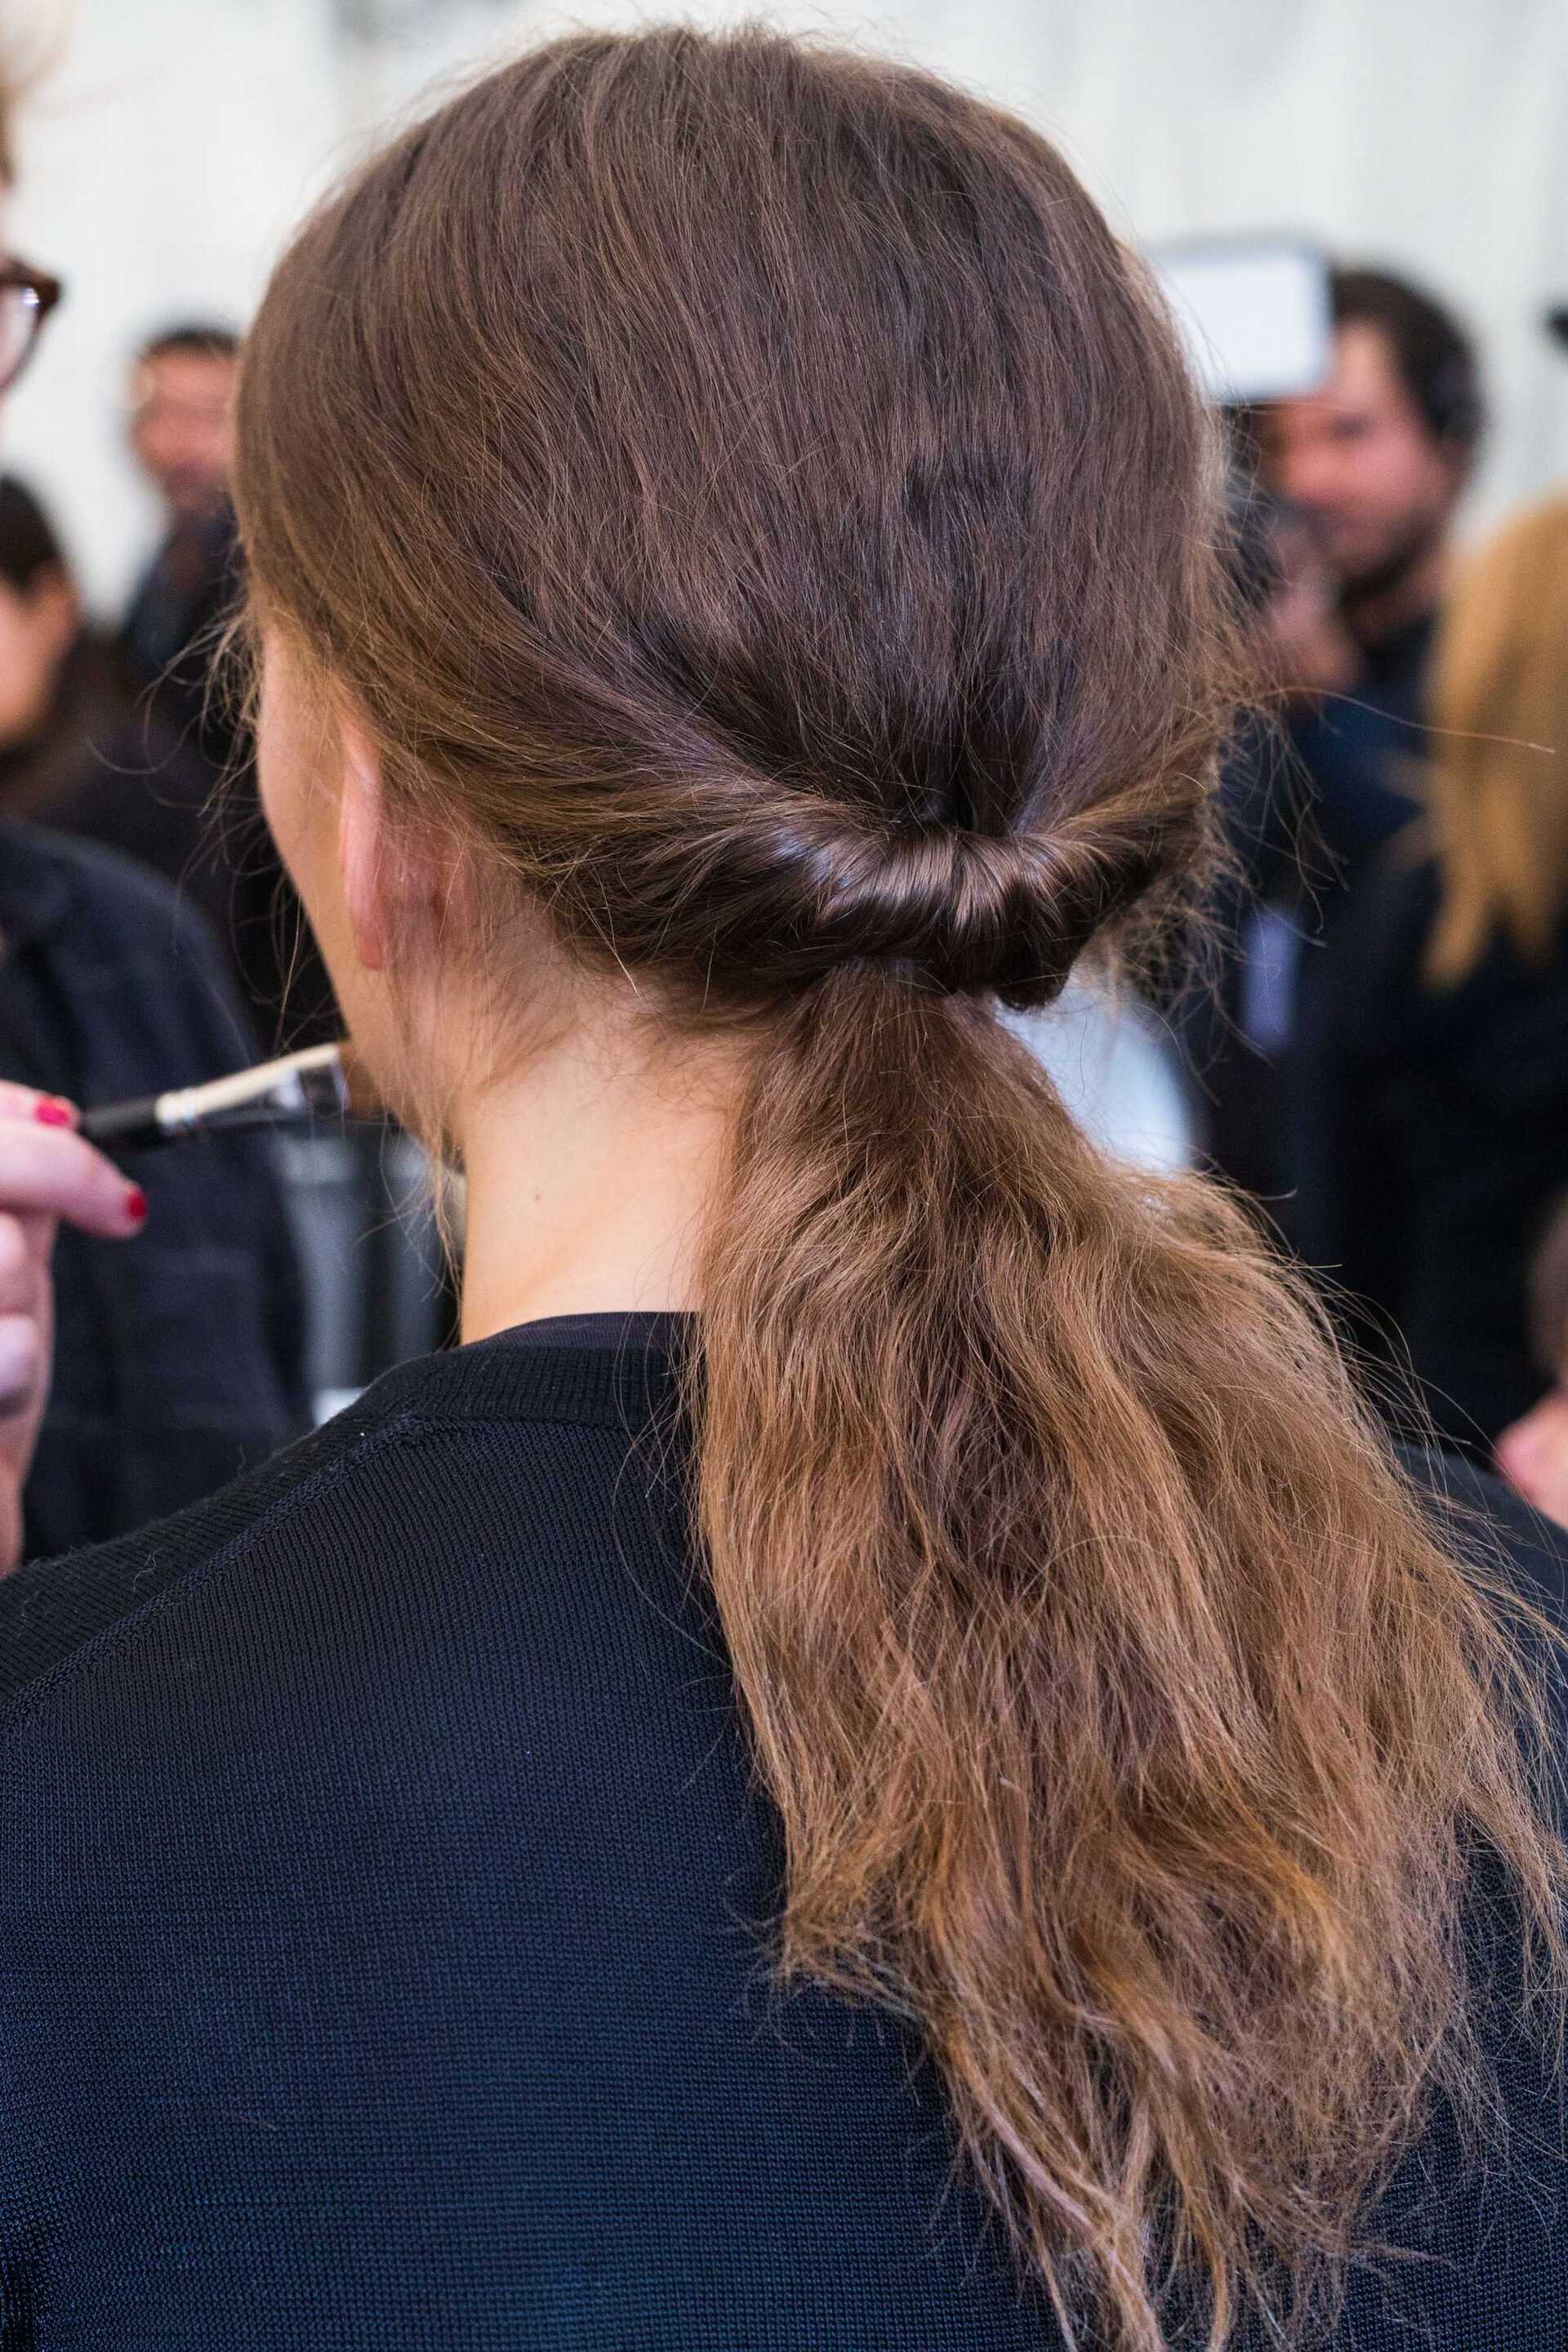
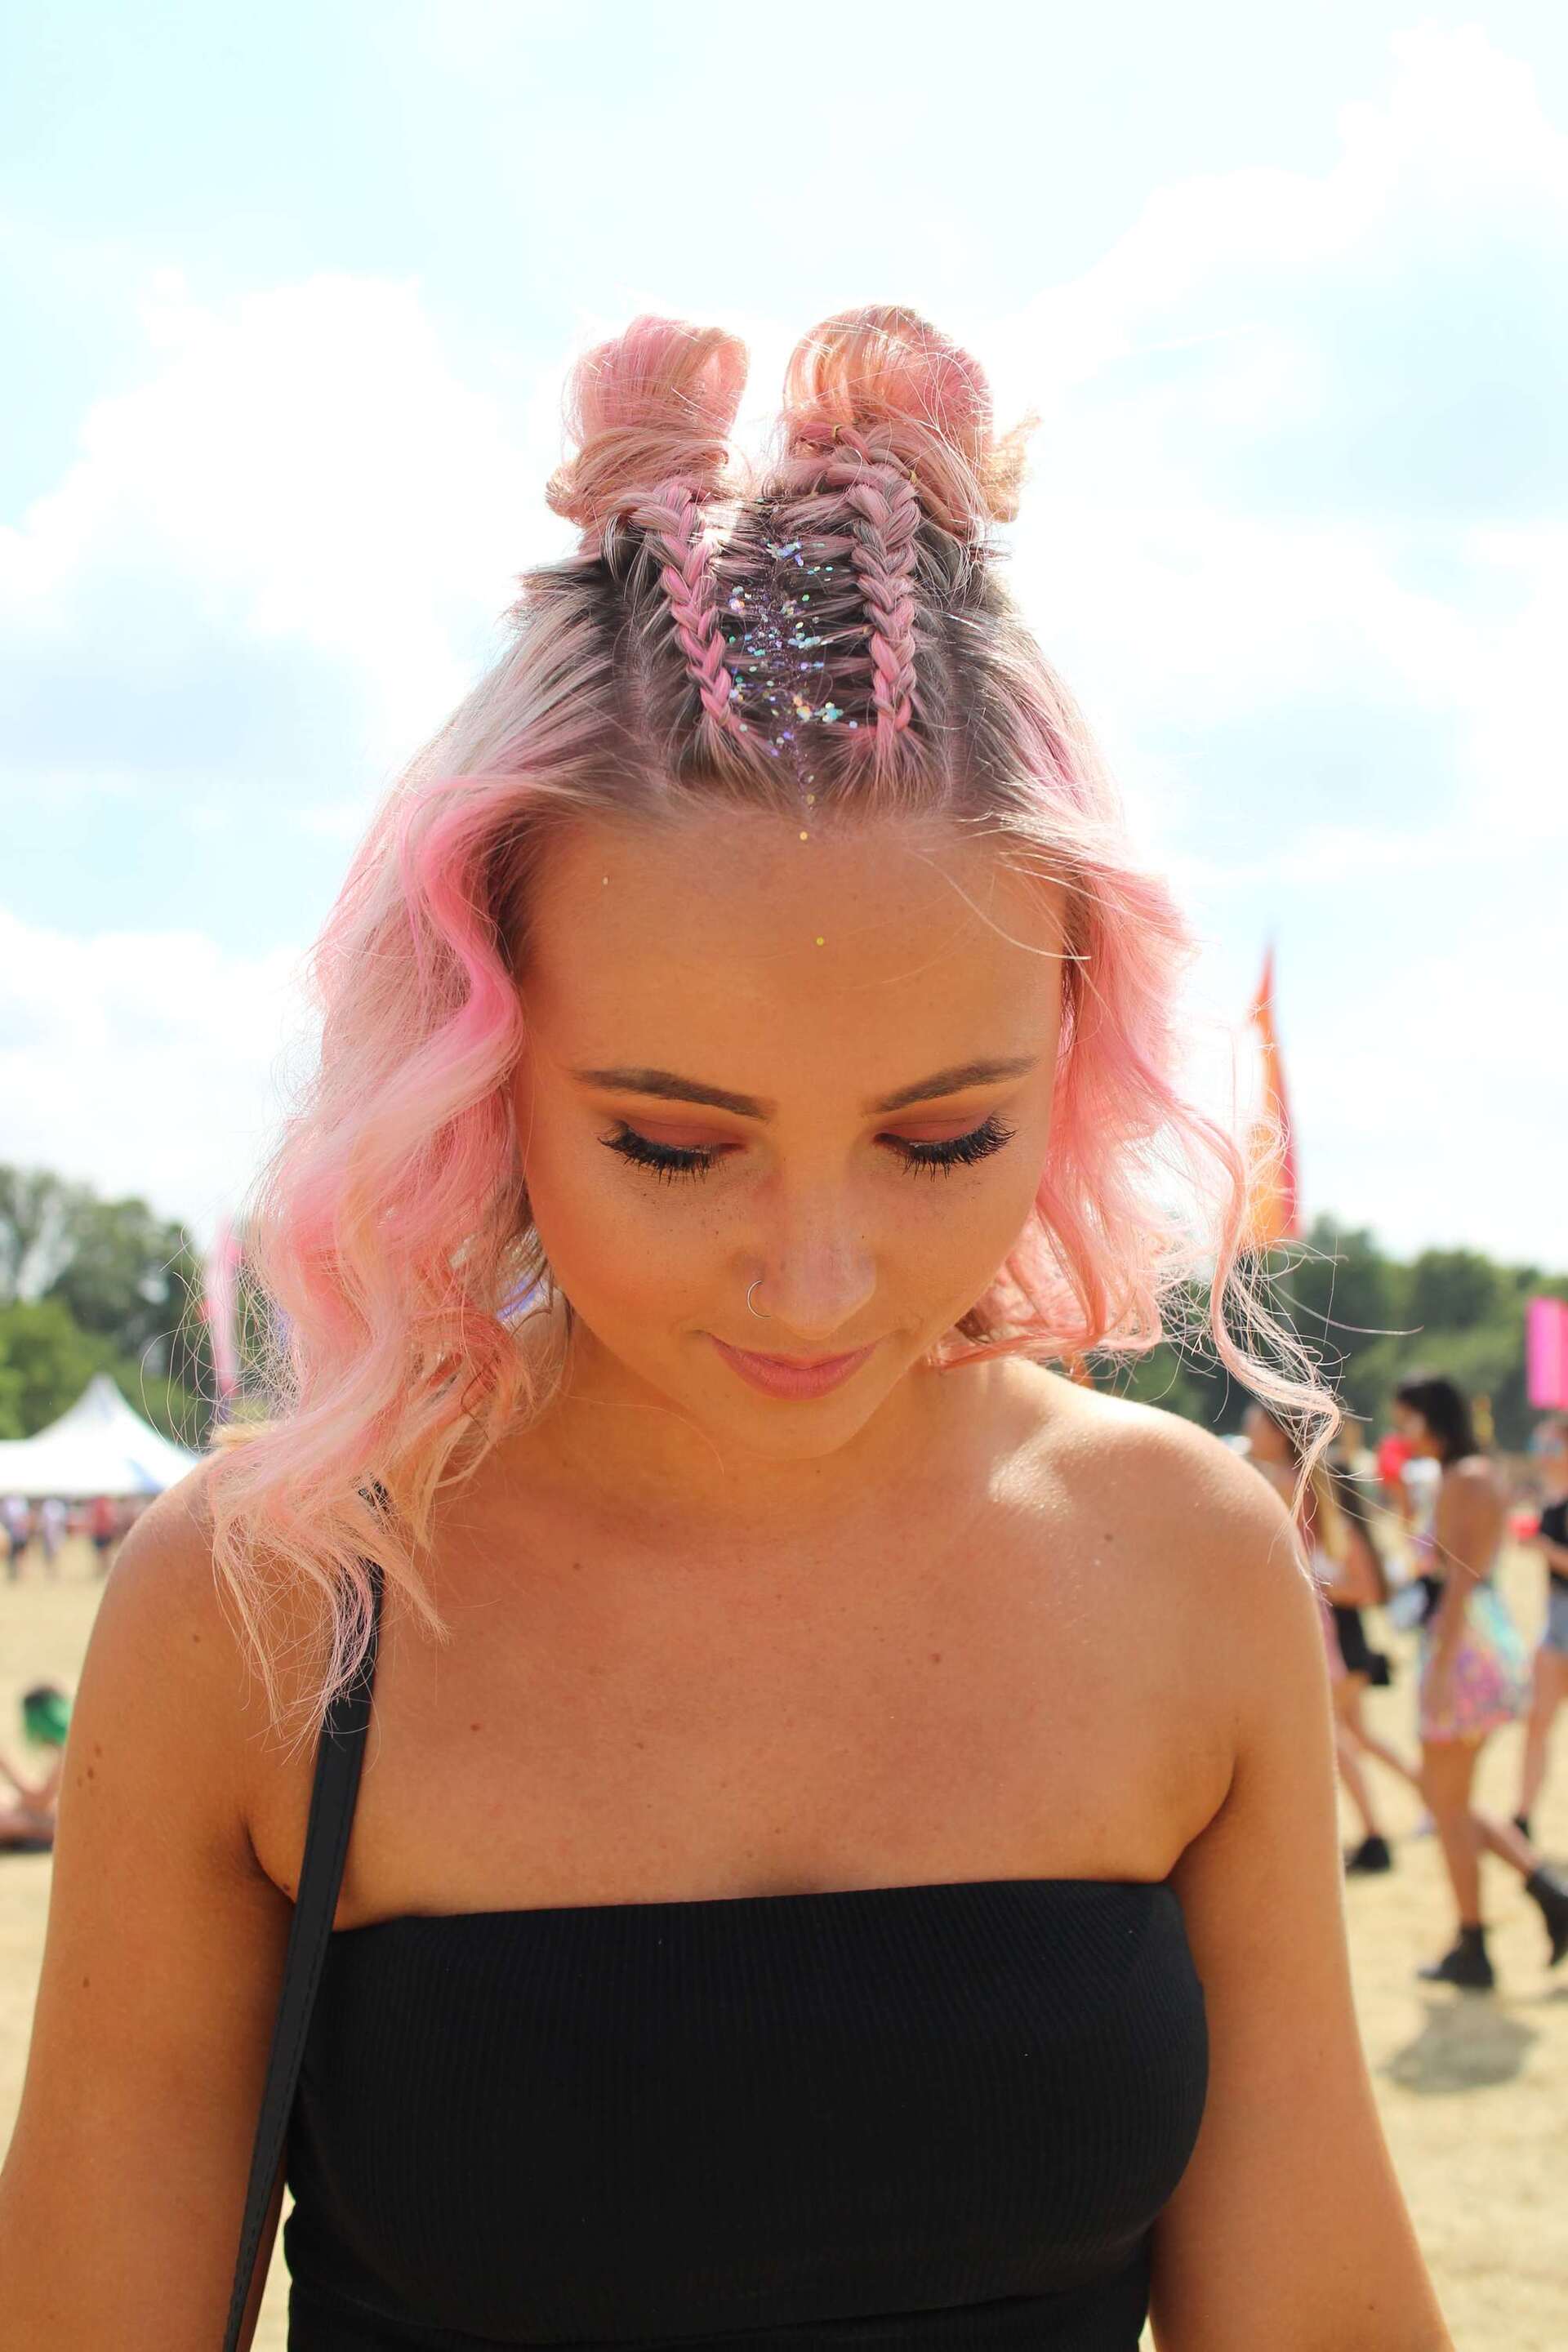
Method 6. How to Create a Party-perfect Twisted Messy Bun
Once you know the basics you can create looks like this pretty twisted updo.
If you’re worried about damage and would prefer not to use heat on your hair, you might think that styling options are limited. However, we’re happy to report that’s not the case! Another failsafe way to liven up a classic messy bun, is to work a twisted detail into your bangs.
How to Get the Look:
1. This style works best on second day, unwashed hair, so if yours is freshly washed, start by spraying your mane with dry shampoo. This will make it much easier to form your bun and provide it with extra staying power!
2. Use a tail comb to create a deep side parting on your prefered side of your head. Then, use your comb again to separate the front section of hair from both sides of your part and clip these pieces out of the way for now.
3. Next, use a small hairbrush to tease the large section of hair at the back of your head to amp up the volume.
4. Once you’ve done this, create your bun by gathering your hair into a low ponytail and creating a looped bun.
5. Now it’s time to turn your attention back to those 2 sections of hair you left free earlier. Taking one section at a time, divide the pieces of hair into 2 and twist them together to form a rope braid.
6. Draw the hair back to the crown of your head and wrap it around and underneath your bun. Secure with bobby pins and repeat with the other section of hair.
7. Et voila Simply finish up with a mist of hairspray to keep your ‘do looking flawless all night! This style would be ideal for weddings and other formal occasions, and it’s totally DIY-friendly.
You Will Need
Gallery
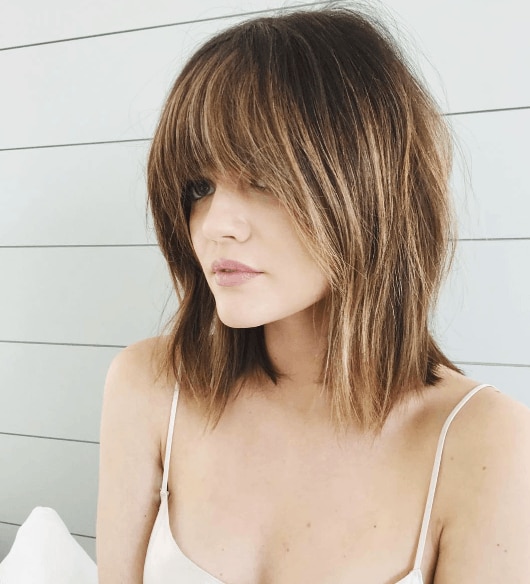
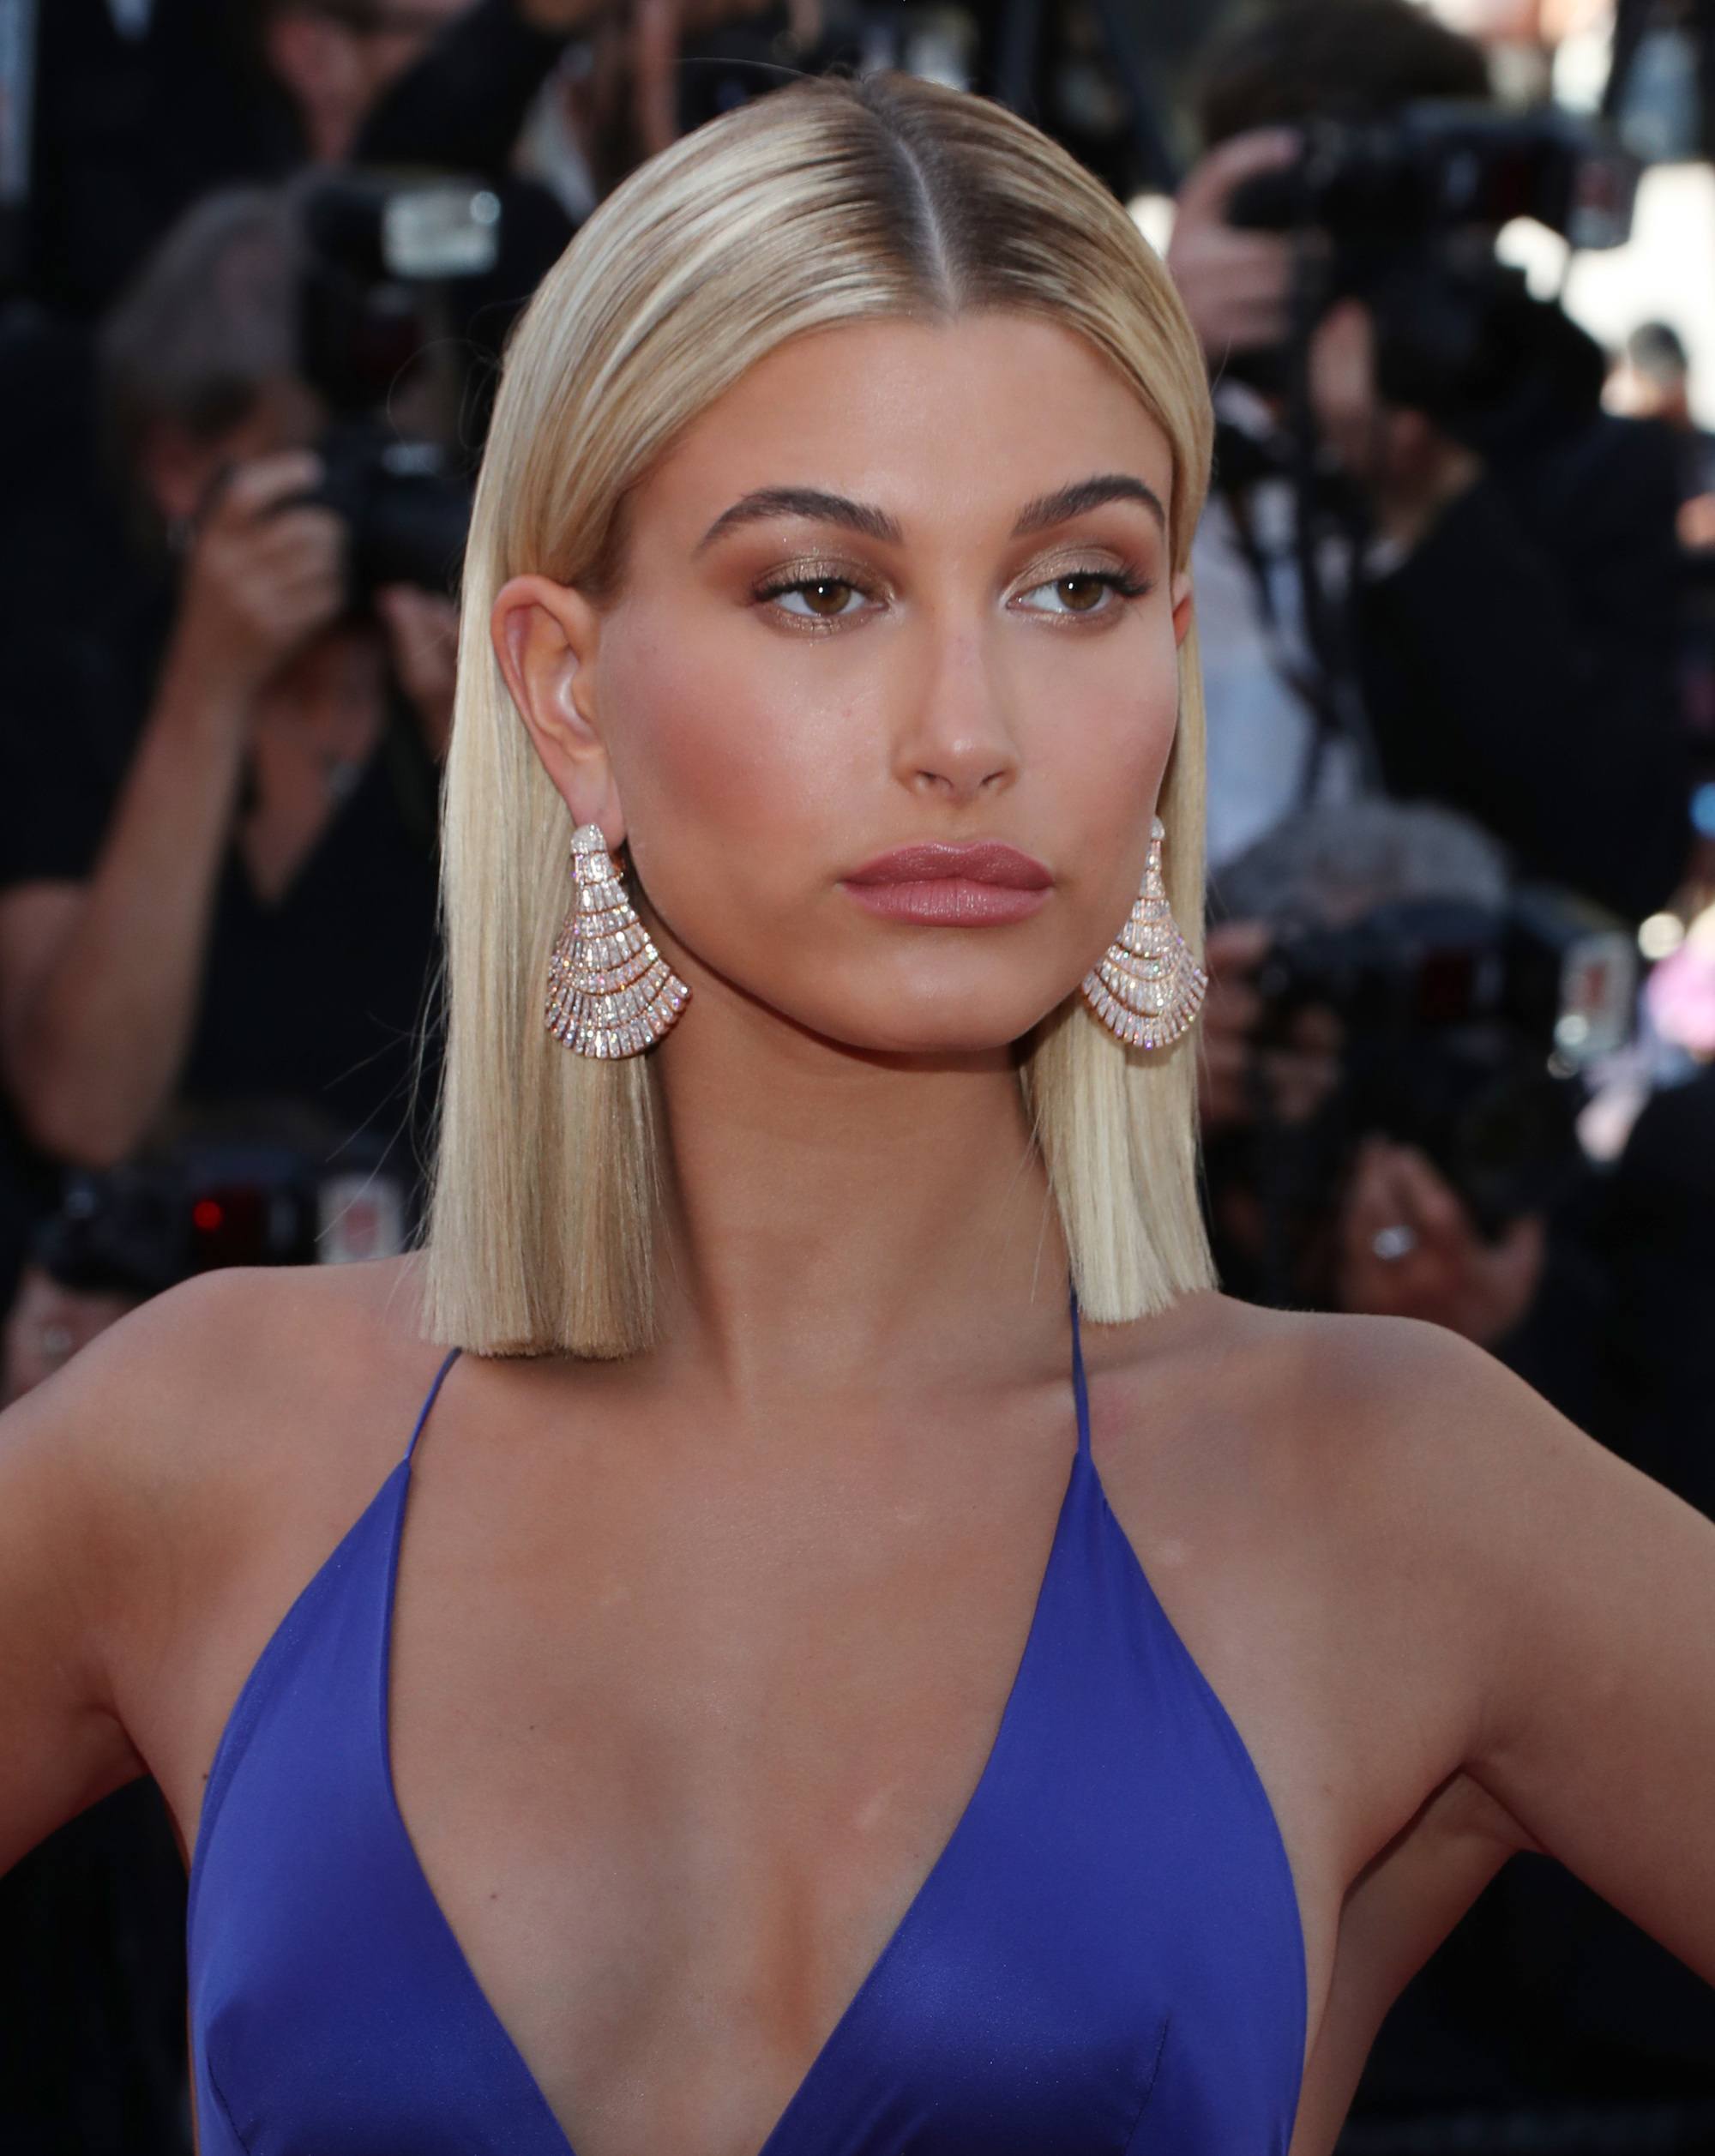
39 French Bob Haircuts That Will Make You Feel Like A Parisian
Products You Might Also Like

- slide 1
- slide 2
- slide 3
- slide 4
- slide 5
- slide 6
Our Tips & Advice
- slide 1
- slide 2
- slide 3
- slide 4
- slide 5
- slide 6