Skip to:
How to straighten hair for a salon sleek finish at home
Love the look of perfectly sleek, straight hair, but struggle to achieve it on your own locks? Well, learn how to get straight hair with our step-by-step guide and handy styling tips!
Beth | October 11, 2017
You Will Need
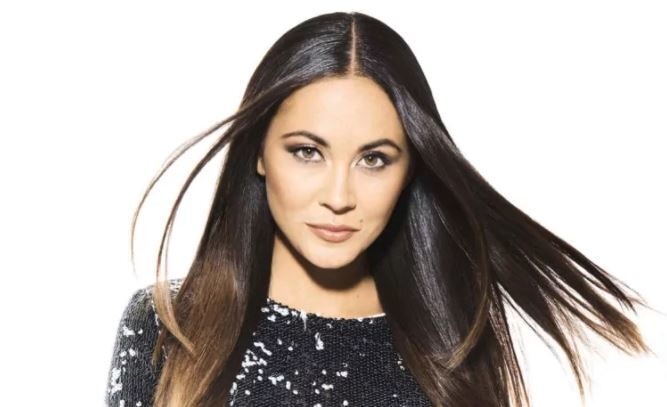
Looking for a timeless style for party season? Sleek, straight hair is a look coveted by women the world over – and it’s easy to see why. Not to mention, sleek, straight hair is one of the few hairstyles that works for all occasions, so you can go from the office straight to a night on the tiles! So, if you don’t know how to straighten hair already, you’re missing a trick.
Now, although achieving straight strands is much easier than an intricate braid or elaborate updo, it can be a struggle to find the balance between a style that’s smooth and sleek, but not flat. However, with our invaluable hair hacks, and our step-by-step straightening guide, you’ll have the look mastered in no time!
How to get straight hair: The essentials
Fight frizz in the shower.
What many people don’t know when learning how to straighten hair, is that the process should start in the shower.
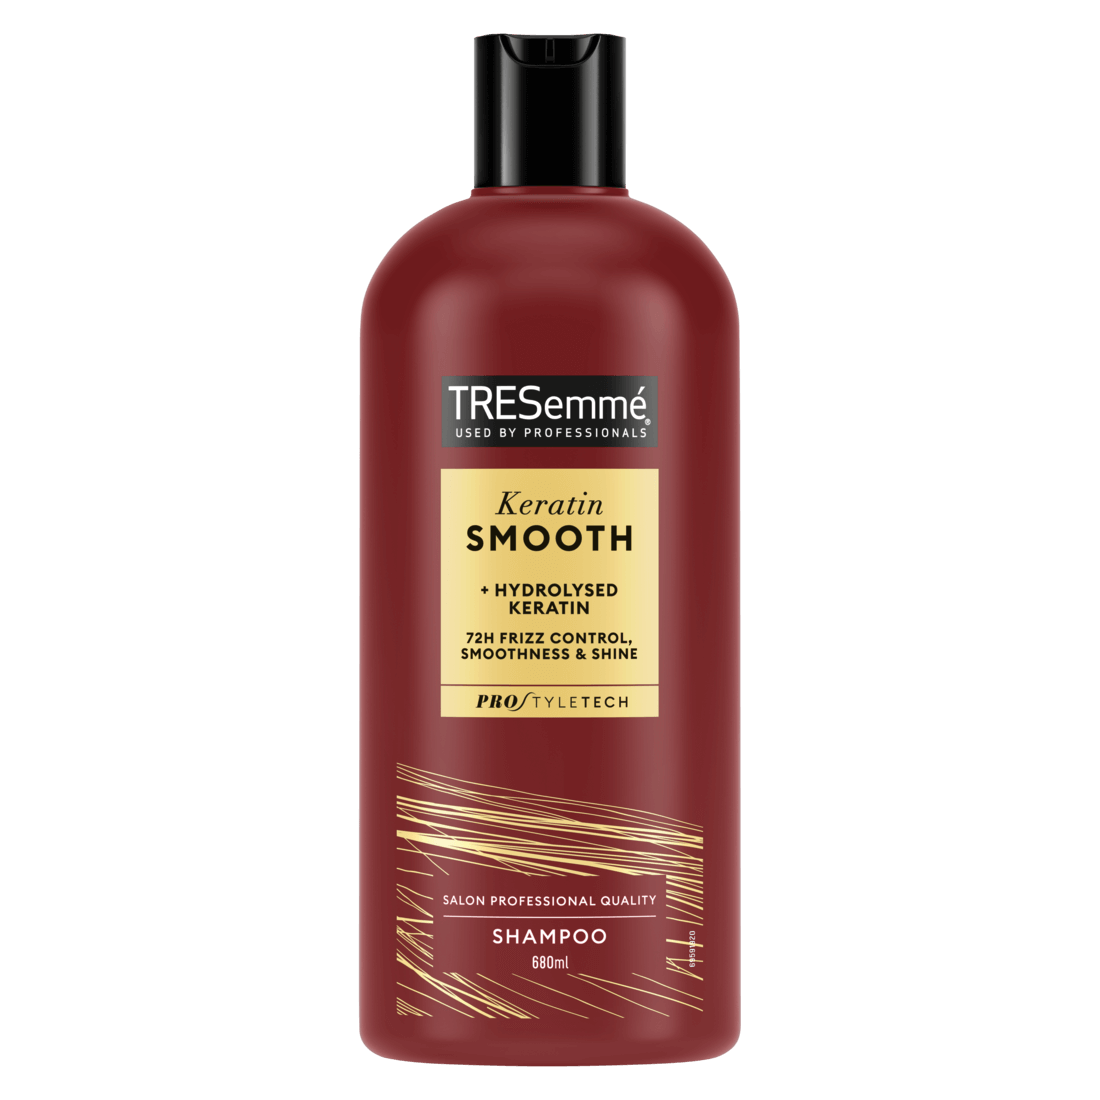
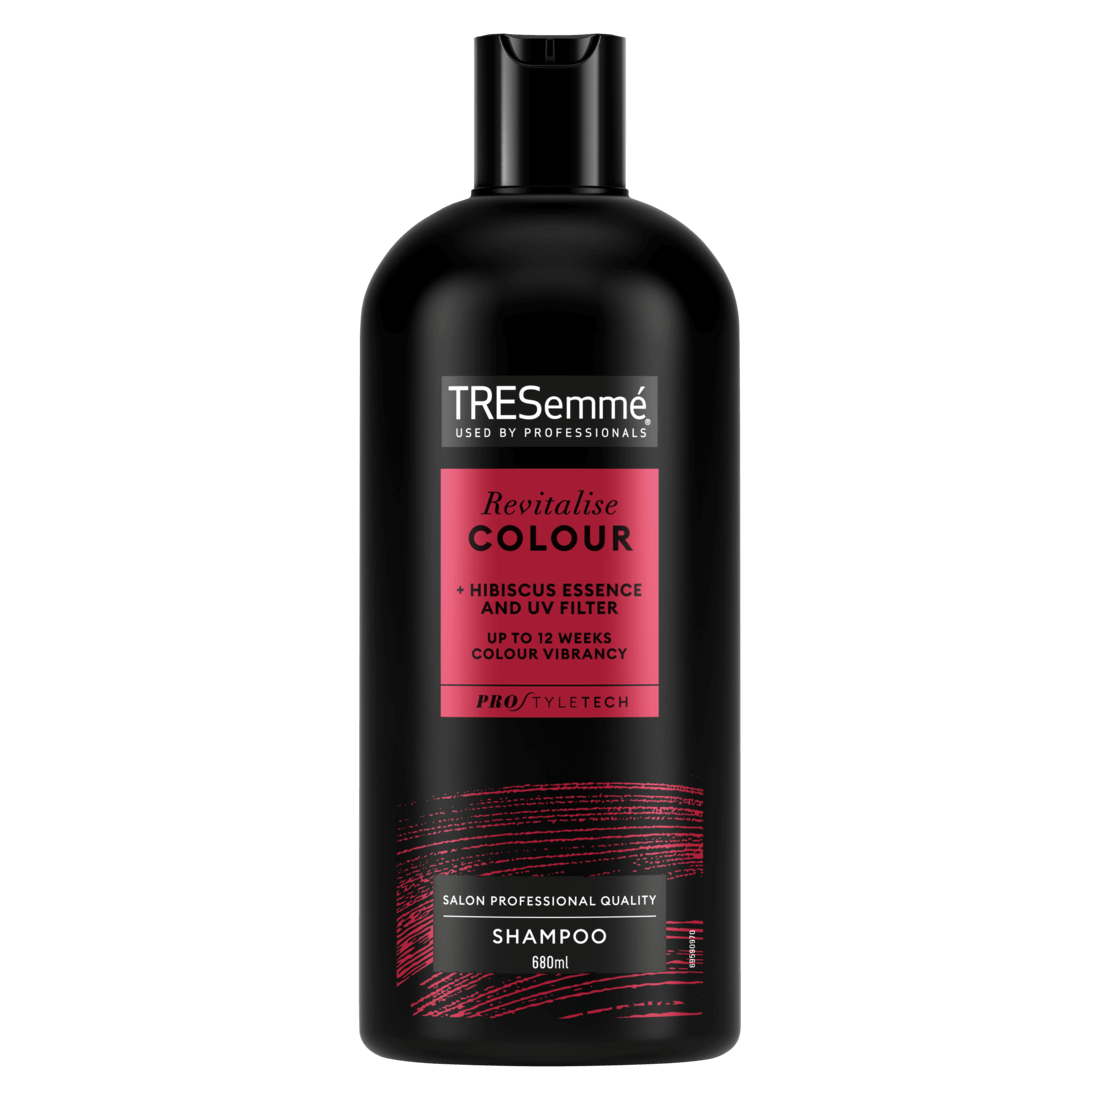
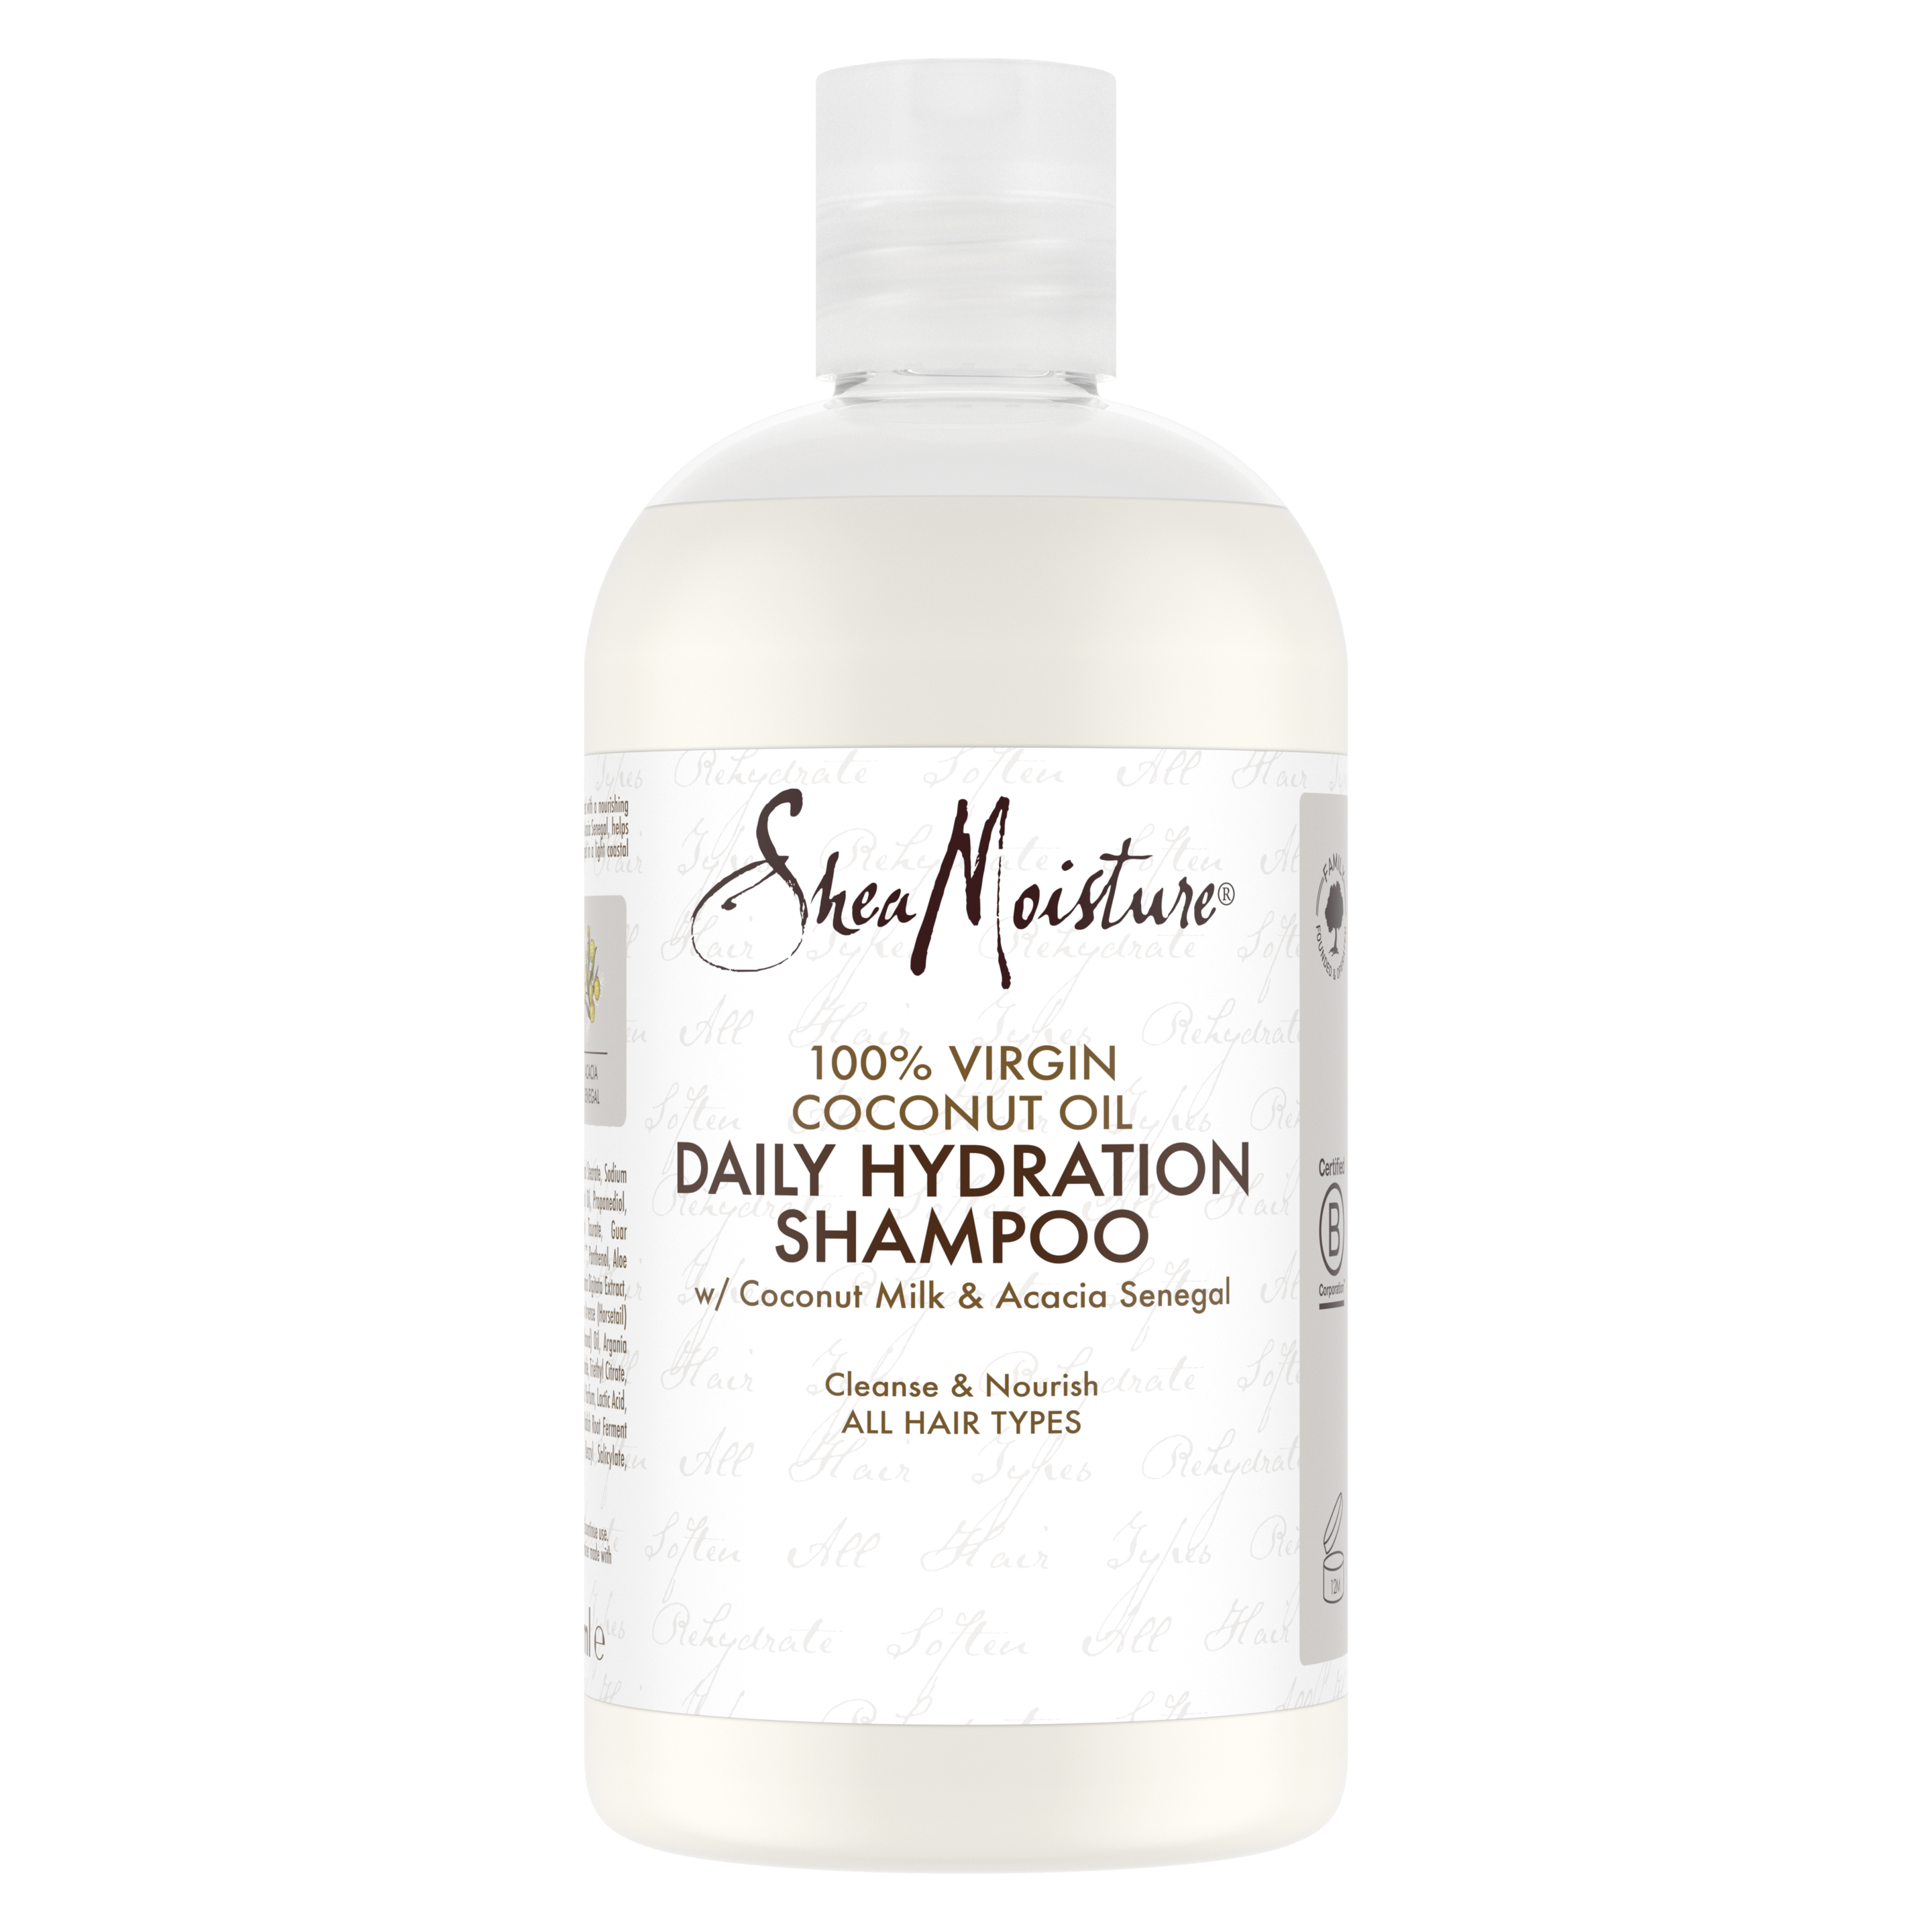
Give your hair it’s best shot by washing it with a specialist smoothing wash and care duo (like the TRESemmé Salon Silk Shampoo and Conditioner) to de-frizz and leave hair feeling silky smooth.
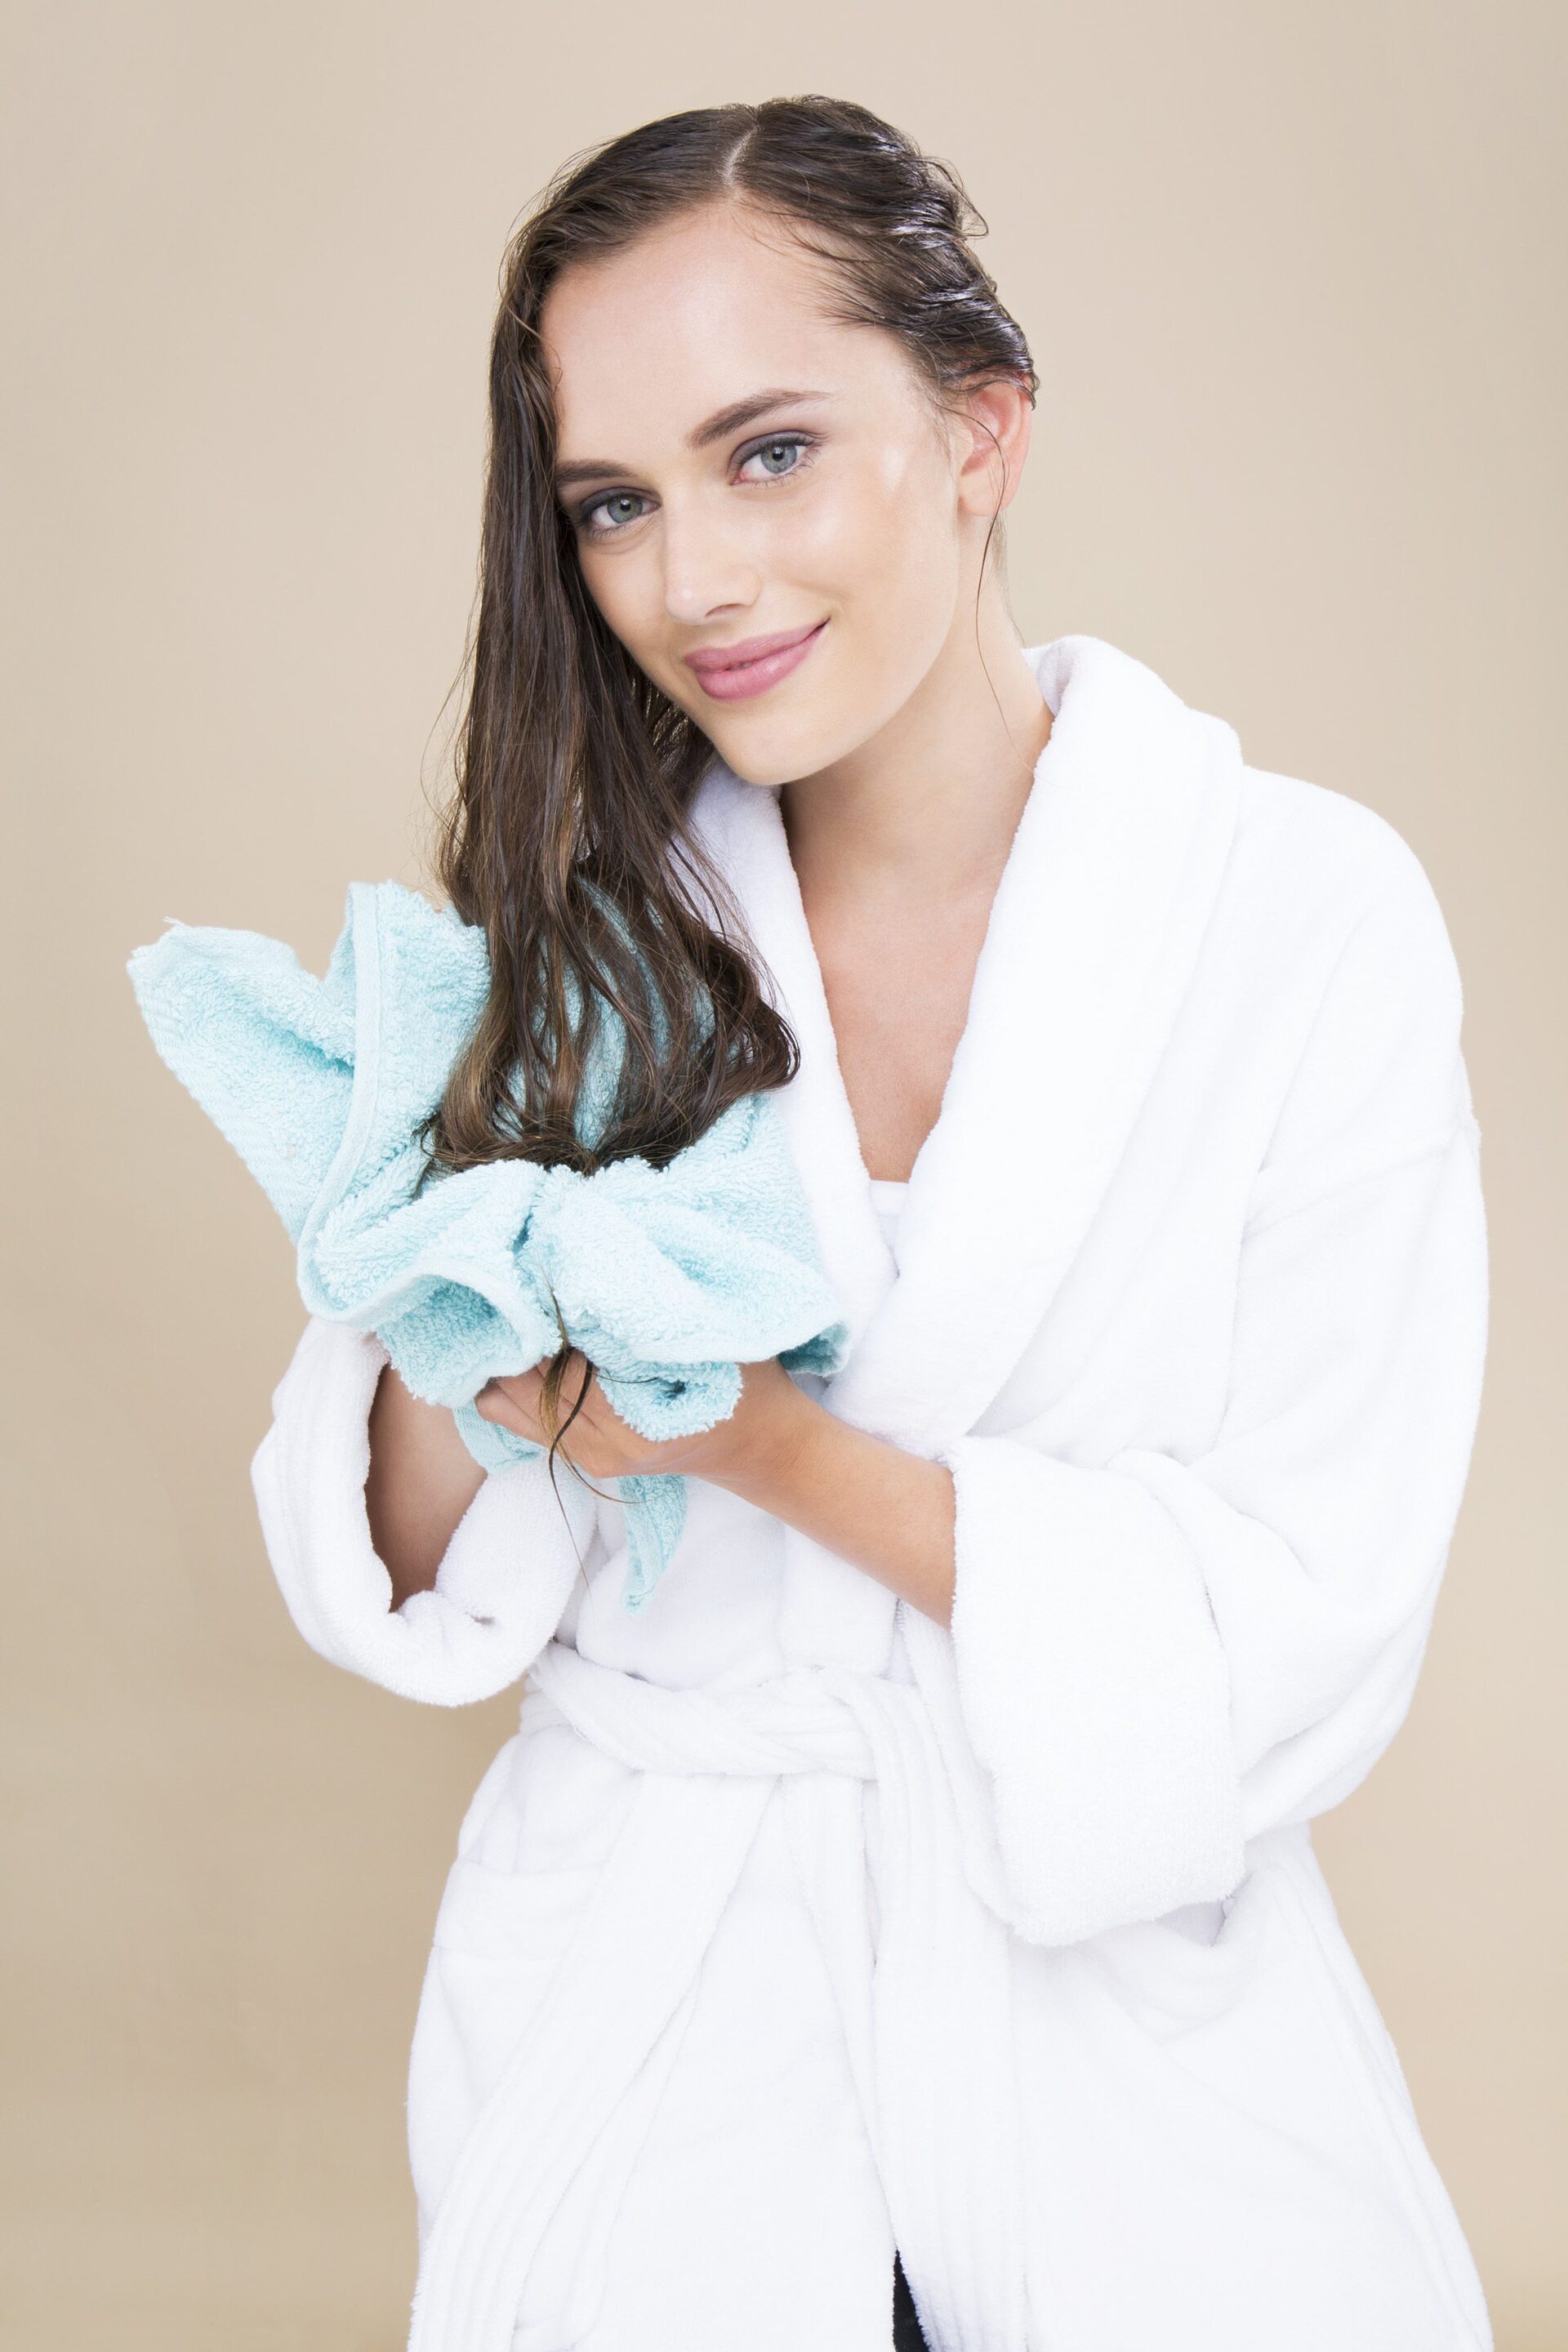
After you’ve washed your hair, gently comb out any tangles, working from the ends of your hair up to limit breakage. Then towel dry your hair so that it’s not dripping wet and spray it with the VO5 Express Primer Spray.
Blowdry your hair straight.
Divide your hair into sections by putting the top layers of your hair up into buns while you dry. Blowdry your strands straight, using a round brush to create tension and smooth as you go.
Editor’s tip: Rather than pulling your hair down, use your round brush to lift your hair from the roots as you dry. This will give you added volume at your roots, and stop it looking limp and lifeless!
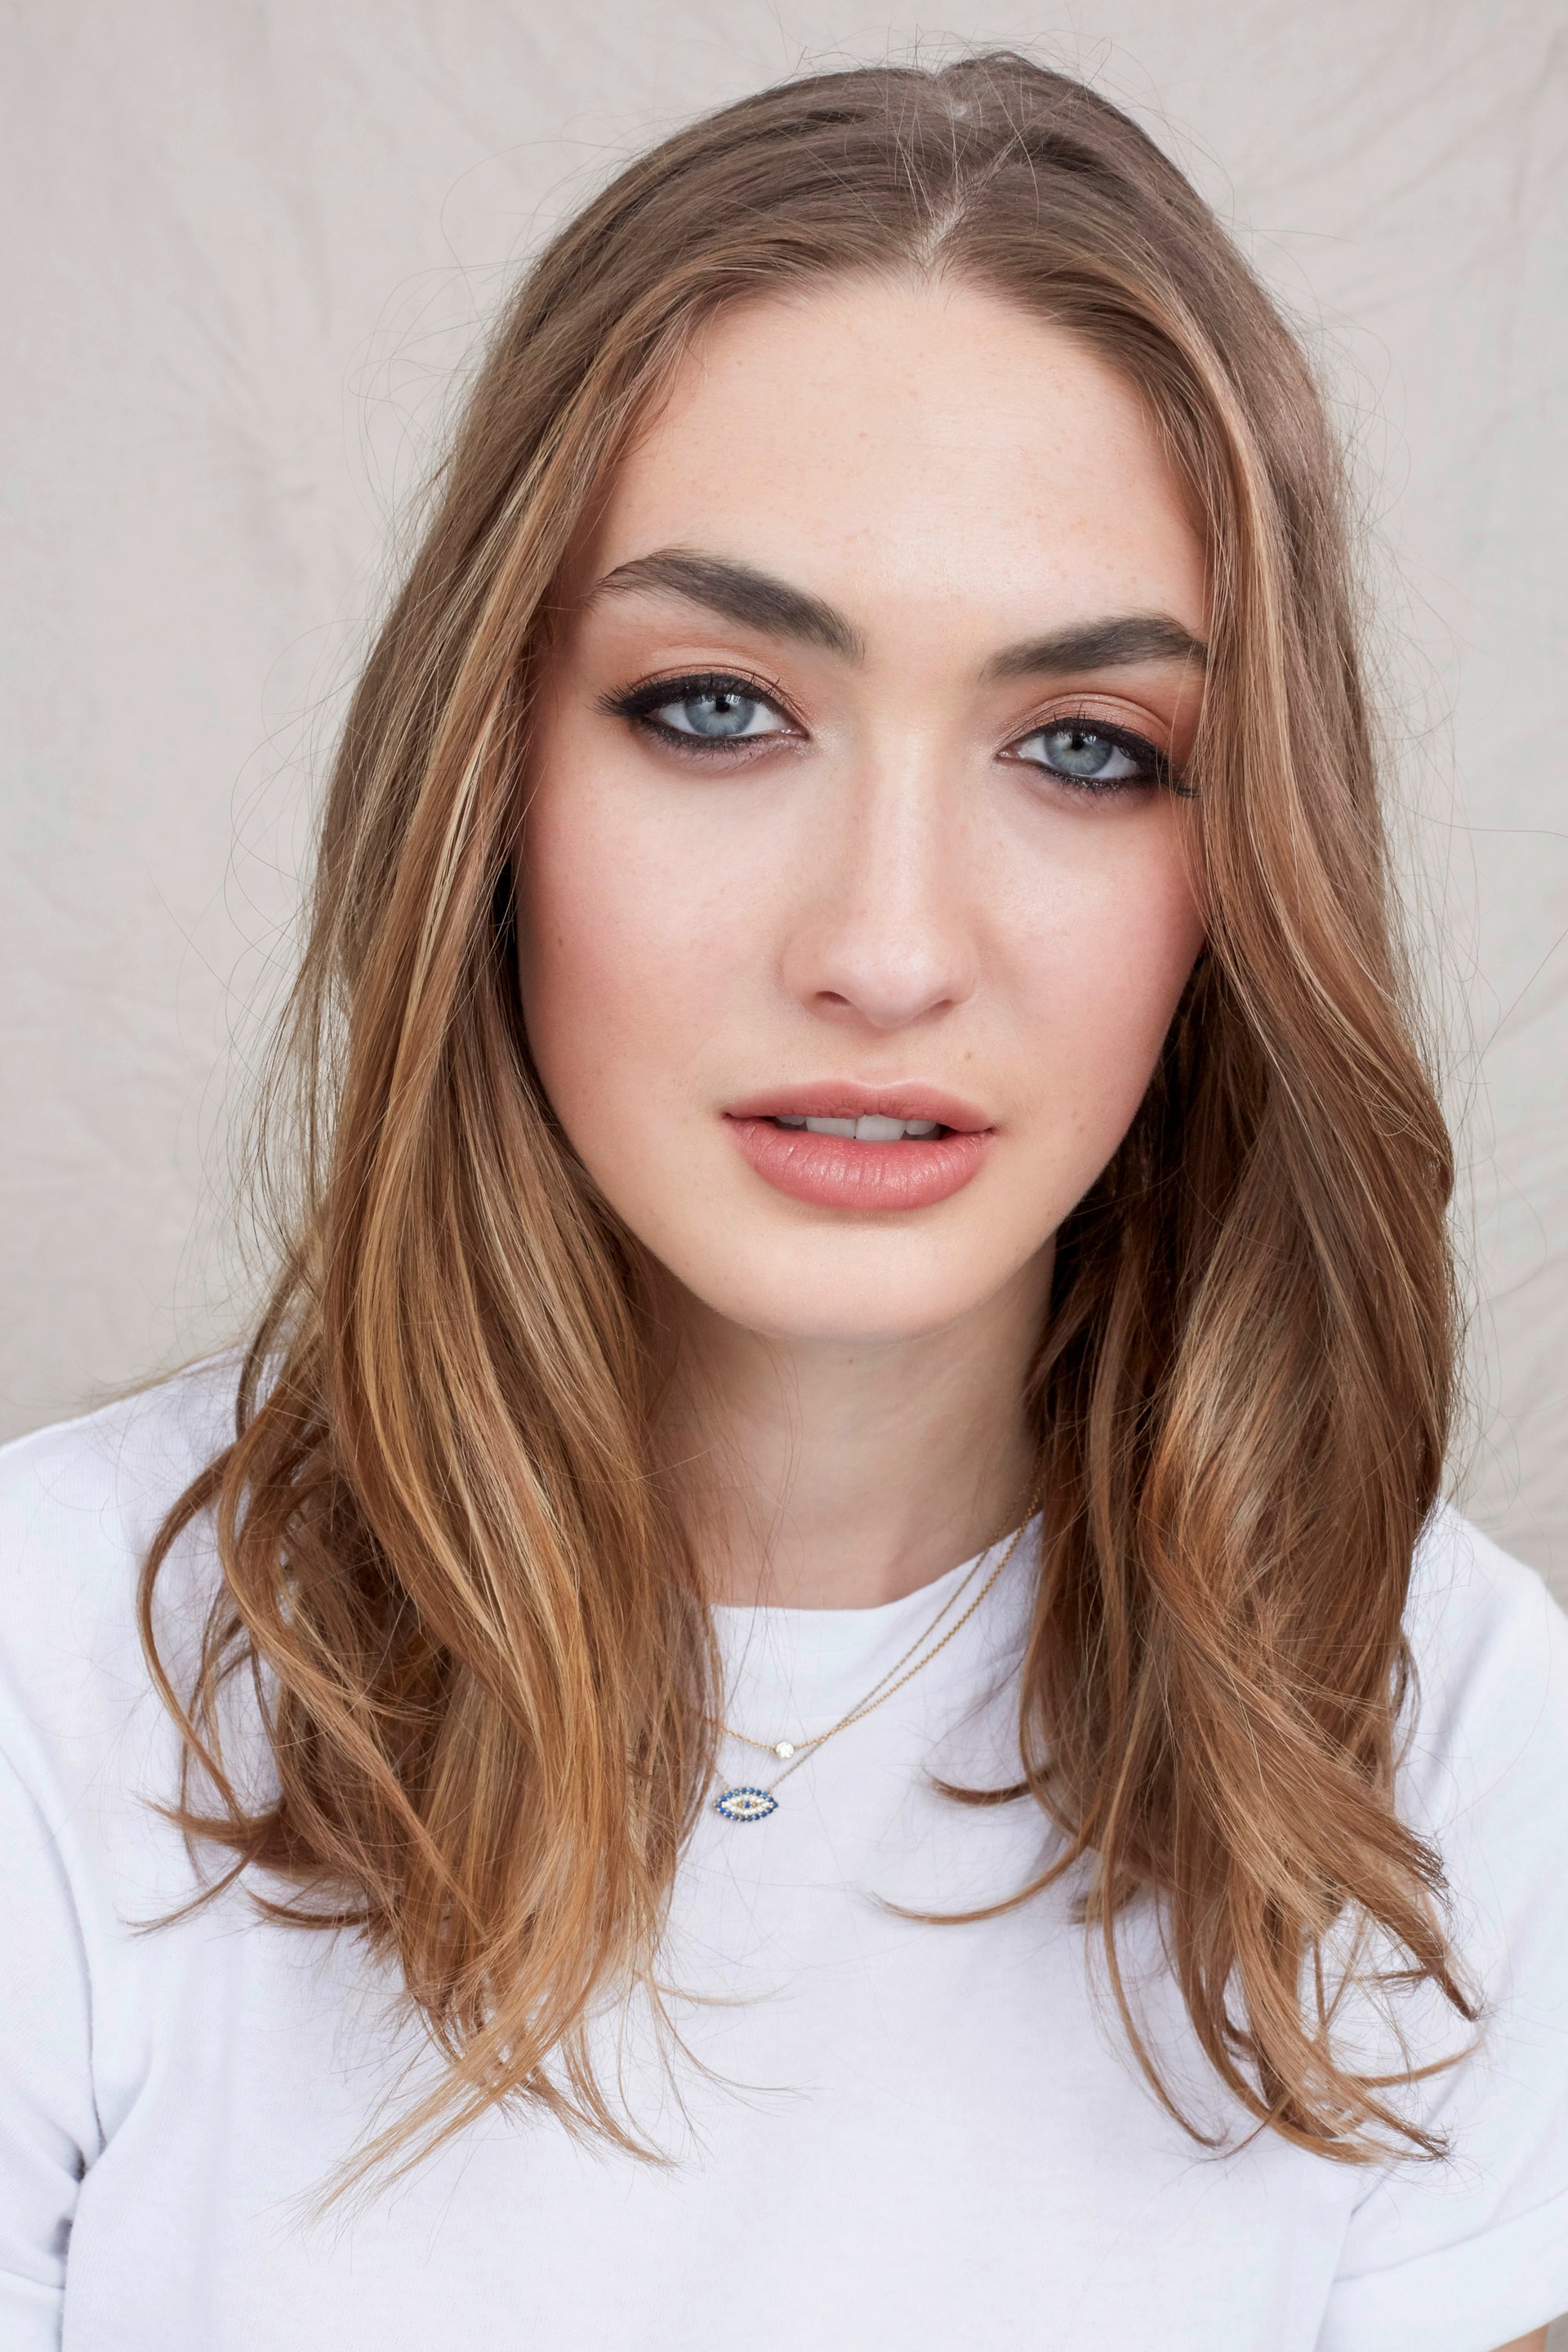
Section your hair.
You don’t want to spend ages straightening your hair only to discover, later in the day, that you’ve missed a few rogue curly bits.
So, the next step is to divide your hair up into sections. Thick or coarse hair may need to be divided into more sections to enable you to catch all of the hair, but generally, 3-4 sections are enough.

Straighten your hair.
Now that your hair is divided up, it’s time to start straightening! Take 2-inch sections of hair at a time and slowly pass your straighteners down the hair shaft, from root to tip.
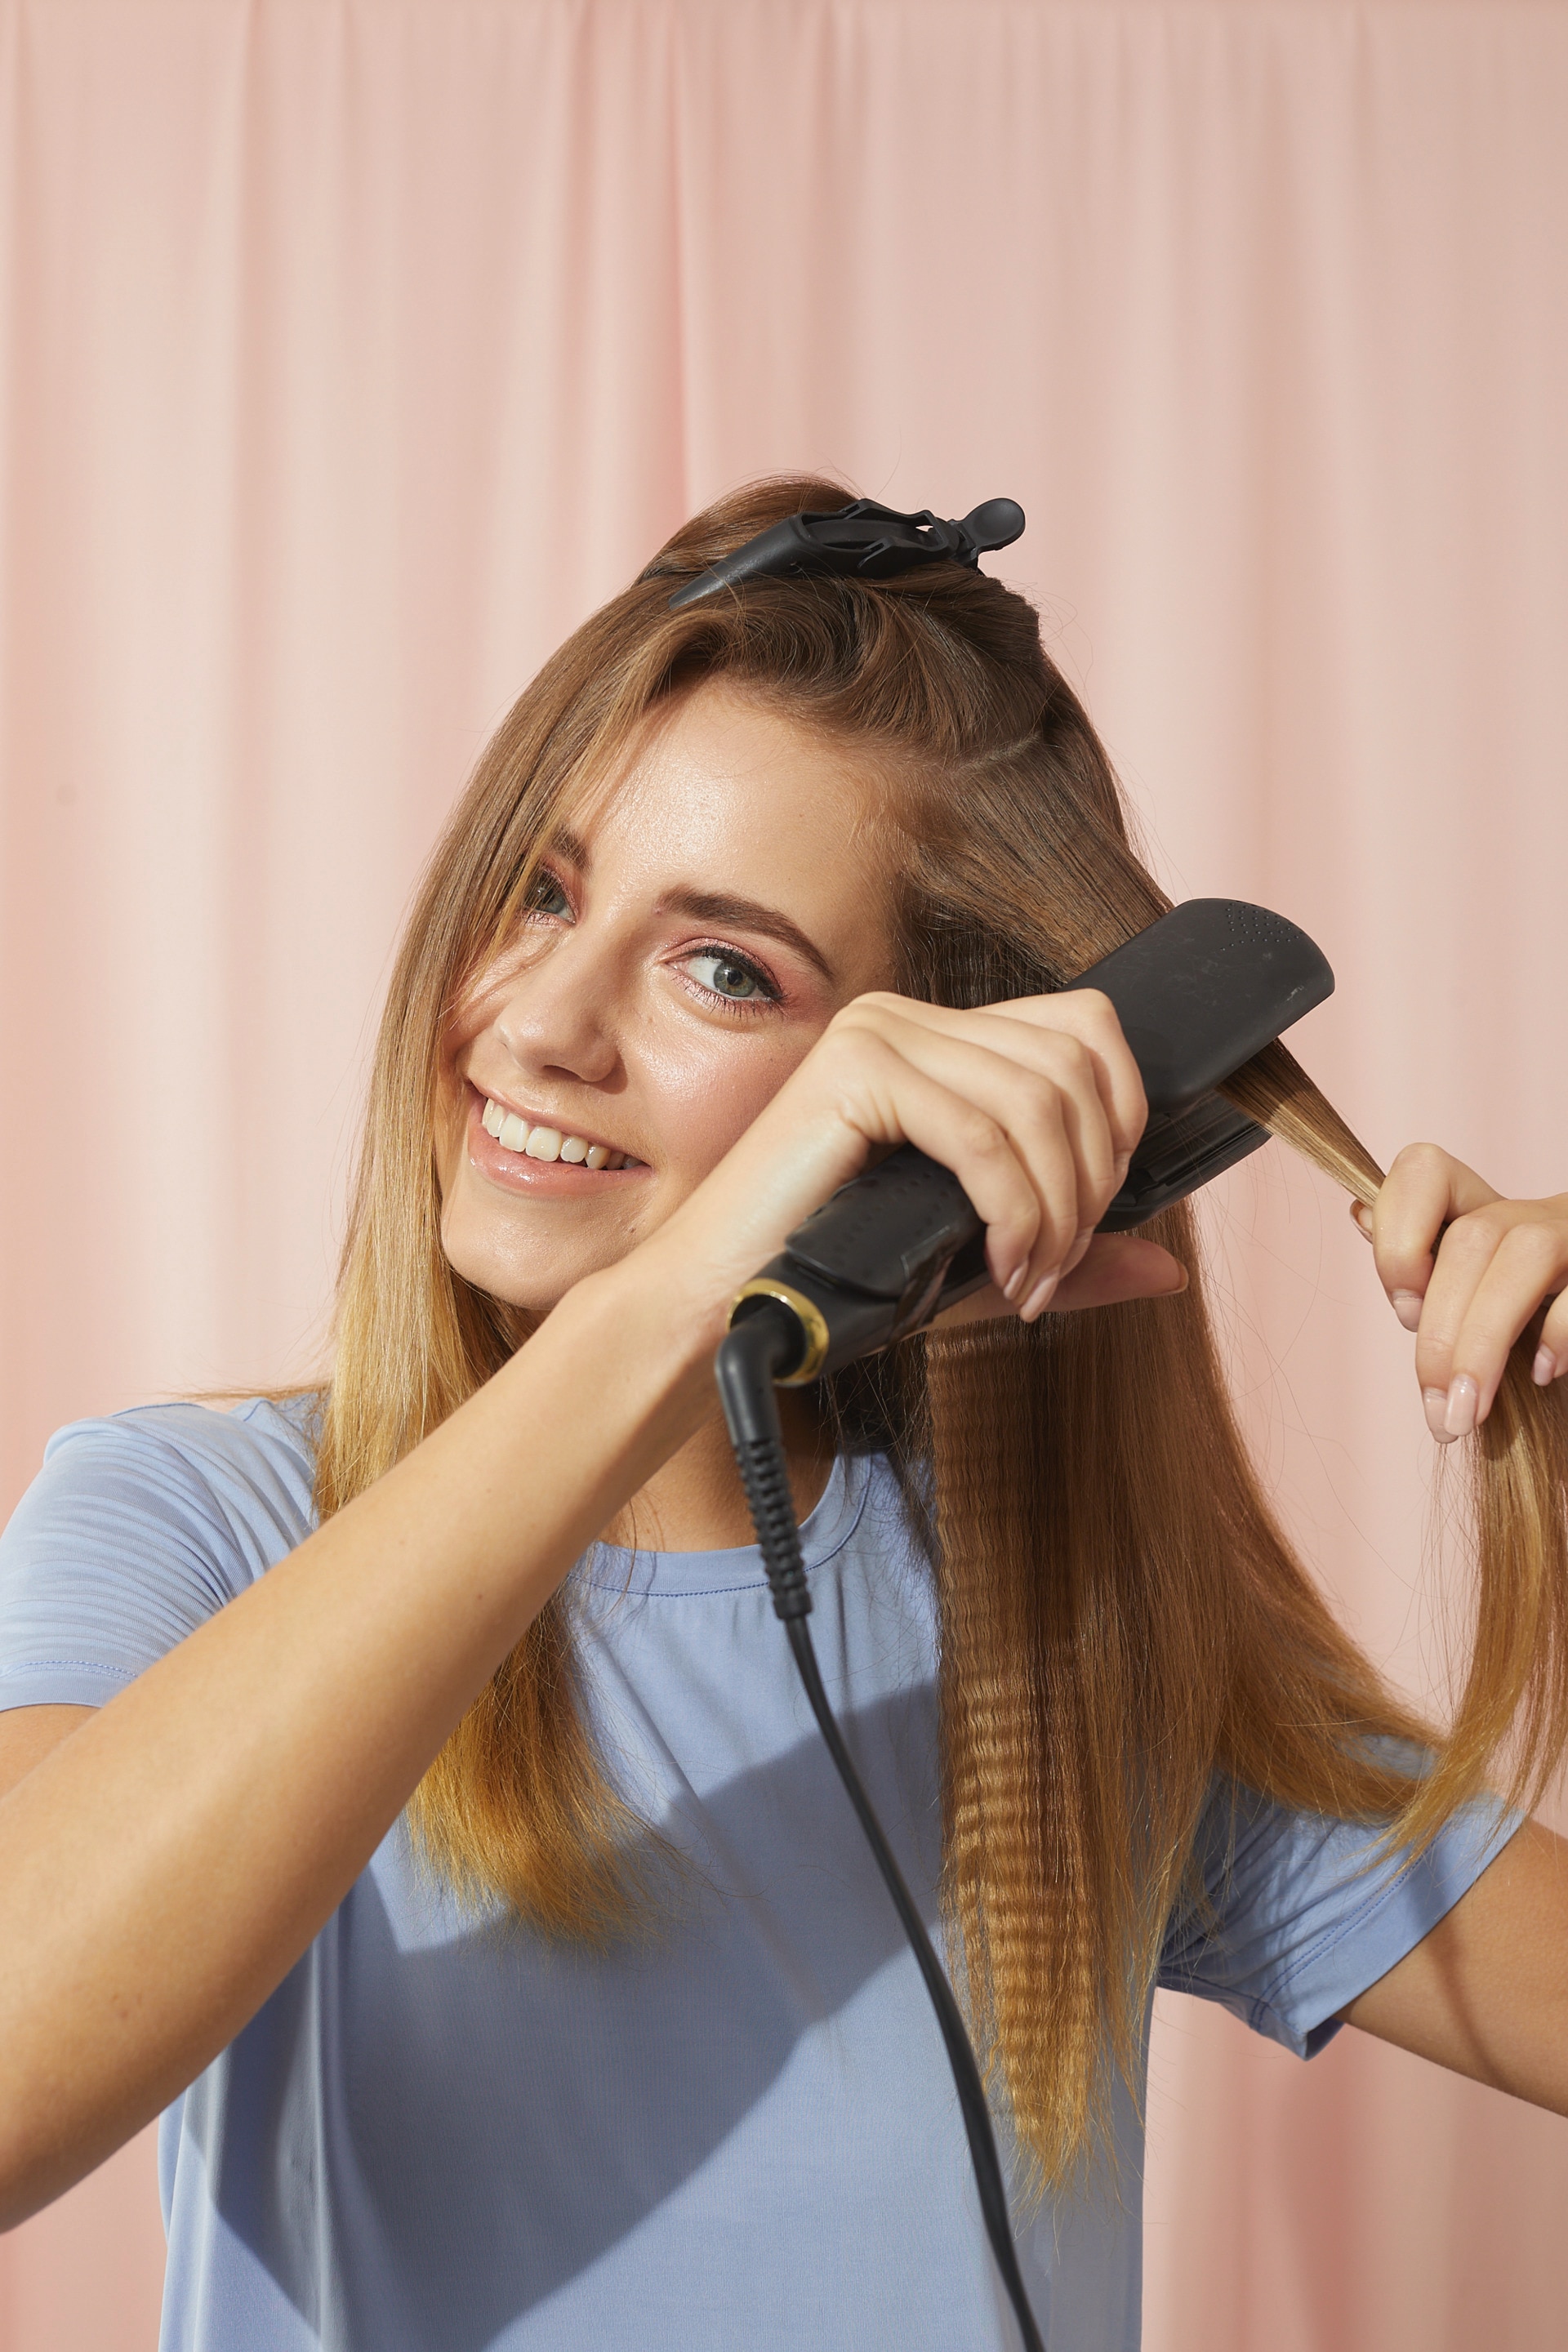
Finishing touches.
Once your whole head is straightened, give your look an extra boost of shine by using a serum.
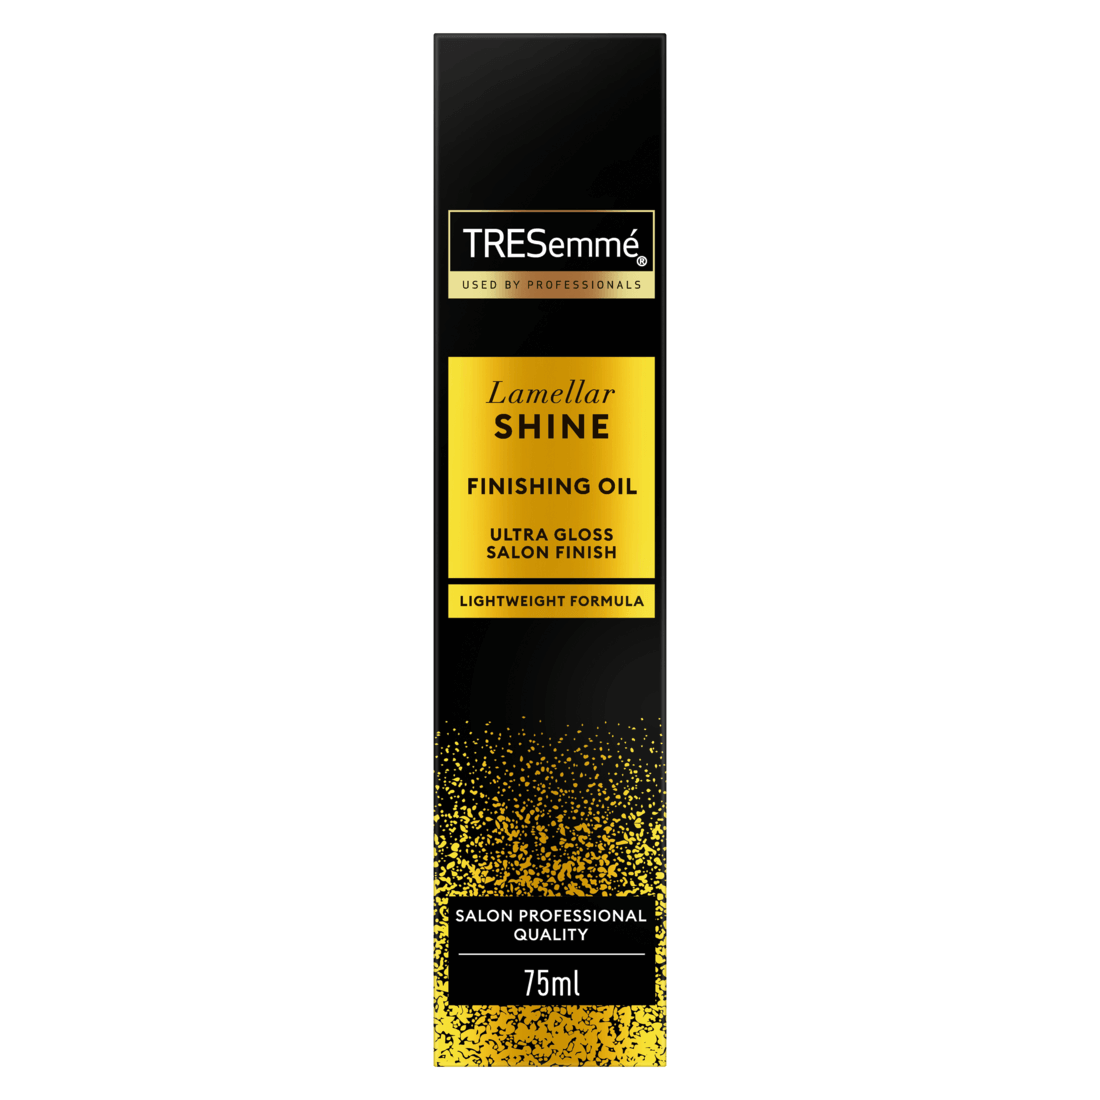
Simply run 2-3 drops of the Dove Pure Care Dry Oil Nourishing Treatment through your mid-lengths and ends, to add a mirror-like sheen. Yep, it’s as easy as that!
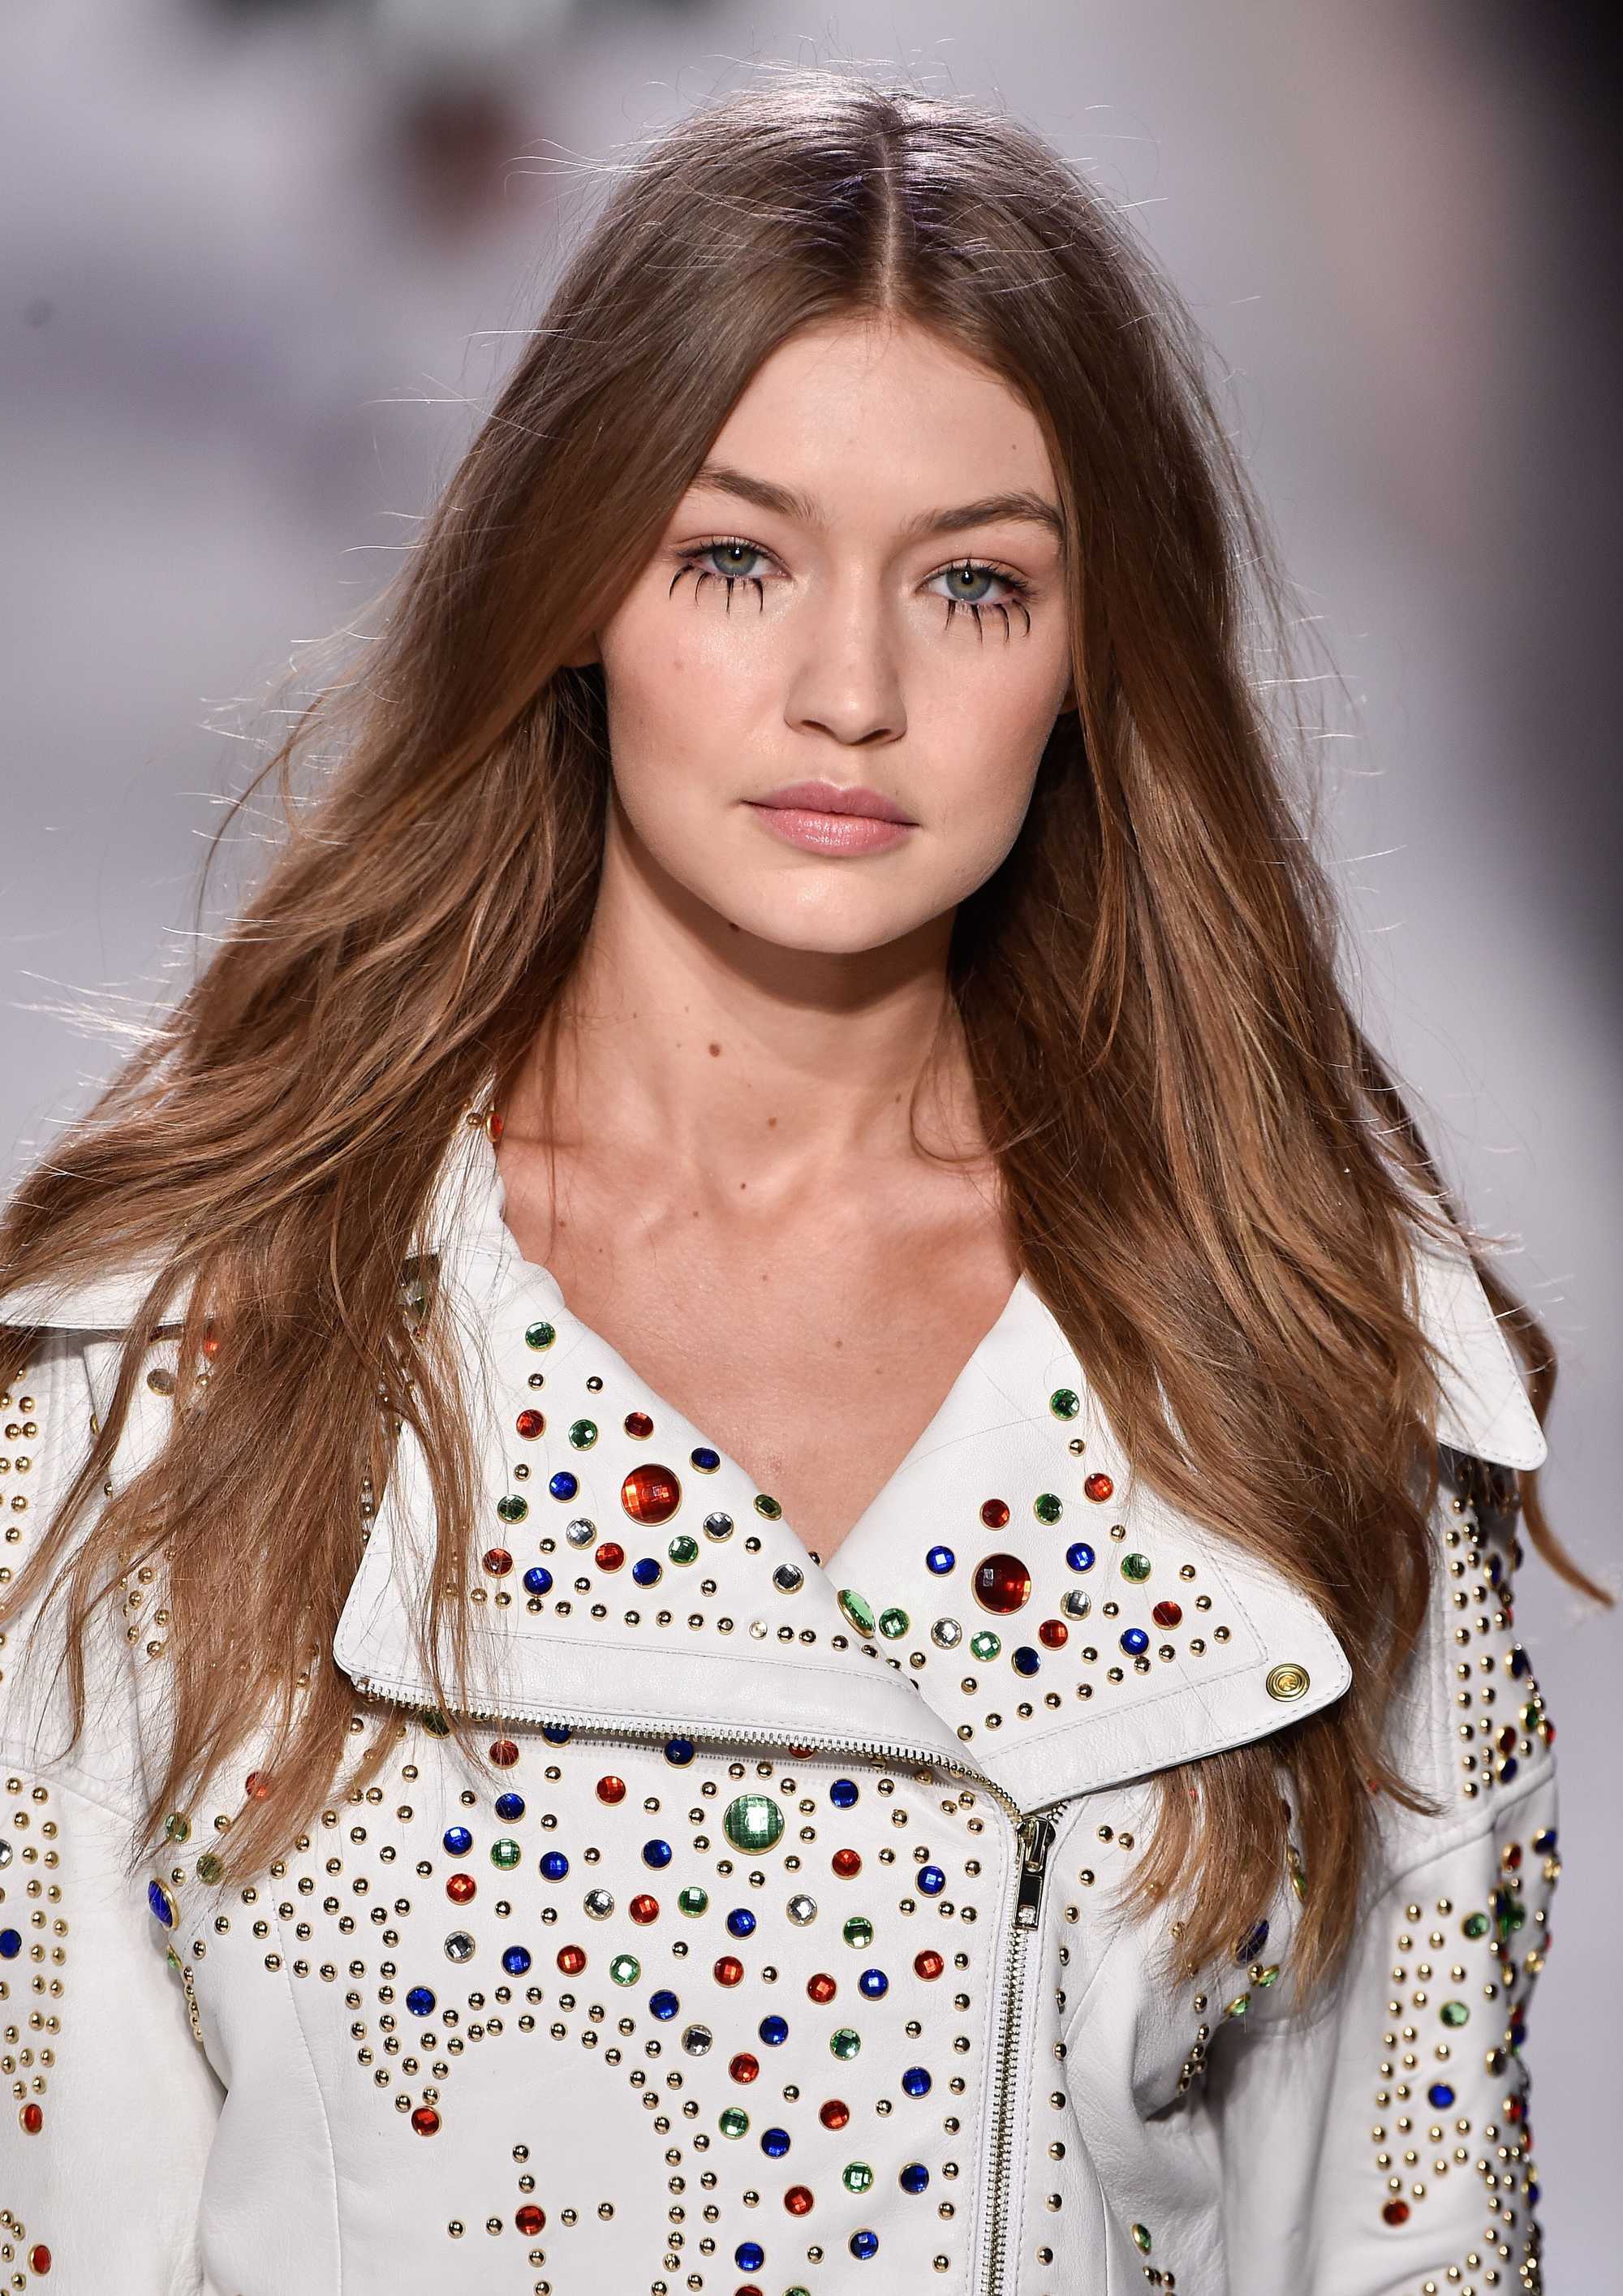
How to get straight hair for up to 48 hours
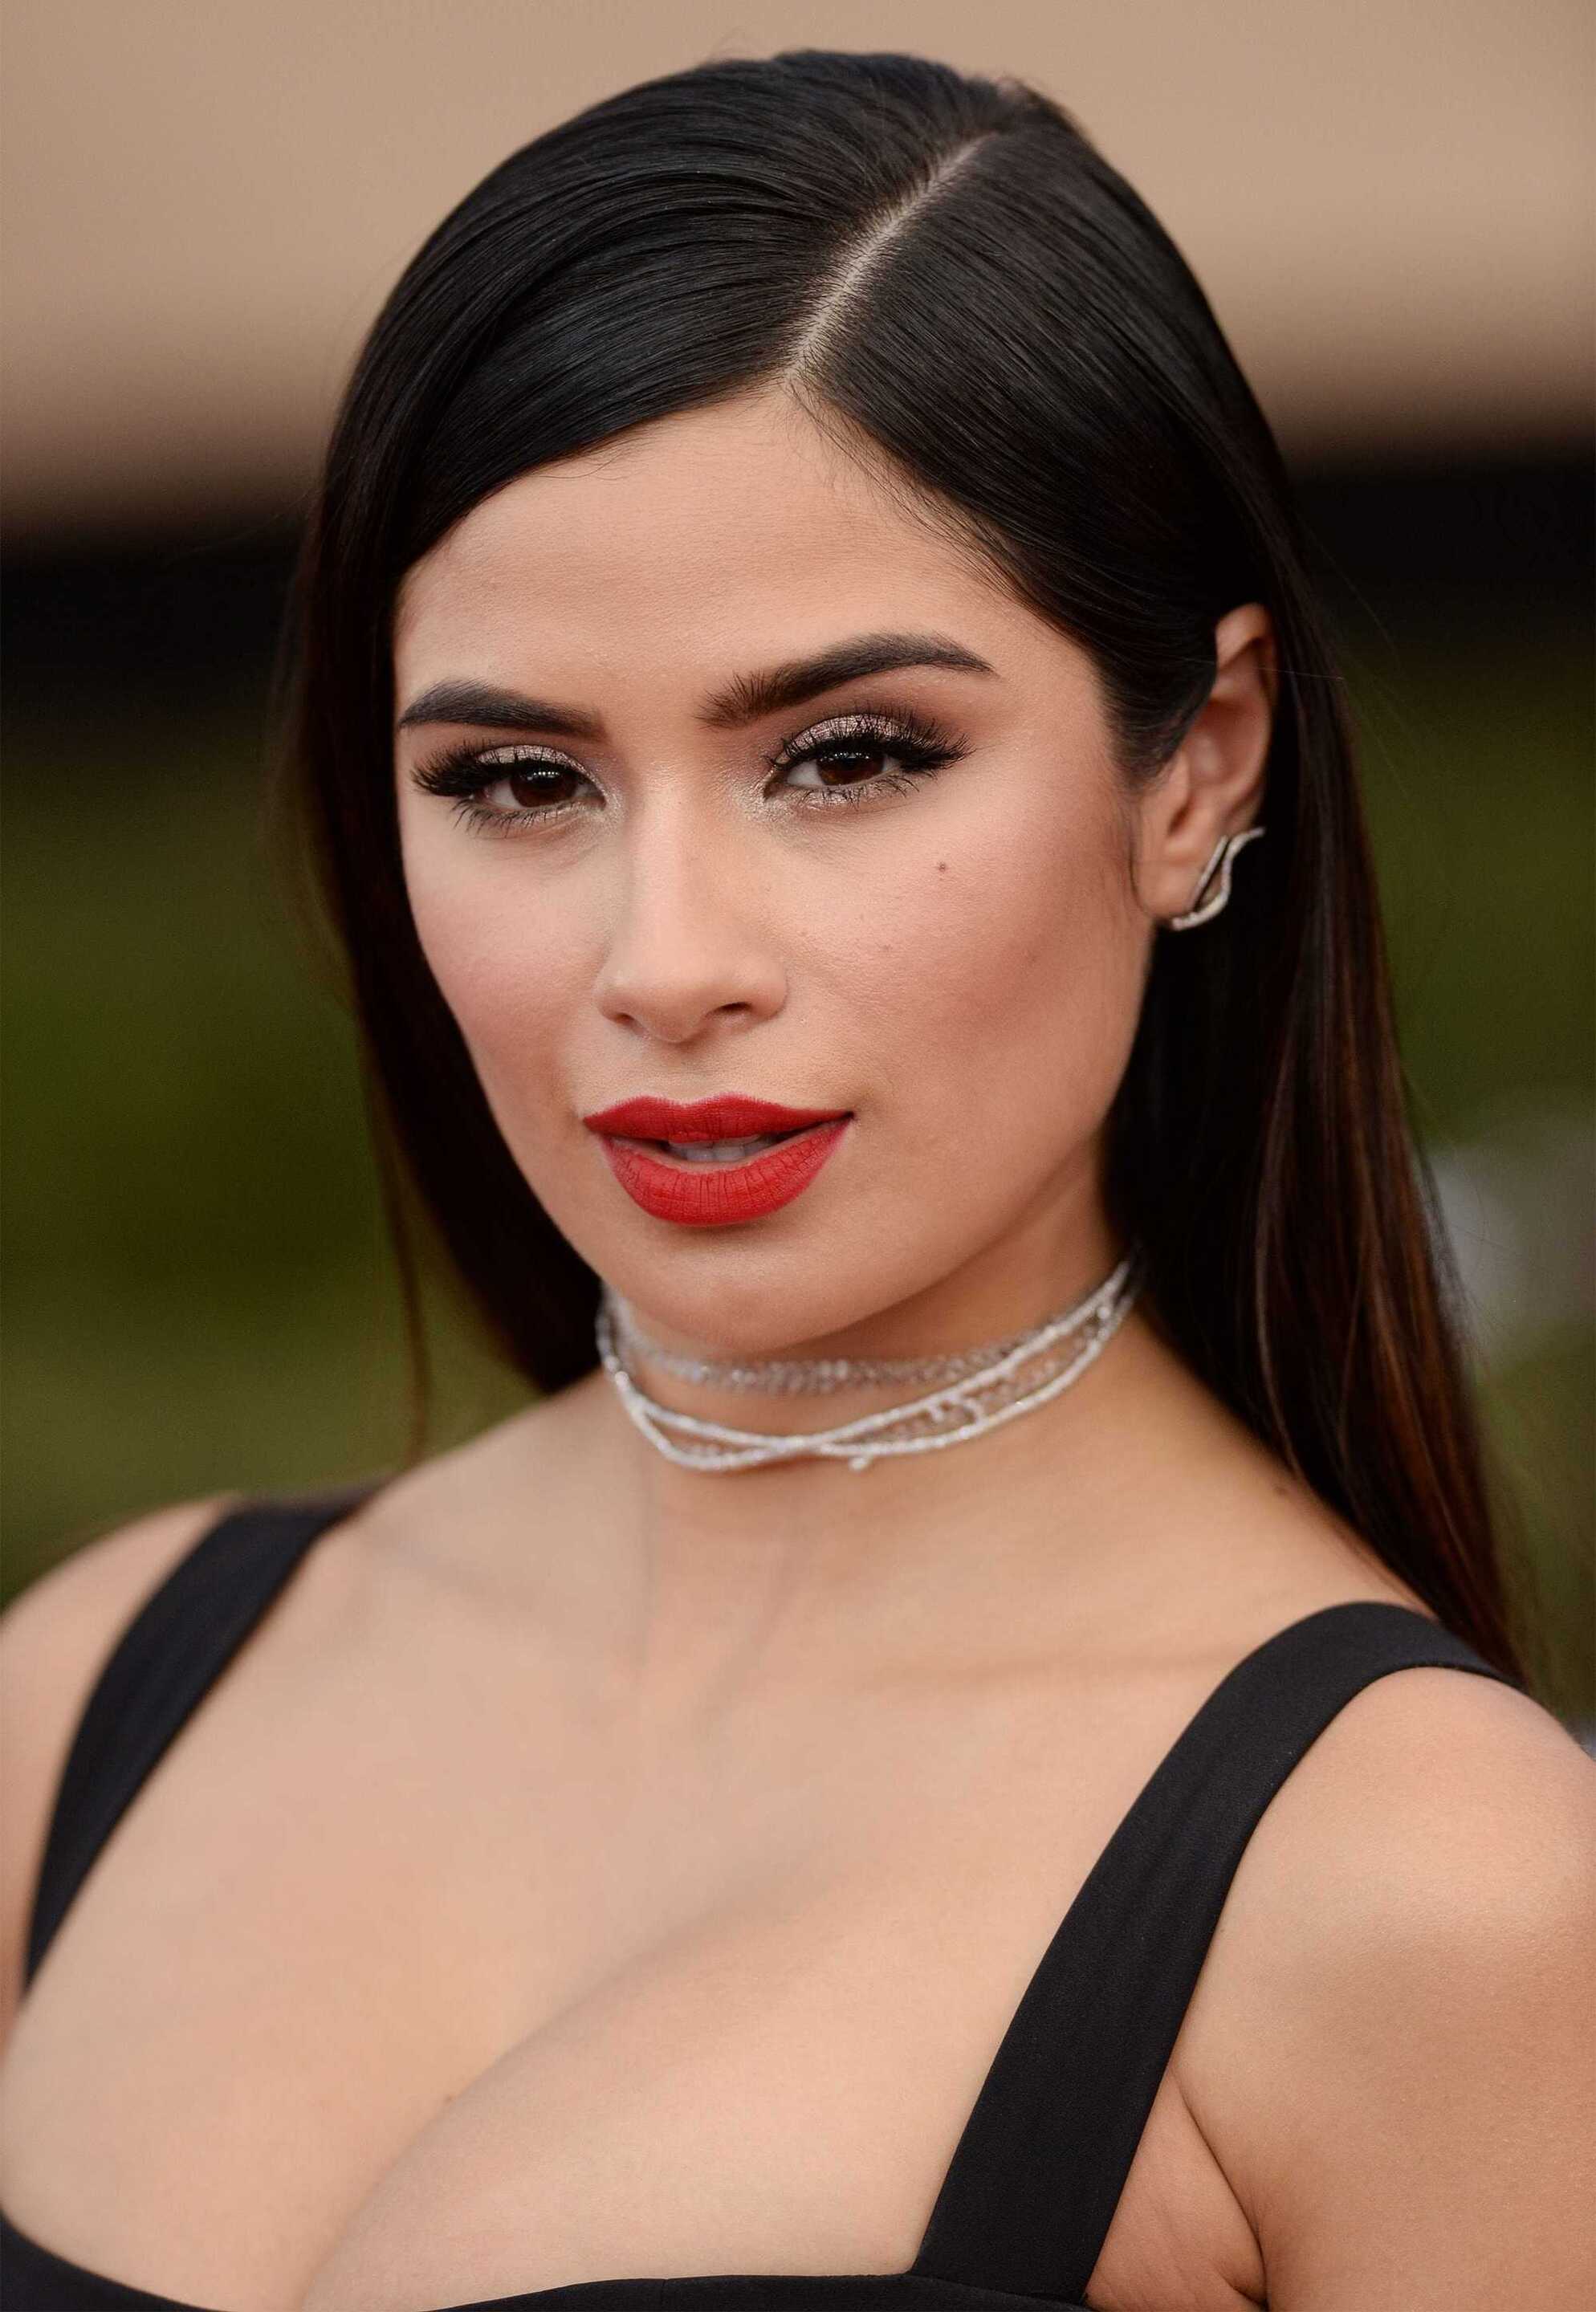
Want to make your sleek style last as long as possible? Follow our tips! Credit: Indigitalimages.com
Do you find that your hair starts to go frizzy within hours of straightening it? Well, what would you say if we told you that it was possible to have perfectly straightened hair for up to two days?
We know it sounds too good to be true, but we’re going to let you into a little secret. You might think that once you’ve straightened your hair you’re good to go, yet it actually requires some maintenance to making the style last.
Step 1: Use dry shampoo
Before you go to bed, try spraying your roots with dry shampoo. It might seem silly to put it on before bed, but it’ll help to soak up any excess oils and sweat produced while you sleep, reducing any chance of unwanted kinks making an appearance!
Step 2: Wrap your hair in a silk scarf
Then, carefully comb your hair to one side, securing it with bobby pins as you go. Sweep it all the way around, so all of it is wrapped around your head. Once you’ve done this, wrap your hair with a silk scarf to avoid kinks and, more importantly, reduce friction and frizz.
Step 3: Revive your roots
And when you wake up? Unwrap your hair, comb, and apply the Dove Advanced Hair Series Oxygen Moisture Root Lift Spray to your roots, massaging with your fingertips. This will add fullness to your mane and moisturise your locks, without weighing them down.
And finally, for extra hold, lightly spray your tresses with hairspray to lock the look. The result? Sleek, glossy straight hair to see you through another day!
5 straight hairstyles you should try
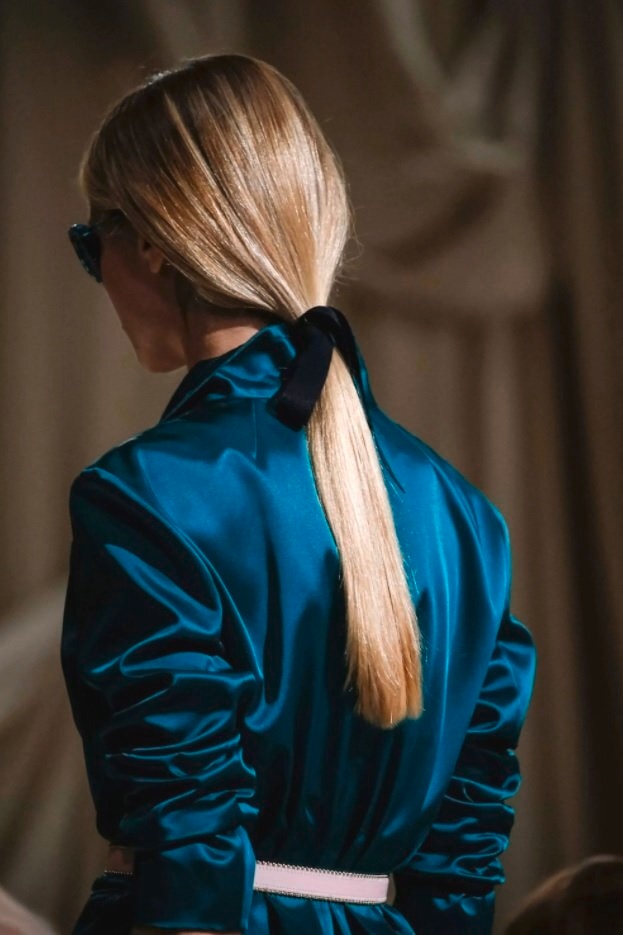
Even total hairstyling novices can master a low ponytail. Credit: Indigitalimages.com
1. Low ponytail
Sometimes, simplicity really is best – and a classic low ponytail is the perfect case in point. Mila Kunis and Gwyneth Paltrow are already fans of this simple-yet-elegant style, and we’d have to agree.
And in case you hadn’t heard, hair accessories are everywhere this season. So, if you’re worried about your pony looking a bit boring, make like the runway and tie a black ribbon around the base of your ‘do. Et voila
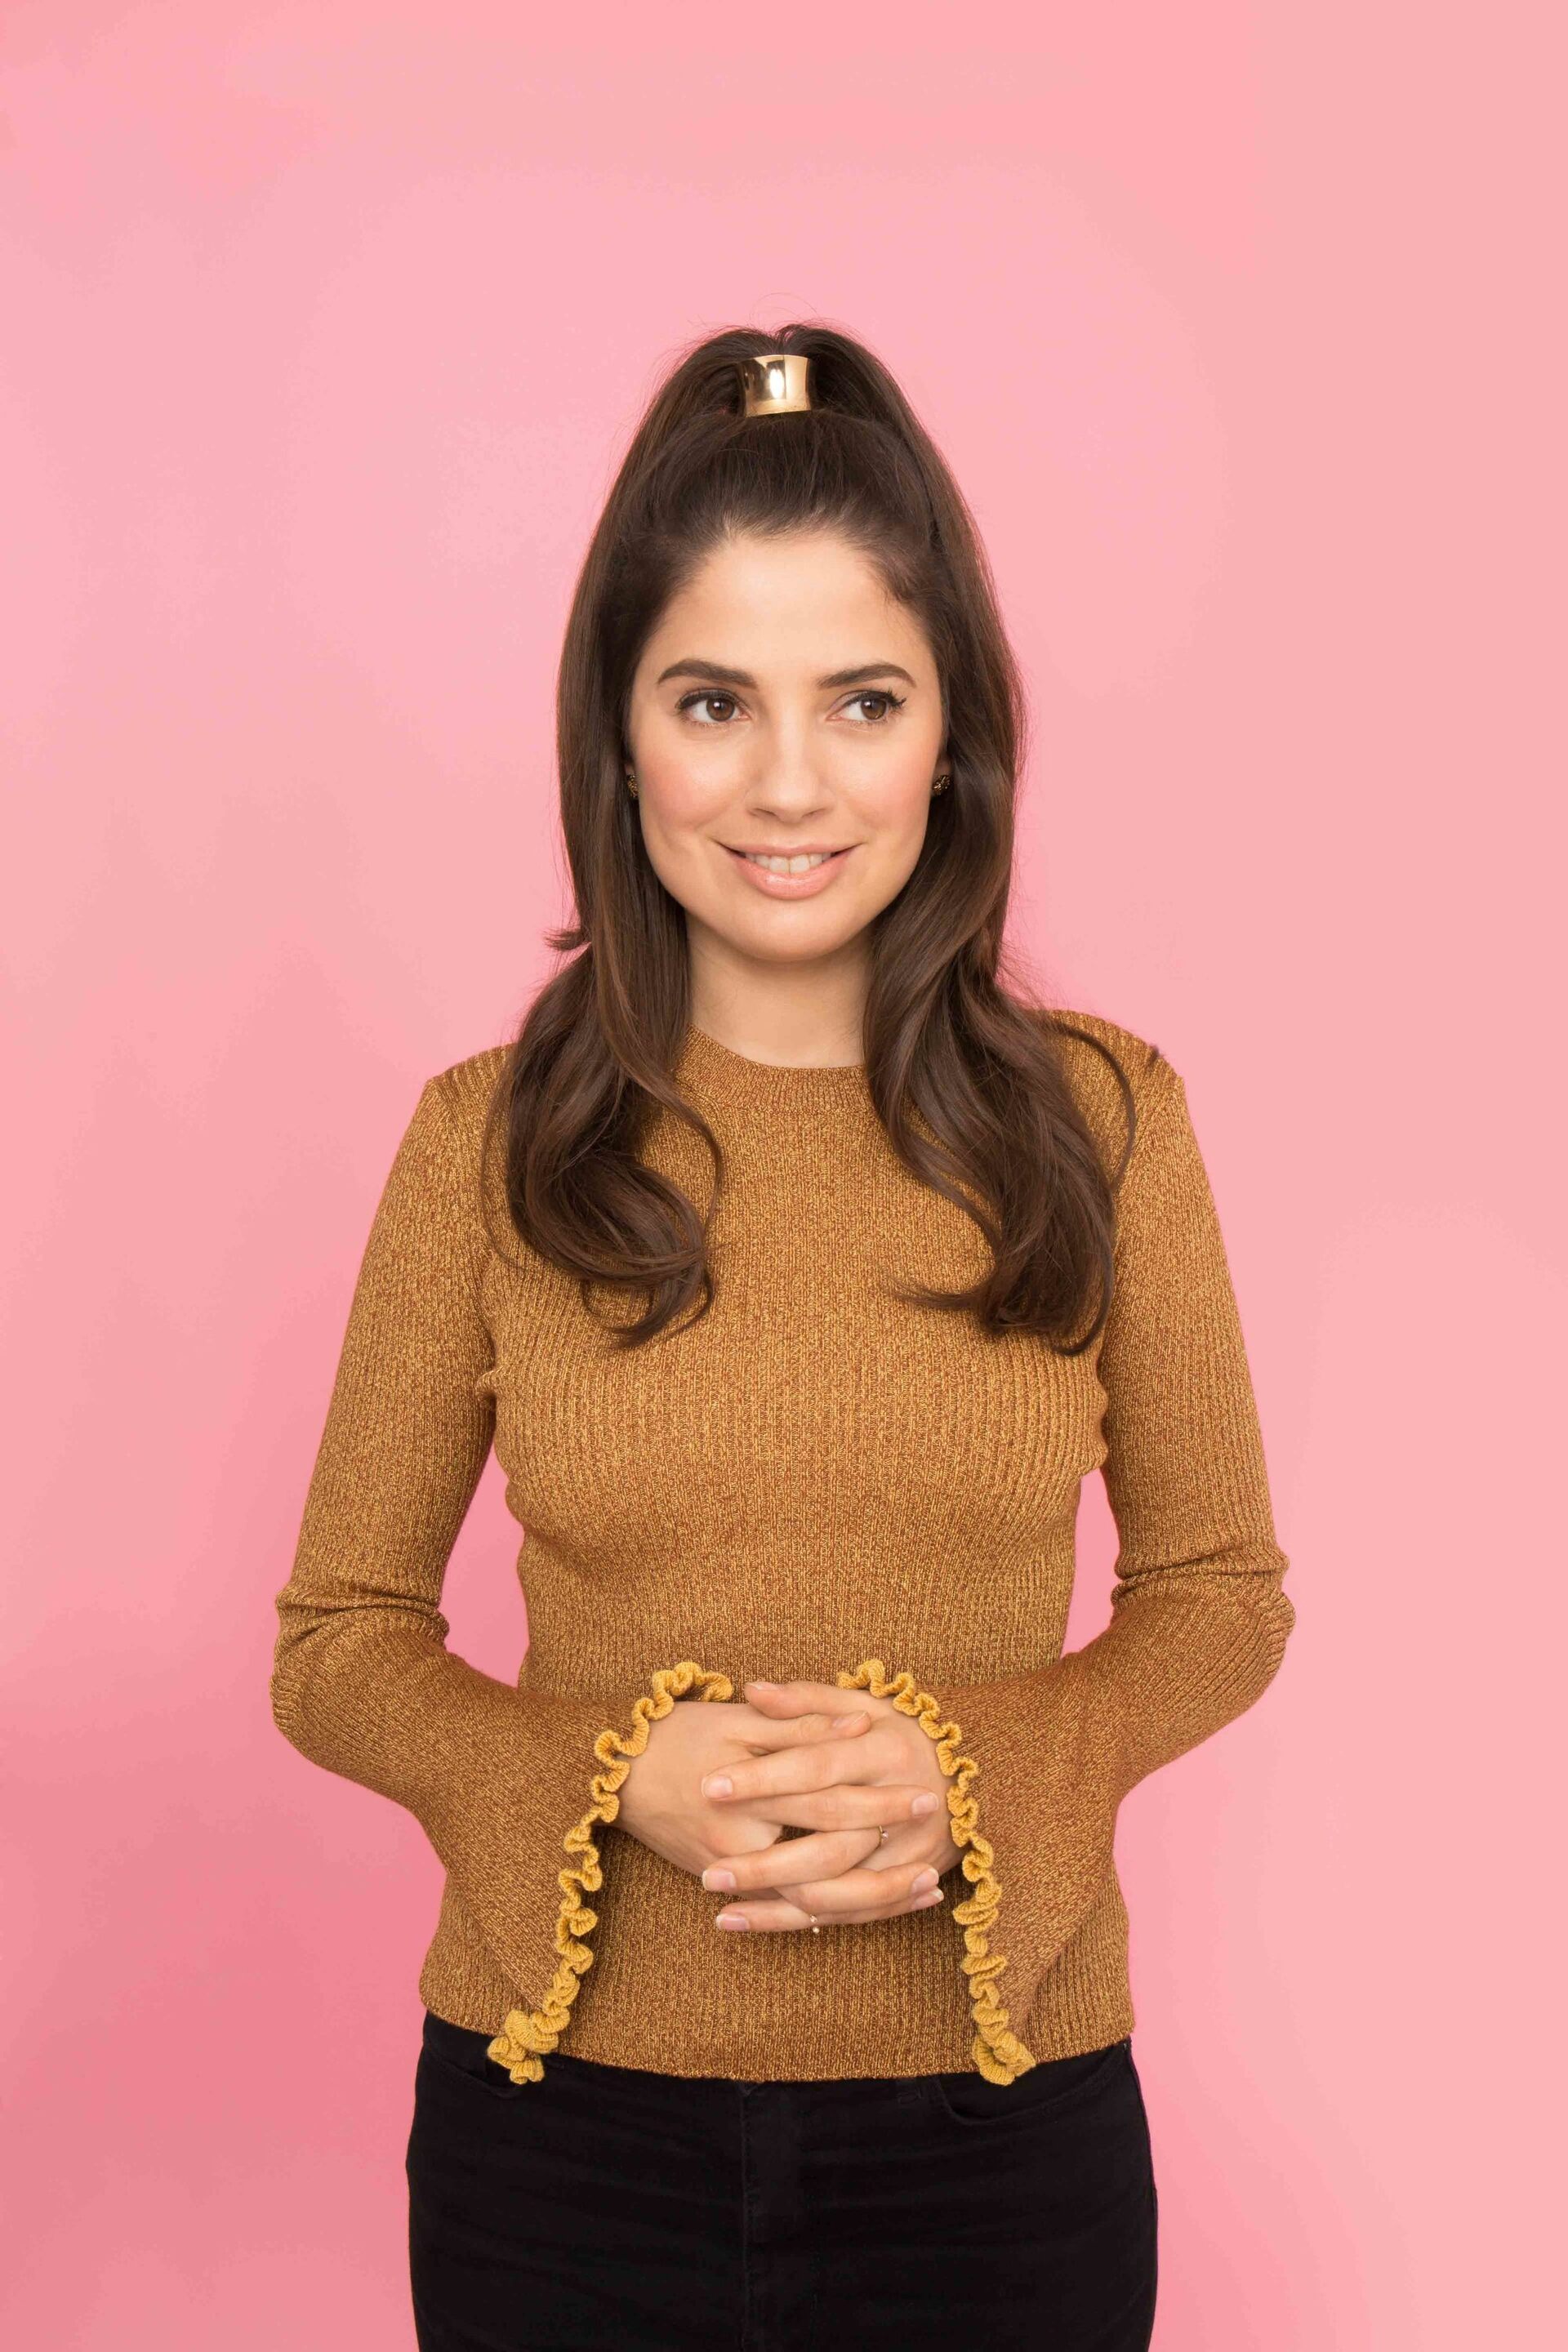
Do the twist! Credit: Indigitalimages.com
2. Half-twist
Now that you’ve learnt how to straighten curly hair, you’ll no doubt want to make the most of your newly-straightened tresses. We love how this half-twist style incorporates a pretty updo element, while also allowing you to show off your flawless, poker-straight strands.

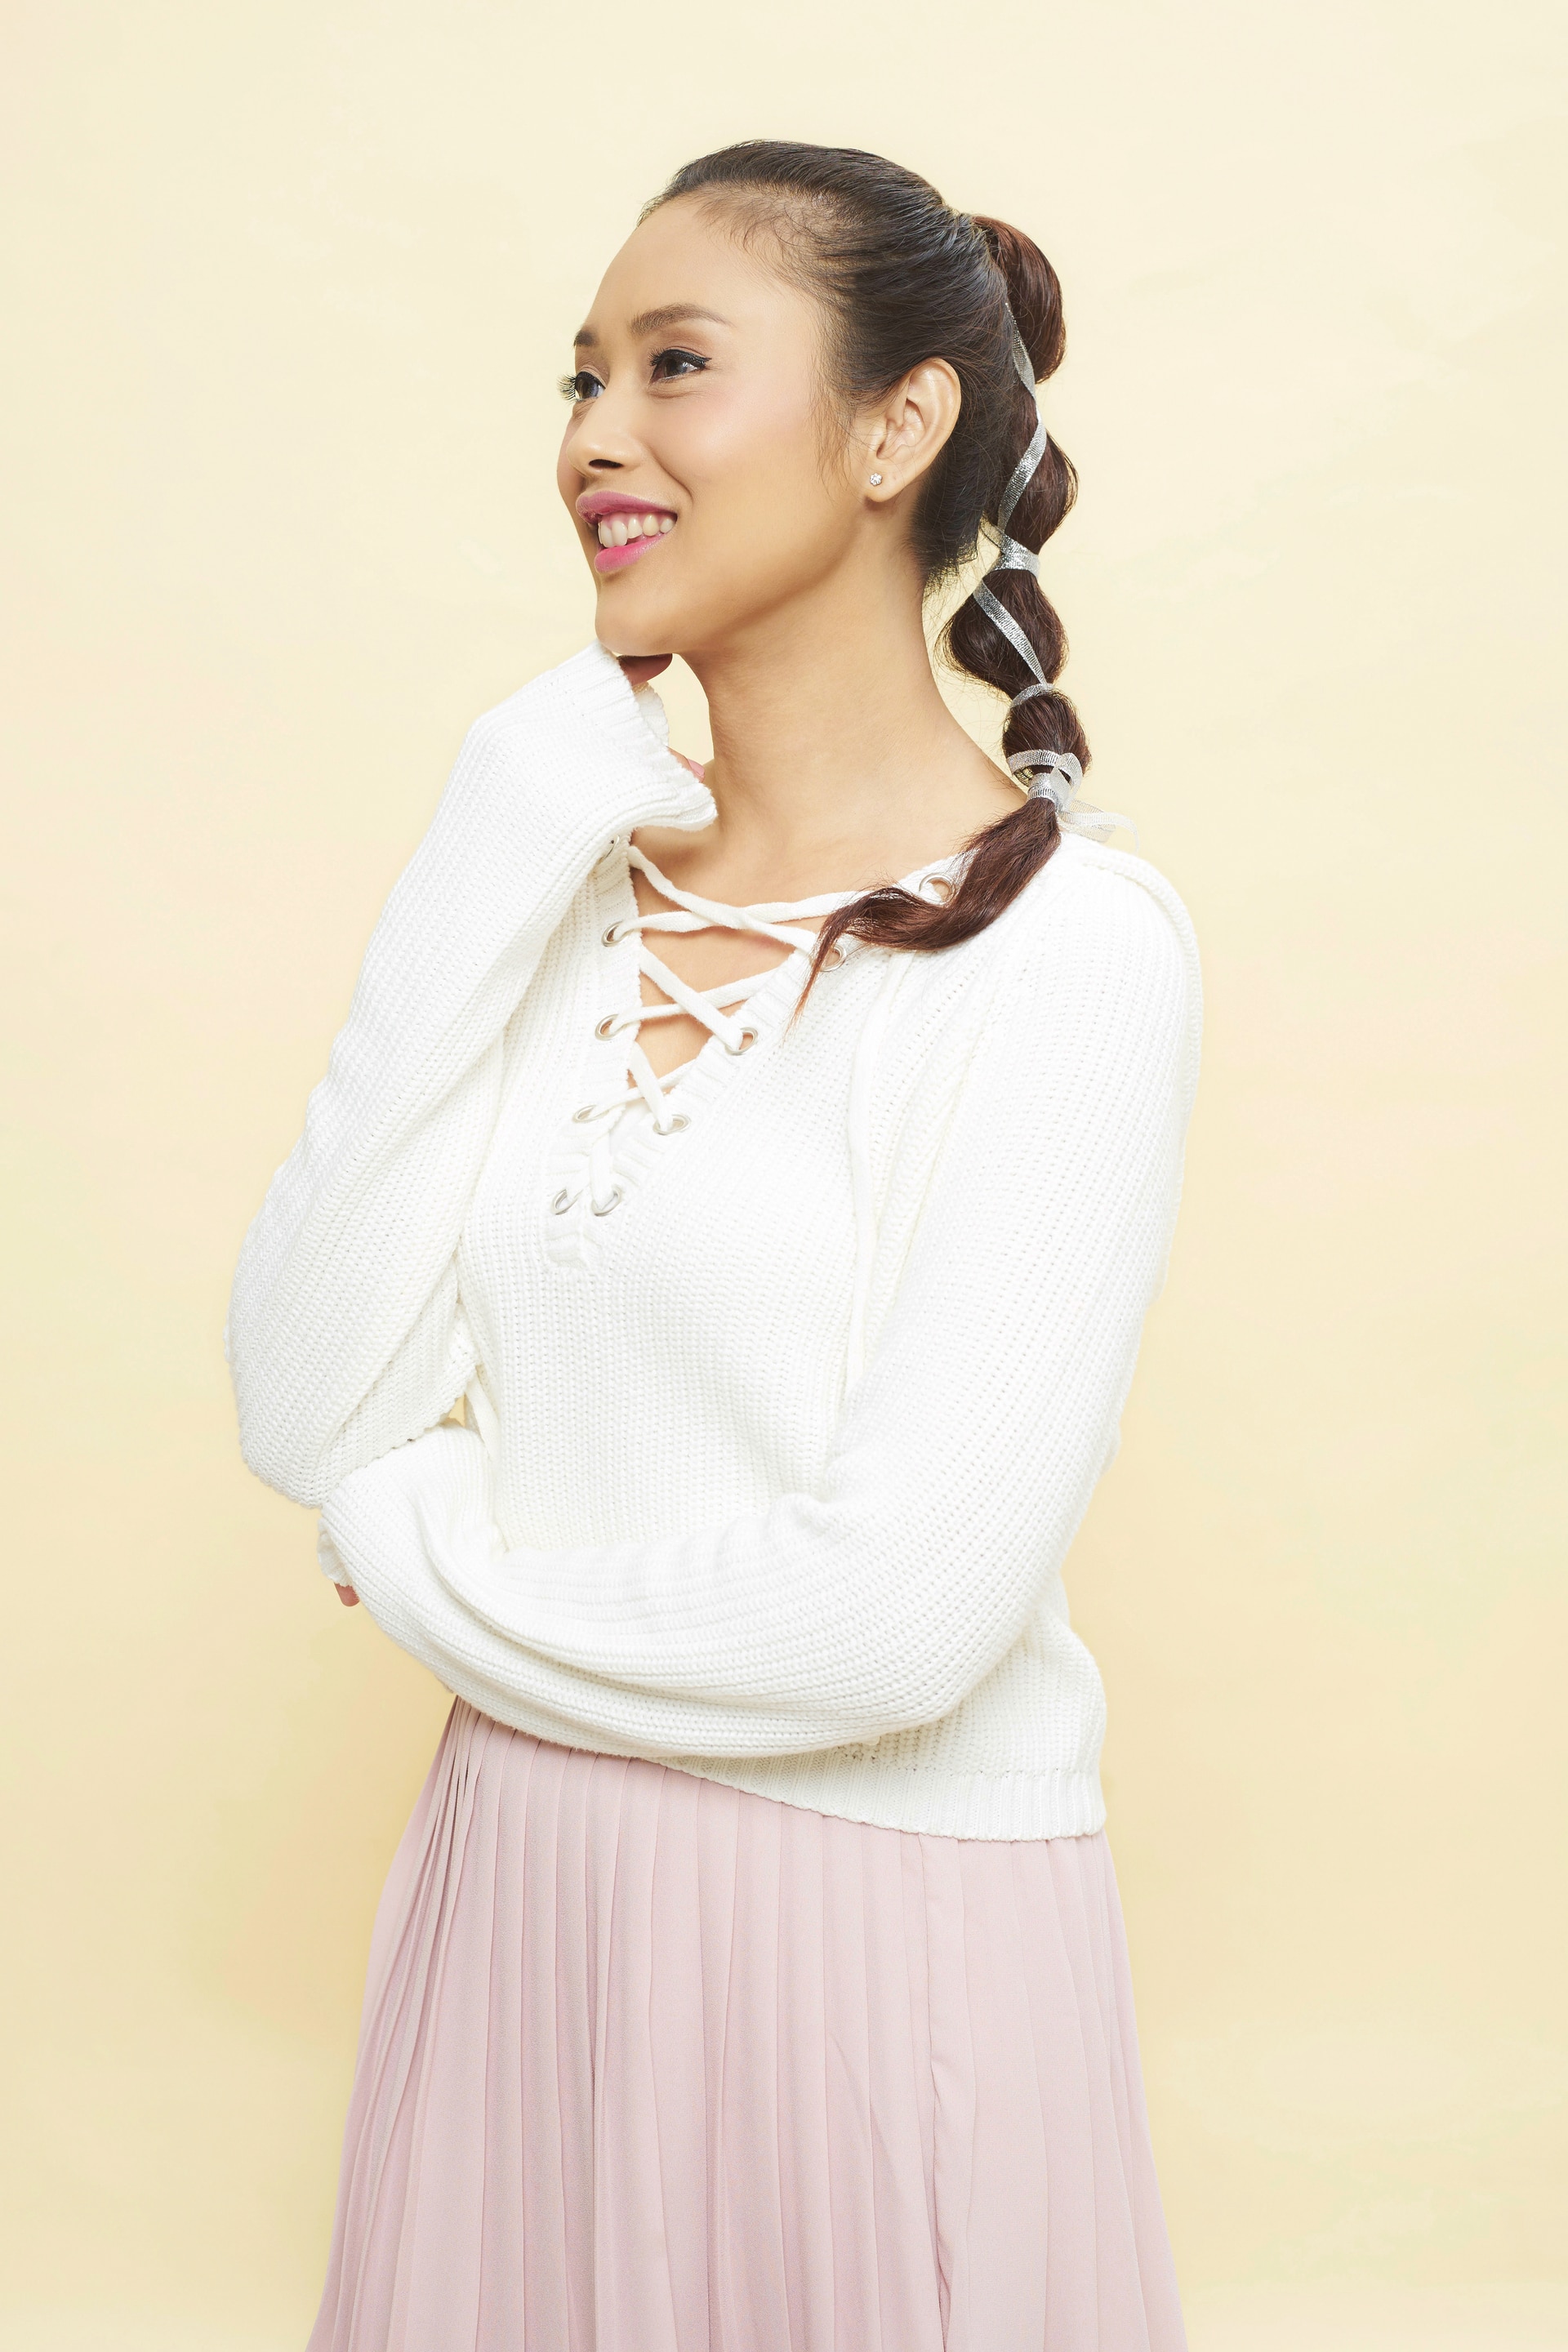
Frame your face with a bold full fringe. Credit: Indigitalimages.com
3. Blunt fringe
Want to look polished, but don’t want to lift a finger to style your mane? Then try adding a full fringe to your straight haircut! Just be sure to find the right length and shape for your face shape, and don’t be afraid to consult your stylist for some advice.
Editor’s tip: Does your fringe get greasy quickly? Then instead of misting all of your hair with dry shampoo, try spritzing just your bangs!
We particularly love the TRESemmé Instant Refresh Cleansing Dry Shampoo, as it’ll have your locks looking fresh in a jiffy.
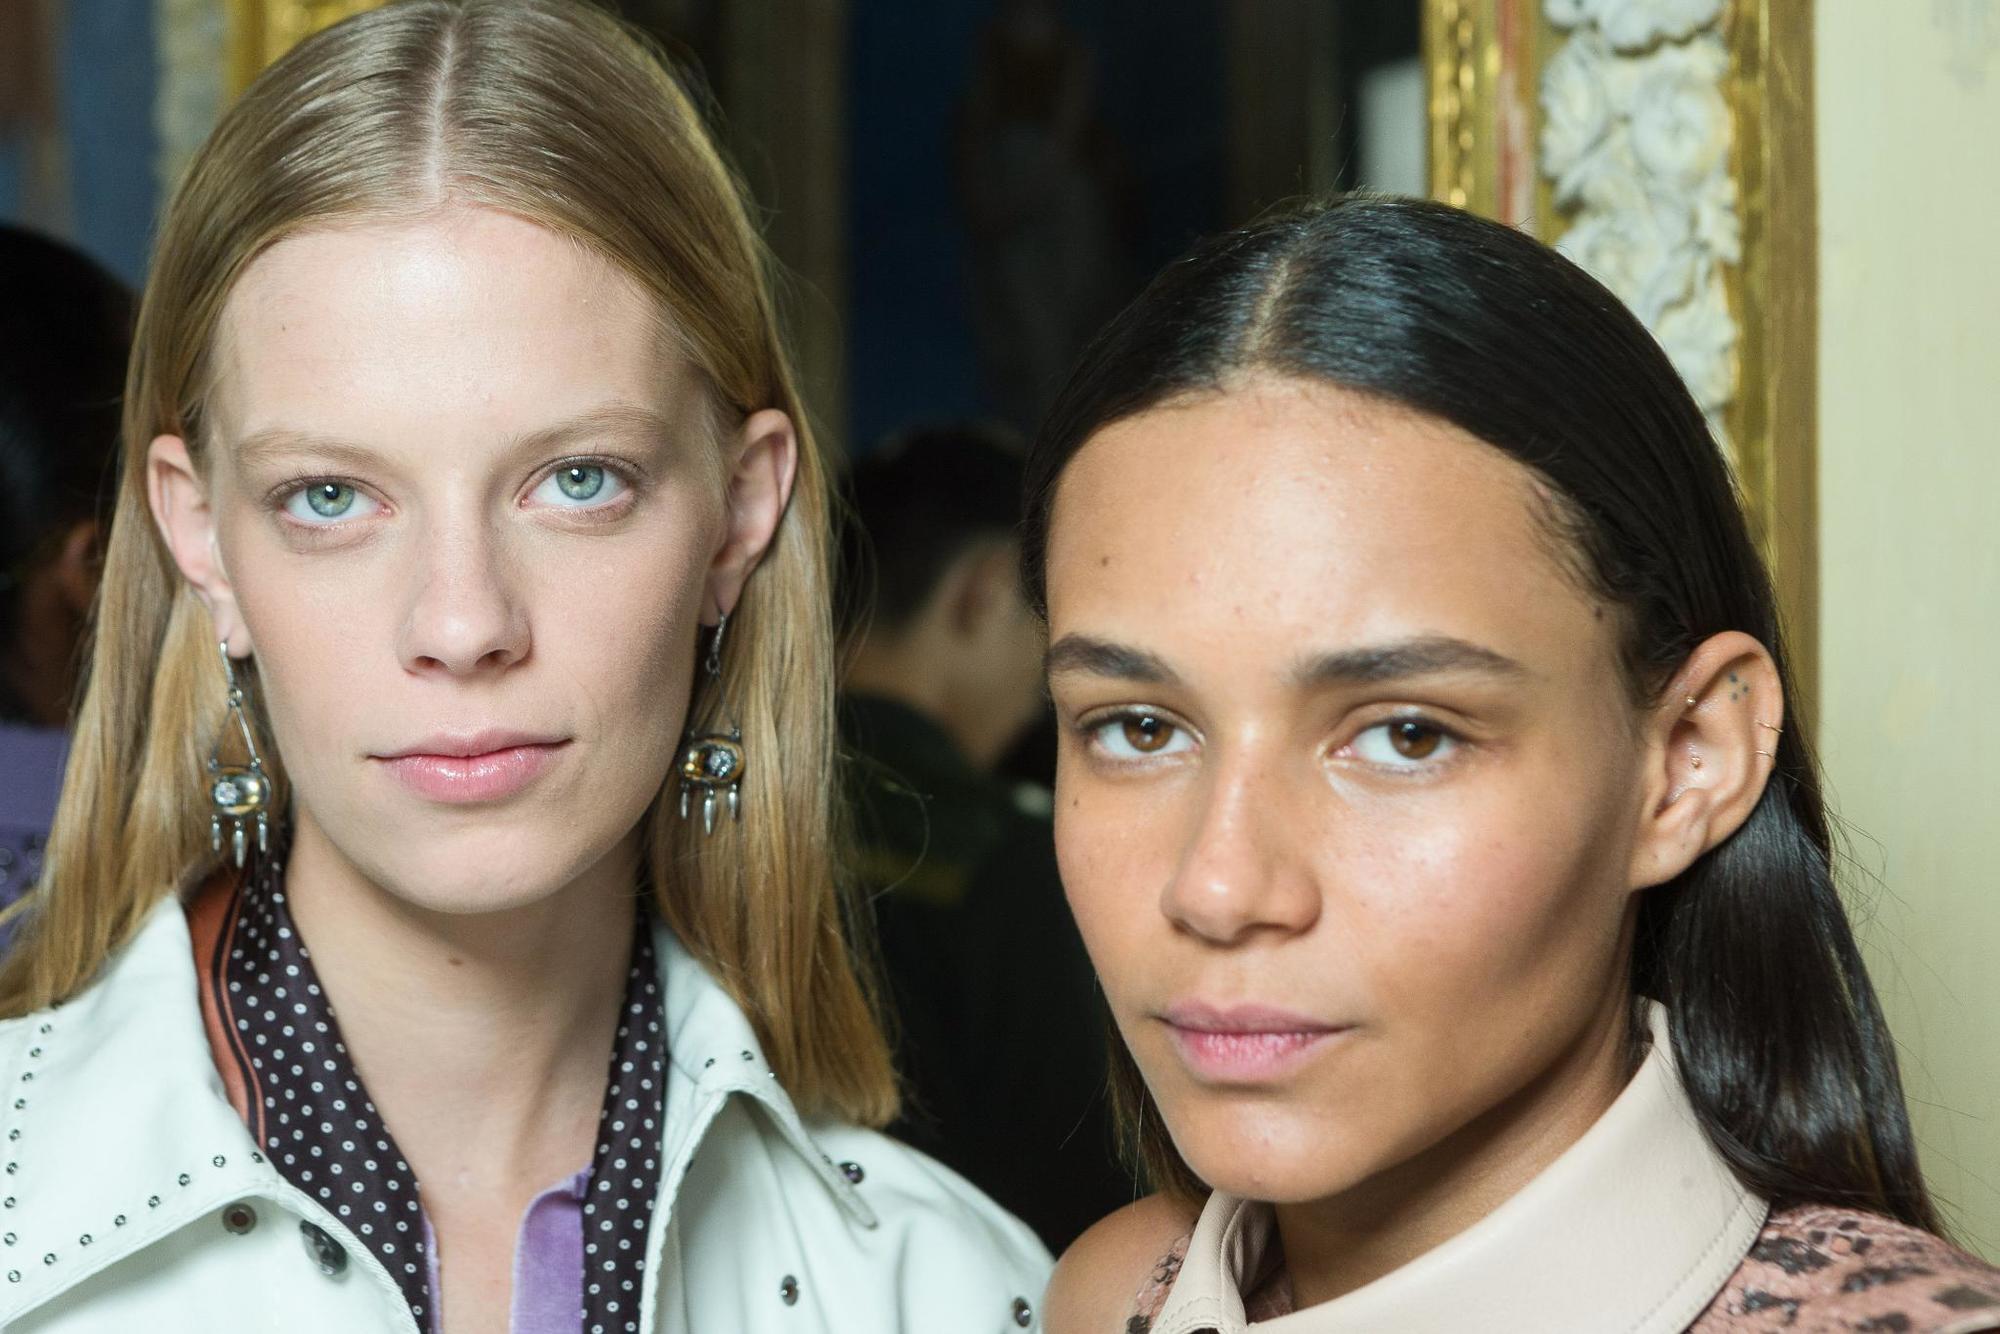
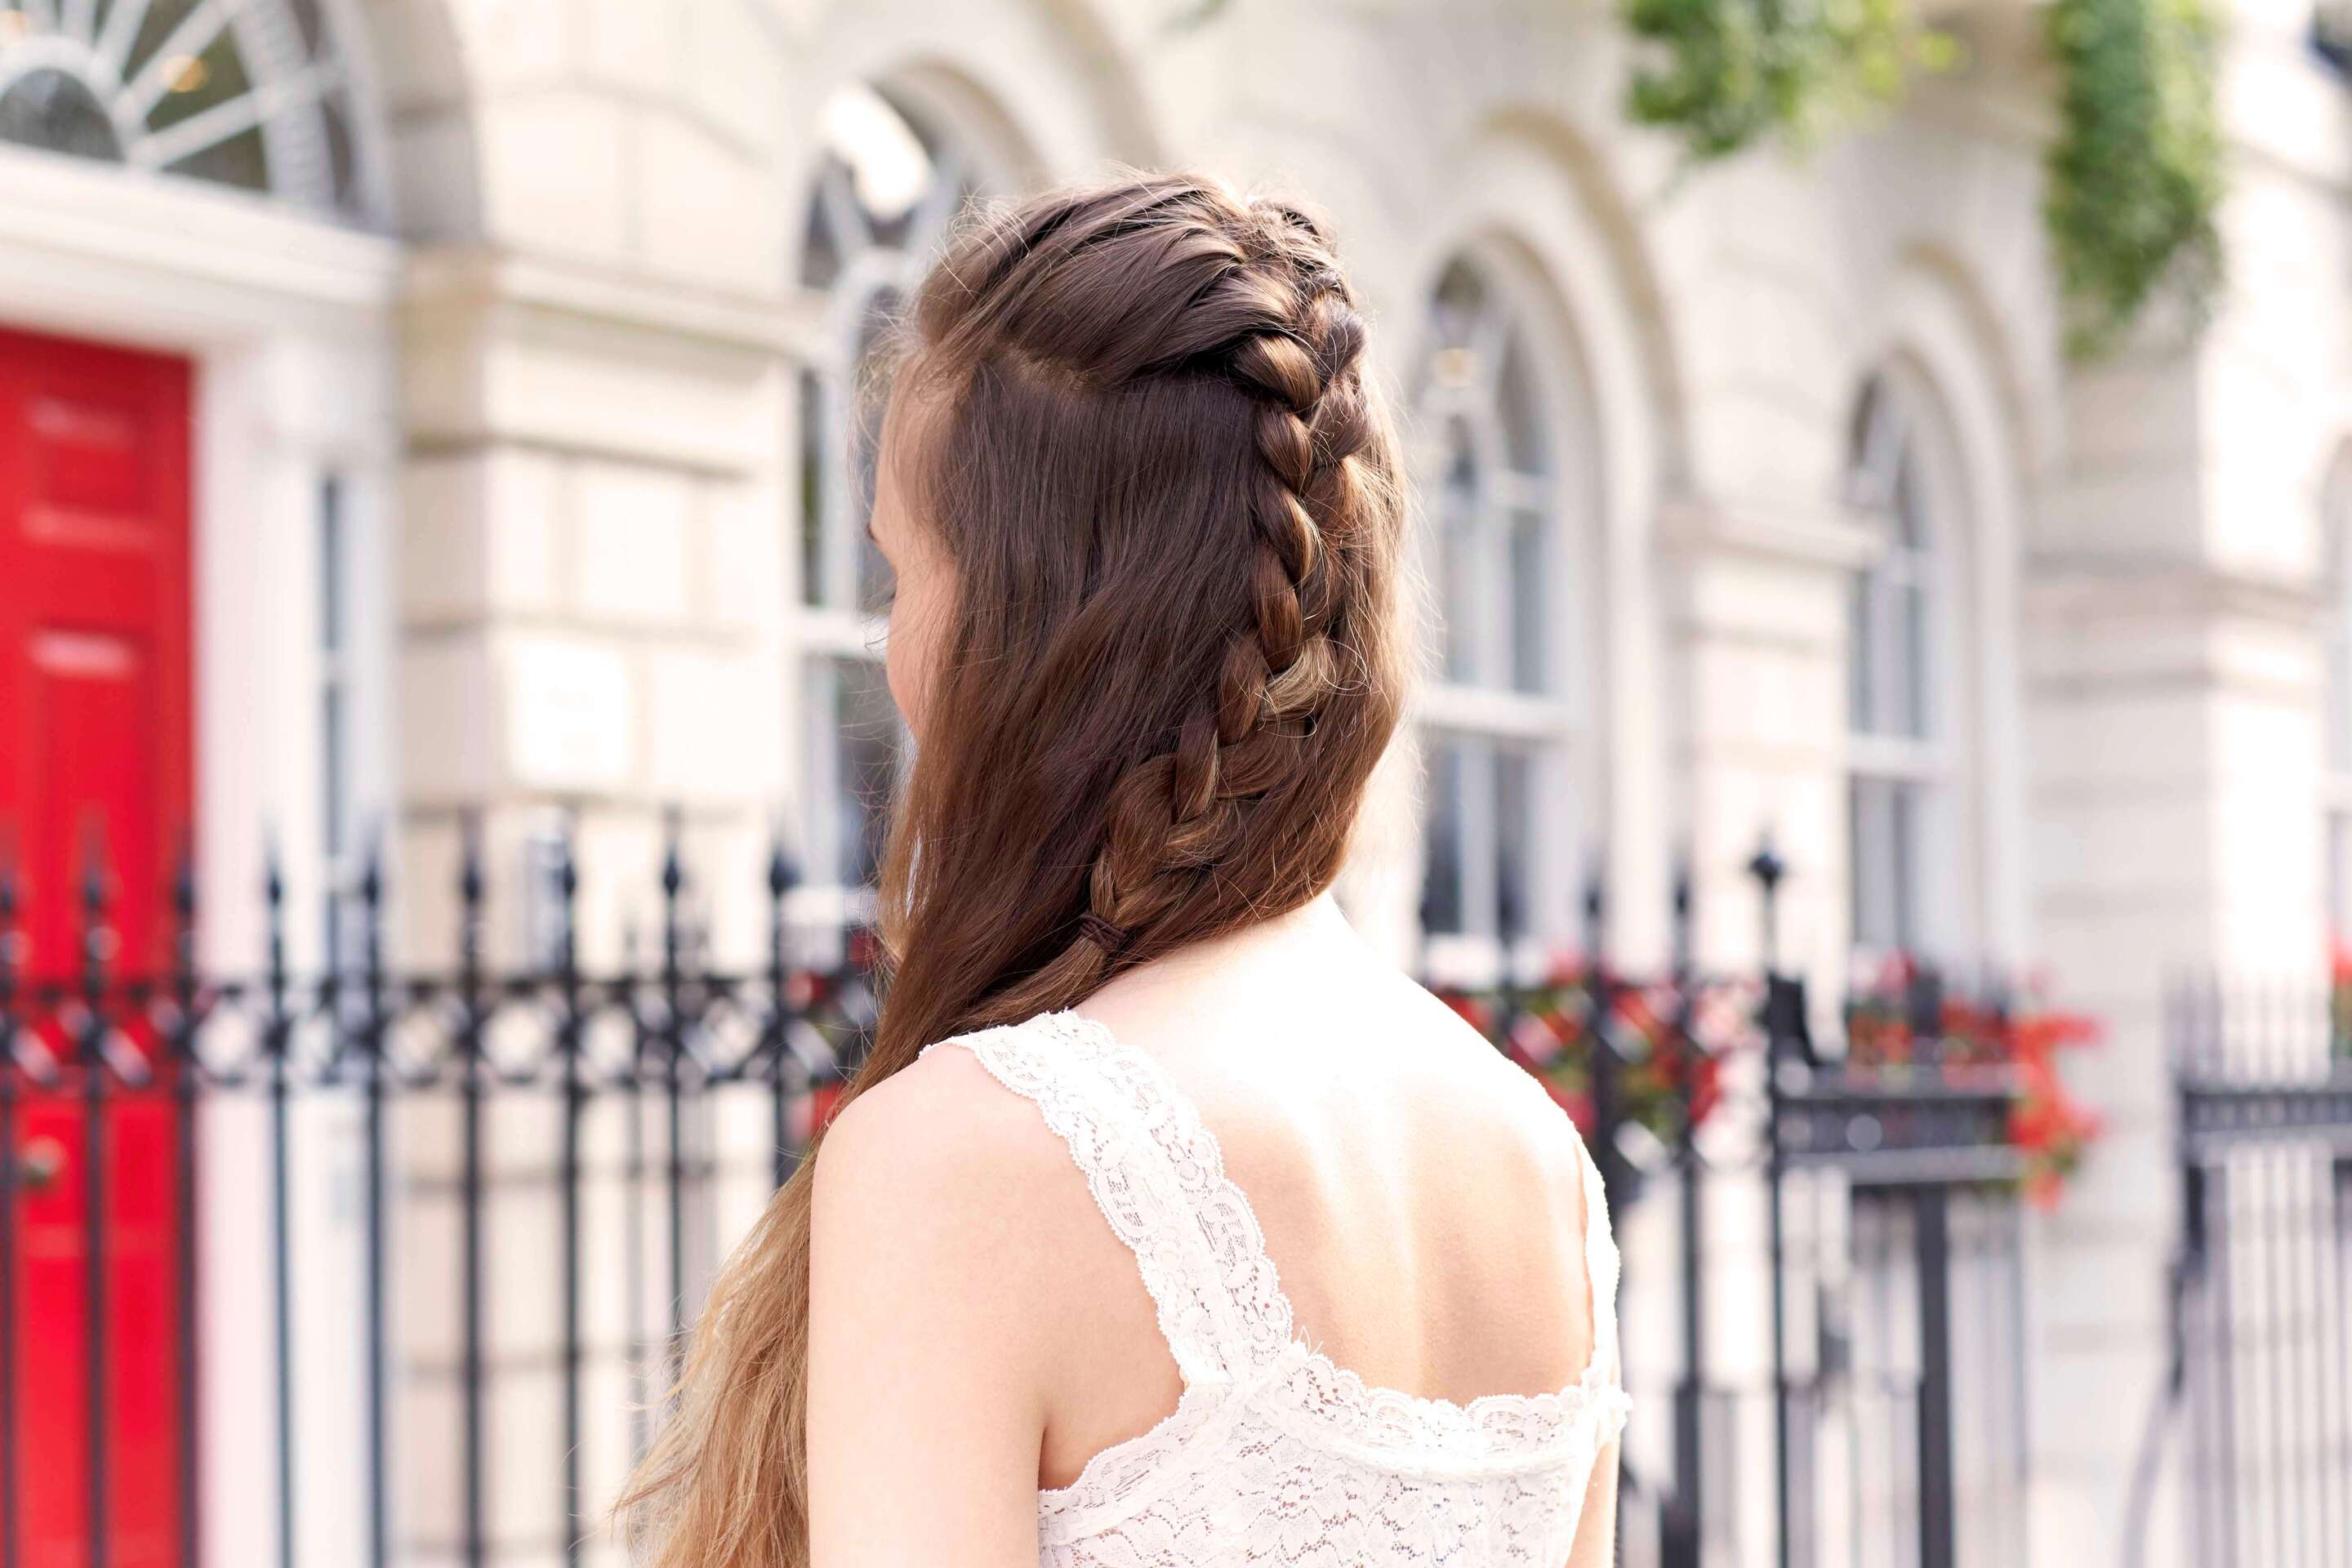
Join the braids gang! Credit: Indigitalimages.com#Hairhack: Switch your parting over to the side for instant volume. Credit: Rex by Shutterstock
4. French braid
Straight hair – especially if you have lots of it – is perfect for braiding, as woven strands will be enhanced by your manes smooth, sleek texture. So, if you’re looking for a way to keep your hair up and out of the way, while still looking super stylish, this pretty French braid is the look for you.
Editor’s tip: To make your braid look thicker, try pancaking (gently tugging) at your braid once it’s done. And don’t forget to seal it in place with the V05 Sublime Sleek Creation Hairspray, to ensure it stays picture-perfect all day!
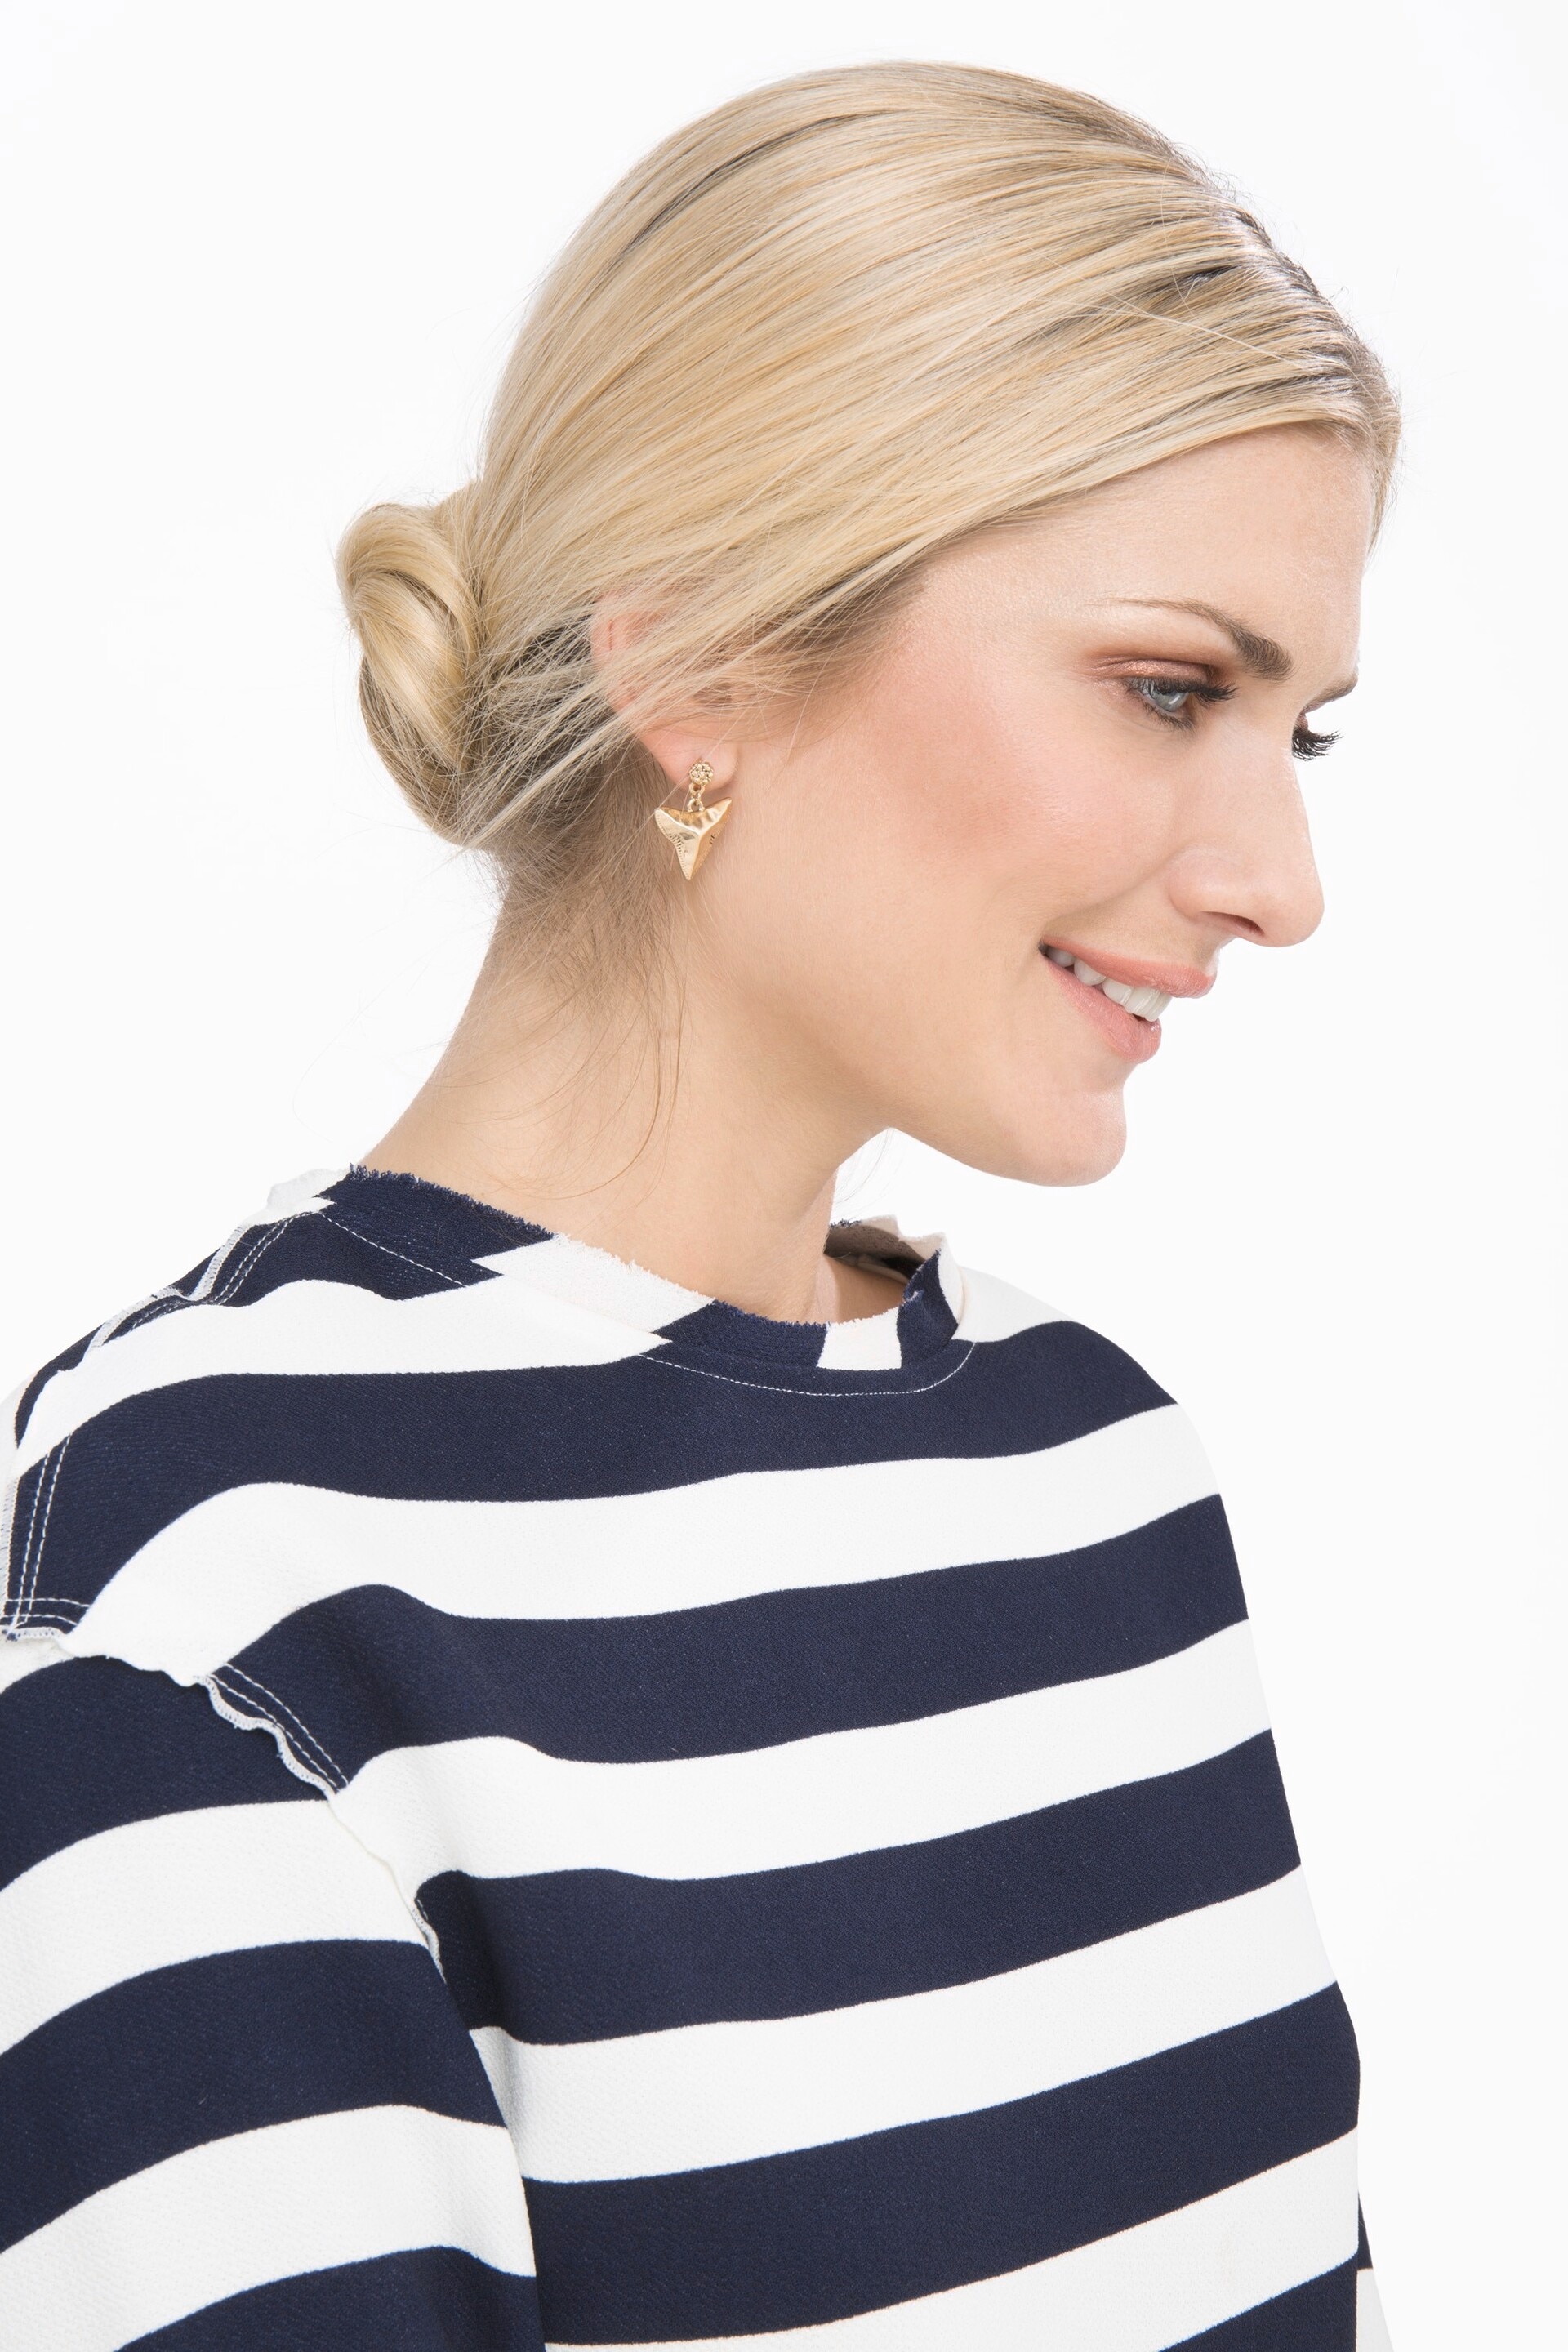
Looking for a chic hairstyle for the office? This is it. Credit: Indigitalimages.com
5. Low bun
Love messy buns but looking for something a bit more office-appropriate? This elegant low bun is the perfect way to style your hair after straightening, as it adds to the put-together, polished feel of the look.
Oh, and it’s super easy to do, too. Simply twist your hair into a ponytail at the nape of your neck and wrap it around itself, before securing with bobby pins. Sorted!
You Will Need
Share
ARTICLE
The Best Hair Wax for Women: Tips on Styling a Pixie Cut
The best hair wax for short hair, revealed.
Products You Might Also Like
Our Tips & Advice
- slide 1
- slide 2
- slide 3
- slide 4
- slide 5
- slide 6

