Skip to:

How to Get Pin Curls
Want to know how to recreate retro pin curls at home? It's never been simpler!
Beth | July 14, 2023
You Will Need
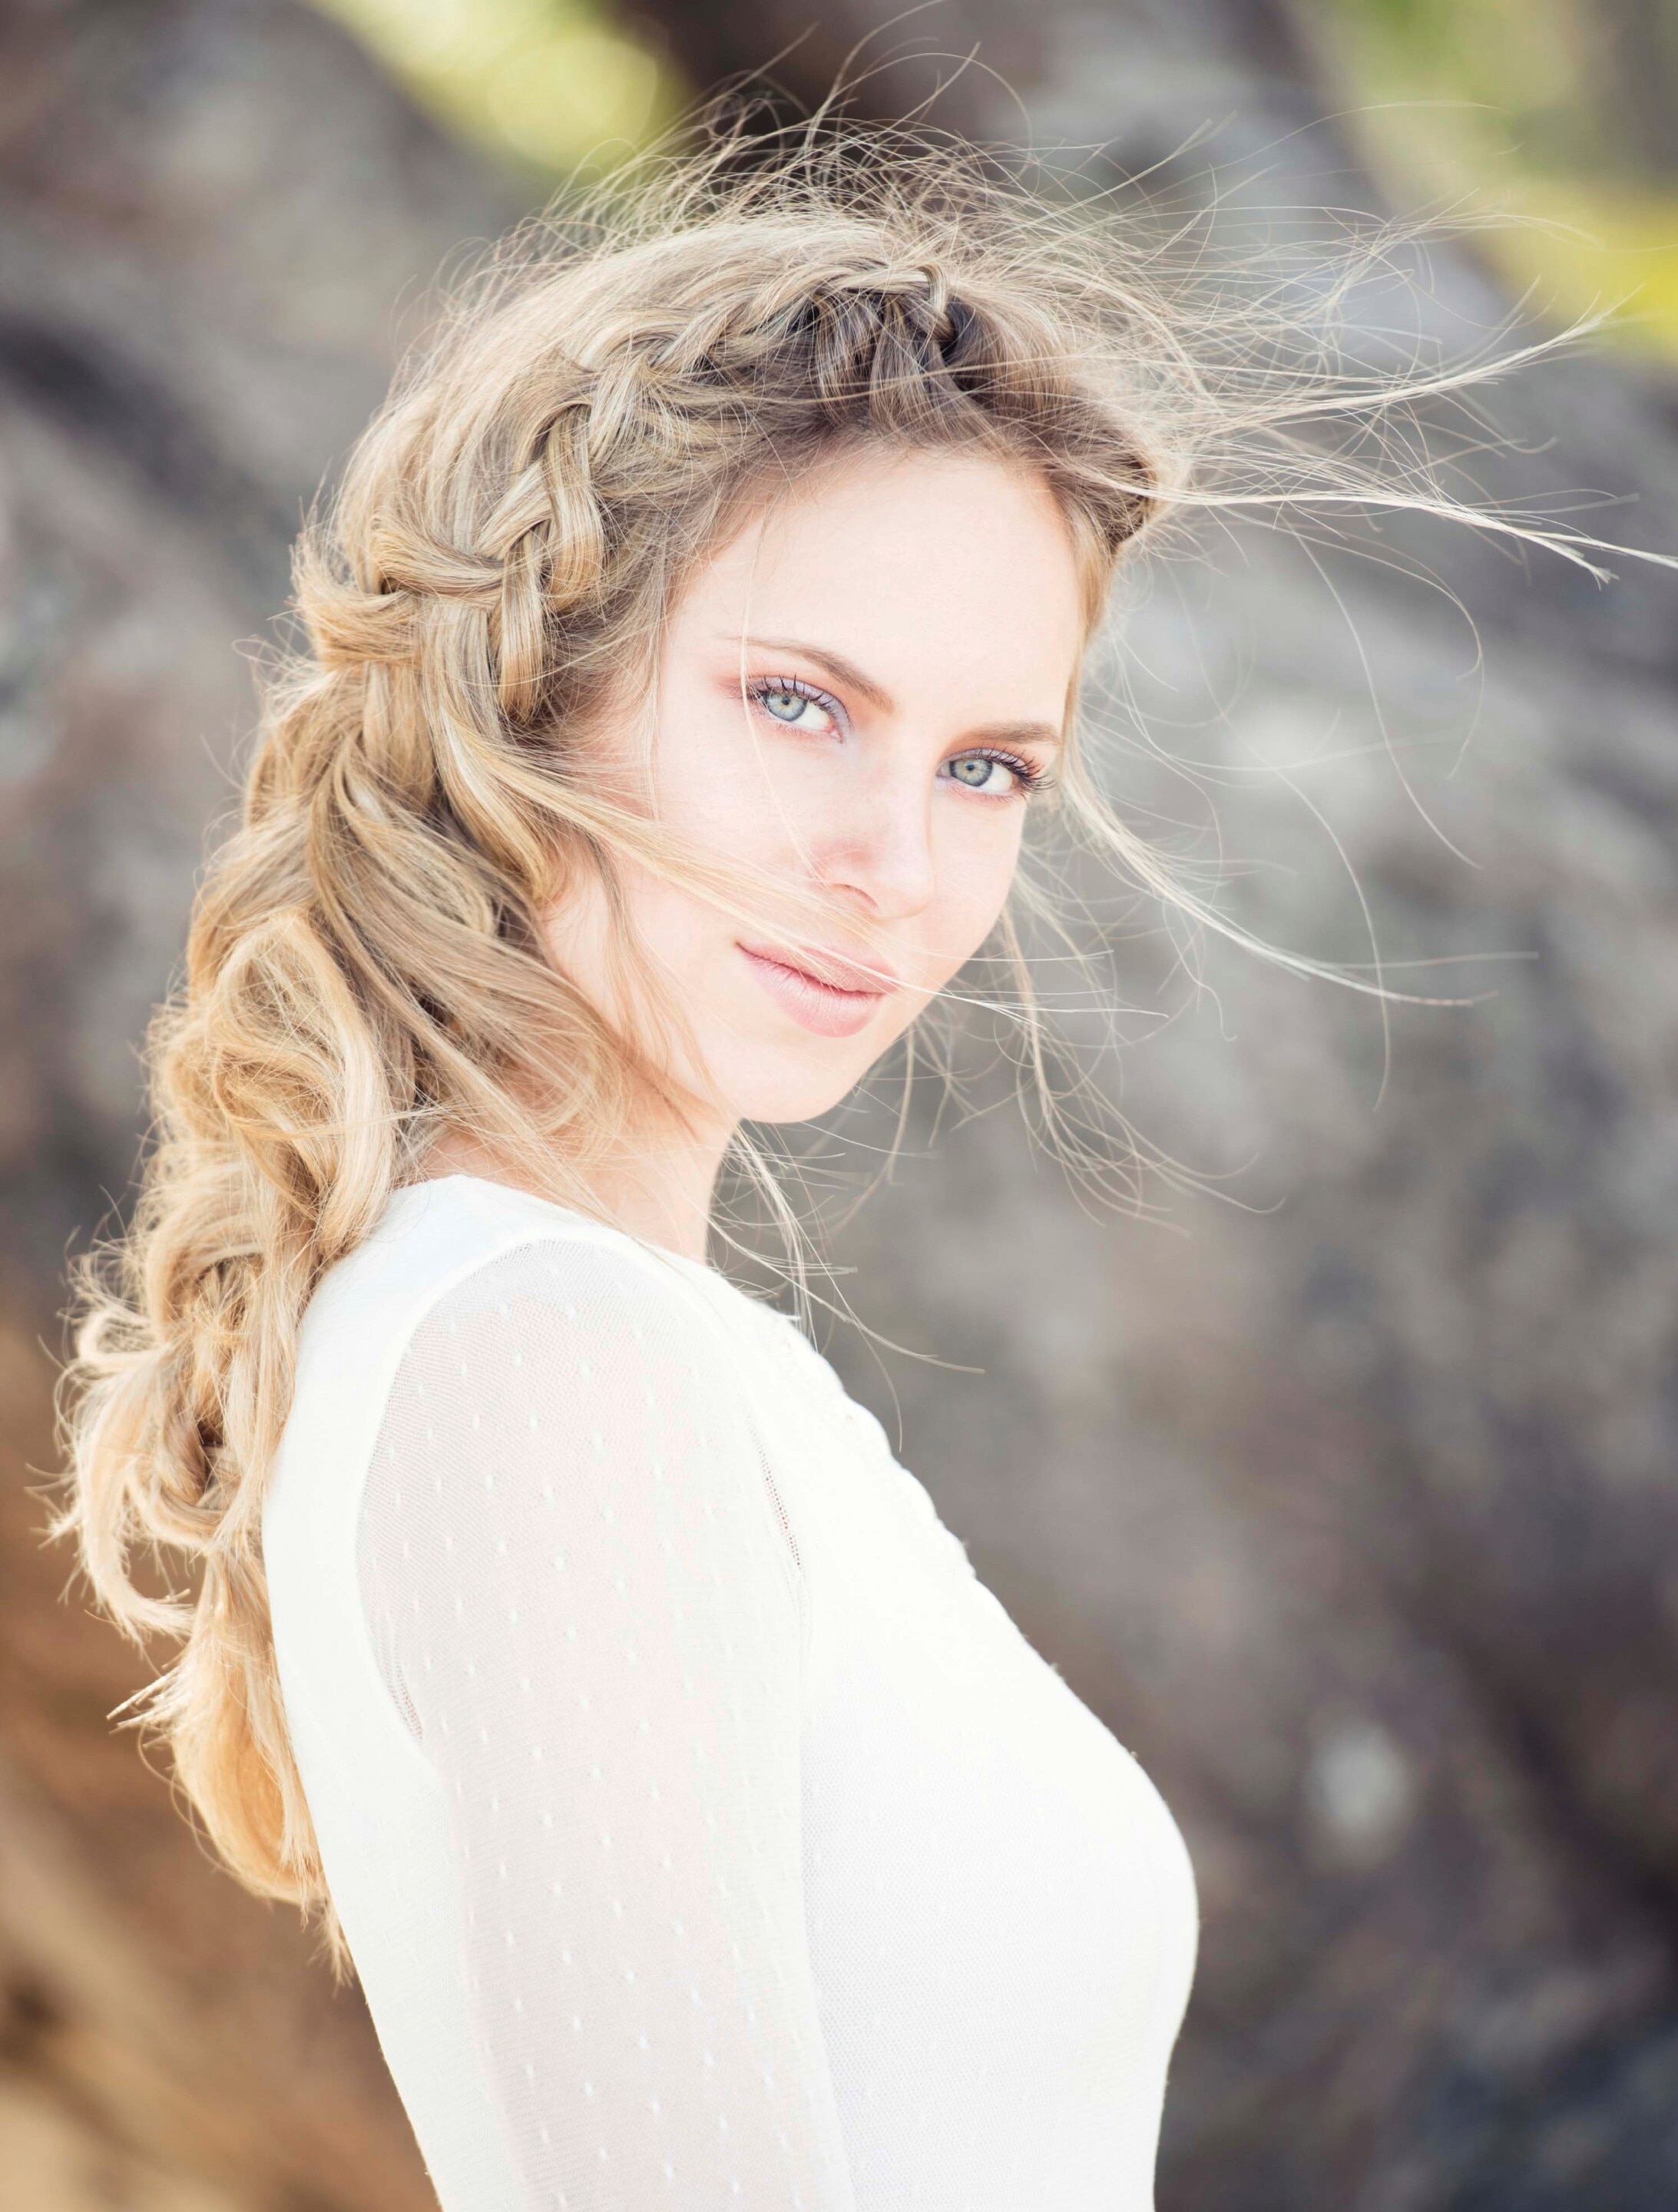
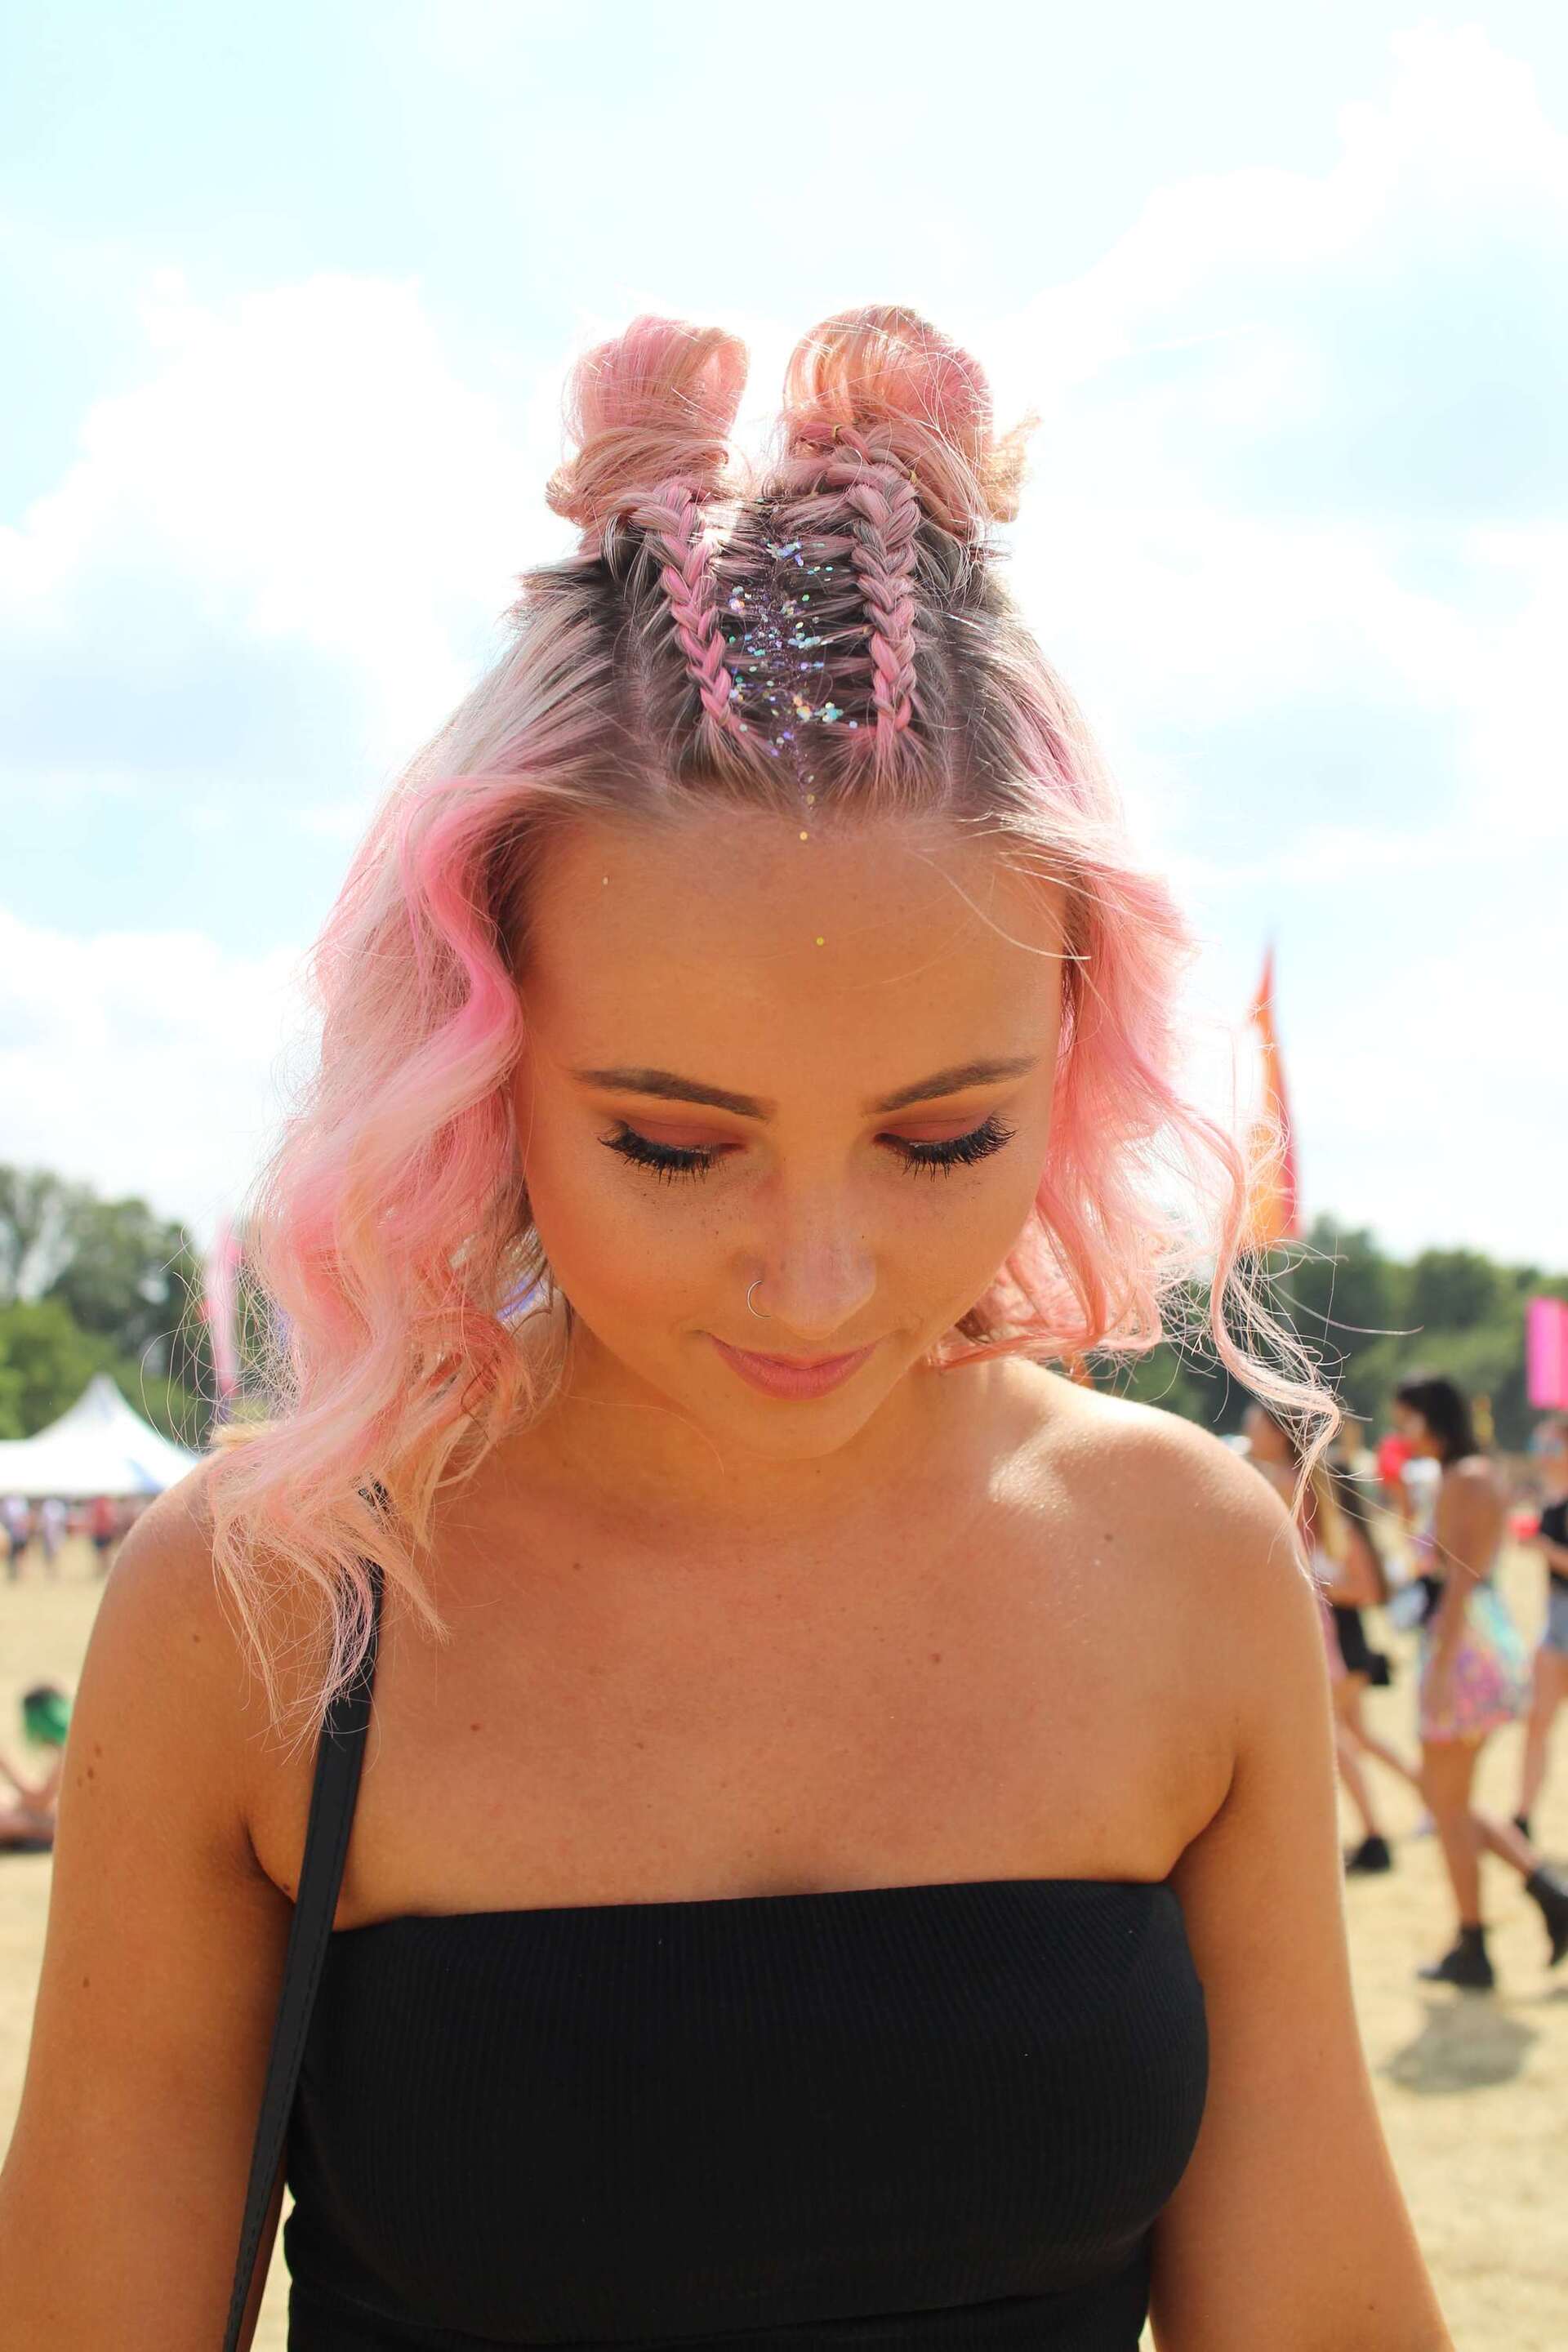
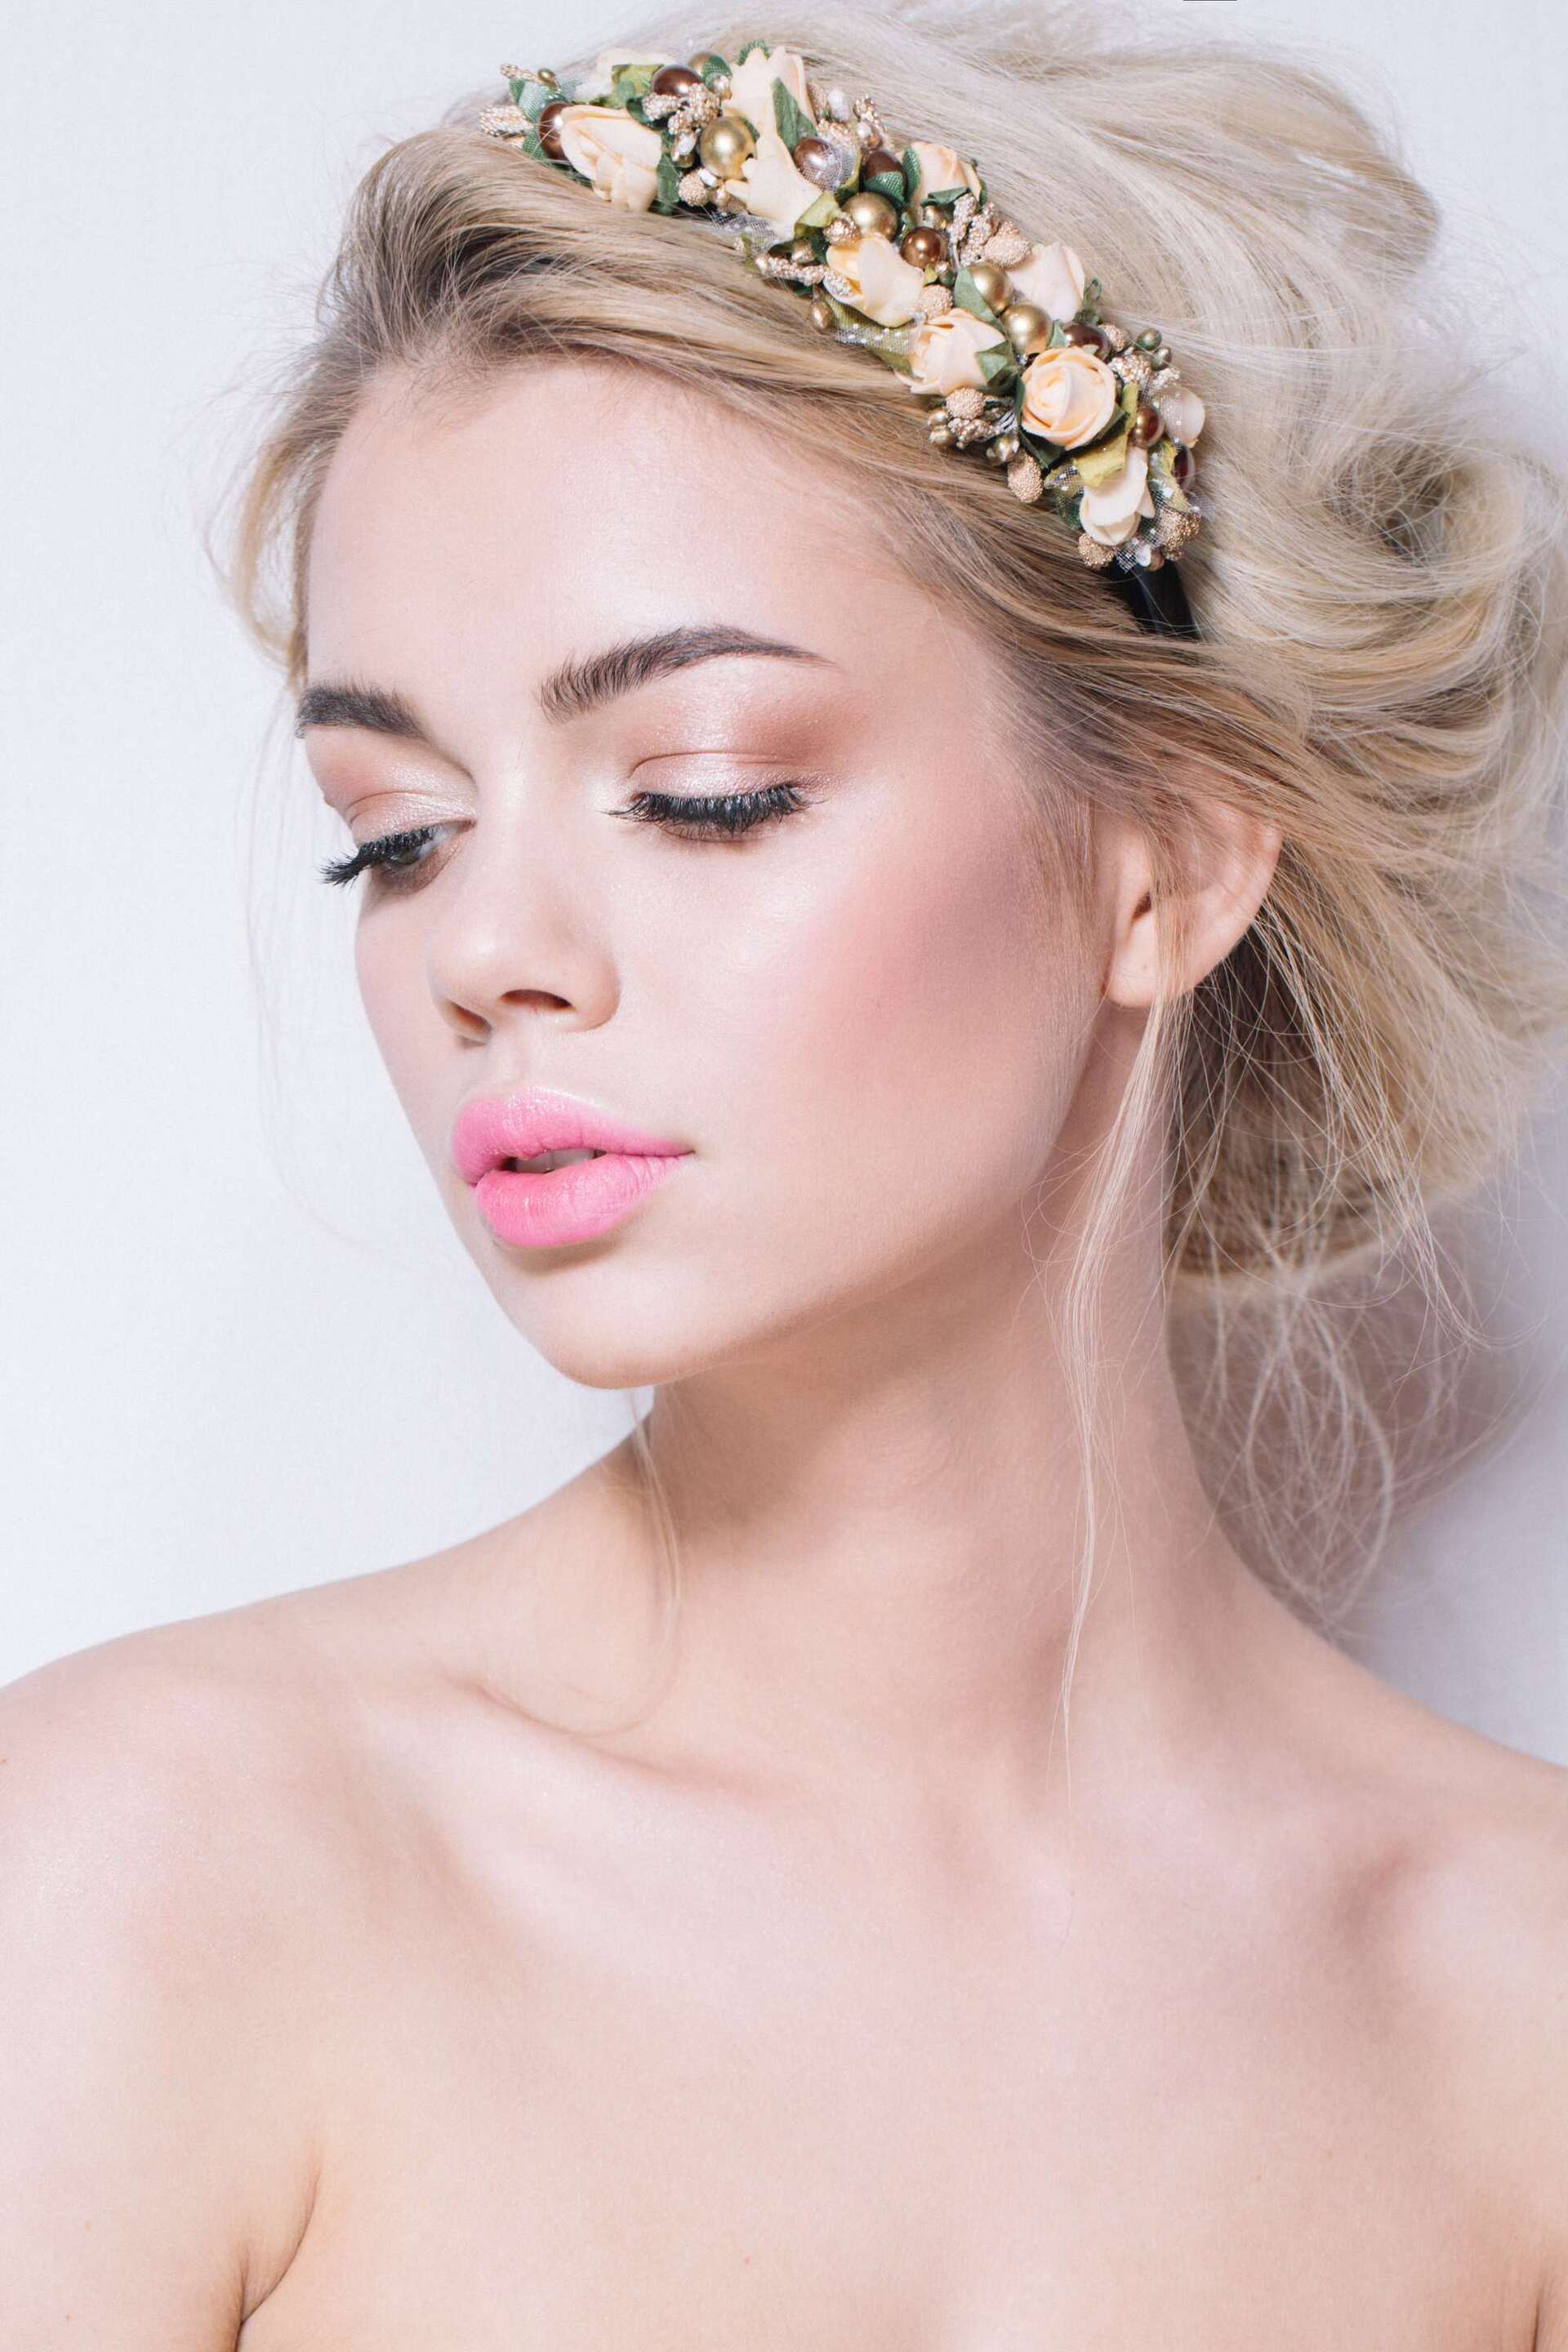
Want hair inspired by Hollywood glamour? You’ve come to the right place. Pin curls are heat-free curls created with a hairpin, which are usually left in overnight while you sleep to set, so you can wake up with red carpet-worthy hair.
The curling technique has come back into the limelight as heatless curls become the new, hair-loving craze. Going viral on TikTok and Instagram, influencers have been using anything from bathrobe belts to old socks to gain luscious, healthy curls.
Ready to pin curl your hair in the traditional way and wake up to your best hair day yet? Read on…
Quick Navigation
Classic Pin Curls Tutorial
1
Wash and prep your hair
For best results, this look calls for freshly-washed hair, so start by using shampoo and conditioner. Once you’re out the shower, comb through your locks so that they’re tangle-free and use a hair setting lotion to give your curls extra definition and staying power.
Tip: If you don’t have time to wash your hair properly, you can always use a spray bottle of water to lightly spritz your hair until damp.
2
Divide your hair into sections
Next, divide your hair into sections (2-3 inches thick), ready for curling. Remember that the smaller the sections, the tighter and more defined the curls will be.
3
Create your first curl
Taking your first section of hair, place your finger close to your scalp and wind the hair around it from root to tip (not tip to root as you would with a curling wand). Remove your finger from the middle of the curl and use your other hand to hold the loop in place.
Then, take your hairpin and pin it through the middle of the curl, to secure it in place. For especially thick hair, try crisscrossing two hairpins together for extra security.

4
Repeat and protect
Continue creating your pin curls using this process, starting at your hairline and working back, before moving onto the sides of your hair.
Once your whole head is set in place, cover your curls in a silk or satin bonnet to protect them from frizz or damage. Alternatively, you can invest in a silk pillowcase, which does the same thing.
5
Leave to dry overnight
The waiting game begins! Allow your curls to dry overnight or until they’re 100% dry. It’s really important not to get overly excited and unravel your curls too early, as they’ll be more prone to falling out if they’re still damp.
Tip: Running late? If you need to speed up the drying process, you can use a hairdryer to help your curls on their way. Simply blow-dry your hair while it’s still in the pins and poke your finger into the centre of the curls to test if they’re dry.

6
Release your curls
One by one, remove the hairpins and allow your curls to drop.

7
Apply oil
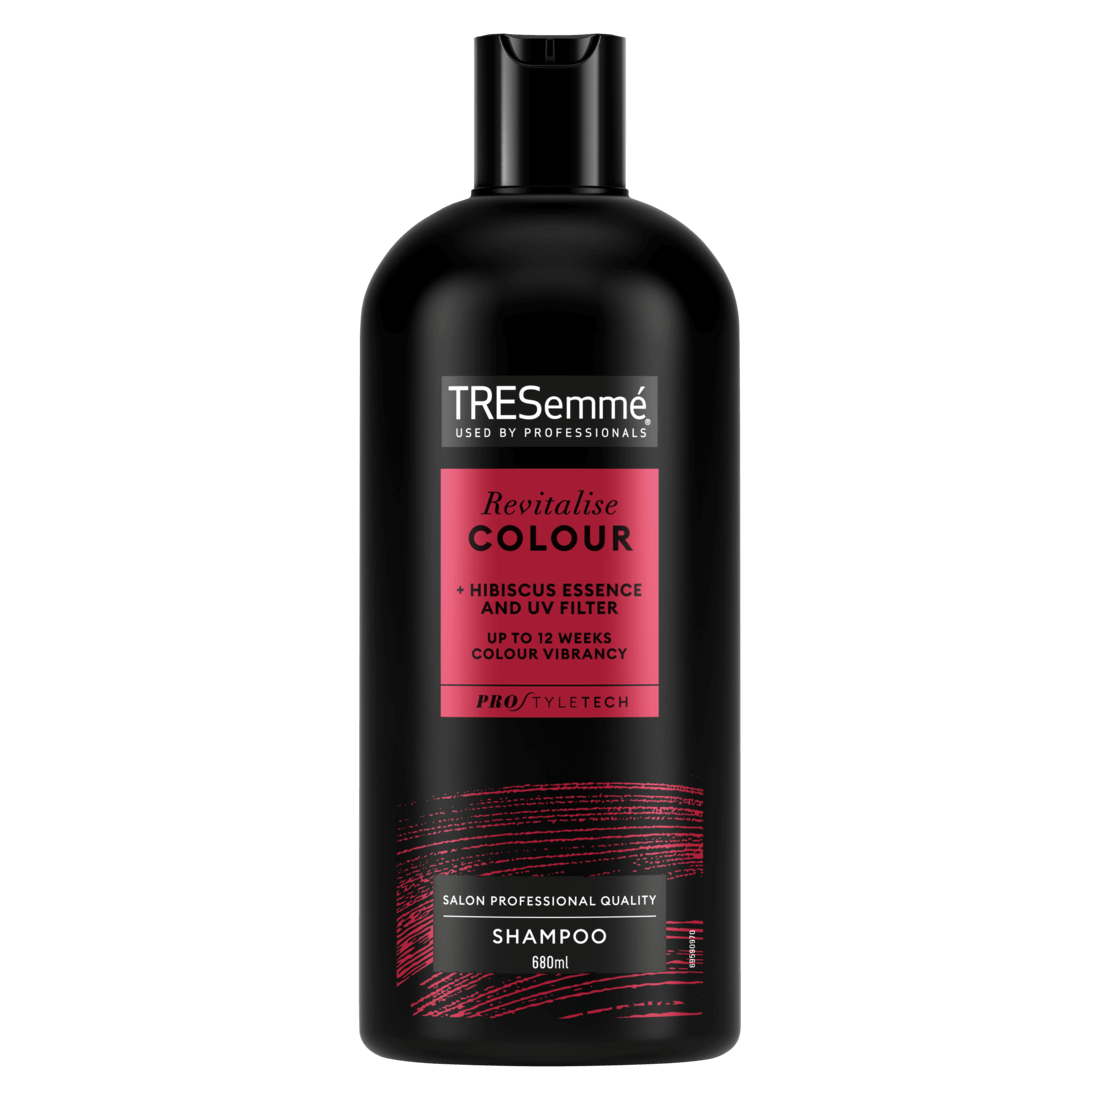
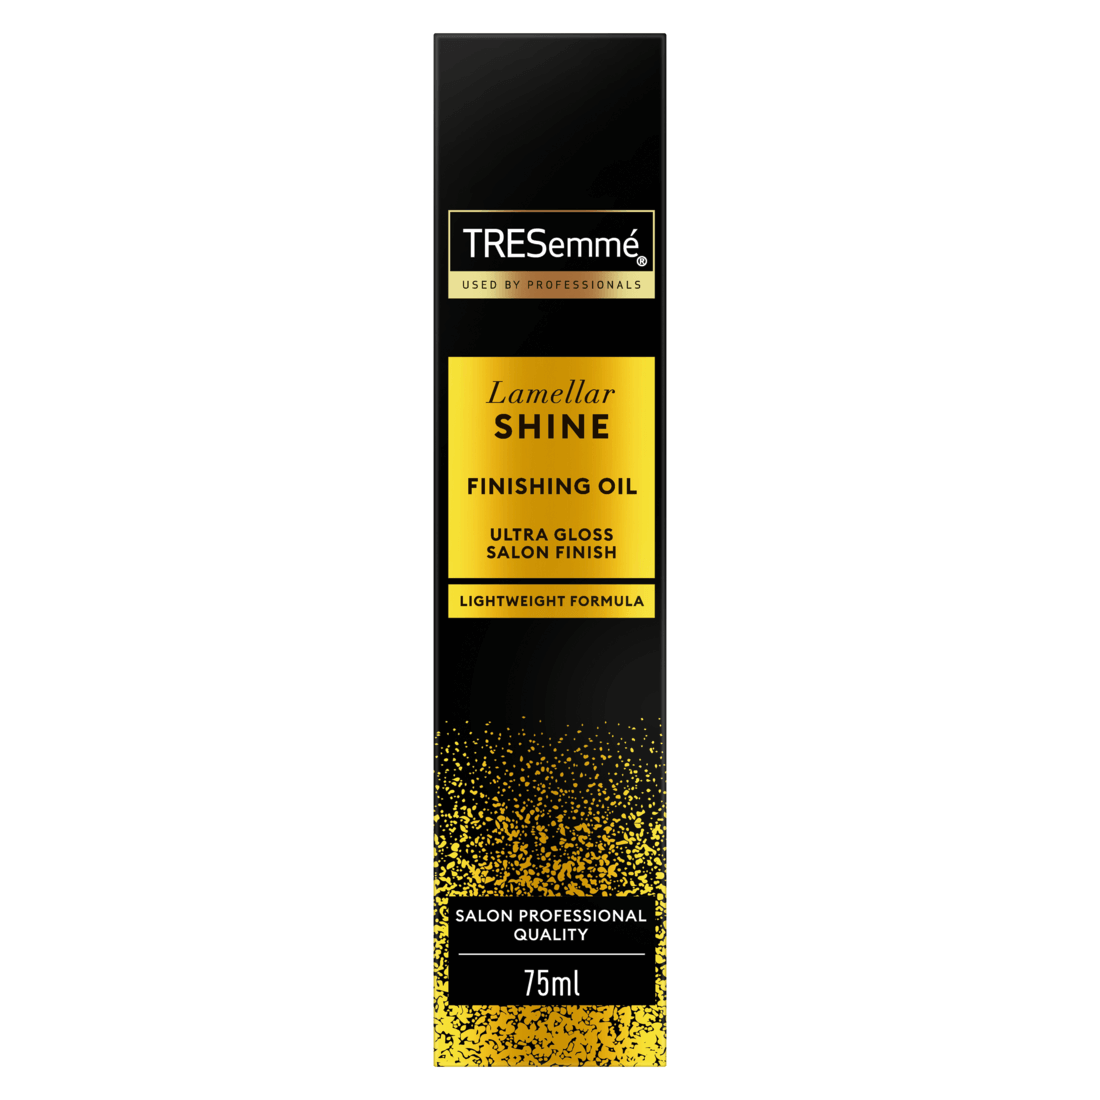
Take a few pumps of an oil or serum (we love the TRESemmé Keratin Smooth Shine Oil) and rub it between your palms, before using your fingers to soften up your curls. The oil will help to prevent your curls from frizzing up, while also keeping them nice and hydrated.
8
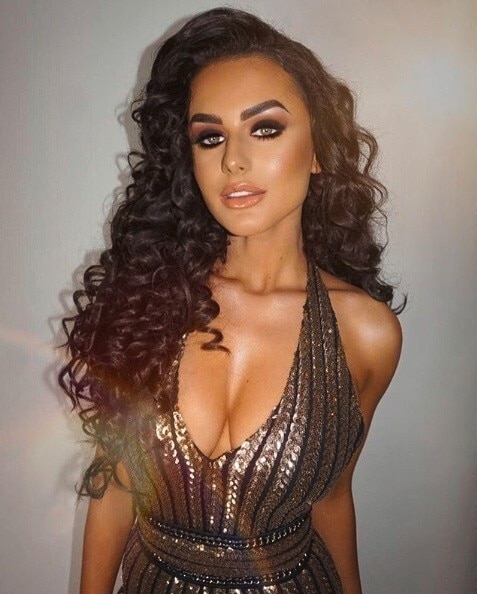
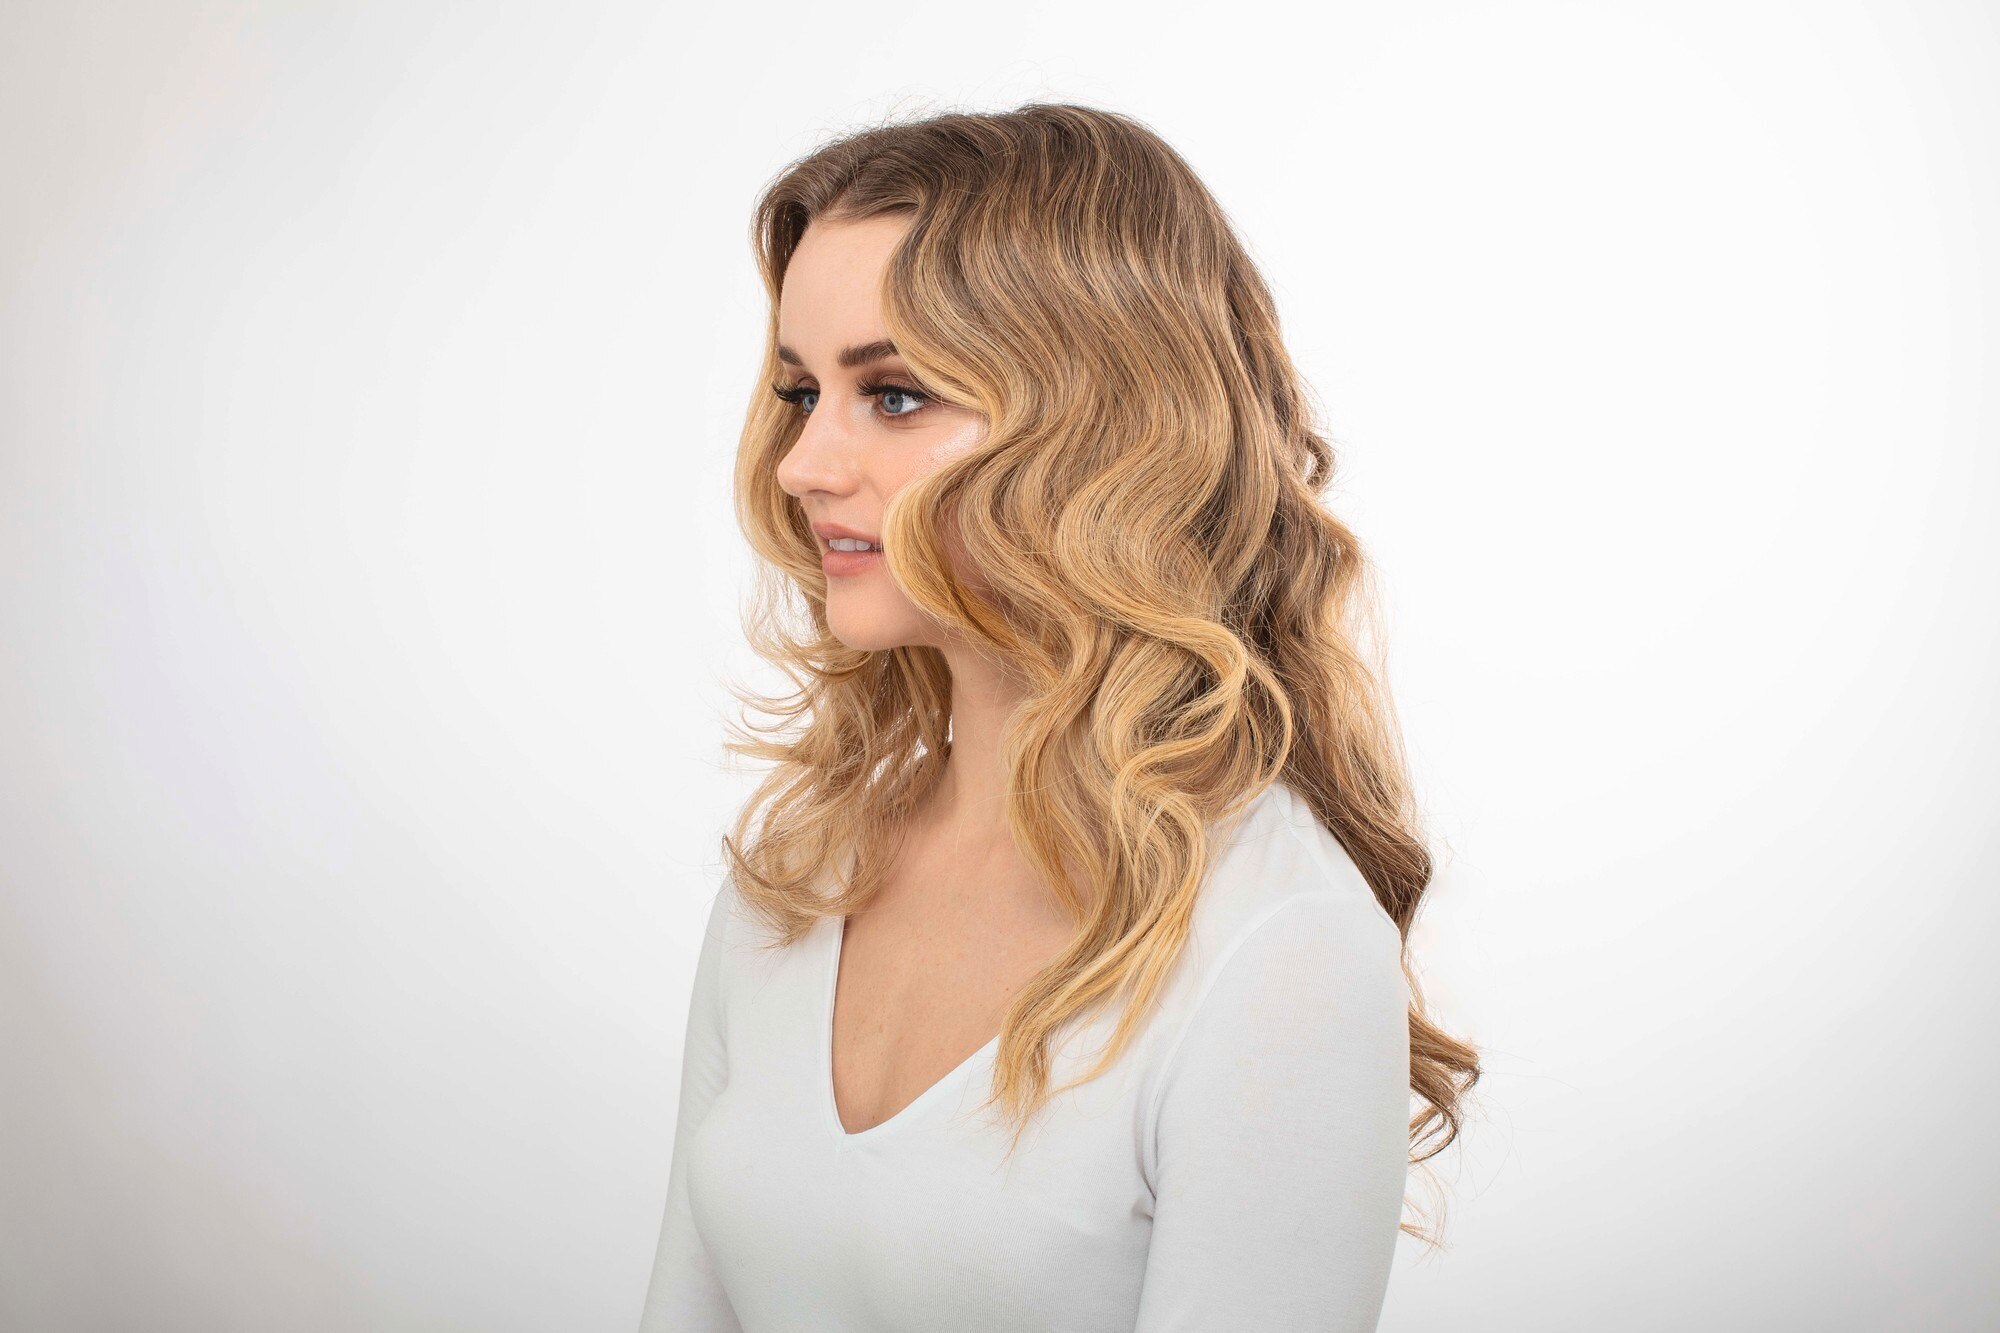
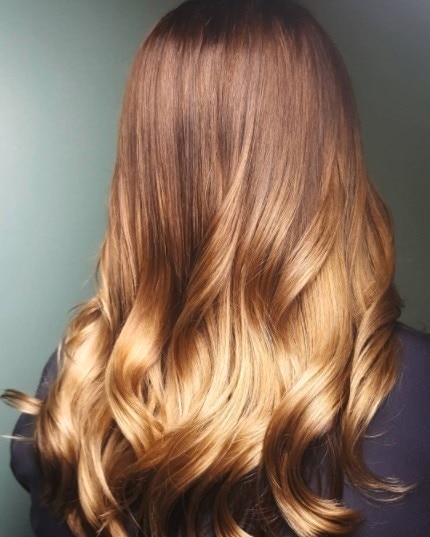
The final look
Finally, give your curls a good spritz of the TRESemmé Extra Hold Hairspray Now, you’re good to go!.

How to create pin curls using heat
Don’t have time to let your curls dry overnight? Get the pin curl look quickly with this curling wand pin curl tutorial…
Step 1: Protect your tresses
As you’re going to be using heat in this look, begin by prepping your hair with a heat protection spray, such as the TRESemmé Keratin Smooth Heat Protect Spray. Then, brush your hair to remove tangles and ensure that the product is evenly distributed through your lengths.
Step 2: Curl your hair using a curling wand
Now, taking sections of hair around 1-2 inches thick at a time, wrap your hair around a clampless curling wand and hold it in place for a few seconds.
Step 3: Catch your curl

Keep on rolling! Credit: Verity Jane Smith
As you release each section of hair, catch the curl in your palm and twist it back into a loop, before securing it in place close to your scalp with a hairpin.
Step 4: Allow them to cool
Repeat this process for all of your hair, allowing time for your curls to fully cool afterwards. This is the perfect time to get on with the rest of your glam routine, like doing your make-up or getting your glow on.
Step 5: Finishing touches
This pin curl method will change the way you curl your hair forever. Credit: Verity Jane Smith
Finally, release your curls, work into your desired style and give your locks a blast of hairspray to ensure they last all night. Voilà!
What you need to know
How do you sleep with pin curls?
Worried your pin curls will get flattened while you sleep? Make sure your curls are sitting flat against your scalp, instead of being elevated away from it. That way, when you tie your headscarf around it, your curls will feel secure and protected throughout the night.
Psst…If you find it hard to tie a headscarf, try a turban, as it’s comfortable to sleep in and more secure.
Can you pin curl wet hair?
Yes, for best results your hair should be wet. However, it does depend on your hair type. Fine hair will require more wetness for hold, while thick hair should be towel-dried and damp to avoid excessive drying time.
What brush should you use for pin curls?
While we suggest using your fingers or a comb to loosen curls, you can also use a boar bristle brush to lightly brush through your hair. Whether you want a sleek pin curl look or a more voluminous one, this super-gentle brush will help you get the desired results without damaging your style.
How do you take down pin curls?
Taking down pin curls requires a slow and steady pace! So, start from the back and bottom of your hair and take out each individual pin curl by removing the hairpins holding the curl down, gently unravelling each curl.
Editor’s tip: While you’re unravelling your curls, make sure not to disturb them too much, as when you finish taking them down you can style the curls to suit your preference (be it polished or voluminous).
Recommended reads:
13 Swinging ’60s Hairstyles We Still Talk About
14 Vintage Updo Hairstyles You’ll Adore
18 Memorable ’50s hairstyles You Can Try Now
You Will Need

Tutorial
How to style a pixie cut: Your simple guide
Your quick an easy guide on how to style a pixie haircut!


Products You Might Also Like

- slide 1
- slide 2
- slide 3
- slide 4
- slide 5
- slide 6
Our Tips & Advice

- slide 1
- slide 2
- slide 3
- slide 4
- slide 5
- slide 6