Skip to:
7 Steps to Style Natural Hair: Twist Video Tutorial
All Things Hair | August 3, 2023
Time
15-mins-plus
Skill
- brush1
- brush2
- brush3
Easy
Hair Types
- afro
- curly
You Will Need
Section Your Hair.
Start by creating a box-shaped section at the back of your head. Remember, the smaller the box shape the tighter and more defined your end style will be.

Prep This Section.
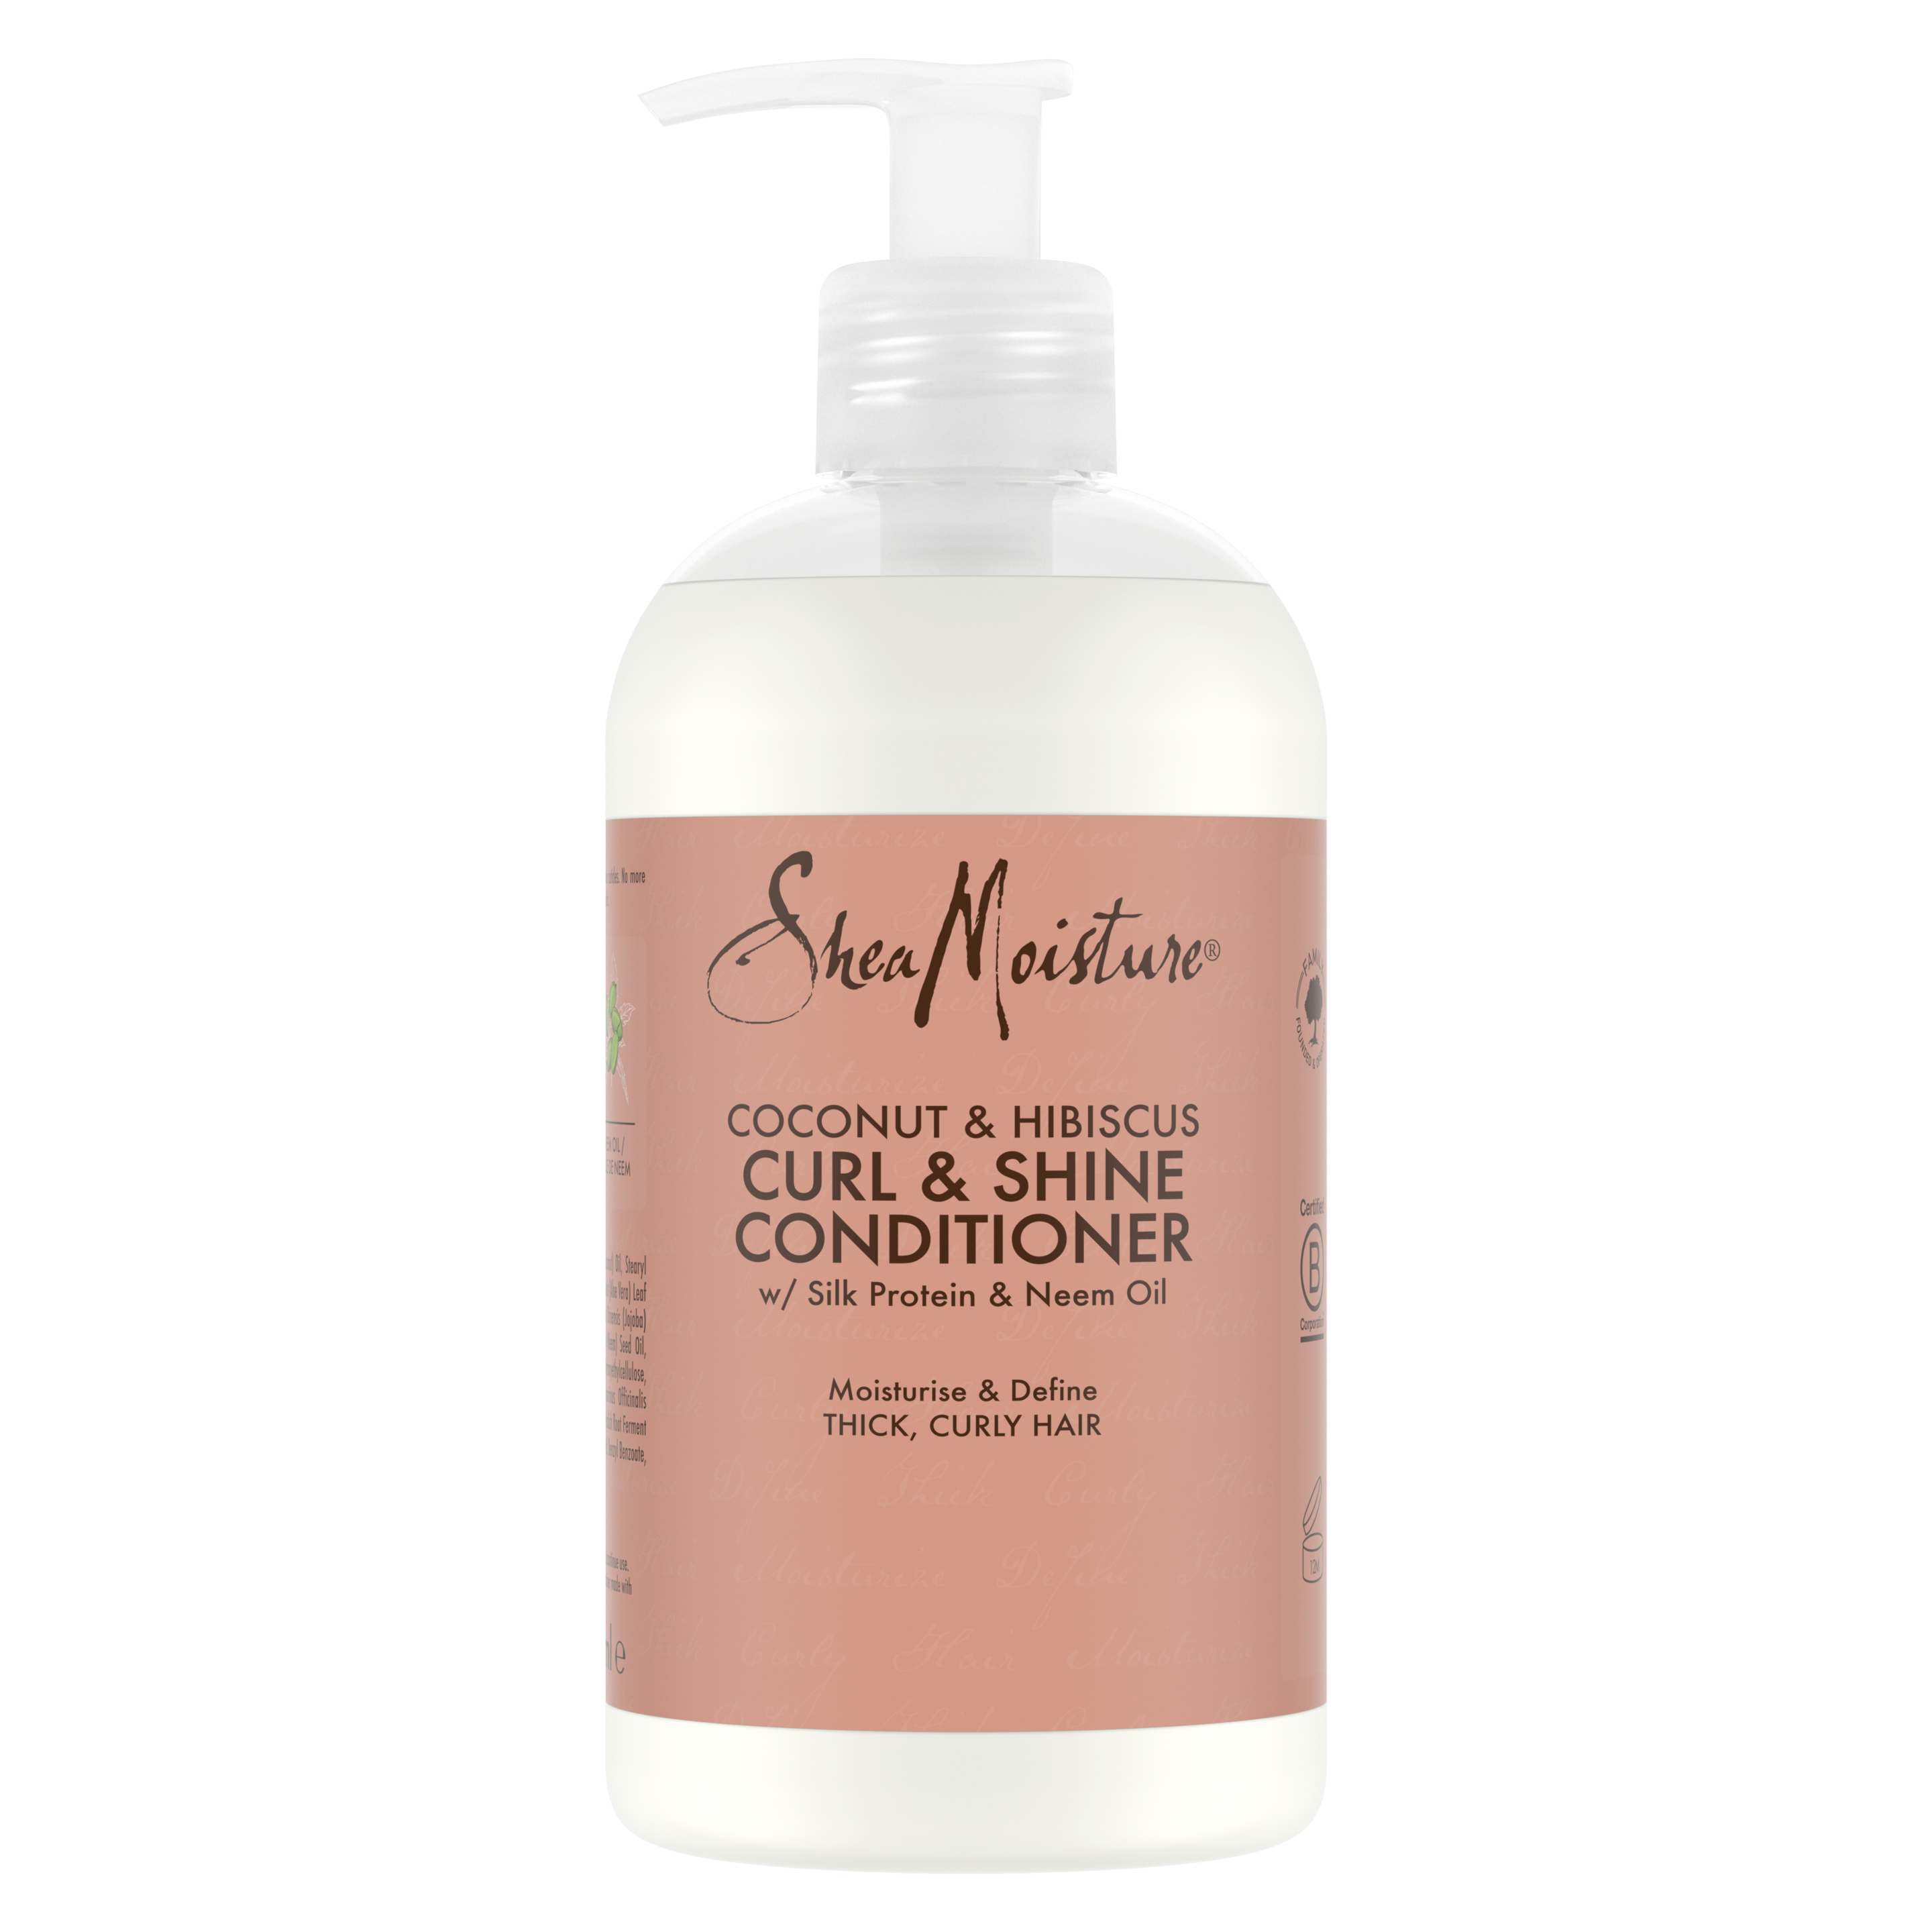
Now apply a light spritz of a leave-in conditioner to this section of hair, as this will help to hydrate, detangle and make the styling process smoother. We like to reach for the SheaMoisture Miracle Hair Styler Leave-In Treatment that makes detangling super easy.
Apply a Cream.
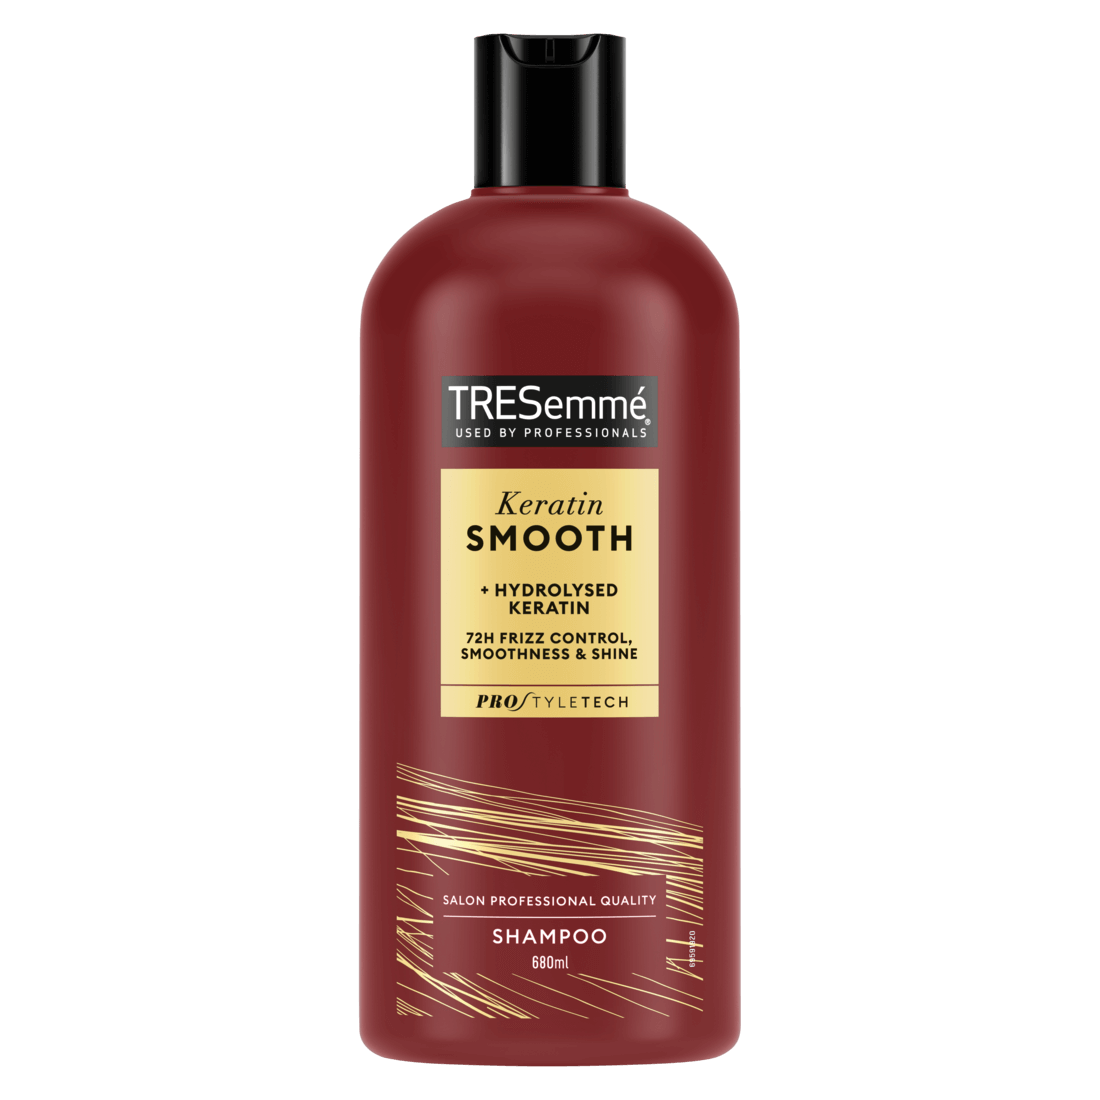
For further hydration and to smooth down any flyaways, apply a moisturiser or oil like the TRESemmé Keratin Smooth Shine Oil along the lenghts and comb through using a wide-toothed comb.

Split Section Into Two.
Okay, you’re all prepped and ready to style!
Now split the section into 2 halves.

Twist It!
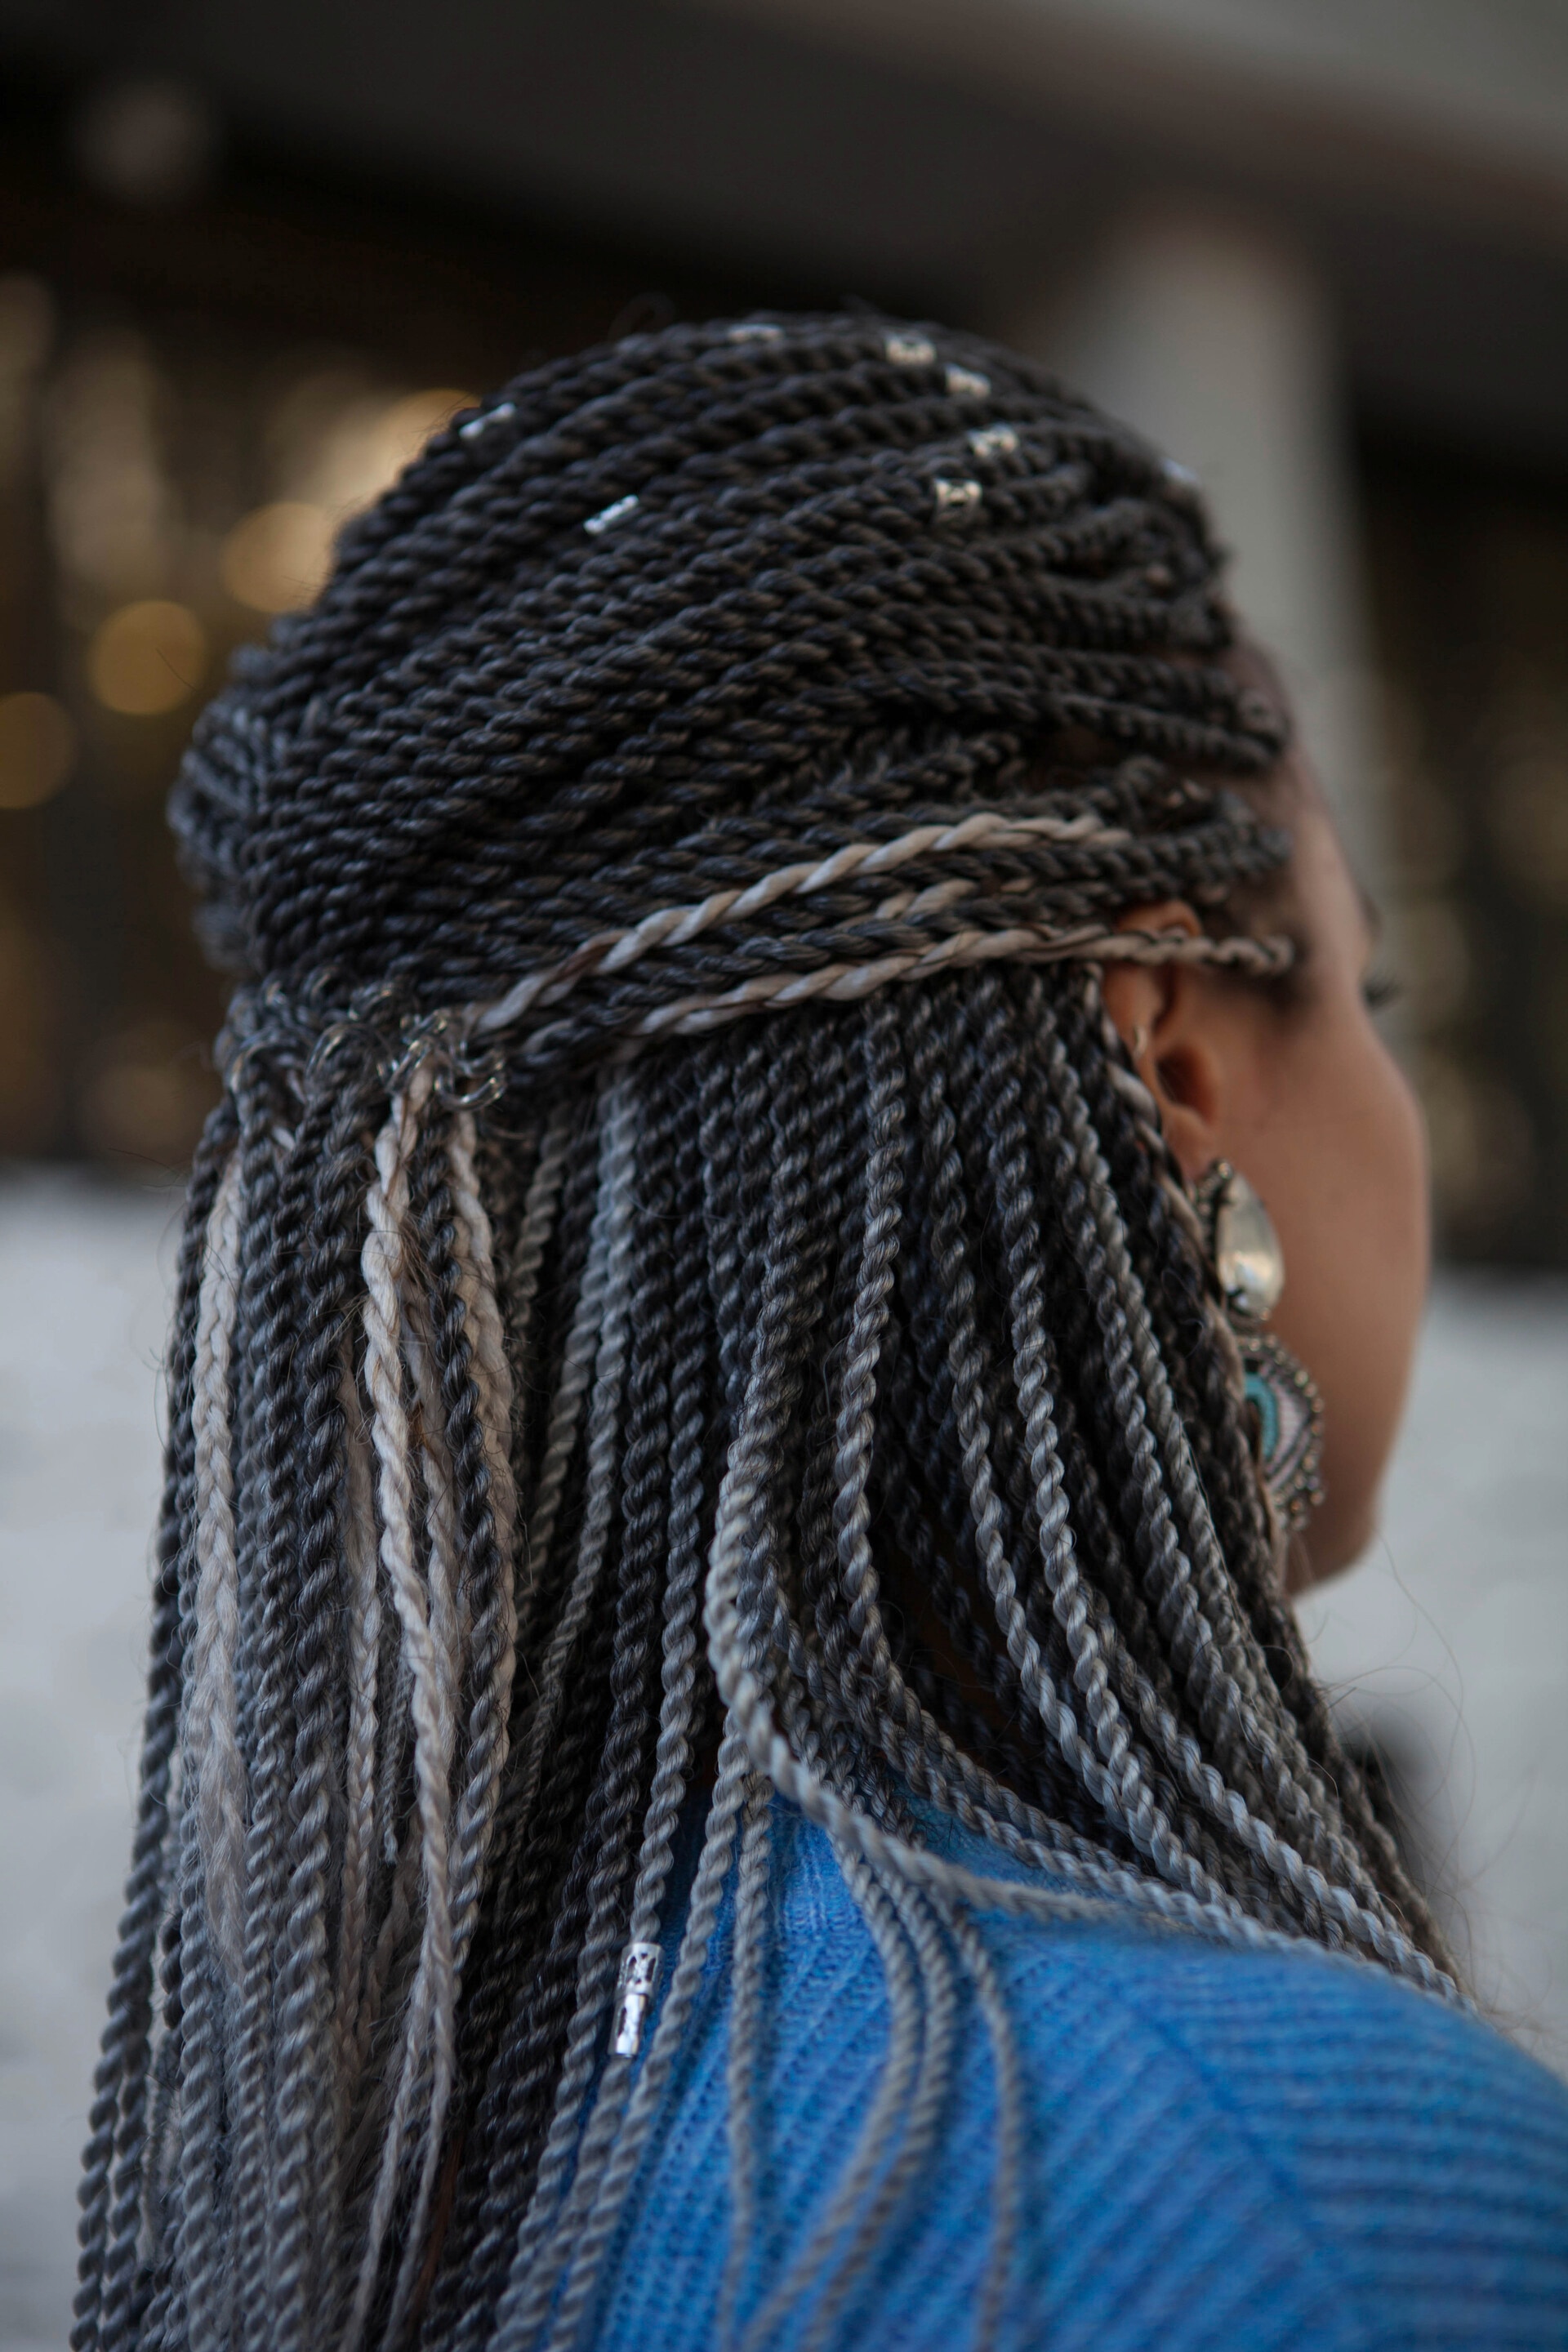
Twist your right half over the left half (or vice versa) and continue the motion until you get to the end of your hair.

Repeat.
Repeat steps 1-5 over your entire head.
If desired you can sleep with the twists overnight, protecting them with a silk scarf or bonnet.
Lay Your Edges!
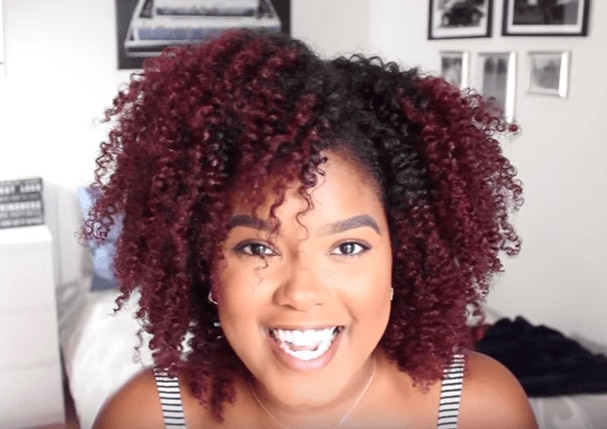
If you have any baby hairs, lay them using a toothbrush and some hair gel.
This will provide tonnes of control with a high-shine finish to keep your strands in place.

Final Look.
And there you have it, you’ve learnt how to twist natural hair in 7 simple steps! You go, girl!
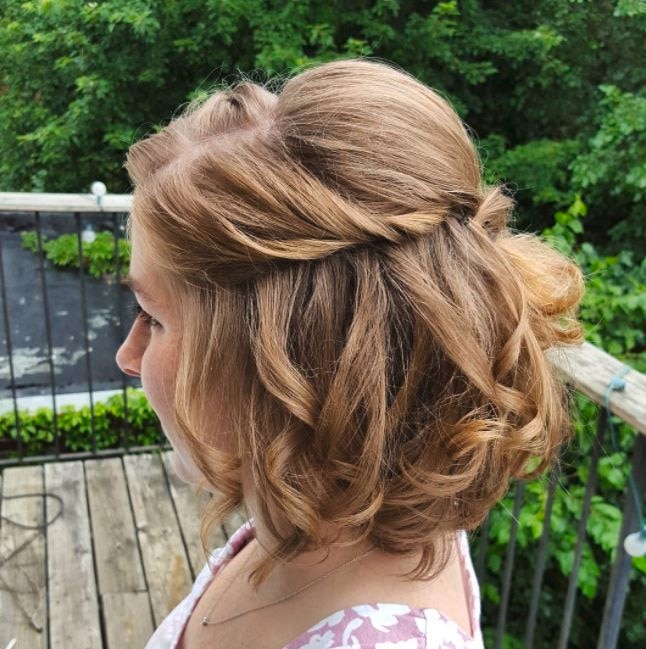
You can do this twisted hairstyle on short natural hair or longer hair, so it’s a really versatile one to know. Now it’s time to put your new skills to the test and try out all sorts of natural twist hairstyles – which will you go for?
You Will Need
Share
ARTICLE
The Best Hair Wax for Women: Tips on Styling a Pixie Cut
The best hair wax for short hair, revealed.

Products You Might Also Like
Our Tips & Advice
- slide 1
- slide 2
- slide 3
- slide 4
- slide 5
- slide 6

